2008 NISSAN PATHFINDER check engine light
[x] Cancel search: check engine lightPage 326 of 448
CAUTION
cWhen driving straight, shift the 4WD
shift switch to the 2WD, AUTO or 4H
position. Do not move the 4WD shift
switch when making a turn or reversing.
cDo not shift the 4WD shift switch while
driving on steep downhill grades. Use
the engine brake and low automatic
transmission gears (D1 or D2) for en-
gine braking.
cDo not operate the 4WD shift switch
with the rear wheels spinning.
cBefore placing the 4WD shift switch in
the 4H position from 2WD or AUTO,
ensure the vehicle speed is less than
62.5 MPH (100 km/h) . Failure to do so
can damage the 4WD system.
cNever shift the 4WD shift switch be-
tween 4LO and 4H while driving.
cEngine idling speed is high while warm-
ing up the engine. Be especially careful
when starting or driving on slippery sur-
faces with the 4WD shift switch set in
AUTO.
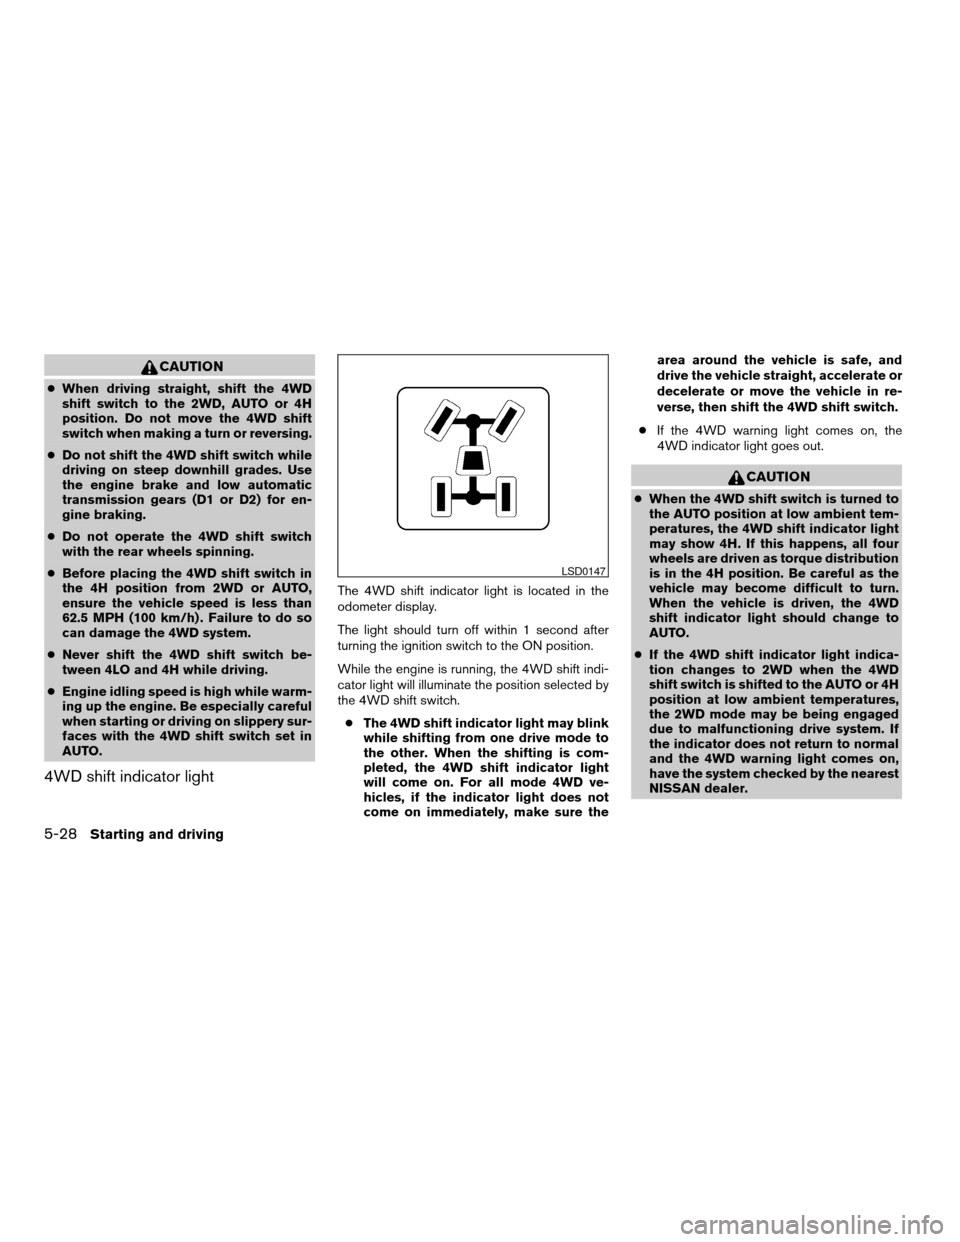
4WD shift indicator light
The 4WD shift indicator light is located in the
odometer display.
The light should turn off within 1 second after
turning the ignition switch to the ON position.
While the engine is running, the 4WD shift indi-
cator light will illuminate the position selected by
the 4WD shift switch.
cThe 4WD shift indicator light may blink
while shifting from one drive mode to
the other. When the shifting is com-
pleted, the 4WD shift indicator light
will come on. For all mode 4WD ve-
hicles, if the indicator light does not
come on immediately, make sure thearea around the vehicle is safe, and
drive the vehicle straight, accelerate or
decelerate or move the vehicle in re-
verse, then shift the 4WD shift switch.
cIf the 4WD warning light comes on, the
4WD indicator light goes out.
CAUTION
cWhen the 4WD shift switch is turned to
the AUTO position at low ambient tem-
peratures, the 4WD shift indicator light
may show 4H. If this happens, all four
wheels are driven as torque distribution
is in the 4H position. Be careful as the
vehicle may become difficult to turn.
When the vehicle is driven, the 4WD
shift indicator light should change to
AUTO.
cIf the 4WD shift indicator light indica-
tion changes to 2WD when the 4WD
shift switch is shifted to the AUTO or 4H
position at low ambient temperatures,
the 2WD mode may be being engaged
due to malfunctioning drive system. If
the indicator does not return to normal
and the 4WD warning light comes on,
have the system checked by the nearest
NISSAN dealer.
LSD0147
5-28Starting and driving
ZREVIEW COPYÐ2008 Pathfinder(pat)
Owners ManualÐUSA_English(nna)
03/23/07Ðdebbie
X
Page 327 of 448
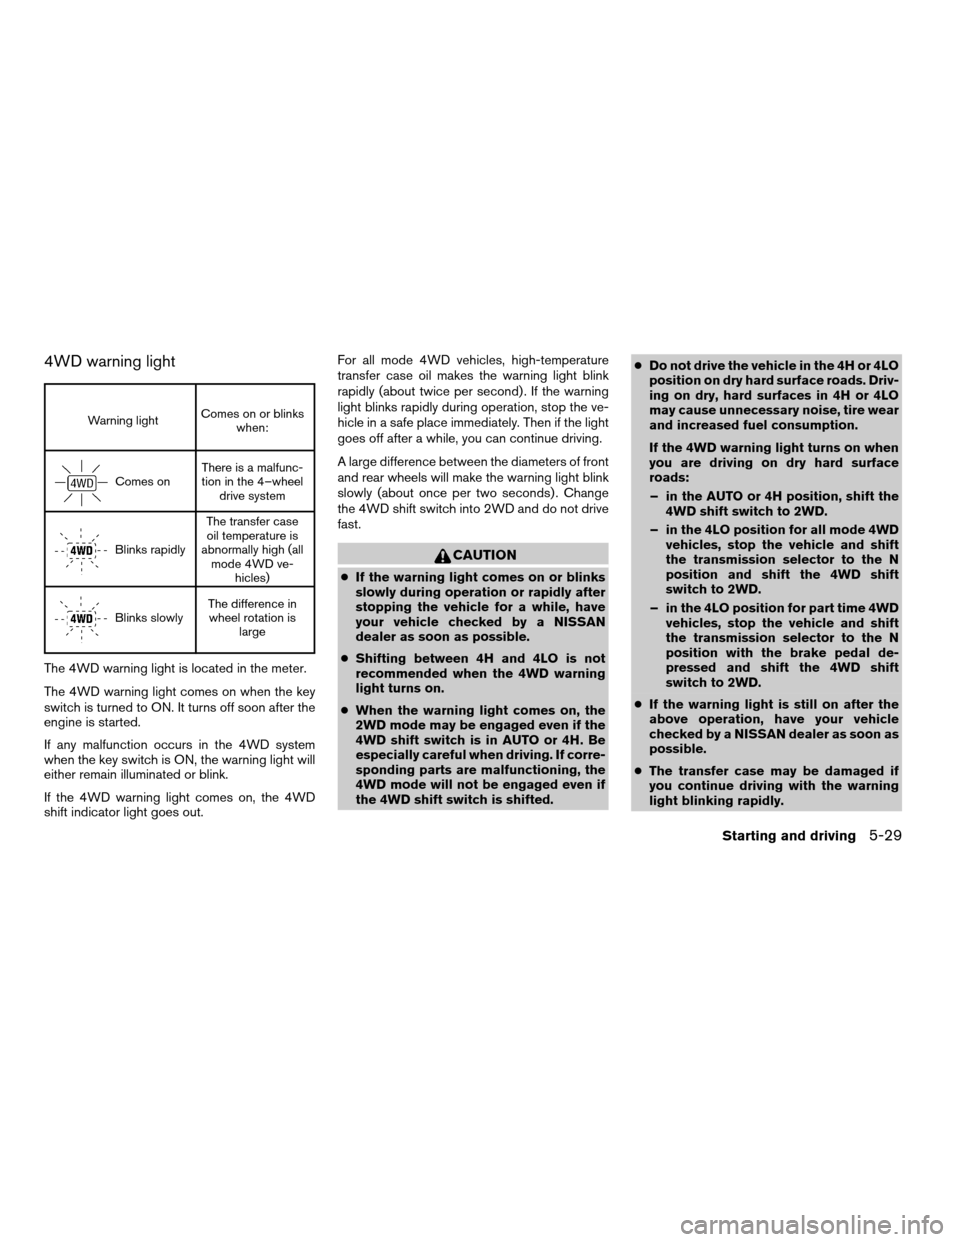
4WD warning light
Warning lightComes on or blinks
when:
Comes onThere is a malfunc-
tion in the 4–wheel
drive system
Blinks rapidlyThe transfer case
oil temperature is
abnormally high (all
mode 4WD ve-
hicles)
Blinks slowlyThe difference in
wheel rotation is
large
The 4WD warning light is located in the meter.
The 4WD warning light comes on when the key
switch is turned to ON. It turns off soon after the
engine is started.
If any malfunction occurs in the 4WD system
when the key switch is ON, the warning light will
either remain illuminated or blink.
If the 4WD warning light comes on, the 4WD
shift indicator light goes out.For all mode 4WD vehicles, high-temperature
transfer case oil makes the warning light blink
rapidly (about twice per second) . If the warning
light blinks rapidly during operation, stop the ve-
hicle in a safe place immediately. Then if the light
goes off after a while, you can continue driving.
A large difference between the diameters of front
and rear wheels will make the warning light blink
slowly (about once per two seconds) . Change
the 4WD shift switch into 2WD and do not drive
fast.
CAUTION
cIf the warning light comes on or blinks
slowly during operation or rapidly after
stopping the vehicle for a while, have
your vehicle checked by a NISSAN
dealer as soon as possible.
cShifting between 4H and 4LO is not
recommended when the 4WD warning
light turns on.
cWhen the warning light comes on, the
2WD mode may be engaged even if the
4WD shift switch is in AUTO or 4H. Be
especially careful when driving. If corre-
sponding parts are malfunctioning, the
4WD mode will not be engaged even if
the 4WD shift switch is shifted.cDo not drive the vehicle in the 4H or 4LO
position on dry hard surface roads. Driv-
ing on dry, hard surfaces in 4H or 4LO
may cause unnecessary noise, tire wear
and increased fuel consumption.
If the 4WD warning light turns on when
you are driving on dry hard surface
roads:
– in the AUTO or 4H position, shift the
4WD shift switch to 2WD.
– in the 4LO position for all mode 4WD
vehicles, stop the vehicle and shift
the transmission selector to the N
position and shift the 4WD shift
switch to 2WD.
– in the 4LO position for part time 4WD
vehicles, stop the vehicle and shift
the transmission selector to the N
position with the brake pedal de-
pressed and shift the 4WD shift
switch to 2WD.
cIf the warning light is still on after the
above operation, have your vehicle
checked by a NISSAN dealer as soon as
possible.
cThe transfer case may be damaged if
you continue driving with the warning
light blinking rapidly.
Starting and driving5-29
ZREVIEW COPYÐ2008 Pathfinder(pat)
Owners ManualÐUSA_English(nna)
03/23/07Ðdebbie
X
Page 331 of 448

pedal. This is normal and does not indicate a
malfunction. If the computer senses a malfunc-
tion, it switches the ABS off and illuminates the
ABS warning light on the instrument panel. The
brake system then operates normally, but without
anti-lock assistance.
If the ABS warning light illuminates during the
self-test or while driving, have the vehicle
checked by a NISSAN dealer.When accelerating or driving on slippery sur-
faces, the tires may spin or slide. With the Vehicle
Dynamic Control (VDC) system, sensors detect
these movements and control the braking and
engine output to help improve vehicle stability.
cWhen the vehicle dynamic control (VDC)
system is operating, theSLIPindicator in
the instrument panel blinks.
cIf the 4WD transfer case is shifted into 4LO
the
indicator light will come on and
the VDC system will be turned off. See
“Transfer case shifting procedures” earlier in
this section.
cIf the SLIP indicator blinks, the road condi-
tions are slippery. Be sure to adjust your
speed and driving to these conditions. See
“Slip indicator light”, and “Vehicle dynamic
control (VDC) off indicator light” in the “In-
struments and controls” section.
If the battery is removed or discharged, the trac-
tion control system may be disabled and the
SLIPand
indicator lights will not turn off
after 2 seconds when the ignition switch is turned
to the ON position.
Perform the following procedure to reset the
system:
cStart the engine and set the steering wheel
in the straight forward position.cDrive the vehicle at speeds above 10 mph
(15 km/h) for at least 10 minutes.
cThe VDC OFF indicator light should go off
indicating the traction control system is op-
erational.
cIf you interrupt the reset procedure by turn-
ing the ignition off, you will need to restart
the reset procedure.
If after driving the vehicle for more than 10 min-
utes and theSLIPand
lights remain illumi-
nated in the instrument panel, have the vehicle
dynamic control system checked by a NISSAN
dealer.
If the vehicle is operated with the vehicle dynamic
control system off using the VDC OFF switch,
most VDC functions will be turned off. The VDC
system will still try to transfer power from a slip-
ping drive wheel to one with more traction when
the VDC system switch is OFF. TheSLIPindica-
tor will flash if wheel spin is detected. The ABS
will still operate with the VDC system off.
When the VDC system is operating, you may feel
a pulsation in the brake pedal and hear a noise or
vibration from under the hood. This is normal and
indicates that the VDC system is working prop-
erly.
VEHICLE DYNAMIC CONTROL (VDC)
SYSTEM
Starting and driving5-33
ZREVIEW COPYÐ2008 Pathfinder(pat)
Owners ManualÐUSA_English(nna)
03/23/07Ðdebbie
X
Page 339 of 448
WARNING
cIf the low tire pressure warning light
illuminates while driving, avoid sudden
steering maneuvers or abrupt braking,
reduce vehicle speed, pull off the road
to a safe location and stop the vehicle
as soon as possible. Driving with under-
inflated tires may permanently damage
the tires and increase the likelihood of
tire failure. Serious vehicle damage
could occur and may lead to an acci-
dent and could result in serious per-
sonal injury. Check the tire pressure for
all four tires. Adjust the tire pressure to
the recommended COLD tire pressure
shown on the Tire and Loading Informa-
tion label to turn the low tire pressure
warning light OFF. If you have a flat tire,
replace it with a spare tire as soon as
possible.
cWhen a spare tire is mounted or a wheel
is replaced, tire pressure will not be
indicated, the TPMS will not function
and the low tire pressure warning light
will flash for approximately 1 minute.
The light will remain on after 1 minute.
Contact your NISSAN dealer as soon as
possible for tire replacement and/or
system resetting.cReplacing tires with those not originally
specified by NISSAN could affect the
proper operation of the TPMS.
cDo not inject any tire liquid or aerosol
tire sealant into the tires, as this may
cause a malfunction of the tire pressure
sensors.
CHANGING A FLAT TIRE
If you have a flat tire, follow the instructions be-
low.
Stopping the vehicle
1. Safely move the vehicle off the road and
away from traffic.
2. Turn on the hazard warning flashers.
3. Park on a level surface and apply the parking
brake. Move the shift selector lever to P
(Park) .
4. Turn off the engine.
5. Raise the hood to warn other traffic and to
signal professional road assistance person-
nel that you need assistance.
6. Have all passengers get out of the vehicle
and stand in a safe place, away from traffic
and clear of the vehicle.
WARNING
cMake sure the parking brake is securely
applied and the automatic transmission
is shifted into P (Park) .
cNever change tires when the vehicle is
on a slope, ice or slippery areas. This is
hazardous.
cNever change tires if oncoming traffic is
close to your vehicle. Wait for profes-
sional road assistance.
In case of emergency6-3
ZREVIEW COPYÐ2008 Pathfinder(pat)
Owners ManualÐUSA_English(nna)
03/23/07Ðdebbie
X
Page 357 of 448

8 Maintenance and do-it-yourself
Maintenance requirements..........................8-2
General maintenance..............................8-2
Explanation of general maintenance items.........8-2
Maintenance precautions...........................8-5
Engine compartment check locations................8-6
Engine cooling system.............................8-8
Checking engine coolant level...................8-8
Changing engine coolant........................8-9
Engine oil.........................................8-9
Checking engine oil level........................8-9
Changing engine oil...........................8-10
Changing engine oil filter.......................8-11
5-speed automatic transmission fluid...............8-12
Power steering fluid...............................8-13
Brake fluid.......................................8-13
Brake fluid....................................8-13
Window washer fluid.............................8-14
Window washer fluid reservoir..................8-14
Battery..........................................8-15
Jump starting.................................8-16
Variable Voltage Control System...................8-16
Drive belt........................................8-17
Spark plugs......................................8-18Replacing spark plugs.........................8-18
Air cleaner.......................................8-19
In-cabin microfilter.............................8-19
Windshield wiper blades..........................8-20
Cleaning.....................................8-20
Replacing....................................8-21
Brakes..........................................8-23
Fuses...........................................8-23
Engine compartment...........................8-24
Passenger compartment.......................8-25
Battery replacement..............................8-26
Keyfob.......................................8-26
Intelligent Key battery..........................8-28
Lights...........................................8-29
Headlights....................................8-29
Exterior and interior lights.......................8-30
Wheels and tires.................................8-33
Tire pressure..................................8-33
Tire labeling...................................8-37
Types of tires..................................8-39
Tire chains....................................8-40
Changing wheels and tires.....................8-40
ZREVIEW COPYÐ2008 Pathfinder(pat)
Owners ManualÐUSA_English(nna)
03/23/07Ðdebbie
X
Page 368 of 448
CAUTION
Be careful not to burn yourself. The engine
oil may be hot.
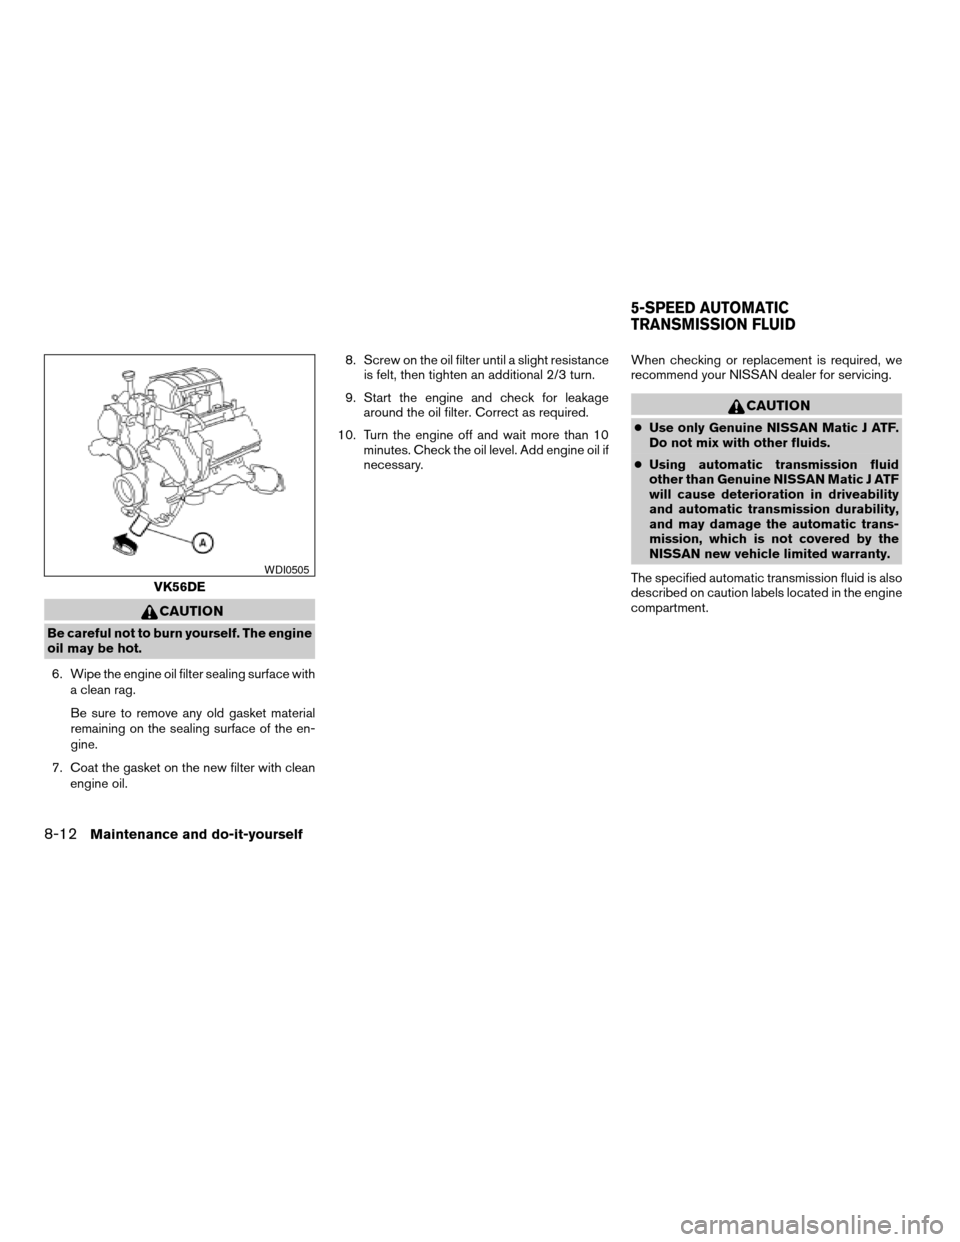
6. Wipe the engine oil filter sealing surface with
a clean rag.
Be sure to remove any old gasket material
remaining on the sealing surface of the en-
gine.
7. Coat the gasket on the new filter with clean
engine oil.8. Screw on the oil filter until a slight resistance
is felt, then tighten an additional 2/3 turn.
9. Start the engine and check for leakage
around the oil filter. Correct as required.
10. Turn the engine off and wait more than 10
minutes. Check the oil level. Add engine oil if
necessary.When checking or replacement is required, we
recommend your NISSAN dealer for servicing.
CAUTION
cUse only Genuine NISSAN Matic J ATF.
Do not mix with other fluids.
cUsing automatic transmission fluid
other than Genuine NISSAN Matic J ATF
will cause deterioration in driveability
and automatic transmission durability,
and may damage the automatic trans-
mission, which is not covered by the
NISSAN new vehicle limited warranty.
The specified automatic transmission fluid is also
described on caution labels located in the engine
compartment.
VK56DE
WDI0505
5-SPEED AUTOMATIC
TRANSMISSION FLUID
8-12Maintenance and do-it-yourself
ZREVIEW COPYÐ2008 Pathfinder(pat)
Owners ManualÐUSA_English(nna)
03/23/07Ðdebbie
X
Page 379 of 448
If the brakes do not operate properly, have the
brakes checked by a NISSAN dealer.
Self-adjusting brakes
Your vehicle is equipped with self-adjusting
brakes.
The front and rear disc-type brakes self-adjust
every time the brake pedal is applied.
WARNING
See a NISSAN dealer for a brake system
check if the brake pedal height does not
return to normal.
Brake pad wear indicators
The disc brake pads on your vehicle have audible
wear indicators. When a brake pad requires re-
placement, a high pitched scraping or screech-
ing sound will be heard when the vehicle is in
motion. The noise will be heard whether or not the
brake pedal is depressed. Have the brakes
checked as soon as possible if the wear indicator
sound is heard.
Under some driving or climate conditions, occa-
sional brake squeak, squeal or other noise may
be heard. Occasional brake noise during light to
moderate stops is normal and does not affect the
function or performance of the brake system.Proper brake inspection intervals should
be followed.For more information regarding
brake inspections, see the appropriate mainte-
nance schedule information in the “NISSAN Ser-
vice and Maintenance Guide”.
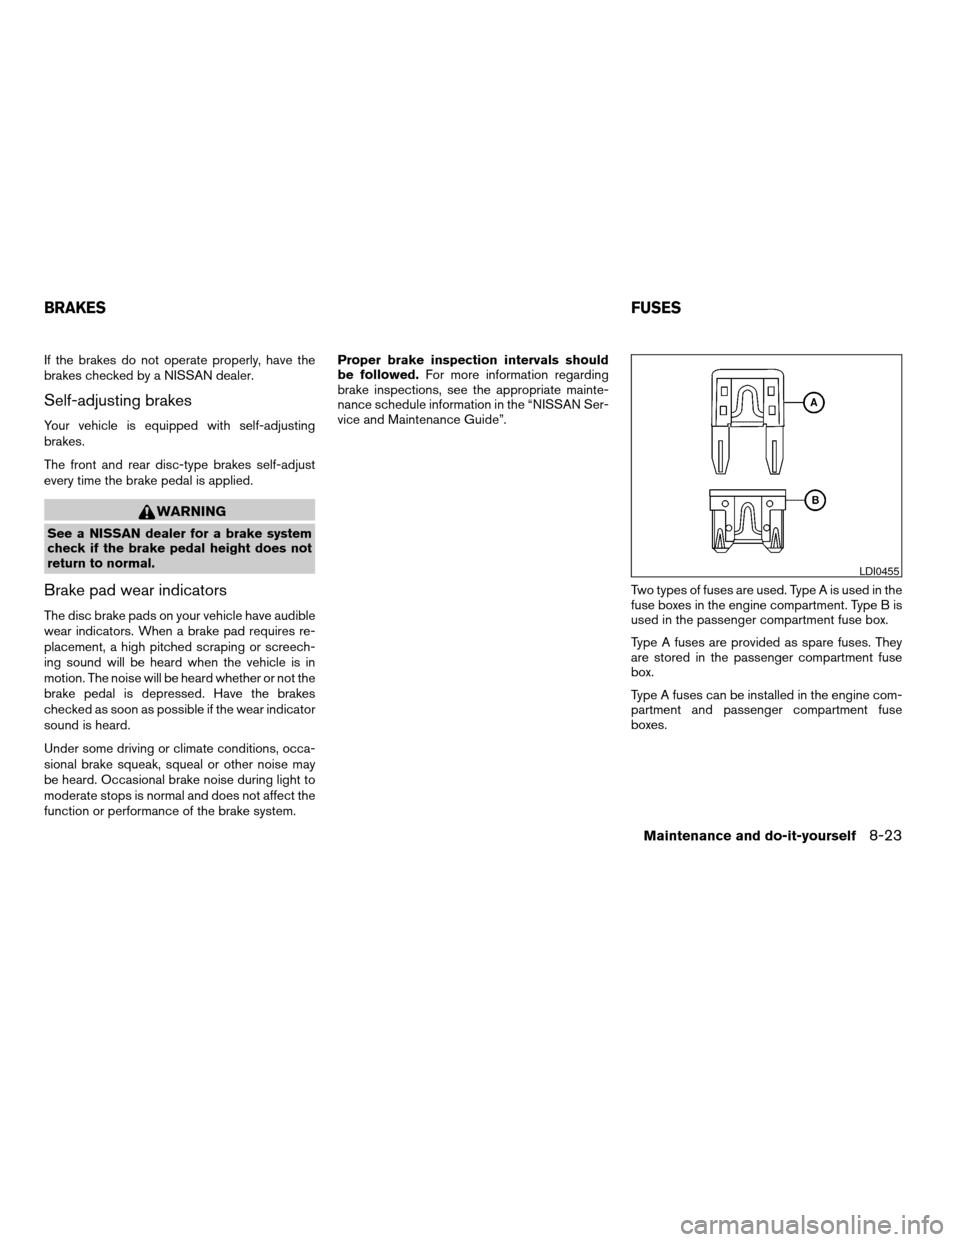
Two types of fuses are used. Type A is used in the
fuse boxes in the engine compartment. Type B is
used in the passenger compartment fuse box.
Type A fuses are provided as spare fuses. They
are stored in the passenger compartment fuse
box.
Type A fuses can be installed in the engine com-
partment and passenger compartment fuse
boxes.
LDI0455
BRAKESFUSES
Maintenance and do-it-yourself8-23
ZREVIEW COPYÐ2008 Pathfinder(pat)
Owners ManualÐUSA_English(nna)
03/23/07Ðdebbie
X
Page 380 of 448
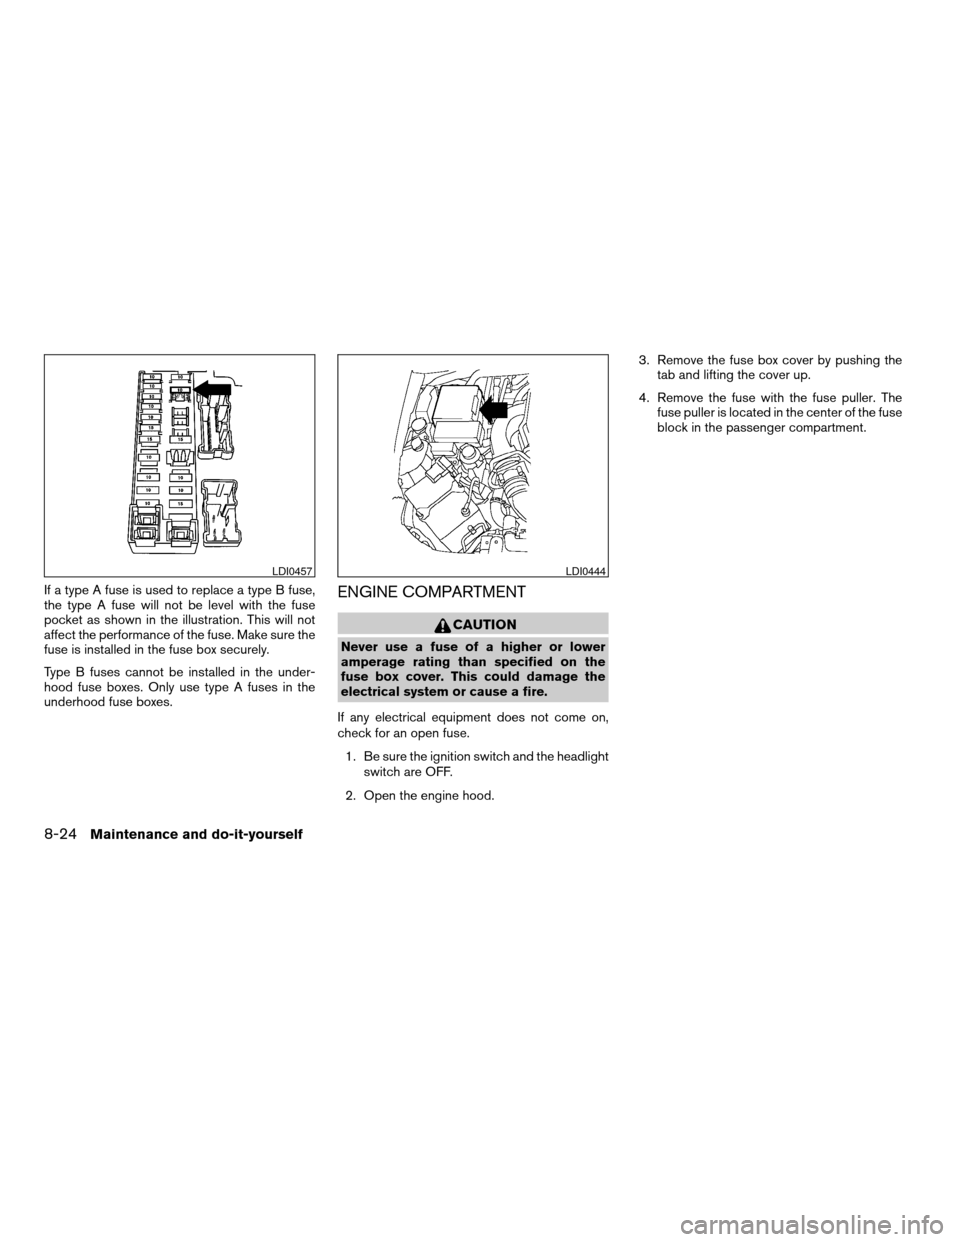
If a type A fuse is used to replace a type B fuse,
the type A fuse will not be level with the fuse
pocket as shown in the illustration. This will not
affect the performance of the fuse. Make sure the
fuse is installed in the fuse box securely.
Type B fuses cannot be installed in the under-
hood fuse boxes. Only use type A fuses in the
underhood fuse boxes.ENGINE COMPARTMENT
CAUTION
Never use a fuse of a higher or lower
amperage rating than specified on the
fuse box cover. This could damage the
electrical system or cause a fire.
If any electrical equipment does not come on,
check for an open fuse.
1. Be sure the ignition switch and the headlight
switch are OFF.
2. Open the engine hood.3. Remove the fuse box cover by pushing the
tab and lifting the cover up.
4. Remove the fuse with the fuse puller. The
fuse puller is located in the center of the fuse
block in the passenger compartment.
LDI0457LDI0444
8-24Maintenance and do-it-yourself
ZREVIEW COPYÐ2008 Pathfinder(pat)
Owners ManualÐUSA_English(nna)
03/23/07Ðdebbie
X