2008 NISSAN PATHFINDER instrument panel
[x] Cancel search: instrument panelPage 78 of 448

1. Ventilators (P. 4-35)
2. Headlight/fog light (if so equipped)/turn
signal switch (P. 2-27)
3. Steering wheel switch for audio control
(if so equipped) (P. 4-85)
4. Driver supplemental air bag/horn
(P. 1-40, P. 2-31)
5. Meters, gauges and warning/indicator
lights (P. 2-3, 2-12)
6. Cruise control main/set switches
(P. 5-18)
7. Windshield wiper/washer switch and
rear window wiper/washer switch
(P. 2-24, P. 2-25)
8. Navigation system* (if so equipped)
9. Navigation system* controls
(if so equipped)
10. Front passenger supplemental air bag
(P. 1-40)
11. Upper and lower glove box (P. 2-39)
12. Power outlet (P. 2-34)
13. Heated seat switch (if so equipped)
(P. 2-32)
14. Hill descent control switch
(if so equipped) (P. 2-33)
15. Shift selector lever (P. 5-12)
LIC1223
INSTRUMENT PANEL
2-2Instruments and controls
ZREVIEW COPYÐ2008 Pathfinder(pat)
Owners ManualÐUSA_English(nna)
03/23/07Ðdebbie
X
Page 103 of 448

HEADLIGHT CONTROL SWITCH
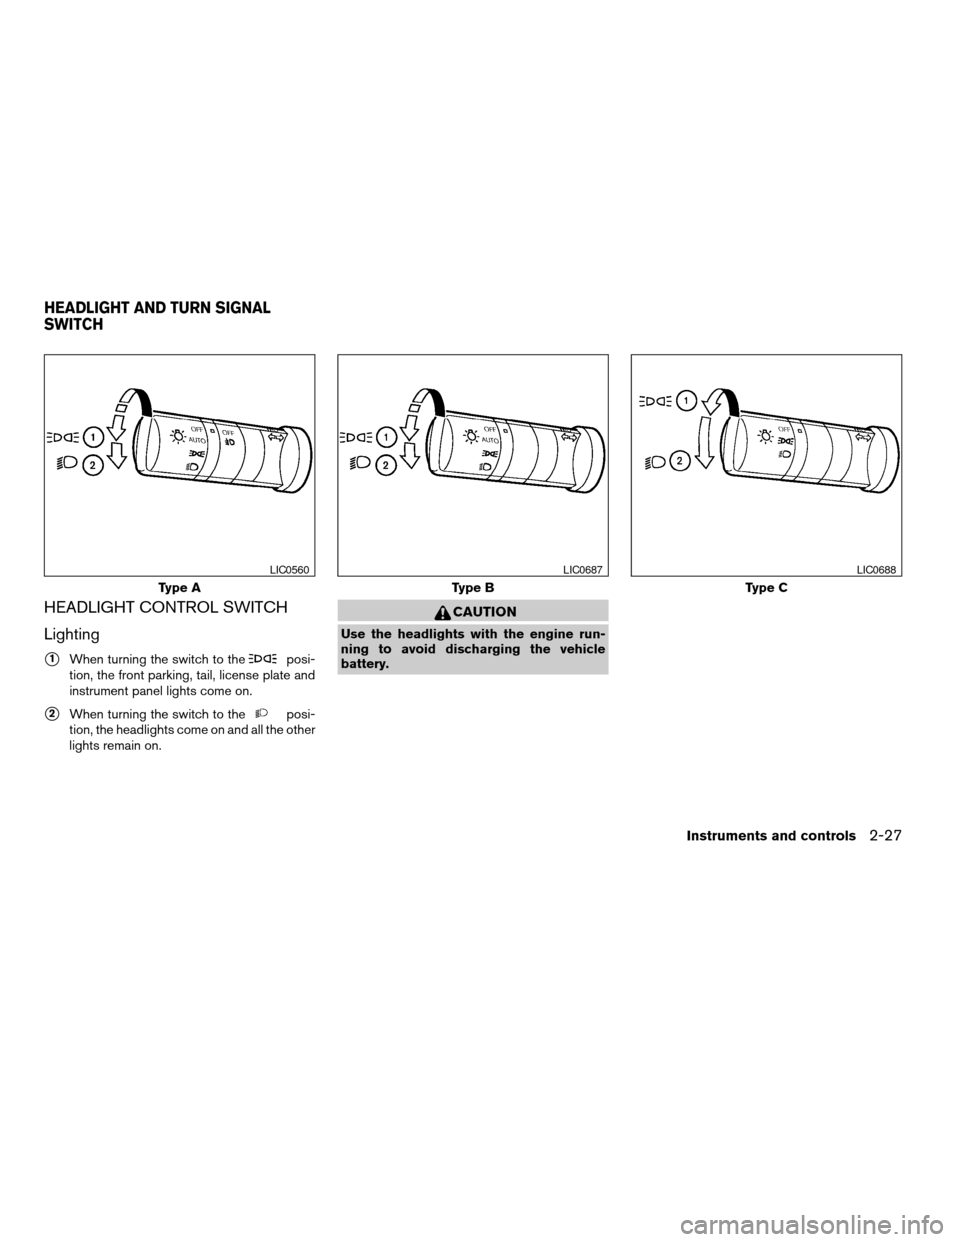
Lighting
s1When turning the switch to theposi-
tion, the front parking, tail, license plate and
instrument panel lights come on.
s2When turning the switch to theposi-
tion, the headlights come on and all the other
lights remain on.
CAUTION
Use the headlights with the engine run-
ning to avoid discharging the vehicle
battery.
Type A
LIC0560
Type B
LIC0687
Type C
LIC0688
HEADLIGHT AND TURN SIGNAL
SWITCH
Instruments and controls2-27
ZREVIEW COPYÐ2008 Pathfinder(pat)
Owners ManualÐUSA_English(nna)
03/23/07Ðdebbie
X
Page 104 of 448

Autolight system (if so equipped)
The autolight system allows the headlights to be
set so they turn on and off automatically. The
autolight system can:
cTurn on the headlights, front parking, tail,
license plate and instrument panel lights au-
tomatically when it is dark.
cTurn off all the lights when it is light.
cKeep all the lights on for 45 seconds after
you turn the key to OFF and all doors are
closed.To turn on the autolight system:
1. Turn the headlight switch to the AUTO posi-
tion
s1.
2. Turn the ignition key to ON.
3. The autolight system automatically turns the
headlights on and off.
Initially, if the ignition switch is turned OFF and a
door is opened and left open, the headlights
remain ON for 5 minutes. If another door is
opened during the 5 minutes, then the 5 minute
timer is reset.
To turn the autolight system off, turn the switch to
the OFF,
,orposition.
Be sure you do not put anything on top of
the autolight sensor
s1located on the top
side of the instrument panel. The autolight
sensor controls the autolight; if it is cov-
ered, the autolight sensor reacts as if it is
dark out and the headlights will illuminate.
If this occurs while parked with the engine
off and the key in the ON position, your
vehicle’s battery could become discharged.
LIC0561LIC0835
2-28Instruments and controls
ZREVIEW COPYÐ2008 Pathfinder(pat)
Owners ManualÐUSA_English(nna)
03/23/07Ðdebbie
X
Page 106 of 448

INSTRUMENT BRIGHTNESS
CONTROL
The instrument brightness control operates when
the headlight control switch is in
the
,or AUTO position (with auto-
lights activated) .
Turn the control
sAto adjust the brightness of
instrument panel lights when driving at night.
TURN SIGNAL SWITCH
Turn signal
s1Move the lever up or down to signal the
turning direction. When the turn is com-
pleted, the turn signals cancel automatically.
Lane change signal
s2To signal a lane change, move the lever up or
down to the point where the indicator light
begins to flash, but the lever does not latch.
FOG LIGHT SWITCH (if so equipped)
To turn the fog lights on, turn the headlight switch
to theposition, then turn the fog light
switch to theposition.
To turn the fog lights on with the headlight switch
in the AUTO position (if so equipped) , the head-
lights must be on, then turn the fog light switch to
the
position.
To turn the fog lights off, turn the fog light switch
to the OFF position.
The headlights must be on and the low beams
selected for the fog lights to operate. The fog
lights automatically turn off when the high beam
headlights are selected.
WIC0917LIC0563LIC0393
2-30Instruments and controls
ZREVIEW COPYÐ2008 Pathfinder(pat)
Owners ManualÐUSA_English(nna)
03/23/07Ðdebbie
X
Page 110 of 448

cThe hill descent control may not control
the vehicle speed on a hill under all load
or road conditions. Always be prepared
to depress the brake pedal to control
vehicle speed. Failure to do so may re-
sult in a collision or serious personal
injury.
CAUTION
When the hill descent control system op-
erates continuously for a long time, the
temperature of the brake pads may in-
crease and the hill descent control system
may be temporarily disabled (the indicator
light will blink) . If the indicator light does
not come on continuously after blinking,
stop using the system.
The hill descent control system is designed to
reduce driver workload when going down steep
hills. The hill descent control system helps to
control vehicle speed so the driver can concen-
trate on steering the vehicle.
To activate the hill descent control system:
cthe automatic transmission selector lever
must be in forward or reverse gear,
cthe 4WD switch must be in the 4L position
and the vehicle speed must be under 15
mph (25 km/h) orcthe 4WD switch must be in the 4H position
and the vehicle speed must be under 21
mph (35 km/h) , and
cthe hill descent control system switch must
be ON.
The hill descent control indicator light will come
on when the system is activated. Also, the
stop/tail lights illuminate while the hill descent
control system applies the brakes to control ve-
hicle speed.
If the accelerator or brake pedal is depressed
while the hill descent control system is on, the
system will stop operating temporarily. As soon
as the accelerator or brake pedal is released, the
hill descent control system begins to function
again if the hill descent control operating condi-
tions are fulfilled.
The hill descent control indicator light blinks if the
switch is on and all conditions for system activa-
tion are not met or if the system becomes disen-
gaged for any reason.
To turn off the hill descent control system, push
the switch to the OFF position.
For additional information, see “Hill descent con-
trol system on indicator light” earlier in this sec-
tion and “Hill descent control system” in the
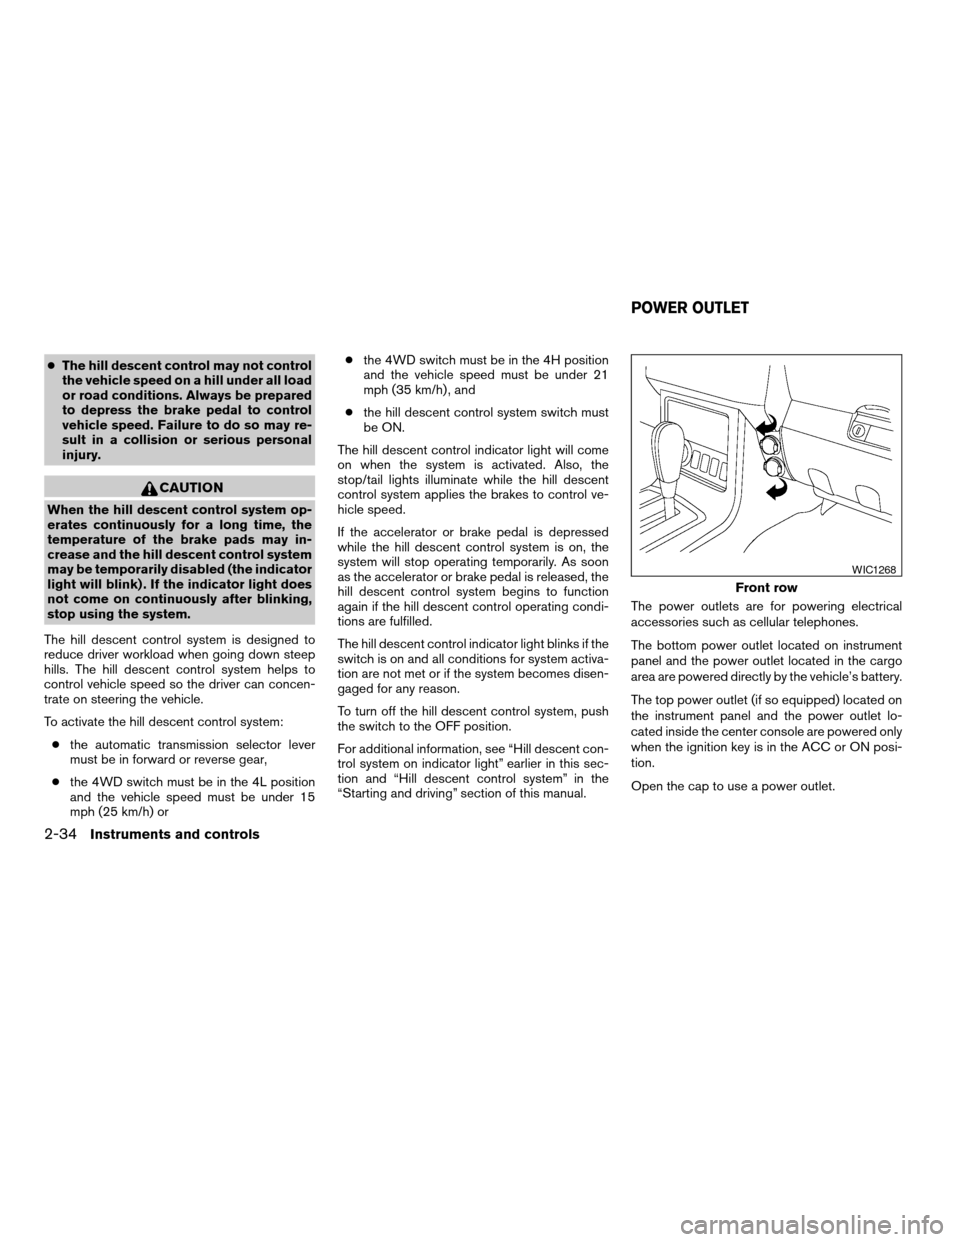
“Starting and driving” section of this manual.The power outlets are for powering electrical
accessories such as cellular telephones.
The bottom power outlet located on instrument
panel and the power outlet located in the cargo
area are powered directly by the vehicle’s battery.
The top power outlet (if so equipped) located on
the instrument panel and the power outlet lo-
cated inside the center console are powered only
when the ignition key is in the ACC or ON posi-
tion.
Open the cap to use a power outlet.
Front row
WIC1268
POWER OUTLET
2-34Instruments and controls
ZREVIEW COPYÐ2008 Pathfinder(pat)
Owners ManualÐUSA_English(nna)
03/23/07Ðdebbie
X
Page 124 of 448

1. Window lock button
2. Power door lock switch
3. Front passenger’s side automatic
switch
4. Right rear passenger window switch
5. Left rear passenger window switch
6. Driver’s side automatic switch
Driver’s side power window switch
The driver’s side control panel is equipped with
switches to open or close the front and rear
passenger windows.
To open a window, push the switch and hold it
down. To close a window, pull the switch and
hold it up. To stop the opening or closing function
at any time, simply release the switch.
Front passenger’s power window
switch
The passenger’s window switch operates only
the corresponding passenger’s window. To open
the window, push the switch and hold it down
s1.
To close the window, pull the switch up
s2.
WIC1124WIC1265
2-48Instruments and controls
ZREVIEW COPYÐ2008 Pathfinder(pat)
Owners ManualÐUSA_English(nna)
03/23/07Ðdebbie
X
Page 144 of 448

NOTE:
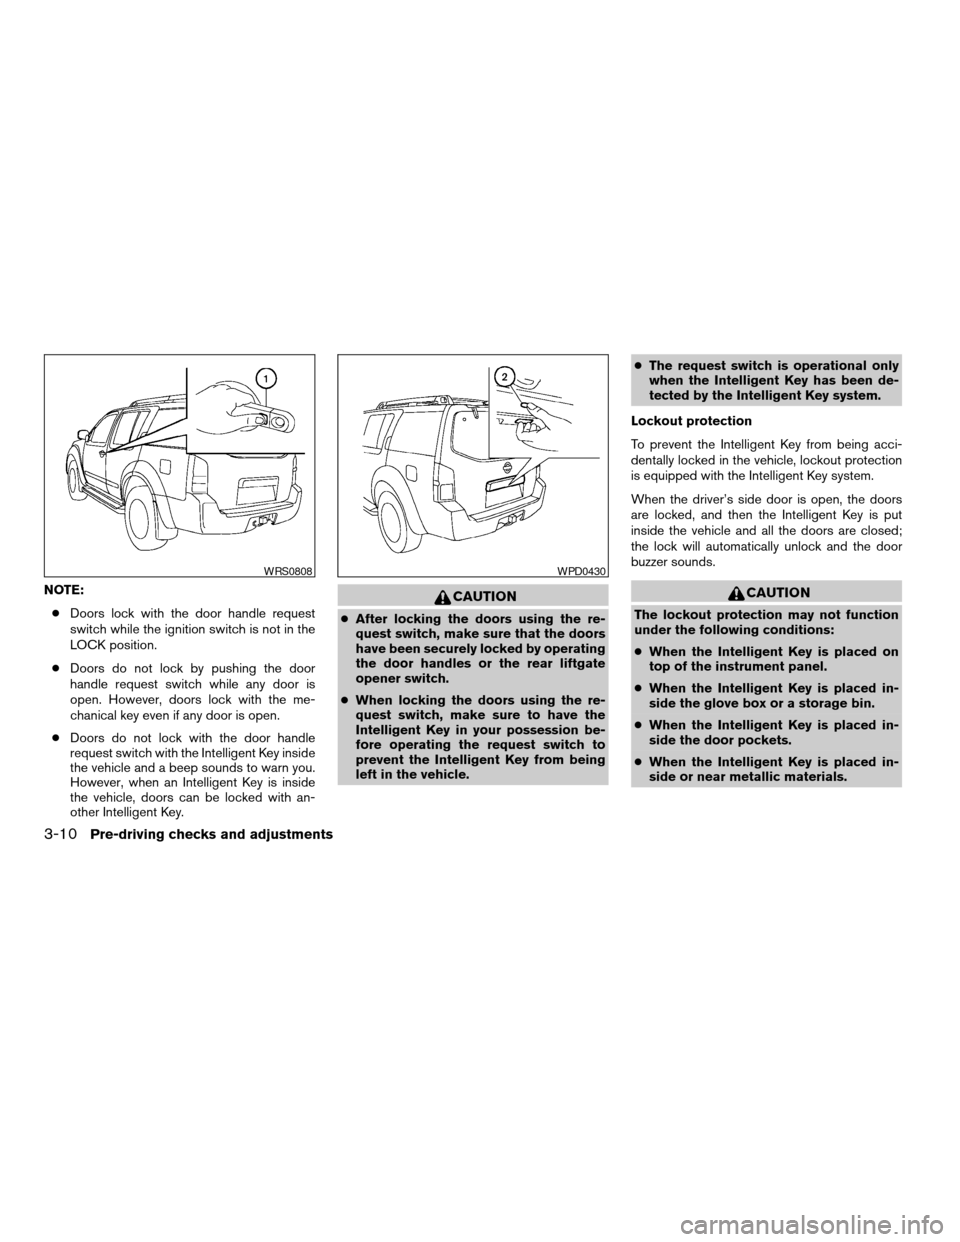
cDoors lock with the door handle request
switch while the ignition switch is not in the
LOCK position.
cDoors do not lock by pushing the door
handle request switch while any door is
open. However, doors lock with the me-
chanical key even if any door is open.
cDoors do not lock with the door handle
request switch with the Intelligent Key inside
the vehicle and a beep sounds to warn you.
However, when an Intelligent Key is inside
the vehicle, doors can be locked with an-
other Intelligent Key.CAUTION
cAfter locking the doors using the re-
quest switch, make sure that the doors
have been securely locked by operating
the door handles or the rear liftgate
opener switch.
cWhen locking the doors using the re-
quest switch, make sure to have the
Intelligent Key in your possession be-
fore operating the request switch to
prevent the Intelligent Key from being
left in the vehicle.cThe request switch is operational only
when the Intelligent Key has been de-
tected by the Intelligent Key system.
Lockout protection
To prevent the Intelligent Key from being acci-
dentally locked in the vehicle, lockout protection
is equipped with the Intelligent Key system.
When the driver’s side door is open, the doors
are locked, and then the Intelligent Key is put
inside the vehicle and all the doors are closed;
the lock will automatically unlock and the door
buzzer sounds.
CAUTION
The lockout protection may not function
under the following conditions:
cWhen the Intelligent Key is placed on
top of the instrument panel.
cWhen the Intelligent Key is placed in-
side the glove box or a storage bin.
cWhen the Intelligent Key is placed in-
side the door pockets.
cWhen the Intelligent Key is placed in-
side or near metallic materials.
WRS0808WPD0430
3-10Pre-driving checks and adjustments
ZREVIEW COPYÐ2008 Pathfinder(pat)
Owners ManualÐUSA_English(nna)
03/23/07Ðdebbie
X
Page 148 of 448

Using the panic alarm
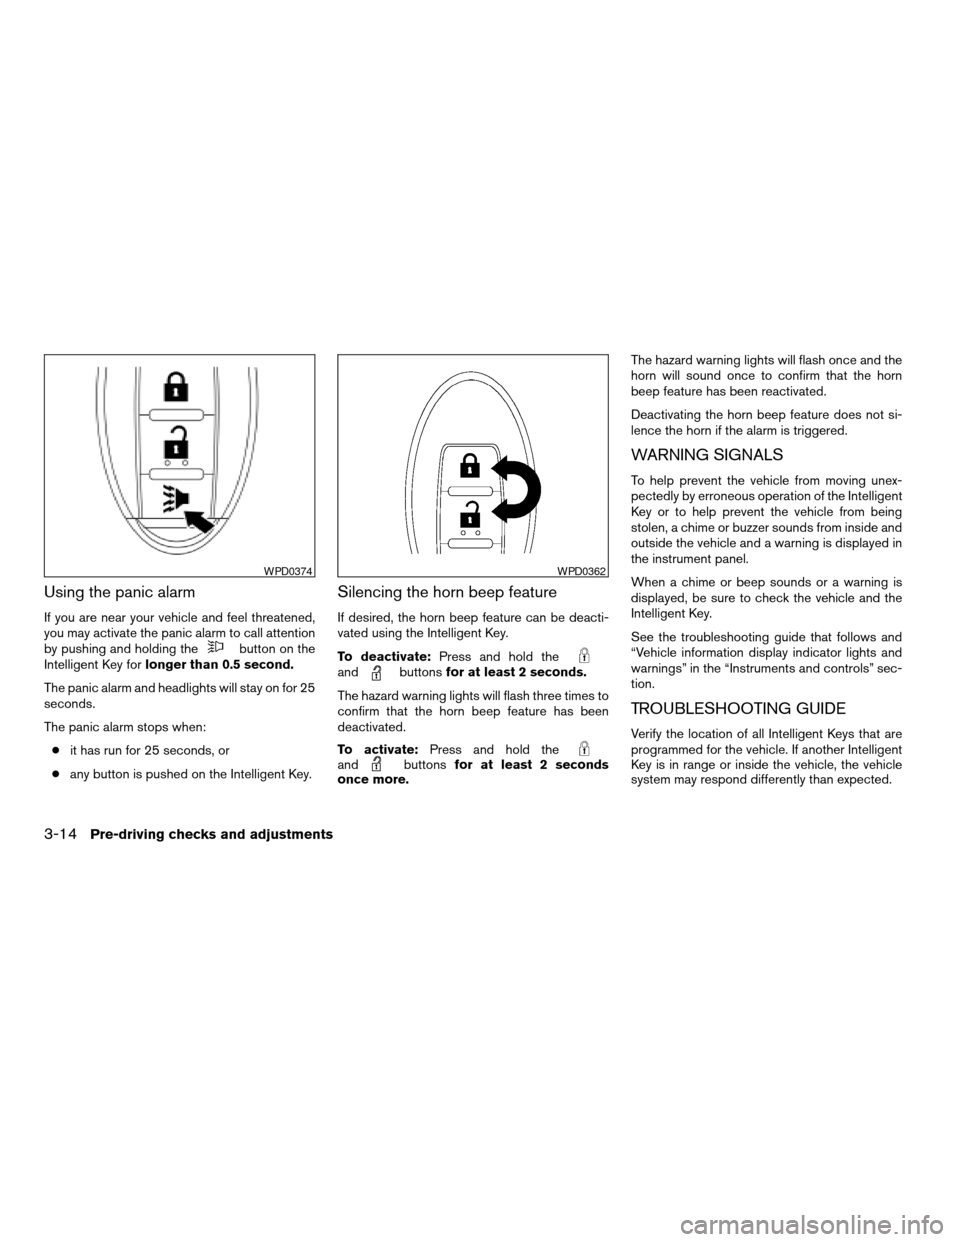
If you are near your vehicle and feel threatened,
you may activate the panic alarm to call attention
by pushing and holding the
button on the
Intelligent Key forlonger than 0.5 second.
The panic alarm and headlights will stay on for 25
seconds.
The panic alarm stops when:
cit has run for 25 seconds, or
cany button is pushed on the Intelligent Key.
Silencing the horn beep feature
If desired, the horn beep feature can be deacti-
vated using the Intelligent Key.
To deactivate:Press and hold the
andbuttonsfor at least 2 seconds.
The hazard warning lights will flash three times to
confirm that the horn beep feature has been
deactivated.
To activate:Press and hold the
andbuttonsfor at least 2 seconds
once more.The hazard warning lights will flash once and the
horn will sound once to confirm that the horn
beep feature has been reactivated.
Deactivating the horn beep feature does not si-
lence the horn if the alarm is triggered.
WARNING SIGNALS
To help prevent the vehicle from moving unex-
pectedly by erroneous operation of the Intelligent
Key or to help prevent the vehicle from being
stolen, a chime or buzzer sounds from inside and
outside the vehicle and a warning is displayed in
the instrument panel.
When a chime or beep sounds or a warning is
displayed, be sure to check the vehicle and the
Intelligent Key.
See the troubleshooting guide that follows and
“Vehicle information display indicator lights and
warnings” in the “Instruments and controls” sec-
tion.
TROUBLESHOOTING GUIDE
Verify the location of all Intelligent Keys that are
programmed for the vehicle. If another Intelligent
Key is in range or inside the vehicle, the vehicle
system may respond differently than expected.
WPD0374WPD0362
3-14Pre-driving checks and adjustments
ZREVIEW COPYÐ2008 Pathfinder(pat)
Owners ManualÐUSA_English(nna)
03/23/07Ðdebbie
X