2008 NISSAN MURANO Phone
[x] Cancel search: PhonePage 127 of 444

Black plate (123,1)
Model "Z51-D" EDITED: 2008/ 6/ 26
— remain on for about 15 seconds.
.doors are unlocked by pushing the UN-
LOCK button on the Intelligent Key or door
handle request switch with the ignition
switch in the LOCK position
— remain on for about 15 seconds.
.any door is opened and then closed with the
ignition switch in the LOCK position
— remain on for about 15 seconds.
.any door is opened with the ignition switch
in the ACC or ON position
— remain on while the door is opened.
When the door is closed, the lights go off.
The lights will also turn off after 30
minutes when the lights remain illumi-
nated after the ignition switch has been
pushed to the OFF or LOCK position to
prevent the battery from becoming dis-
charged.
When the auto interior illumination is set to the
OFF position (see “VEHICLE INFORMATION
AND SETTINGS” in the “4. Monitor, heater, air
conditioner, audio, phone and voice recognition
systems” section) , the lights will illuminate under
the following condition:
.any door is opened with the ignition switch
in any position— remain on while the door is opened.
When the door is closed, the lights go off.
OFF positionWhen the switch is in the OFF position
*3, the
lights will not illuminate, regardless of the
condition.
CAUTION
Do not use for extended periods of time
with the engine stopped. This could
result in a discharged battery.
SIC3599
Map lights
SIC3600
Ceiling
MOOD LIGHTS
Instruments and controls
2-55
Page 131 of 444
Black plate (127,1)
Model "Z51-D" EDITED: 2008/ 6/ 26
Push and release the HomeLink
®button up
to three times to complete the training.
8. Your HomeLink
®button should now be
programmed. To program the remaining
HomeLink
®buttons for additional door or
gate openers, follow steps 2 through 8 only.
NOTE:
Do not repeat step 1 unless you want to
“clear” all previously programmed Home-
Link
®buttons.
If you have any questions or are having difficulty
programming your HomeLink
®buttons, please
refer to the HomeLink
®web site at: www.
homelink.com or call 1-800-355-3515.
PROGRAMMING HomeLink
®FOR CA-
NADIAN CUSTOMERS
Prior to 1992, D.O.C. regulations required
hand-held transmitters to stop transmitting after
2 seconds. To program your hand-held trans-
mitter to HomeLink
®, continue to push and hold
the HomeLink
®button (note steps 2 through 4
under “Programming HomeLink
®”) while you
push and re-push (“cycle”) your hand-held
transmitter every 2 seconds until the indicator
light flashes rapidly (indicating successful pro-
gramming) .
NOTE:
If programming a garage door opener, etc.,it is advised to unplug the device during
the “cycling” process to prevent possible
damage to the garage door opener com-
ponents.
OPERATING THE HomeLink
®UNIVER-
SAL TRANSCEIVER
HomeLink
®Universal Transceiver (once pro-
grammed) may now be used to activate the
garage door, etc. To operate, simply push the
appropriate programmed HomeLink
®Universal
Transceiver button. The red indicator light will
illuminate while the signal is being transmitted.
PROGRAMMING TROUBLE-DIAGNO-
SISIf HomeLink
®does not quickly learn the hand-
held transmitter information:
.replace the hand-held transmitter batteries
with new batteries.
.position the hand-held transmitter with its
battery area facing away from the Home-
Link
®surface.
.push and hold both the HomeLink
®and
hand-held transmitter buttons without inter-
ruption.
.position the hand-held transmitter 2 to 5 in
(50 to 127 mm) away from the HomeLink®
surface. Hold the transmitter in that positionfor up to 15 seconds. If HomeLink
®is not
programmed within that time, try holding the
transmitter in another position - keeping the
indicator light in view at all times.
If you continue to have programming difficulties,
please contact the NISSAN Consumer Affairs
Department. The phone numbers are located in
the Foreword of this Owner’s Manual.
CLEARING THE PROGRAMMED IN-
FORMATIONIndividual buttons cannot be cleared, however to
clear all programming, push and hold the two
outside buttons and release when the indicator
light begins to flash (in approximately 20
seconds) .REPROGRAMMING A SINGLE Home-
Link
®BUTTON
To reprogram a HomeLink
®Universal Transcei-
ver button, complete the following.
1. PushandholdthedesiredHomeLink
®
button.Do notrelease the button until step
4 has been completed.
2. When the indicator light begins to flash
slowly (after 20 seconds) , position the
hand-held transmitter 2 to 5 in (50 to 127
mm) away from the HomeLink
®surface.
3. Push and hold the hand-held transmitter
Instruments and controls
2-59
Page 137 of 444
Black plate (135,1)
Model "Z51-D" EDITED: 2008/ 6/ 26
SPA2432
LOCKING WITH MECHANICAL KEYThe power door lock system allows you to lock
or unlock all doors simultaneously using the
mechanical key.
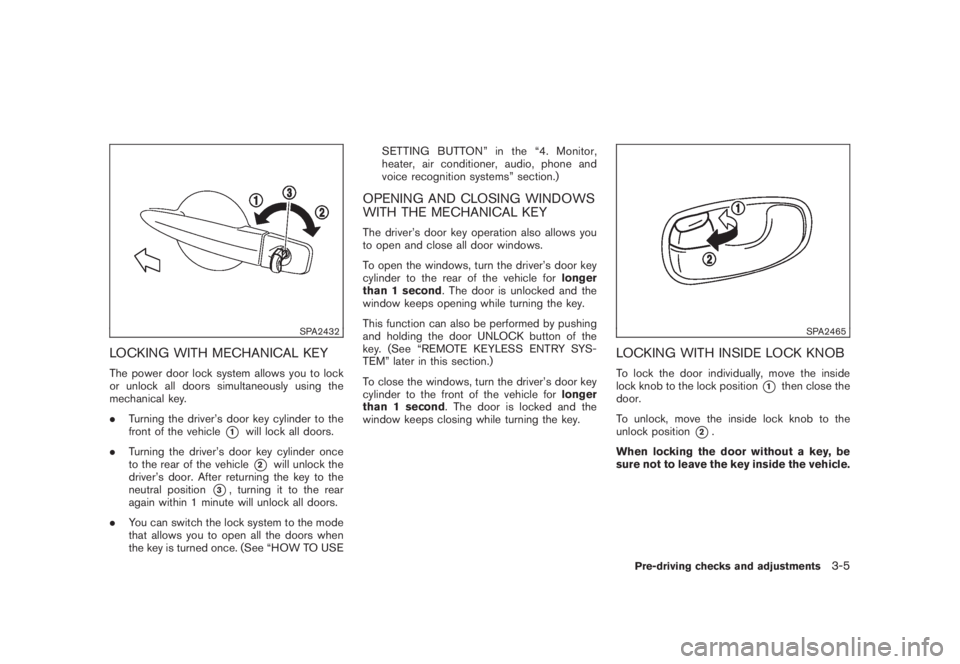
.Turning the driver’s door key cylinder to the
front of the vehicle
*1
will lock all doors.
.Turning the driver’s door key cylinder once
to the rear of the vehicle*2
will unlock the
driver’s door. After returning the key to the
neutral position
*3, turning it to the rear
again within 1 minute will unlock all doors.
.You can switch the lock system to the mode
that allows you to open all the doors when
the key is turned once. (See “HOW TO USESETTING BUTTON” in the “4. Monitor,
heater, air conditioner, audio, phone and
voice recognition systems” section.)
OPENING AND CLOSING WINDOWS
WITH THE MECHANICAL KEYThe driver’s door key operation also allows you
to open and close all door windows.
To open the windows, turn the driver’s door key
cylinder to the rear of the vehicle forlonger
than 1 second. The door is unlocked and the
window keeps opening while turning the key.
This function can also be performed by pushing
and holding the door UNLOCK button of the
key. (See “REMOTE KEYLESS ENTRY SYS-
TEM” later in this section.)
To close the windows, turn the driver’s door key
cylinder to the front of the vehicle forlonger
than 1 second. The door is locked and the
window keeps closing while turning the key.
SPA2465
LOCKING WITH INSIDE LOCK KNOBTo lock the door individually, move the inside
lock knob to the lock position
*1
then close the
door.
To unlock, move the inside lock knob to the
unlock position
*2.
When locking the door without a key, be
sure not to leave the key inside the vehicle.
Pre-driving checks and adjustments
3-5
Page 139 of 444

Black plate (137,1)
Model "Z51-D" EDITED: 2008/ 6/ 26
SPA2433
CHILD SAFETY REAR DOOR LOCKThe child safety rear door lock helps prevent
doors from being opened accidentally, espe-
cially when small children are in the vehicle.
When the levers are in the lock position*1, the rear doors can be opened only
from the outside.
To disengage, move the levers to the unlock
position
*2.
WARNING
.Radio waves could adversely affect
electric medical equipment. Those
who use a pacemaker should con-
tact the electric medical equipment
manufacturer for the possible influ-
ences before use.
.The Intelligent Key transmits radio
waves when the buttons are
pushed. The FAA advises that radio
waves may affect aircraft navigation
and communication systems. Do not
operate the Intelligent Key while on
an airplane. Make sure the buttons
are not operated unintentionally
when the unit is stored for a flight.
The Intelligent Key system can operate all the
door locks using the remote controller function
or pushing the request switch on the vehicle
without taking the key out from a pocket or
purse. The operating environment and/or condi-
tions may affect the Intelligent Key system
operation.
Be sure to read the following before using the
Intelligent Key system.
CAUTION
.Be sure to carry the Intelligent Key
with you when operating the vehi-
cle.
.Never leave the Intelligent Key in
the vehicle when you leave the
vehicle.
The Intelligent Key is always communicating with
the vehicle as it receives radio waves. The
Intelligent Key system transmits weak radio
waves. Environmental conditions may interfere
with the operation of the Intelligent Key system
under the following operating conditions.
.When operating near a location where
strong radio waves are transmitted, such
as a TV tower, power station and broad-
casting station.
.When in possession of wireless equipment,
such as a cellular telephone, transceiver,
and CB radio.
.When the Intelligent Key is in contact with or
covered by metallic materials.
.When any type of radio wave remote control
is used nearby.
.When the Intelligent Key is placed near an
electric appliance such as a personal
INTELLIGENT KEY SYSTEM (if so
equipped)
Pre-driving checks and adjustments
3-7
Page 142 of 444
Black plate (140,1)
Model "Z51-D" EDITED: 2008/ 6/ 26
.Do not pull the door handle before pushing
the door handle request switch. The door
will be unlocked but will not open. Release
the door handle once and pull it again to
open the door.
.The Intelligent Key system (opening/closing
doors with the door handle request switch)
can be set to remain inactive. (See “VEHI-
CLE INFORMATION AND SETTINGS” in
the “4. Monitor, heater, air conditioner,
audio, phone and voice recognition sys-
tems” section.)
SPA2408
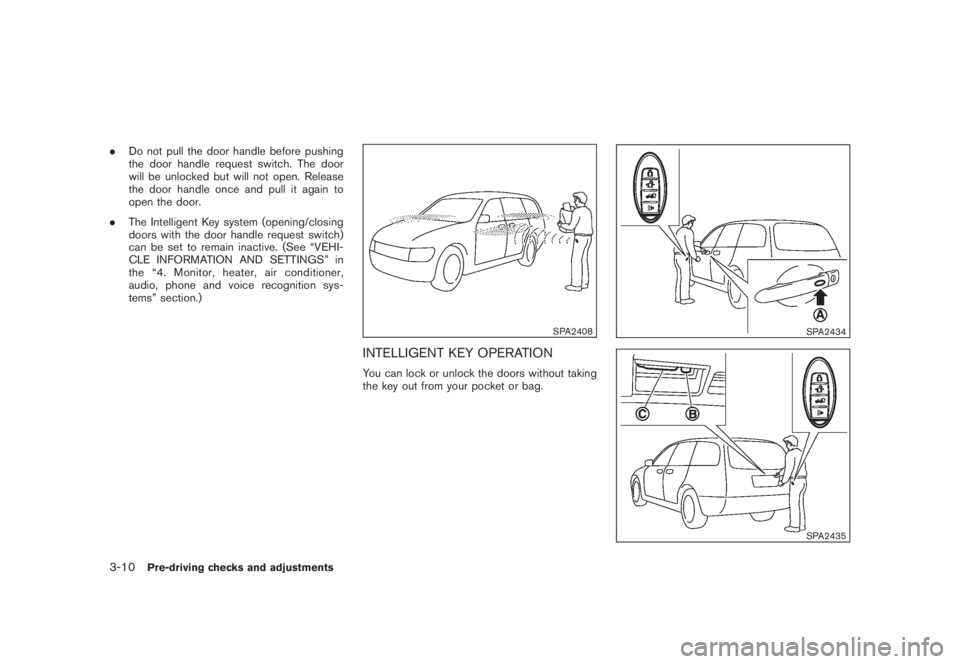
INTELLIGENT KEY OPERATIONYou can lock or unlock the doors without taking
the key out from your pocket or bag.
SPA2434SPA2435
3-10
Pre-driving checks and adjustments
Page 162 of 444
Black plate (160,1)
Model "Z51-D" EDITED: 2008/ 6/ 26
SIC2064
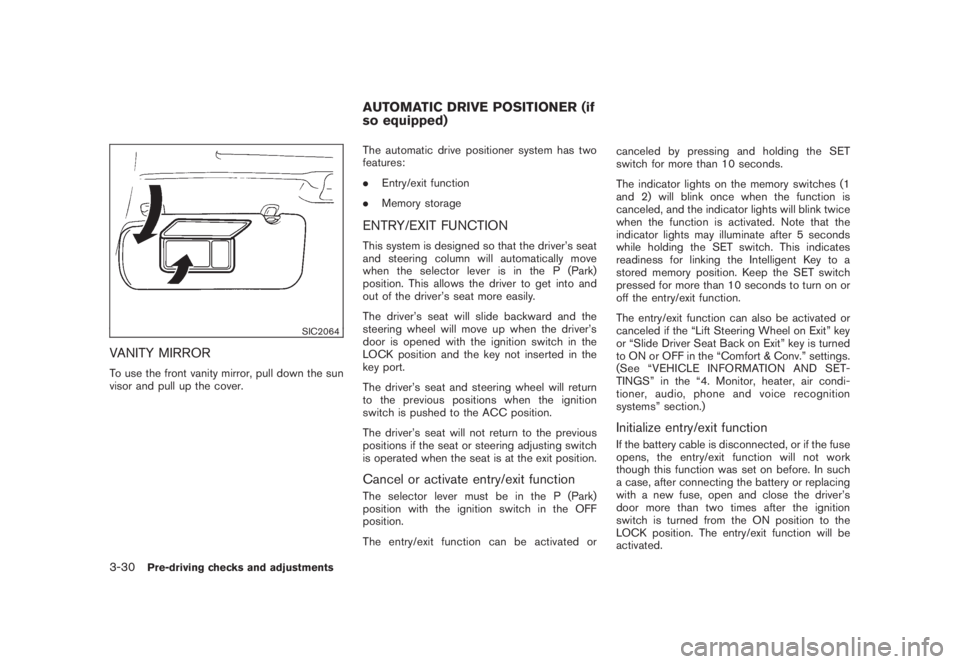
VANITY MIRRORTo use the front vanity mirror, pull down the sun
visor and pull up the cover.The automatic drive positioner system has two
features:
.Entry/exit function
.Memory storage
ENTRY/EXIT FUNCTIONThis system is designed so that the driver’s seat
and steering column will automatically move
when the selector lever is in the P (Park)
position. This allows the driver to get into and
out of the driver’s seat more easily.
The driver’s seat will slide backward and the
steering wheel will move up when the driver’s
door is opened with the ignition switch in the
LOCK position and the key not inserted in the
key port.
The driver’s seat and steering wheel will return
to the previous positions when the ignition
switch is pushed to the ACC position.
The driver’s seat will not return to the previous
positions if the seat or steering adjusting switch
is operated when the seat is at the exit position.Cancel or activate entry/exit functionThe selector lever must be in the P (Park)
position with the ignition switch in the OFF
position.
The entry/exit function can be activated orcanceled by pressing and holding the SET
switch for more than 10 seconds.
The indicator lights on the memory switches (1
and 2) will blink once when the function is
canceled, and the indicator lights will blink twice
when the function is activated. Note that the
indicator lights may illuminate after 5 seconds
while holding the SET switch. This indicates
readiness for linking the Intelligent Key to a
stored memory position. Keep the SET switch
pressed for more than 10 seconds to turn on or
off the entry/exit function.
The entry/exit function can also be activated or
canceled if the “Lift Steering Wheel on Exit” key
or “Slide Driver Seat Back on Exit” key is turned
to ON or OFF in the “Comfort & Conv.” settings.
(See “VEHICLE INFORMATION AND SET-
TINGS” in the “4. Monitor, heater, air condi-
tioner, audio, phone and voice recognition
systems” section.)
Initialize entry/exit functionIf the battery cable is disconnected, or if the fuse
opens, the entry/exit function will not work
though this function was set on before. In such
a case, after connecting the battery or replacing
with a new fuse, open and close the driver’s
door more than two times after the ignition
switch is turned from the ON position to the
LOCK position. The entry/exit function will be
activated.
AUTOMATIC DRIVE POSITIONER (if
so equipped)
3-30
Pre-driving checks and adjustments
Page 165 of 444
Black plate (13,1)
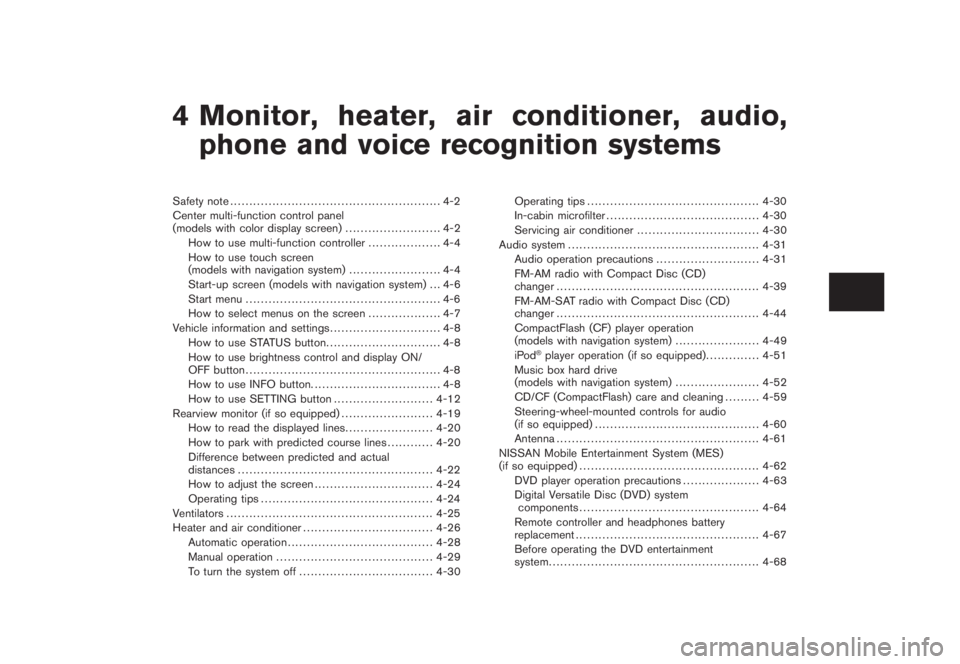
4 Monitor, heater, air conditioner, audio,
phone and voice recognition systems
Model "Z51-D" EDITED: 2008/ 6/ 23
Safety note....................................................... 4-2
Center multi-function control panel
(models with color display screen)......................... 4-2
How to use multi-function controller................... 4-4
How to use touch screen
(models with navigation system)........................ 4-4
Start-up screen (models with navigation system) . . . 4-6
Start menu................................................... 4-6
How to select menus on the screen................... 4-7
Vehicle information and settings............................. 4-8
How to use STATUS button.............................. 4-8
How to use brightness control and display ON/
OFF button................................................... 4-8
How to use INFO button.................................. 4-8
How to use SETTING button.......................... 4-12
Rearview monitor (if so equipped)........................ 4-19
How to read the displayed lines....................... 4-20
How to park with predicted course lines............ 4-20
Difference between predicted and actual
distances................................................... 4-22
How to adjust the screen............................... 4-24
Operating tips............................................. 4-24
Ventilators...................................................... 4-25
Heater and air conditioner.................................. 4-26
Automatic operation...................................... 4-28
Manual operation......................................... 4-29
To turn the system off................................... 4-30Operating tips............................................. 4-30
In-cabin microfilter........................................ 4-30
Servicing air conditioner................................ 4-30
Audio system.................................................. 4-31
Audio operation precautions........................... 4-31
FM-AM radio with Compact Disc (CD)
changer..................................................... 4-39
FM-AM-SAT radio with Compact Disc (CD)
changer..................................................... 4-44
CompactFlash (CF) player operation
(models with navigation system)...................... 4-49
iPod
®player operation (if so equipped).............. 4-51
Music box hard drive
(models with navigation system)...................... 4-52
CD/CF (CompactFlash) care and cleaning......... 4-59
Steering-wheel-mounted controls for audio
(if so equipped)........................................... 4-60
Antenna..................................................... 4-61
NISSAN Mobile Entertainment System (MES)
(if so equipped)............................................... 4-62
DVD player operation precautions.................... 4-63
Digital Versatile Disc (DVD) system
components............................................... 4-64
Remote controller and headphones battery
replacement................................................ 4-67
Before operating the DVD entertainment
system....................................................... 4-68
Page 166 of 444
Black plate (14,1)
Model "Z51-D" EDITED: 2008/ 6/ 23
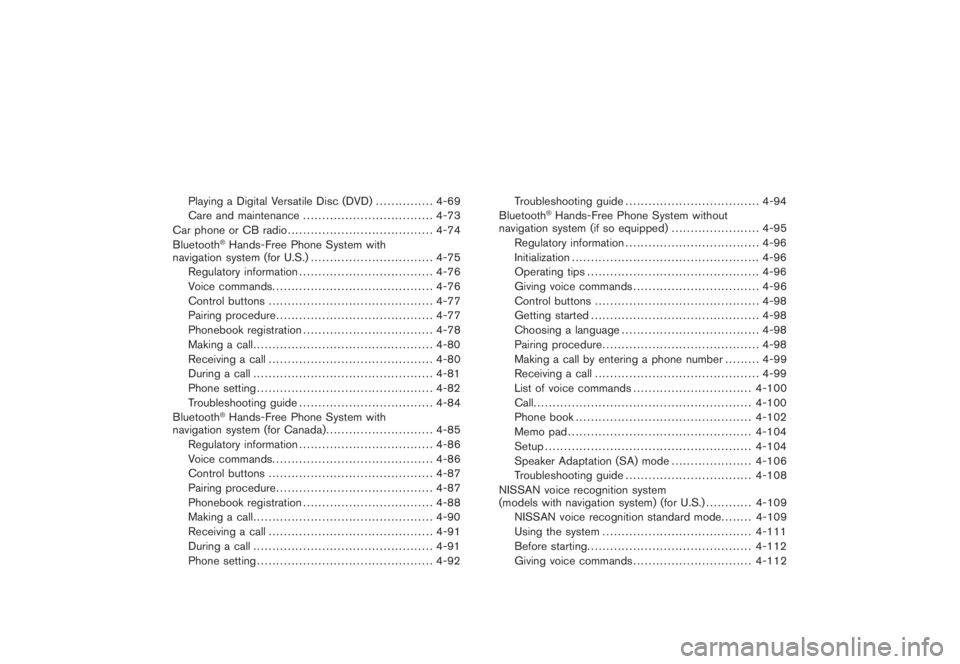
Playing a Digital Versatile Disc (DVD)............... 4-69
Care and maintenance.................................. 4-73
Car phone or CB radio...................................... 4-74
Bluetooth
®Hands-Free Phone System with
navigation system (for U.S.)................................ 4-75
Regulatory information................................... 4-76
Voice commands.......................................... 4-76
Control buttons........................................... 4-77
Pairing procedure......................................... 4-77
Phonebook registration.................................. 4-78
Making a call............................................... 4-80
Receiving a call........................................... 4-80
During a call............................................... 4-81
Phone setting.............................................. 4-82
Troubleshooting guide................................... 4-84
Bluetooth®Hands-Free Phone System with
navigation system (for Canada)............................ 4-85
Regulatory information................................... 4-86
Voice commands.......................................... 4-86
Control buttons........................................... 4-87
Pairing procedure......................................... 4-87
Phonebook registration.................................. 4-88
Making a call............................................... 4-90
Receiving a call........................................... 4-91
During a call............................................... 4-91
Phone setting.............................................. 4-92Troubleshooting guide................................... 4-94
Bluetooth
®Hands-Free Phone System without
navigation system (if so equipped)....................... 4-95
Regulatory information................................... 4-96
Initialization................................................. 4-96
Operating tips............................................. 4-96
Giving voice commands................................. 4-96
Control buttons........................................... 4-98
Getting started............................................ 4-98
Choosing a language.................................... 4-98
Pairing procedure......................................... 4-98
Making a call by entering a phone number......... 4-99
Receiving a call........................................... 4-99
List of voice commands............................... 4-100
Call......................................................... 4-100
Phone book.............................................. 4-102
Memo pad................................................ 4-104
Setup...................................................... 4-104
Speaker Adaptation (SA) mode..................... 4-106
Troubleshooting guide................................. 4-108
NISSAN voice recognition system
(models with navigation system) (for U.S.)............ 4-109
NISSAN voice recognition standard mode........ 4-109
Using the system....................................... 4-111
Before starting........................................... 4-112
Giving voice commands............................... 4-112