2008 NISSAN FRONTIER light
[x] Cancel search: lightPage 118 of 352
cthe 4WD switch must be in the 4H position
and the vehicle speed must be under 21
mph (35 km/h) , and
cthe hill descent control system switch must
be ON.
The hill descent control indicator light will come
on when the system is activated. Also, the
stop/tail lights illuminate while the hill descent
control system applies the brakes to control ve-
hicle speed.
If the accelerator or brake pedal is depressed
while the hill descent control system is on, the
system will stop operating temporarily. As soon
as the accelerator or brake pedal is released, the
hill descent control system begins to function
again if the hill descent control operating condi-
tions are fulfilled.
The hill descent control indicator light blinks if the
switch is on and all conditions for system activa-
tion are not met or if the system becomes disen-
gaged for any reason.
To turn off the hill descent control system, push
the switch to the OFF position.
For additional information, see “Hill descent con-
trol system on indicator light” earlier in this sec-
tion and “Hill descent control system” in the
“Starting and driving” section of this manual.The Electronic Locking Rear Differential (E-Lock)
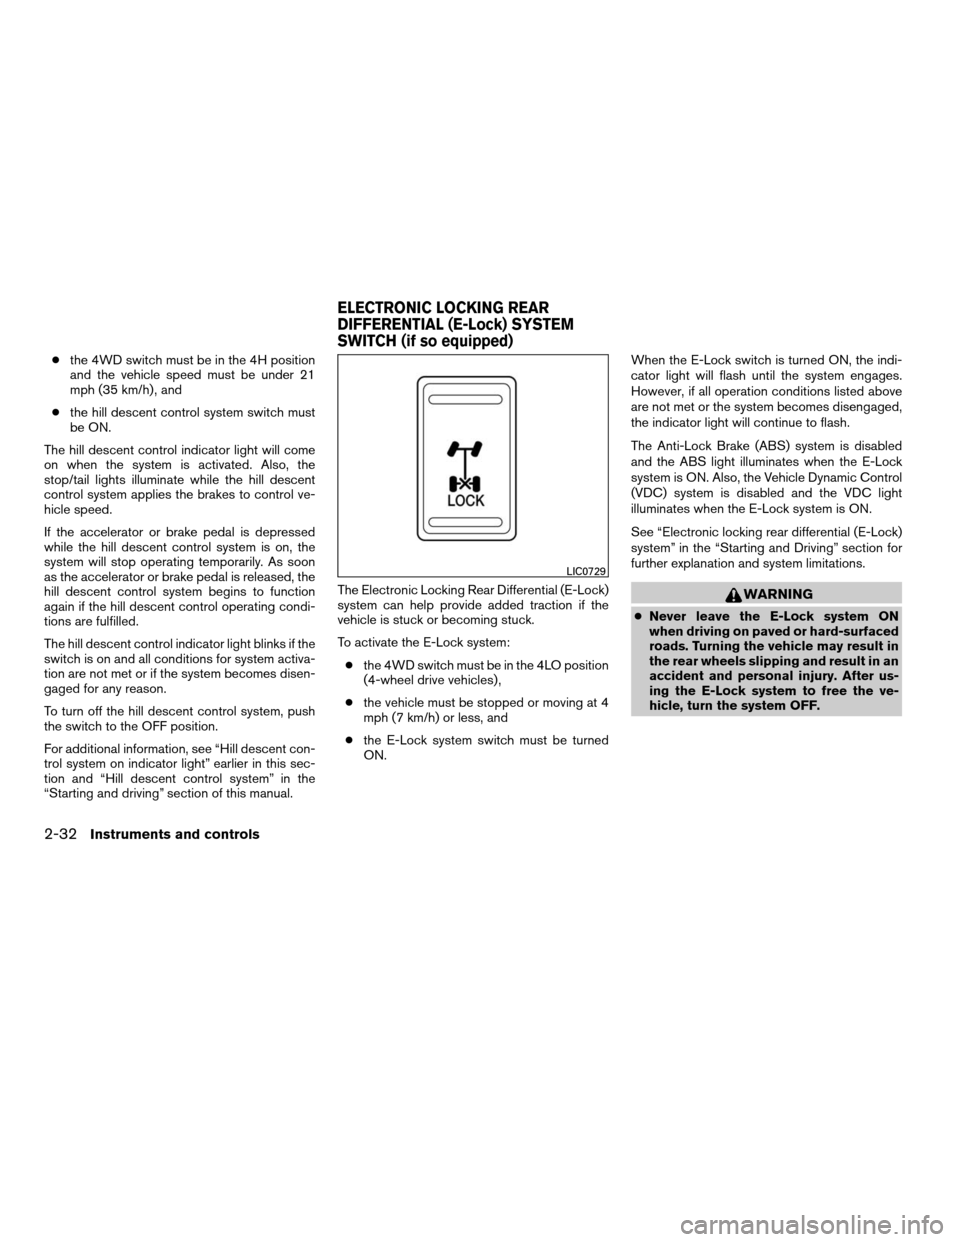
system can help provide added traction if the
vehicle is stuck or becoming stuck.
To activate the E-Lock system:
cthe 4WD switch must be in the 4LO position
(4-wheel drive vehicles) ,
cthe vehicle must be stopped or moving at 4
mph (7 km/h) or less, and
cthe E-Lock system switch must be turned
ON.When the E-Lock switch is turned ON, the indi-
cator light will flash until the system engages.
However, if all operation conditions listed above
are not met or the system becomes disengaged,
the indicator light will continue to flash.
The Anti-Lock Brake (ABS) system is disabled
and the ABS light illuminates when the E-Lock
system is ON. Also, the Vehicle Dynamic Control
(VDC) system is disabled and the VDC light
illuminates when the E-Lock system is ON.
See “Electronic locking rear differential (E-Lock)
system” in the “Starting and Driving” section for
further explanation and system limitations.
WARNING
cNever leave the E-Lock system ON
when driving on paved or hard-surfaced
roads. Turning the vehicle may result in
the rear wheels slipping and result in an
accident and personal injury. After us-
ing the E-Lock system to free the ve-
hicle, turn the system OFF.
LIC0729
ELECTRONIC LOCKING REAR
DIFFERENTIAL (E-Lock) SYSTEM
SWITCH (if so equipped)
2-32Instruments and controls
ZREVIEW COPYÐ2008 08+ Truck/Frontier(fro)
Owners ManualÐUSA_English(nna)
06/30/07Ðdebbie
X
Page 119 of 352
cUse the E-Lock system only when free-
ing a stuck vehicle. Try the 4LO position
before using the E-Lock system. Never
use the E-Lock system on a slippery
road surface such as snow or ice sur-
face. Using the E-Lock system when
driving in these road conditions may
cause unexpected movement of the ve-
hicle during engine braking, accelerat-
ing or turning, which may result in an
accident and serious personal injury.
CAUTION
cAfter using the E-Lock system, turn the
switch OFF to prevent possible damage
to driveline components from extended
use.
cDo not drive over 12 MPH (20 km/h)
when the system is engaged. Doing so
could result in possible damage to the
driveline.
cDo not turn on the E-lock system while
the tires are spinning. Doing so could
damage drivetrain components.
WARNING
Pay special attention to your surround-
ings when using the clutch interlock
switch. The vehicle will move forward or
backward according to the gear selected.
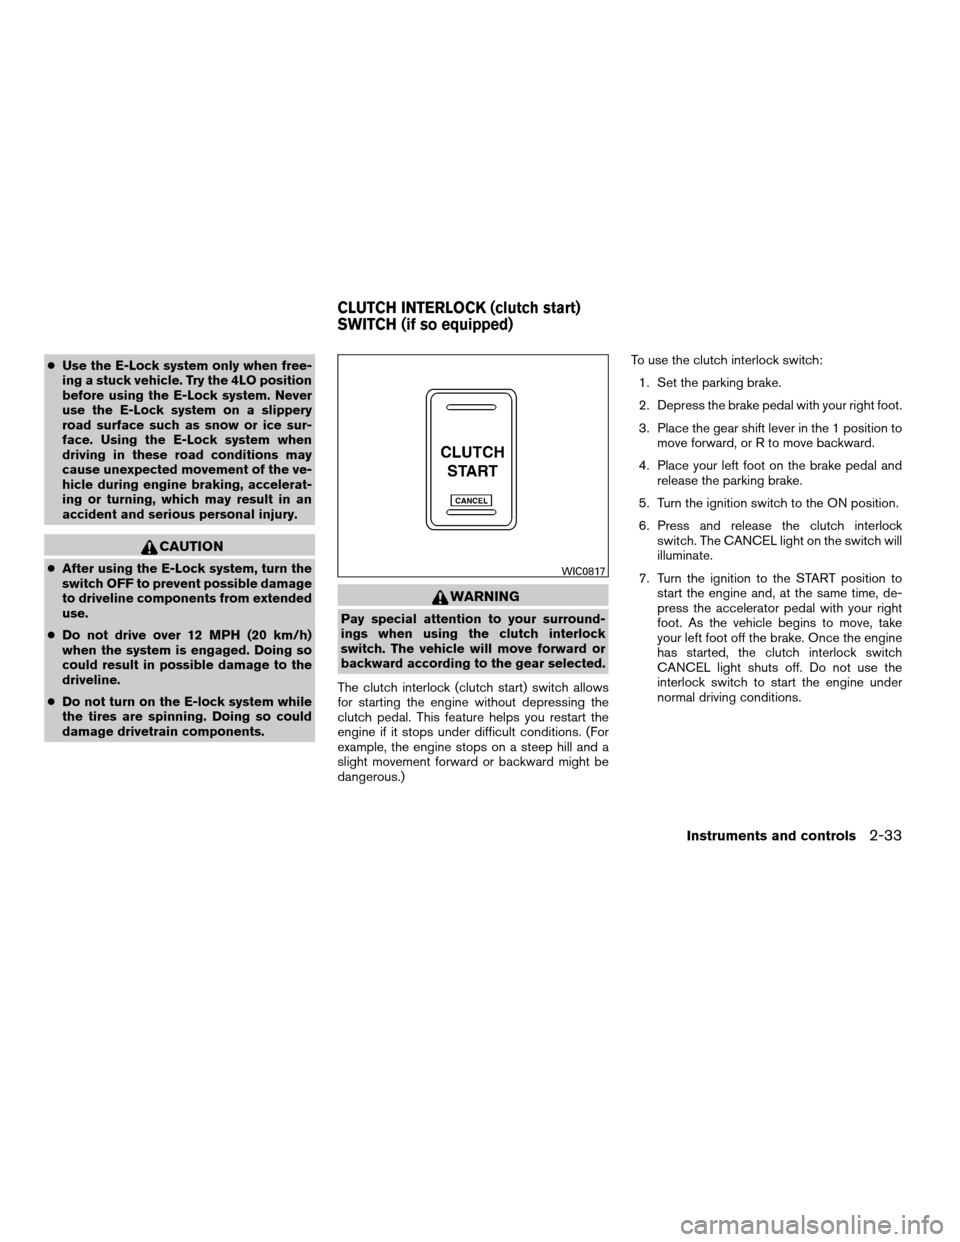
The clutch interlock (clutch start) switch allows
for starting the engine without depressing the
clutch pedal. This feature helps you restart the
engine if it stops under difficult conditions. (For
example, the engine stops on a steep hill and a
slight movement forward or backward might be
dangerous.)To use the clutch interlock switch:
1. Set the parking brake.
2. Depress the brake pedal with your right foot.
3. Place the gear shift lever in the 1 position to
move forward, or R to move backward.
4. Place your left foot on the brake pedal and
release the parking brake.
5. Turn the ignition switch to the ON position.
6. Press and release the clutch interlock
switch. The CANCEL light on the switch will
illuminate.
7. Turn the ignition to the START position to
start the engine and, at the same time, de-
press the accelerator pedal with your right
foot. As the vehicle begins to move, take
your left foot off the brake. Once the engine
has started, the clutch interlock switch
CANCEL light shuts off. Do not use the
interlock switch to start the engine under
normal driving conditions.
WIC0817
CLUTCH INTERLOCK (clutch start)
SWITCH (if so equipped)
Instruments and controls2-33
ZREVIEW COPYÐ2008 08+ Truck/Frontier(fro)
Owners ManualÐUSA_English(nna)
06/30/07Ðdebbie
X
Page 120 of 352
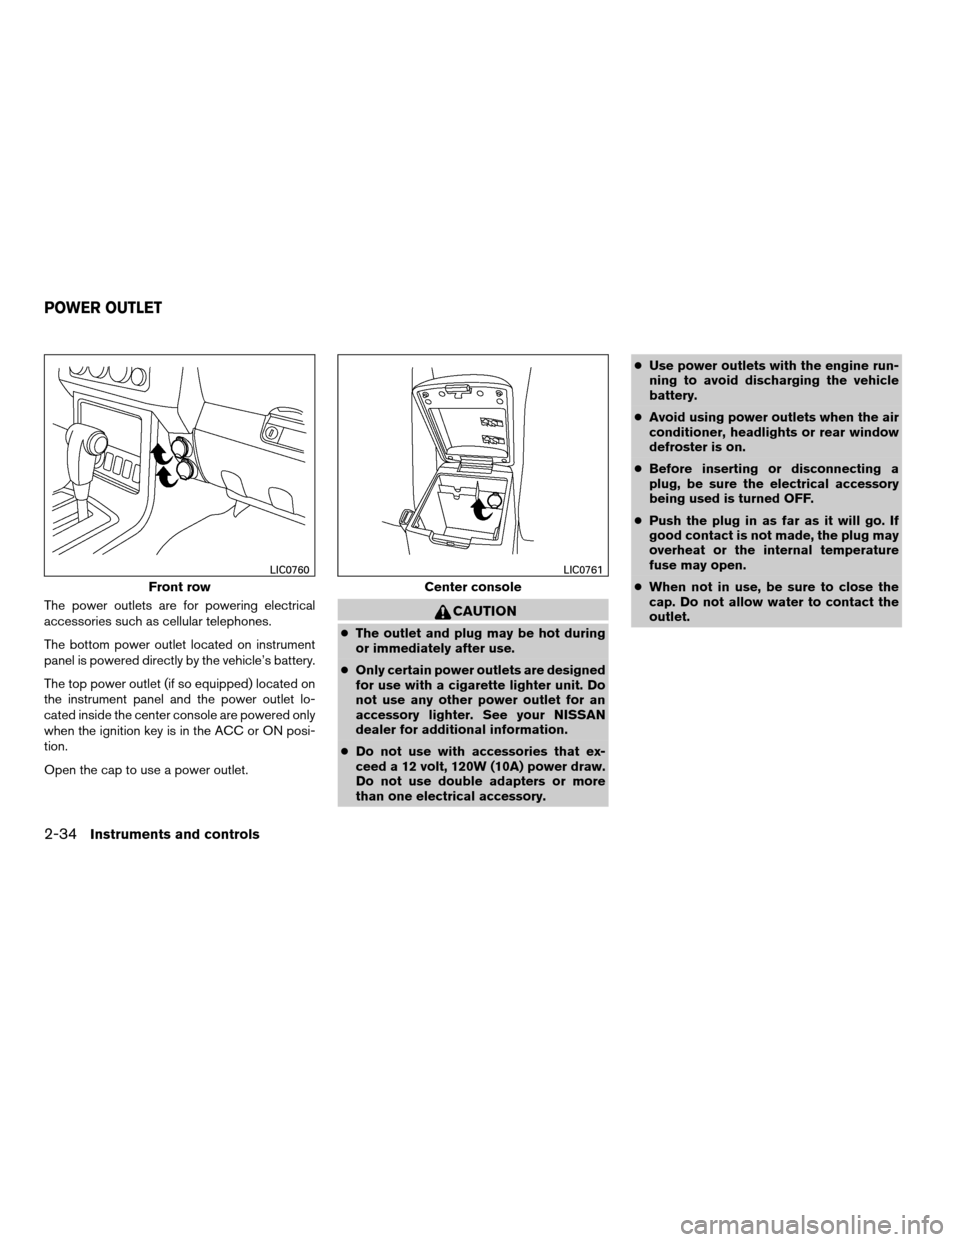
The power outlets are for powering electrical
accessories such as cellular telephones.
The bottom power outlet located on instrument
panel is powered directly by the vehicle’s battery.
The top power outlet (if so equipped) located on
the instrument panel and the power outlet lo-
cated inside the center console are powered only
when the ignition key is in the ACC or ON posi-
tion.
Open the cap to use a power outlet.CAUTION
cThe outlet and plug may be hot during
or immediately after use.
cOnly certain power outlets are designed
for use with a cigarette lighter unit. Do
not use any other power outlet for an
accessory lighter. See your NISSAN
dealer for additional information.
cDo not use with accessories that ex-
ceed a 12 volt, 120W (10A) power draw.
Do not use double adapters or more
than one electrical accessory.cUse power outlets with the engine run-
ning to avoid discharging the vehicle
battery.
cAvoid using power outlets when the air
conditioner, headlights or rear window
defroster is on.
cBefore inserting or disconnecting a
plug, be sure the electrical accessory
being used is turned OFF.
cPush the plug in as far as it will go. If
good contact is not made, the plug may
overheat or the internal temperature
fuse may open.
cWhen not in use, be sure to close the
cap. Do not allow water to contact the
outlet.
Front row
LIC0760
Center console
LIC0761
POWER OUTLET
2-34Instruments and controls
ZREVIEW COPYÐ2008 08+ Truck/Frontier(fro)
Owners ManualÐUSA_English(nna)
06/30/07Ðdebbie
X
Page 124 of 352
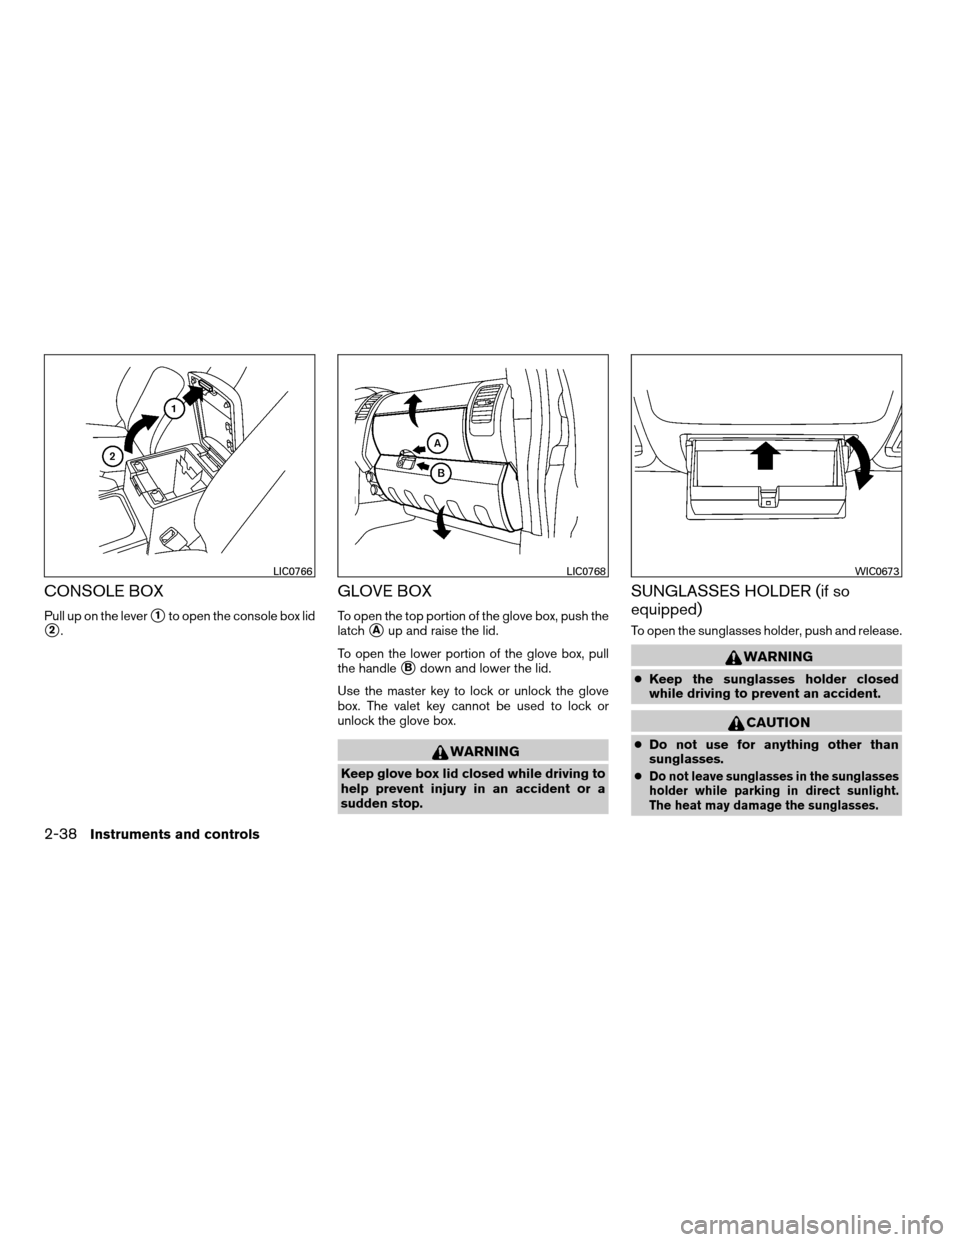
CONSOLE BOX
Pull up on the levers1to open the console box lid
s2.
GLOVE BOX
To open the top portion of the glove box, push the
latch
sAup and raise the lid.
To open the lower portion of the glove box, pull
the handle
sBdown and lower the lid.
Use the master key to lock or unlock the glove
box. The valet key cannot be used to lock or
unlock the glove box.
WARNING
Keep glove box lid closed while driving to
help prevent injury in an accident or a
sudden stop.
SUNGLASSES HOLDER (if so
equipped)
To open the sunglasses holder, push and release.
WARNING
cKeep the sunglasses holder closed
while driving to prevent an accident.
CAUTION
cDo not use for anything other than
sunglasses.
c
Do not leave sunglasses in the sunglasses
holder while parking in direct sunlight.
The heat may damage the sunglasses.
LIC0766LIC0768WIC0673
2-38Instruments and controls
ZREVIEW COPYÐ2008 08+ Truck/Frontier(fro)
Owners ManualÐUSA_English(nna)
06/30/07Ðdebbie
X
Page 133 of 352
When closing:
If the control unit detects something caught in the
moonroof as it moves to the front, the moonroof
will immediately open backward.
When tilting down:
If the control unit detects something caught in the
moonroof as it tilts down, the moonroof will im-
mediately tilt up.
If the auto reverse function malfunctions and re-
peats opening or tilting up the moonroof, keep
pushing the tilt down switch within 5 seconds
after it happens; the moonroof will fully close
gradually. Make sure nothing is caught in the
moonroof.
WARNING
cIn an accident you could be thrown from
the vehicle through an open moonroof.
Always use seat belts and child
restraints.
cDo not allow anyone to stand up or
extend any portion of their body out of
the moonroof opening while the vehicle
is in motion or while the moonroof is
closing.
CAUTION
cRemove water drops, snow, ice or sand
from the moonroof before opening.
cDo not place heavy objects on the
moonroof or surrounding area.
Sunshade
Open and close the sunshade by sliding it for-
ward or backward.
If the moonroof does not close
Have your NISSAN dealer check and repair the
moonroof.
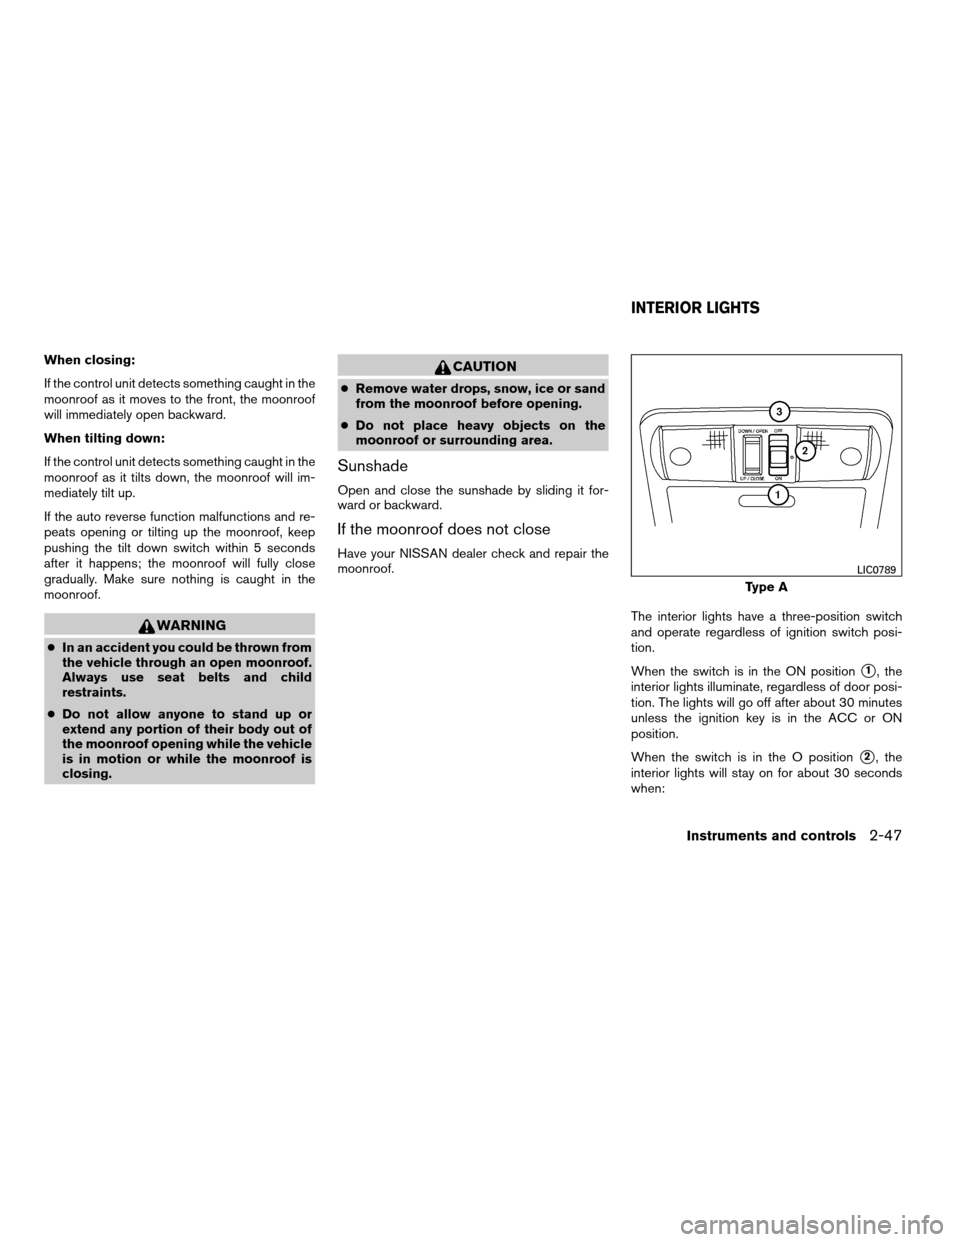
The interior lights have a three-position switch
and operate regardless of ignition switch posi-
tion.
When the switch is in the ON position
s1, the
interior lights illuminate, regardless of door posi-
tion. The lights will go off after about 30 minutes
unless the ignition key is in the ACC or ON
position.
When the switch is in the O position
s2, the
interior lights will stay on for about 30 seconds
when:
Type A
LIC0789
INTERIOR LIGHTS
Instruments and controls2-47
ZREVIEW COPYÐ2008 08+ Truck/Frontier(fro)
Owners ManualÐUSA_English(nna)
06/30/07Ðdebbie
X
Page 134 of 352
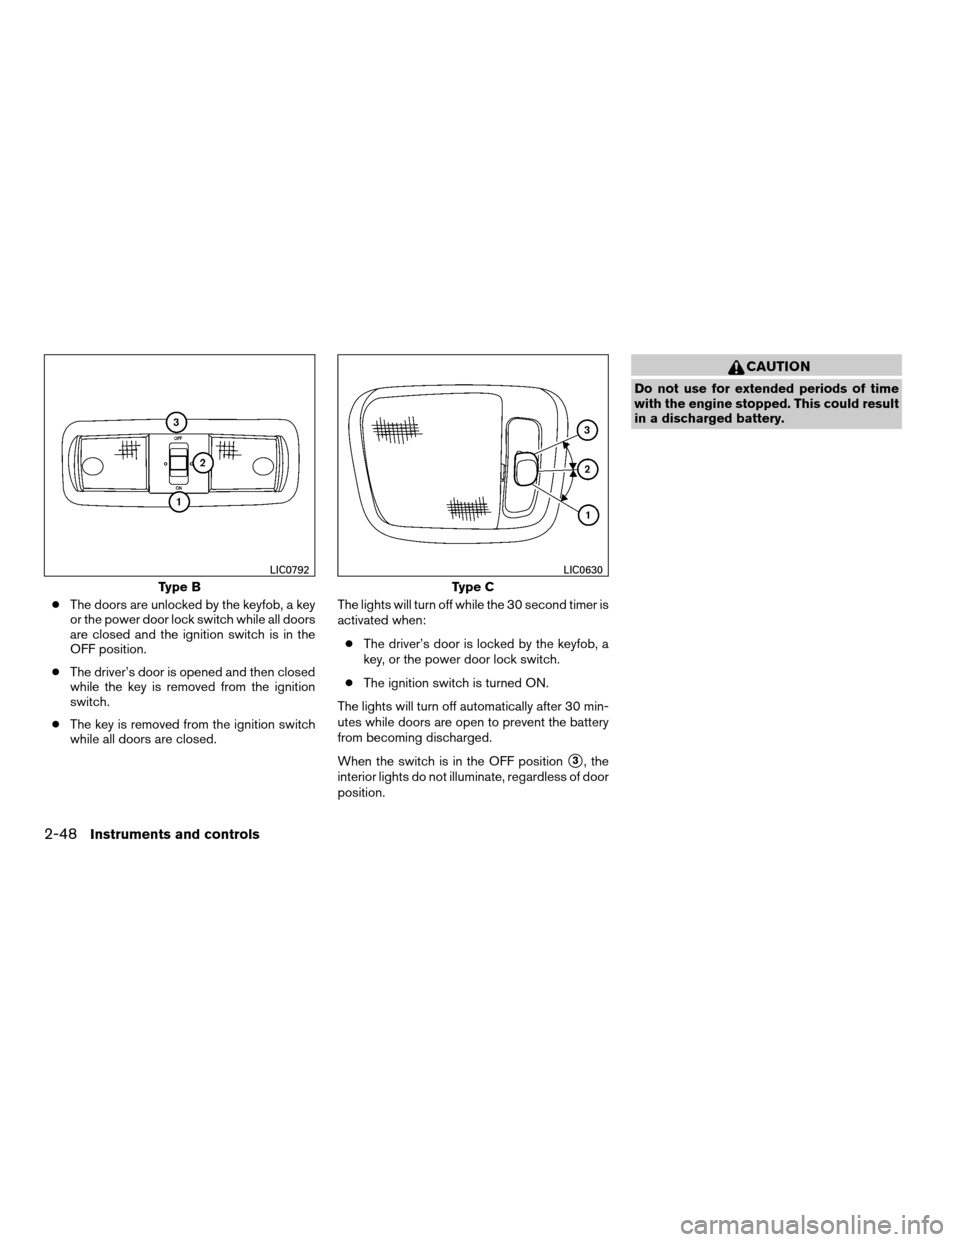
cThe doors are unlocked by the keyfob, a key
or the power door lock switch while all doors
are closed and the ignition switch is in the
OFF position.
cThe driver’s door is opened and then closed
while the key is removed from the ignition
switch.
cThe key is removed from the ignition switch
while all doors are closed.The lights will turn off while the 30 second timer is
activated when:
cThe driver’s door is locked by the keyfob, a
key, or the power door lock switch.
cThe ignition switch is turned ON.
The lights will turn off automatically after 30 min-
utes while doors are open to prevent the battery
from becoming discharged.
When the switch is in the OFF position
s3, the
interior lights do not illuminate, regardless of door
position.
CAUTION
Do not use for extended periods of time
with the engine stopped. This could result
in a discharged battery.
Type B
LIC0792
Type C
LIC0630
2-48Instruments and controls
ZREVIEW COPYÐ2008 08+ Truck/Frontier(fro)
Owners ManualÐUSA_English(nna)
06/30/07Ðdebbie
X
Page 135 of 352
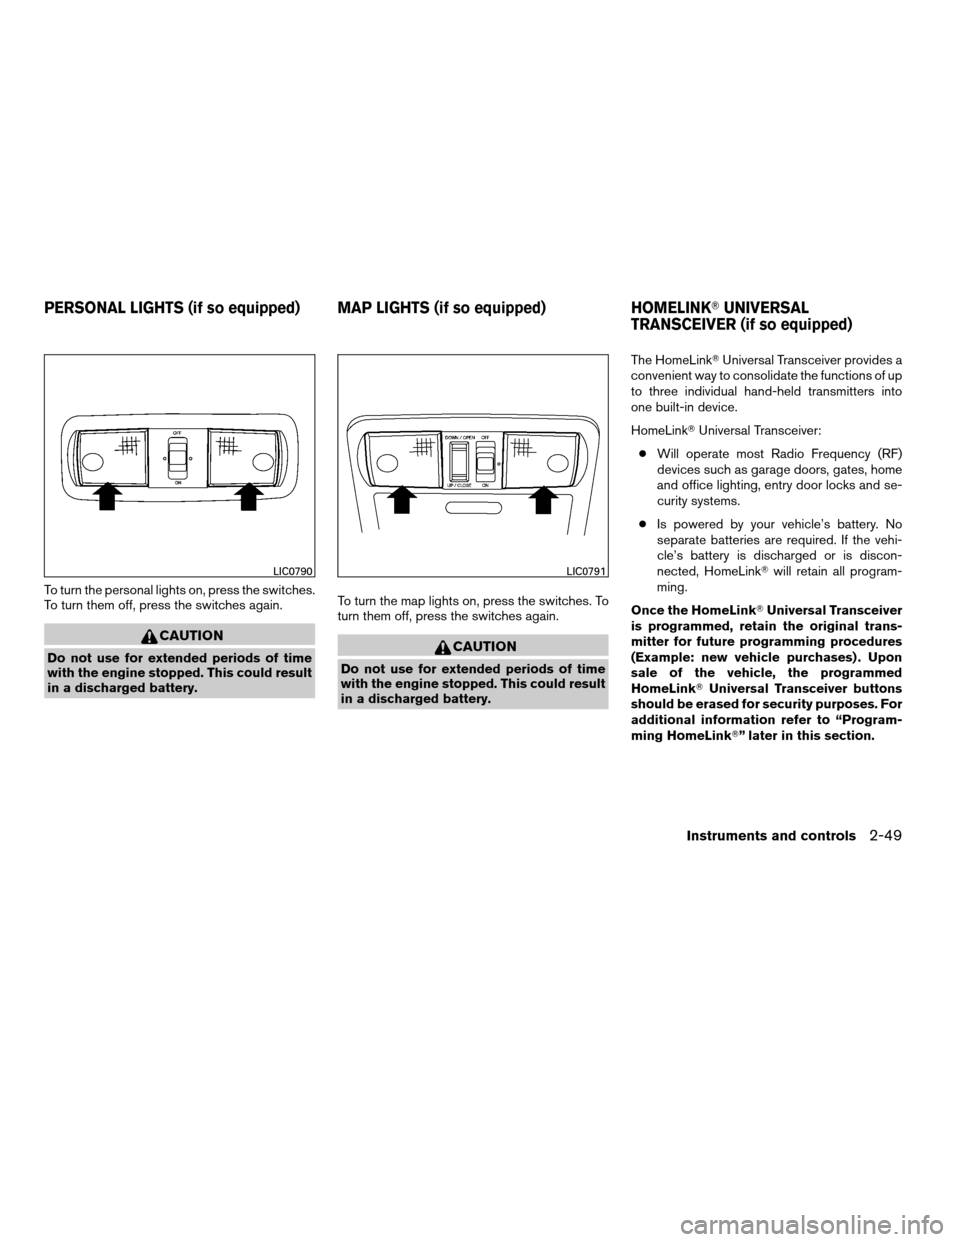
To turn the personal lights on, press the switches.
To turn them off, press the switches again.
CAUTION
Do not use for extended periods of time
with the engine stopped. This could result
in a discharged battery.To turn the map lights on, press the switches. To
turn them off, press the switches again.CAUTION
Do not use for extended periods of time
with the engine stopped. This could result
in a discharged battery.The HomeLinkTUniversal Transceiver provides a
convenient way to consolidate the functions of up
to three individual hand-held transmitters into
one built-in device.
HomeLinkTUniversal Transceiver:
cWill operate most Radio Frequency (RF)
devices such as garage doors, gates, home
and office lighting, entry door locks and se-
curity systems.
cIs powered by your vehicle’s battery. No
separate batteries are required. If the vehi-
cle’s battery is discharged or is discon-
nected, HomeLinkTwill retain all program-
ming.
Once the HomeLinkTUniversal Transceiver
is programmed, retain the original trans-
mitter for future programming procedures
(Example: new vehicle purchases) . Upon
sale of the vehicle, the programmed
HomeLinkTUniversal Transceiver buttons
should be erased for security purposes. For
additional information refer to “Program-
ming HomeLinkT” later in this section.
LIC0790LIC0791
PERSONAL LIGHTS (if so equipped) MAP LIGHTS (if so equipped) HOMELINKTUNIVERSAL
TRANSCEIVER (if so equipped)
Instruments and controls2-49
ZREVIEW COPYÐ2008 08+ Truck/Frontier(fro)
Owners ManualÐUSA_English(nna)
06/30/07Ðdebbie
X
Page 136 of 352
WARNING
cDo not use the HomeLinkTUniversal
Transceiver with any garage door
opener that lacks safety stop and re-
verse features as required by federal
safety standards. (These standards be-
came effective for opener models
manufactured after April 1, 1982) . A ga-
rage door opener which cannot detect
an object in the path of a closing garage
door and then automatically stop and
reverse, does not meet current federal
safety standards. Using a garage door
opener without these features in-
creases the risk of serious injury or
death.
cDuring the programming procedure
your garage door or security gate will
open and close (if the transmitter is
within range) . Make sure that people or
objects are clear of the garage door,
gate, etc. that you are programming.
cYour vehicle’s engine should be turned
off while programming the HomeLinkT
Universal Transceiver.
PROGRAMMING HOMELINKT
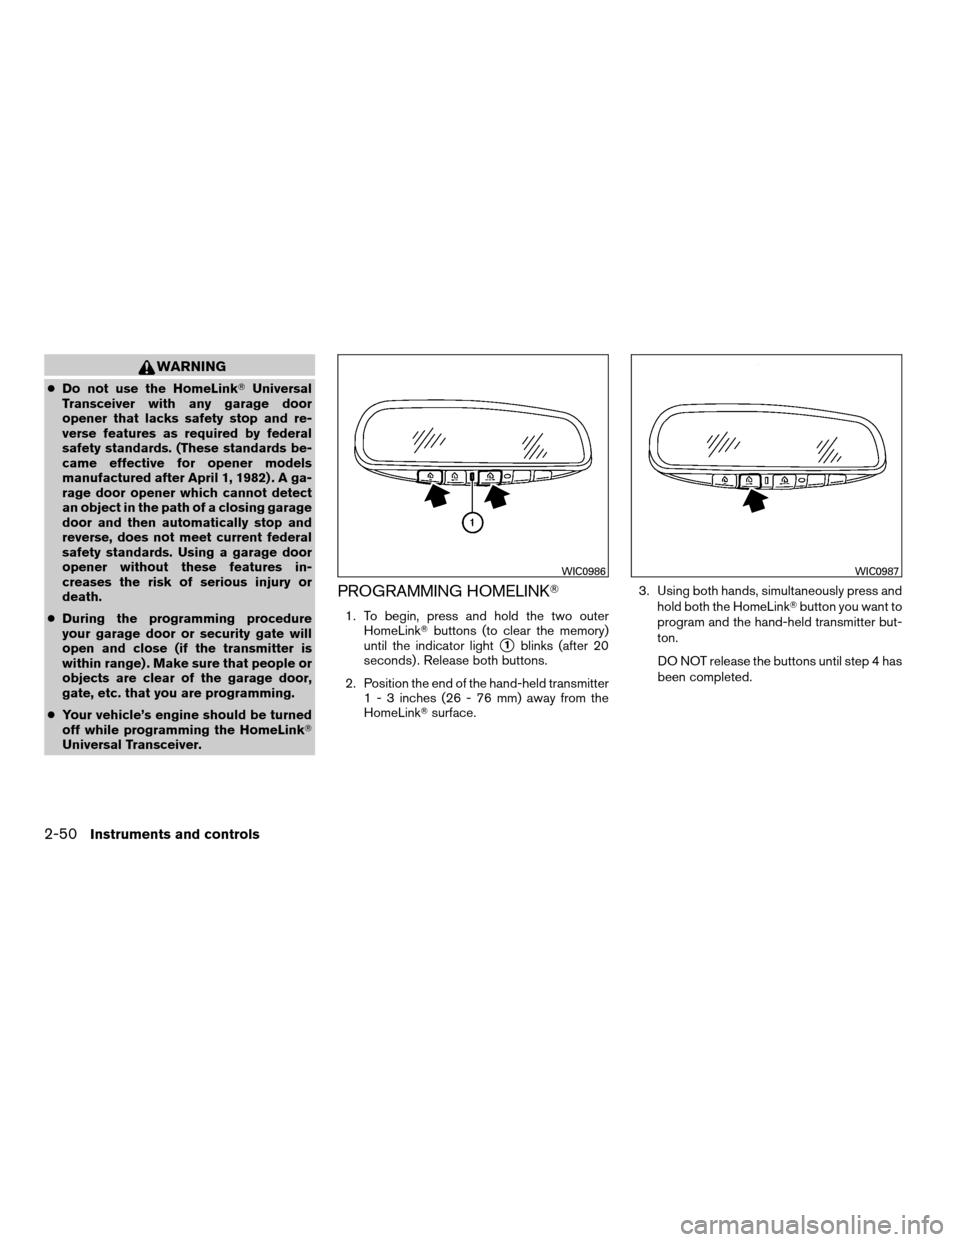
1. To begin, press and hold the two outer
HomeLinkTbuttons (to clear the memory)
until the indicator light
s1blinks (after 20
seconds) . Release both buttons.
2. Position the end of the hand-held transmitter
1 - 3 inches (26 - 76 mm) away from the
HomeLinkTsurface.3. Using both hands, simultaneously press and
hold both the HomeLinkTbutton you want to
program and the hand-held transmitter but-
ton.
DO NOT release the buttons until step 4 has
been completed.
WIC0986WIC0987
2-50Instruments and controls
ZREVIEW COPYÐ2008 08+ Truck/Frontier(fro)
Owners ManualÐUSA_English(nna)
06/30/07Ðdebbie
X