2008 NISSAN ARMADA change time
[x] Cancel search: change timePage 2 of 456

MODIFICATION OF YOUR VEHICLE
This vehicle should not be modified.
Modification could affect its
performance, safety or durability, and
may even violate governmental
regulations. In addition, damage or per-
formance problems resulting from modi-
fications may not be covered under
NISSAN warranties.This manual includes information for all options
available on this model. Therefore, you may find
some information that does not apply to your
vehicle.
All information, specifications and illustrations in
this manual are those in effect at the time of
printing. NISSAN reserves the right to change
specifications or design without notice and with-
out obligation.
IMPORTANT INFORMATION ABOUT
THIS MANUAL
You will see various symbols in this manual. They
are used in the following ways:
WARNING
This is used to indicate the presence of a
hazard that could cause death or serious
personal injury. To avoid or reduce the
risk, the procedures must be followed
precisely.
CAUTION
This is used to indicate the presence of a
hazard that could cause minor or moder-
ate personal injury or damage to your ve-
hicle. To avoid or reduce the risk, the pro-
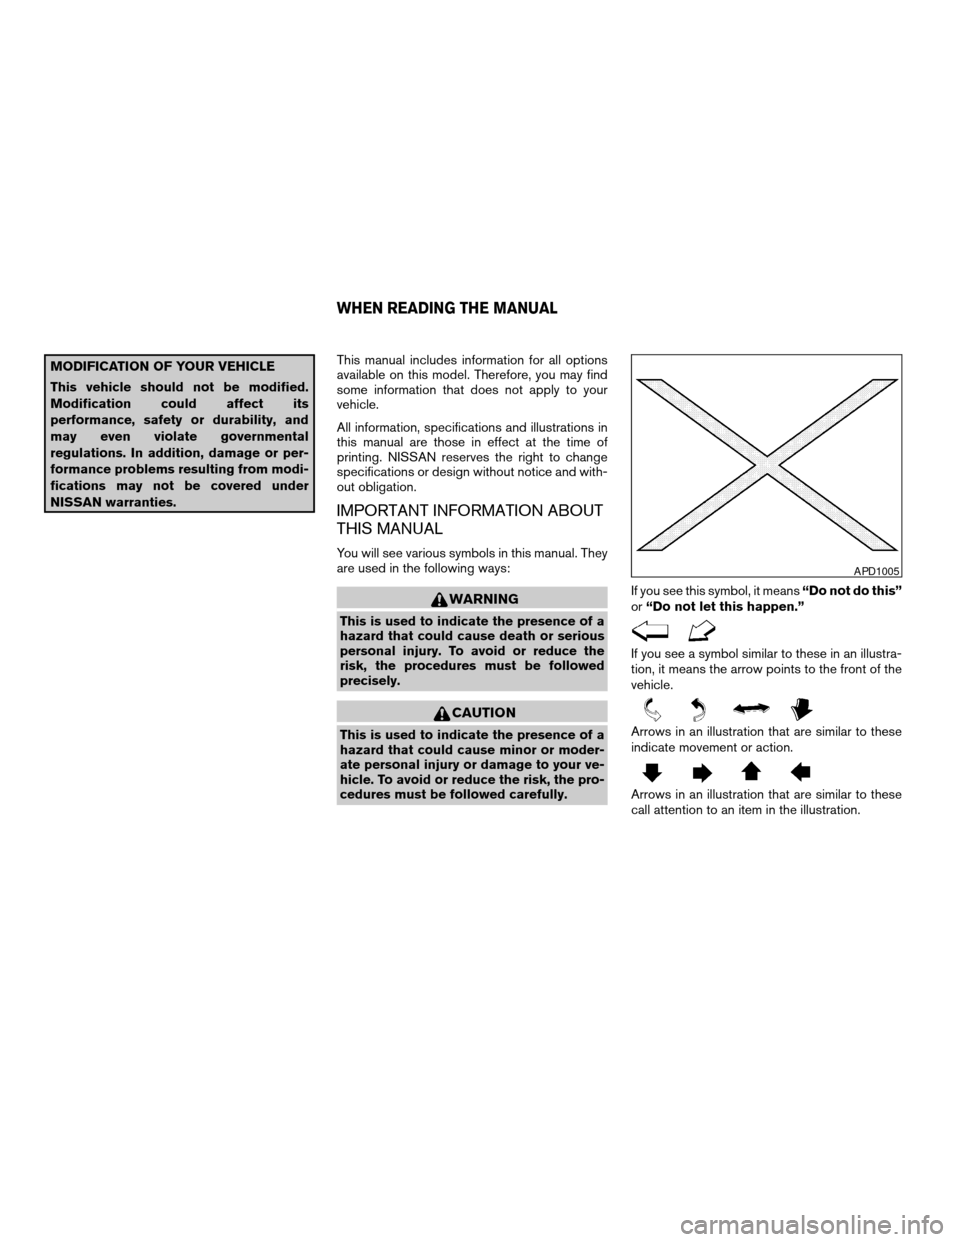
cedures must be followed carefully.If you see this symbol, it means“Do not do this”
or“Do not let this happen.”
If you see a symbol similar to these in an illustra-
tion, it means the arrow points to the front of the
vehicle.
Arrows in an illustration that are similar to these
indicate movement or action.
Arrows in an illustration that are similar to these
call attention to an item in the illustration.
APD1005
WHEN READING THE MANUAL
ZREVIEW COPYÐ2008 Armada(wzw)
Owners ManualÐUSA_English(nna)
03/05/07Ðarosenma
X
Page 77 of 456

occupant is too close to, or is against, these air
bag modules during inflation. The front seat-
mounted side-impact supplemental air bag will
deflate quickly after the collision is over.
The roof-mounted curtain side-impact and roll-
over supplemental air bag will remain inflated for
a short time.
The front seat-mounted side-impact
supplemental air bags and roof-mounted
curtain side-impact and rollover supple-
mental air bags operate only when the ig-
nition switch is in the ON or START posi-
tions.
After turning the ignition key to the ON
position, the supplemental air bag warning
light illuminates. The supplemental air bag
warning light will turn off after about 7
seconds if the system is operational.WARNING
cDo not place any objects near the seat-
back of the front seats. Also, do not
place any objects (an umbrella, bag,
etc.) between the front door finisher
and the front seat. Such objects may
become dangerous projectiles and
cause injury if the front seat-mounted
side-impact supplemental air bag
inflates.
cRight after inflation, several roof-
mounted curtain side-impact and roll-
over supplemental air bag system com-
ponents will be hot. Do not touch them;
you may severely burn yourself.
cNo unauthorized changes should be
made to any components or wiring of
the front seat-mounted side-impact
supplemental airbags, roof-mounted
curtain side-impact and rollover
supplemental air bag system. This is to
prevent accidental inflation of the side
air bag and curtain air bag or damage to
the side air bag and curtain air bag
systemcDo not make unauthorized changes to
your vehicle’s electrical system, sus-
pension system or side panel. This
could affect proper operation of the
supplemental roof-mounted curtain
side-impact and rollover supplemental
air bag system
cTampering with the front seat-mounted
side-impact supplemental air bag sys-
tem may result in serious personal in-
jury. For example, do not change the
front seats by placing material near the
seatbacks or by installing additional
trim material, such as seat covers,
around the front seat-mounted side-
impact supplemental air bag.
cWork around and on the roof-mounted
curtain side-impact and rollover
supplemental air bag system should be
done by a NISSAN dealer. Installation
of electrical equipment should also be
done by a NISSAN dealer. The SRS wir-
ing harnesses* should not be modified
or disconnected. Unauthorized electri-
cal test equipment and probing devices
should not be used on the roof-
mounted curtain side-impact and roll-
over supplemental air bag system.
Safety—Seats, seat belts and supplemental restraint system1-61
ZREVIEW COPYÐ2008 Armada(wzw)
Owners ManualÐUSA_English(nna)
03/05/07Ðarosenma
X
Page 87 of 456

1. Speedometer
2. Odometer/twin trip display
3. Change button
SPEEDOMETER AND ODOMETER
Speedometer
The speedometer indicates vehicle speed in
miles per hour (MPH) and kilometers per hour
(km/h) .
Odometer/Twin trip odometer
The odometer/twin trip odometer is displayed
when the ignition switch is in the ON position.The odometer records the total distance the ve-
hicle has been driven.
The twin trip odometer records the distance of
individual trips.Changing the display:
Pushing the change button changes the display
as follows:
Trip
!Trip!Odometer only
Resetting the trip odometer:
Pushing the change button for more than 1 sec-
ond resets the trip odometer to zero.
Elapsed time, driving distance and average
speed information is also available for vehicles
with navigation system (if so equipped) . Refer to
“Control panel buttons” in the “Display screen,
heater, air conditioner and audio systems” sec-
tion later in this manual.
WIC1244WIC1245
Instruments and controls2-5
ZREVIEW COPYÐ2008 Armada(wzw)
Owners ManualÐUSA_English(nna)
03/05/07Ðarosenma
X
Page 93 of 456

Zone variation change procedure
The difference between magnetic north and geo-
graphical north is known as variance. In some
areas, this difference can sometimes be great
enough to cause false compass readings. Follow
these instructions to set the variance for your
particular location if this happens:
1. Press and hold the
button for about 8
seconds. The current zone number will ap-
pear in the display. Release the button.
2. Find your current location on the zone map.
Refer to the illustration.
3. Press the
button repeatedly to toggle
through the zone numbers until the desired
number appears in the display. Once you
have selected a zone number, the display
will show a compass direction within a few
seconds.
Inaccurate compass direction
The compass display is equipped with automatic
correction function. If the correct direction is not
shown, follow this procedure.
1. With the display turned on, press and hold
the
button for about 10 seconds. The
“CAL” icon in the compass display will illu-
minate.
WIC0355
Instruments and controls2-11
ZREVIEW COPYÐ2008 Armada(wzw)
Owners ManualÐUSA_English(nna)
03/05/07Ðarosenma
X
Page 183 of 456

When you use this system, make sure the engine
is running.
If you use the system with the engine not
running (ignition ON or ACC) for a long
time, it will use up all the battery power,
and the engine will not start.
Reference symbols:
ENTER button — This is a button on the control
panel.
“Display” key — This is a select key on the screen.
By selecting this key you can proceed to the next
function.
HOW TO USE THE NISSAN
CONTROLLER
Use the NISSAN controller to choose an item on
the display screen. Select an item on the display
using the main directional buttons
s2or the
center dial
s3. Then press the ENTER buttons1
to select the item or perform the action.
The BACK button
s4button has two functions:
cGo back to the previous display (cancel) .
If you press the BACK button
s4during setup,
the setup will be canceled and/or the display will
return to the previous screen.cFinish setup.
In some screens pressing the BACK button
s4
accepts the changes made during setup.
WHA0883
Monitor, climate, audio, phone and voice recognition systems4-3
ZREVIEW COPYÐ2008 Armada(wzw)
Owners ManualÐUSA_English(nna)
03/05/07Ðarosenma
X
Page 192 of 456

Time Zone:
Select the “Time Zone” key; the Time Zone
screen will appear.
Select one of the following zones, depending on
the current location, by selecting the correct time
zone key and pressing the ENTER button to
enable that time zone (indicator light will illumi-
nate for that location) .
cPacific
cMountain
cCentral
cEasterncAtlantic
cNewfoundland
cAleutian
cHawaii
cAlaska
Clock Adjust:
Adjust the time by manually inputting the correct
time.
c0–9:
Select to change the number in the display.
cModify:
Select to change the number at the cursor
position.
c>:
Select to move the cursor position to the
right.
c<:
Select to move the cursor position to the left.
LHA0933LHA0943
4-12Monitor, climate, audio, phone and voice recognition systems
ZREVIEW COPYÐ2008 Armada(wzw)
Owners ManualÐUSA_English(nna)
03/05/07Ðarosenma
X
Page 193 of 456

cOK:
Select to accept the changes made and
return to the clock setting display.
After selection/settings, press the BACK button
or any other mode button to accept the changes.
Comfort & Convenience settings (if so
equipped)
Select the “Comfort & Conv.” key by using the
NISSAN controller and pressing the ENTER but-
ton. The comfort and convenience option screen
will be displayed.
You can set the following operating conditions by
selecting the desired item using the NISSAN
controller, then pressing the ENTER button. The
indicator light, box at the left of the selected item,
alternately turns on and off each time the ENTER
button is pressed.
Indicator light is illuminated — ONIndicator light is not illuminated — OFF
LHA0938LHA0939
Monitor, climate, audio, phone and voice recognition systems4-13
ZREVIEW COPYÐ2008 Armada(wzw)
Owners ManualÐUSA_English(nna)
03/05/07Ðarosenma
X
Page 194 of 456

Auto interior illumination:Select to turn on or
turn off the illumination of the interior lights when
any door is unlocked.
Auto headlights sensitivity:Select to adjust
the sensitivity of the automatic headlights higher
(right) or lower (left) .
Auto headlights off delay:Select to change
the duration of the automatic headlight off timer
from 0, 30, 45, 60, 90, 120, 150 and 180 second
periods.
Speed sensing wiper interval:Select to turn
on or turn off the wiper interval adjusted automati-
cally according to the vehicle speed.
Remote key response horn:Select to turn on
or turn off the horn chirp mode used when the
LOCK button on the keyfob is pressed.
NOTE:
If you change the horn beep or the lamp
flash feature with the keyfob, the mode will
not be changed with the display. Use the
keyfob to return to the previous mode and
re-enable the display control.
Remote key response light:Select to turn on
or turn off the hazard indicator flash mode used
when the LOCK or UNLOCK button on the key-
fob is pressed.NOTE:
If you change the horn beep or the lamp
flash feature with the keyfob, the mode will
not be changed with the display. Use the
keyfob to return to the previous mode and
re-enable the display control.
Auto re-lock time:Select to set the length of
time before doors automatically re-lock.
Selective door unlock:When this item is
turned on, only the driver’s door is unlocked first
after the door unlock operation. When the door
handle request switch on the driver’s or front
passenger’s side door is pushed to be unlocked,
only the corresponding door is unlocked first. All
the doors can be unlocked if the door unlock
operation is performed again within 5 seconds.
When this item is turned to off, all the doors will
be unlocked after the door unlock operation is
performed once.
Intelligent Key lock / unlock:Select to turn
on or turn off the door lock/unlock function by
pushing the door handle request switch.
Intelligent Key lock reply:Select to change
the sound of the Intelligent Key mode used when
a door handle request switch is pushed.
LHA0940
4-14Monitor, climate, audio, phone and voice recognition systems
ZREVIEW COPYÐ2008 Armada(wzw)
Owners ManualÐUSA_English(nna)
03/05/07Ðarosenma
X