Page 214 of 474
213 Controls in detail
Audio system
A light-emitting diode in the buttons shows
the status of the corresponding magazine
slot.
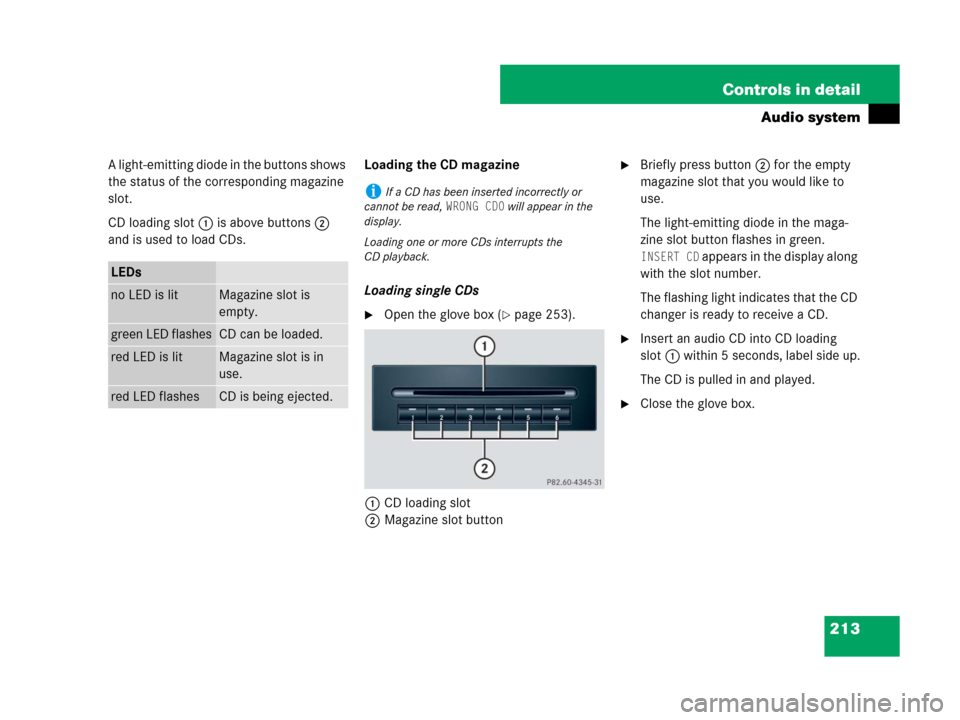
CD loading slot1 is above buttons2
and is used to load CDs.Loading the CD magazine
Loading single CDs
�Open the glove box (�page 253).
1CD loading slot
2Magazine slot button
�Briefly press button2 for the empty
magazine slot that you would like to
use.
The light-emitting diode in the maga-
zine slot button flashes in green.
INSERT CD appears in the display along
with the slot number.
The flashing light indicates that the CD
changer is ready to receive a CD.
�Insert an audio CD into CD loading
slot1 within 5 seconds, label side up.
The CD is pulled in and played.
�Close the glove box.
LEDs
no LED is litMagazine slot is
empty.
green LED flashesCD can be loaded.
red LED is litMagazine slot is in
use.
red LED flashesCD is being ejected.
iIf a CD has been inserted incorrectly or
cannot be read,
WRONG CD0 will appear in the
display.
Loading one or more CDs interrupts the
CD playback.
Page 215 of 474
214 Controls in detail
Audio system
Loading several CDs
�Open the glove box.
�Press button2 of an empty magazine
slot for more than 2 seconds.
The light-emitting diodes in all the mag-
azine slot buttons light up several
times in green, and
ALL LOAD appears
in the display.
�Wait until the light-emitting diode for
the first magazine slot flashes in green.
The flashing light indicates that the CD
changer is ready to receive a CD.
�Insert an audio CD into CD loading
slot1 within 5 seconds, label side up.
The CD is pulled in and the light-emit-
ting diode in the magazine slot button
lights up in red. The magazine slot is
loaded.
The light-emitting diode in the next
available magazine slot button flashes
in green. The CD changer is ready to re-
ceive the next CD.
�Repeat the previous step until all six
magazine slots are loaded.
Once all magazine slots are loaded, the
CD in the sixth magazine slot is played.
�Close the glove box.Ejecting CDs
Ejecting single CDs
�Open the glove box.
�Briefly press desired magazine slot but-
ton.
The light-emitting diode in the maga-
zine slot button flashes in red. The cor-
responding CD is ejected.
EJECTING CD
appears in the display along with the
magazine slot number.
�Remove CD from CD loading slot within
15 seconds.
If after removing a single CD no other
CDs remain loaded in the magazine,
MAG. EMPTY appears in the display.
iIf, for example, you only want to load maga-
zine slots 1 - 4 instead of all six, simply do not in-
sert a fifth CD into the CD loading slot. The CD
changer will first try to load a CD but will then
cancel the procedure, after which the radio will
play the fourth CD.
iThe CD playback is interrupted while one or
more CDs are being ejected.
Page 216 of 474
215 Controls in detail
Audio system
�Close the glove box.Ejecting all loaded CDs
�Open the glove box.
�Press the button of a loaded magazine
slot for more than 2 seconds.
The light-emitting diodes in all maga-
zine slot buttons light up several times
in red, and
ALL EJECT appears in the
display.
The CD changer ejects the CDs one
after another.
The light-emitting diode for the maga-
zine slot being emptied flashes in red.
�Take corresponding CD from CD load-
ing slot within 15 seconds.
The ejection procedure is finished once
you have removed all CDs from the
CD loading slot or if the CD changer
cancels the procedure.
With all CDs removed from the maga-
zine,
MAG. EMPTY appears in the
display.
�Close the glove box.
iIf you do not take the CD from the CD load-
ing slot within 15 seconds, the CD changer will
automatically pull the CD back in. The system
will then play the CD.
If you are listening to a CD while ejecting another
CD from the changer: The Audio system stops
playing the CD while another CD is being eject-
ed. Once the CD has been ejected, the Audio
system will continue playing where it left off.iIf you do not take the CD from the CD load-
ing slot within 15 seconds, the CD changer will
automatically pull the CD back in. The system
will then play the CD.
With all CDs ejected, press the bbutton to
switch back to the radio mode.
Page 254 of 474
253 Controls in detail
Useful features
�Useful features
Storage compartments Glove box
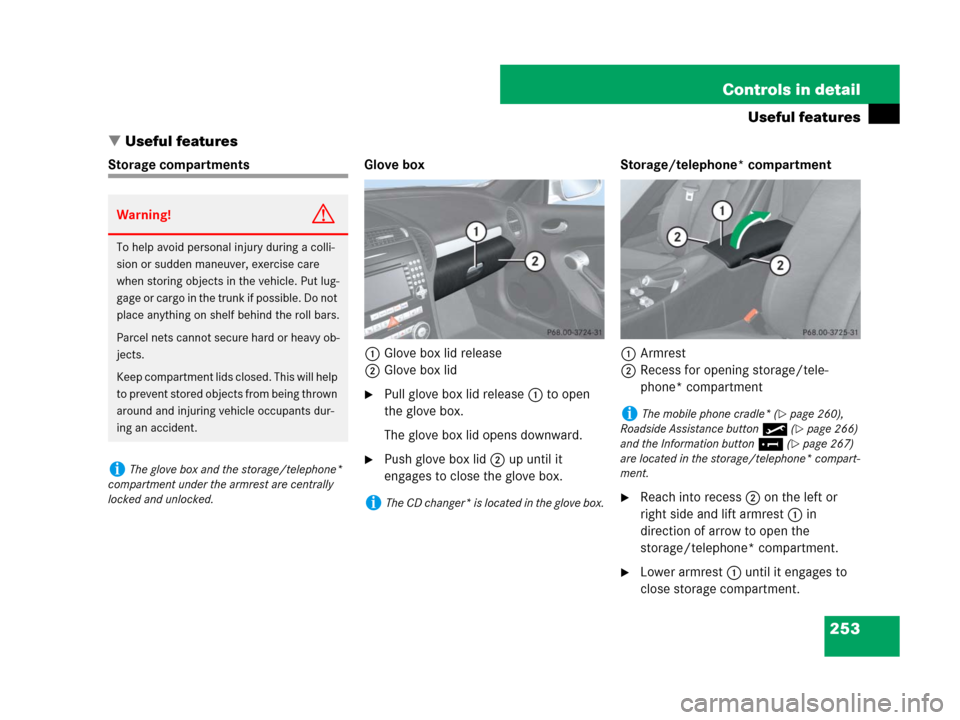
1Glove box lid release
2Glove box lid
�Pull glove box lid release1 to open
the glove box.
The glove box lid opens downward.
�Push glove box lid2 up until it
engages to close the glove box.Storage/telephone* compartment
1Armrest
2Recess for opening storage/tele-
phone* compartment
�Reach into recess2 on the left or
right side and lift armrest1 in
direction of arrow to open the
storage/telephone* compartment.
�Lower armrest1 until it engages to
close storage compartment.
Warning!G
To help avoid personal injury during a colli-
sion or sudden maneuver, exercise care
when storing objects in the vehicle. Put lug-
gage or cargo in the trunk if possible. Do not
place anything on shelf behind the roll bars.
Parcel nets cannot secure hard or heavy ob-
jects.
Keep compartment lids closed. This will help
to prevent stored objects from being thrown
around and injuring vehicle occupants dur-
ing an accident.
iThe glove box and the storage/telephone*
compartment under the armrest are centrally
locked and unlocked.
iThe CD changer* is located in the glove box.
iThe mobile phone cradle* (�page 260),
Roadside Assistance button• (
�page 266)
and the Information button¡ (
�page 267)
are located in the storage/telephone* compart-
ment.
Page 465 of 474
464 Index
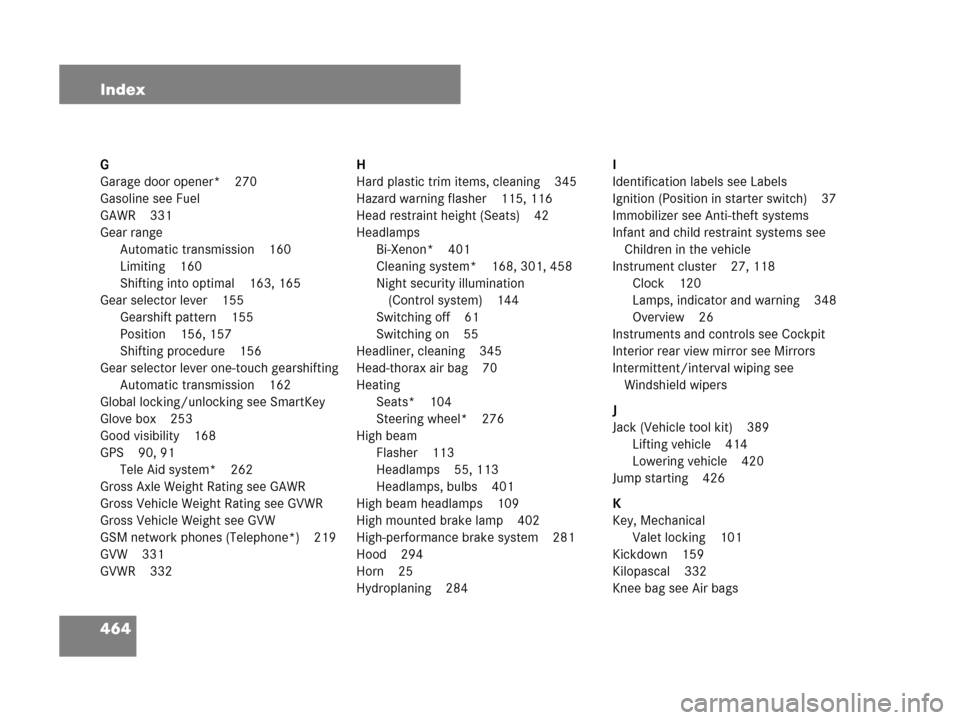
G
Garage door opener* 270
Gasoline see Fuel
GAWR 331
Gear range
Automatic transmission 160
Limiting 160
Shifting into optimal 163, 165
Gear selector lever 155
Gearshift pattern 155
Position 156, 157
Shifting procedure 156
Gear selector lever one-touch gearshifting
Automatic transmission 162
Global locking/unlocking see SmartKey
Glove box 253
Good visibility 168
GPS 90, 91
Tele Aid system* 262
Gross Axle Weight Rating see GAWR
Gross Vehicle Weight Rating see GVWR
Gross Vehicle Weight see GVW
GSM network phones (Telephone*) 219
GVW 331
GVWR 332H
Hard plastic trim items, cleaning 345
Hazard warning flasher 115, 116
Head restraint height (Seats) 42
Headlamps
Bi-Xenon* 401
Cleaning system* 168, 301, 458
Night security illumination
(Control system) 144
Switching off 61
Switching on 55
Headliner, cleaning 345
Head-thorax air bag 70
Heating
Seats* 104
Steering wheel* 276
High beam
Flasher 113
Headlamps 55, 113
Headlamps, bulbs 401
High beam headlamps 109
High mounted brake lamp 402
High-performance brake system 281
Hood 294
Horn 25
Hydroplaning 284I
Identification labels see Labels
Ignition (Position in starter switch) 37
Immobilizer see Anti-theft systems
Infant and child restraint systems see
Children in the vehicle
Instrument cluster 27, 118
Clock 120
Lamps, indicator and warning 348
Overview 26
Instruments and controls see Cockpit
Interior rear view mirror see Mirrors
Intermittent/interval wiping see
Windshield wipers
J
Jack (Vehicle tool kit) 389
Lifting vehicle 414
Lowering vehicle 420
Jump starting 426
K
Key, Mechanical
Valet locking 101
Kickdown 159
Kilopascal 332
Knee bag see Air bags
Page 471 of 474
470 Index
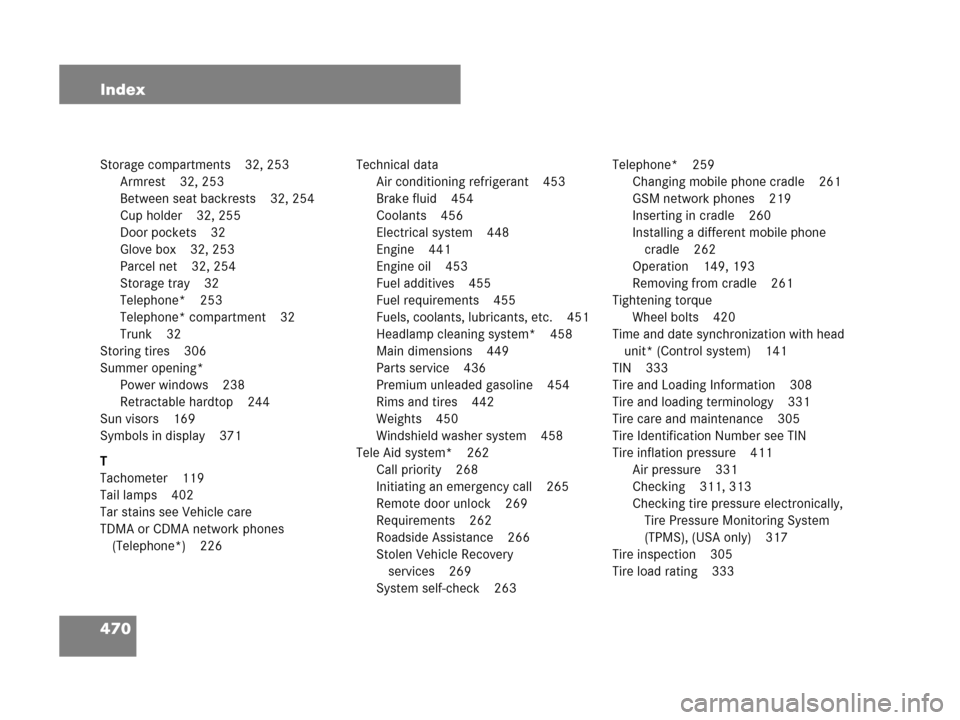
Storage compartments 32, 253
Armrest 32, 253
Between seat backrests 32, 254
Cup holder 32, 255
Door pockets 32
Glove box 32, 253
Parcel net 32, 254
Storage tray 32
Telephone* 253
Telephone* compartment 32
Trunk 32
Storing tires 306
Summer opening*
Power windows 238
Retractable hardtop 244
Sun visors 169
Symbols in display 371
T
Tachometer 119
Tail lamps 402
Tar stains see Vehicle care
TDMA or CDMA network phones
(Telephone*) 226Technical data
Air conditioning refrigerant 453
Brake fluid 454
Coolants 456
Electrical system 448
Engine 441
Engine oil 453
Fuel additives 455
Fuel requirements 455
Fuels, coolants, lubricants, etc. 451
Headlamp cleaning system* 458
Main dimensions 449
Parts service 436
Premium unleaded gasoline 454
Rims and tires 442
Weights 450
Windshield washer system 458
Tele Aid system* 262
Call priority 268
Initiating an emergency call 265
Remote door unlock 269
Requirements 262
Roadside Assistance 266
Stolen Vehicle Recovery
services 269
System self-check 263Telephone* 259
Changing mobile phone cradle 261
GSM network phones 219
Inserting in cradle 260
Installing a different mobile phone
cradle 262
Operation 149, 193
Removing from cradle 261
Tightening torque
Wheel bolts 420
Time and date synchronization with head
unit* (Control system) 141
TIN 333
Tire and Loading Information 308
Tire and loading terminology 331
Tire care and maintenance 305
Tire Identification Number see TIN
Tire inflation pressure 411
Air pressure 331
Checking 311, 313
Checking tire pressure electronically,
Tire Pressure Monitoring System
(TPMS), (USA only) 317
Tire inspection 305
Tire load rating 333