2008 MERCEDES-BENZ SLK ROADSTER service reset
[x] Cancel search: service resetPage 13 of 273

10
Rear window heating
Malfunction indicator lamp . . . . . .191
Refuelling . . . . . . . . . . . . . . . . . . . . . .148
Remote control Garage door opene r.. . . . . . . . . . .144
Programming (garage door
opener) . . . . . . . . . . . . . . . . . . . . . .144
Replacing the wiper blade s. . . . . . .217
Reserve Display message . . . . . . . . . . . . . .187
Reserve fuel . . . . . . . . . . . . . . . . . . . .255
Display message . . . . . . . . . . . . . .187
Fuel tank . . . . . . . . . . . . . . . . . . . .255
Warning lamp . . . . . . . . . . . . . . . . .197
Reset button . . . . . . . . . . . . . . . . .25, 27
Restraint syste m. . . . . . . . . . . . . . . .178
Airbags . . . . . . . . . . . . . . . . . . . . . . .41
Restraint systems
For childre n.. . . . . . . . . . . . . . . . . .44
Rev counte r. . . . . . . . . . . . . . . . . . . . .90
Reverse gear Engaging (automatic transmission) .85
Engaging (manual transmission) . . .85
Reversing lamp
Display messag e.. . . . . . . . . . . . .185
Roof . . . . . . . . . . . . . . . . . . . . . . . . . . .132
Closing (key ).. . . . . . . . . . . . . . . .134
Closing (switch) . . . . . . . . . . . . . . .133
Display message . . . . . . . . . . . . . .188
Opening (key ).. . . . . . . . . . . . . . . .134 Opening (switch) . . . . . . . . . . . . .
.133
Relocking . . . . . . . . . . . . . . . . . . . .134
Roof load, maximum . . . . . . . ..253, 254
Roof rack . . . . . . . . . . . . . . . . . . . . . .136
Roof switch . . . . . . . . . . . . . . . . . . . .133
Run-on time (mobile phone ). . . . . . .143 S
Seat Adjusting . . . . . . . . . . . . . . . . . .60, 61
Correct driver's seat position . . . . . .71
Storing settings . . . . . . . . . . . . . . . .68
Seat belt
Fastening. . . . . . . . . . . . . . . . . . . . .69
Warning lamp . . . . . . . . . . . . . .71, 195
Seat heatin g. . . . . . . . . . . . . . . . . . . . .63
Seat ventilation Malfunction indicator lamp . . . . . .190
Selector lever
Positions . . . . . . . . . . . . . . . . . . . . .85
Service
Display message . . . . . . . . . . . . . .165
Service display
see ASSYST PLUS
Service indicator
see ASSYST PLUS
Service products . . . . . . . . . . . . . . . .255
Brake fluid . . . . . . . . . . . . . . . . . . .260 Coolant . . . . . . . . . . . . . . . . . . . .
.259
Windscreen washer fluid . . . . . . . .260
Settings
Calling up a stored setting . . . . . . . .68
Factory (key ).. . . . . . . . . . . . . .56, 57
Factory (on-board computer) . . . . .101
Setting the unit (on-board computer)
Speedometer . . . . . . . . . . . . . . . . .102
Shift range s
Automatic transmission . . . . . . . . . .86
Display in the speedomete r.. . . . ..85
Side window
Fault . . . . . . . . . . . . . . . . . . . . . . . .206
Opening/closing . . . . . . . . . . . . . . .79
Resettin g.. . . . . . . . . . . . . . . . . . . .81
Side windows
Cleaning . . . . . . . . . . . . . . . . . . . . .168
Snow chains . . . . . . . . . . . . . . . . . . . .161
Socket . . . . . . . . . . . . . . . . . . . . . . . . .141
Soft top see Roo f
Spare wheel
Fitting . . . . . . . . . . . . . . . . . . . . . . .225
Storage location . . . . . . . . . . . . . . .172
Technical data . . . . . . . . . . . . . . . .252
Spee d
Technical data . . . . . . . . . . . . . . . .245
Speed limiter
Speedtronic . . . . . . . . . . . . . . . . . .112 Index
171_AKB; 3; 4, en-GB
vpfaff7,
2007-11-13T10:50:25+01:00 - Seite 10
Page 93 of 273

Instrument cluste
r90 Instrument cluster
Points to remember
You will find an illustration of the instrumen t
cluster in the "At a glance" section
( Y page 24). G
Risk of accident
No further messages can be displayed if
there is a malfunction in the instrument
cluster and/or the multi-function display .
This means that you will not see information
about the driving situation, such as the
speed, outside temperature, warning/indi-
cator lamps, display messages or system
failures. The vehicle's handling character-
istics may be affected. Adjust your driving
style and speed accordingly.
Immediately consult a qualified specialist
workshop which has the necessary special-
ist knowledge and tools to carry out the
work required. Mercedes-Benz recom-
mends that you use a Mercedes-Benz
Service Centre for this purpose. In particu-
lar, work relevant to safety or on safety-
related systems must be carried out at a
qualified specialist workshop. Activating the multi-function displa
y
X Switch on the ignition.
The multi-function display is also activate d
when you:
R switch on the lights
R press the Jreset button on the left-hand
side of the instrument cluster
R open the driver's door
The multi-function display lights up for about
30 seconds when you open a door and then
do nothing else. Adjusting the instrument cluster
lighting
You can only brighten or dim the instrument
cluster lighting when it is dark.
X Brighter or dimmer: briefly press the,
or . adjusting knob on the left-hand side
of the instrument cluster (Y page 24).
The brightness of the instrument cluster
lighting changes by one level. There are
several possible levels. Resetting the trip meter
X Select the standard display menu
( Y page 95).
X Press and hold reset button 4on the left-
hand side of the instrument cluster until the
trip meter is reset. Rev counter
The red band in the rev counter indicates the
engine's overrevving range. The fuel supply is
interrupted to protect the engine when the
red band is reached.
! Do not drive in the overrevving range.
Doing so will damage the engine. H
Environmental not
e
Avoid driving at high engine speeds, as thi s
increases your vehicle's consumption
unnecessarily and pollutes the environ -
ment through increased emissions. Controls
171_AKB; 3; 4, en-GB
vpfaff7,
2007-11-13T10:50:25+01:00 - Seite 90
Page 98 of 273

On-board computer
95Function
1 Standard display
menu
( Y page 95)
R Total distance recorder
(Y page 95)
R Tyre pressure loss warning sys-
tem* (Y page 158 )
R Coolant temperature (Y page 96)
R Digital speedometer or outside tem-
perature (Y page 96)
R ASSYST PLUS service displa y
( Y page 165 )
R Engine oil level* (Y page 151 ) 2
AMG
* menu (Y page 96) 3
Audio*/DVD*
menu(Y page 98)
R Radio station (Y page 99)
R Audio drive or media**
(Y page 99)
R DVD video* (Y page 99) Function
4
Navigation
* menu (NAV)
( Y page 100 ) 5
Message memory
menu10
(fault and
warning messages) (Y page 100 ) 6 Settings
menu(Y page 101 )
R Resetting to factory setting s
( Y page 101 )
R Selecting a submenu (Y page 101 ) 7 Trip computer
menu(Y page 107 )
R Consumption statistics
(Y page 107 )
R Range (Y page 107 ) 8
Telephon
e* menu (Y page 108 ) This is what the displays look like when you
scroll through the menus.
The generic terms in the table overview are
intended to help you navigate through the
menus. The terms themselves are not alway
s
displayed in the multi-function display. Depending on the audio system fitted, the
Audio*,
Navigation* and Telephone*
menus are slightly different. The examples
given in this Owner's Manual apply to vehicles
equipped with COMAND APS*. Standard display menu
i Menu overview: see (Y page 94).
Use the buttons on the multi-function steer -
ing wheel.
X Press the èor· button to select the
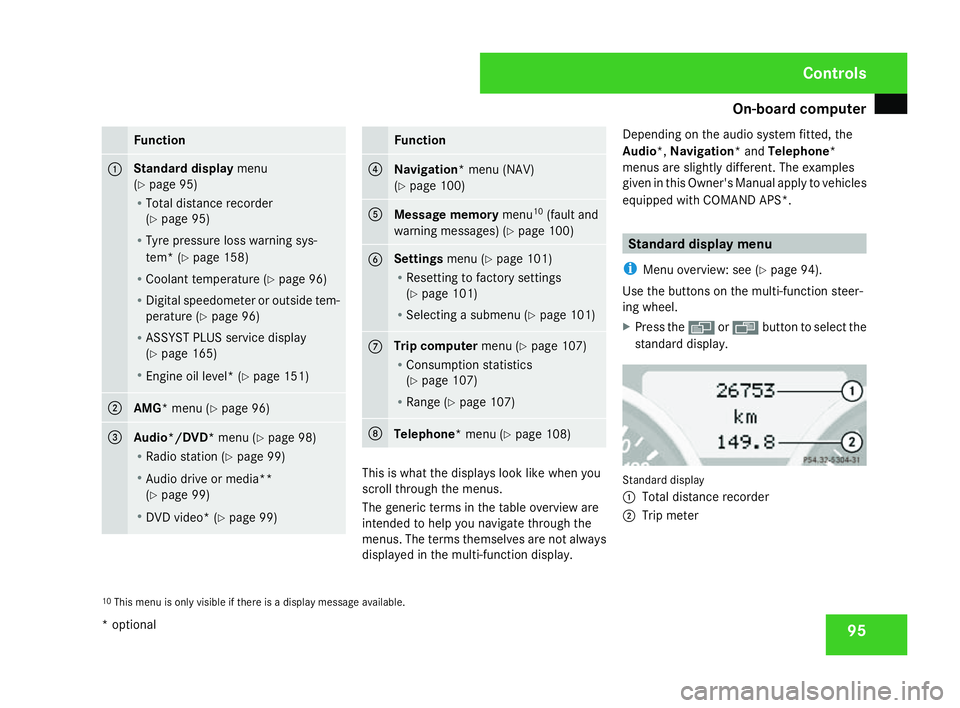
standard display. Standard display
1
Total distance recorder
2 Trip meter
10 This menu is only visible if there is a display message available. Controls
* optional
171_AKB; 3; 4, en-GB
vpfaff7,
2007-11-13T10:50:25+01:00 - Seite 95
Page 168 of 273

Service
165side of the road as in the country in which
your vehicle was registered. You may oth-
erwise dazzle the oncoming traffic and
could cause an accident. Service
Active Service System PLUS
ASSYST PLUS, the Active Service System,
tells you when the next service is due. When-
ever a service is due, this is shown in the
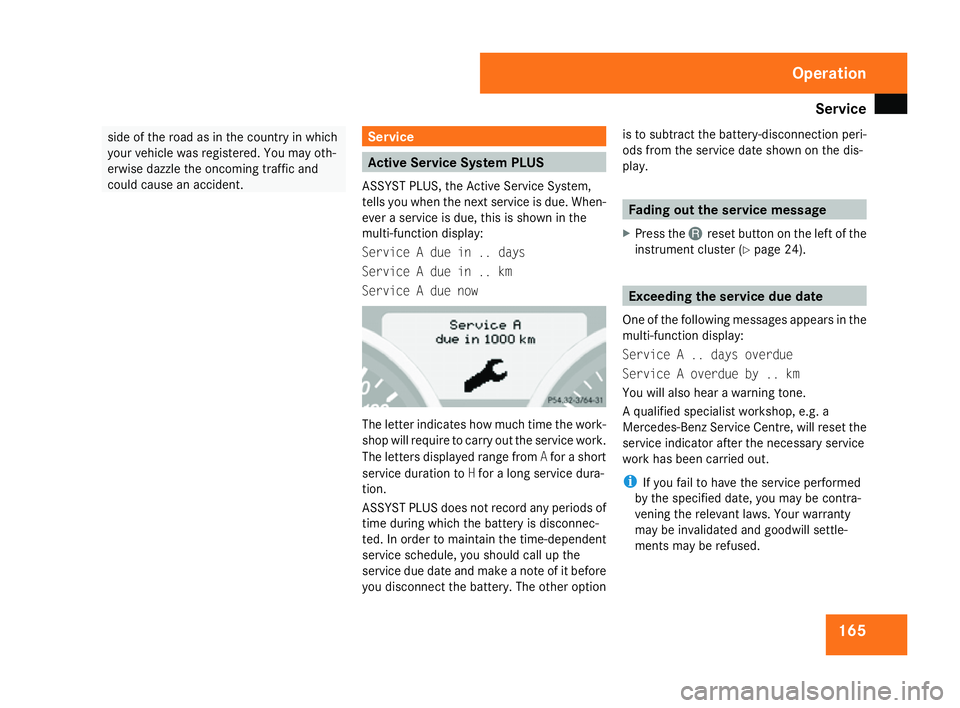
multi-function display:
Service A due in .. days
Service A due in .. km
Service A due now The letter indicates how much time the work-
shop will require to carry out the service work.
The letters displayed range from
Afor a short
service duration to Hfor a long service dura-
tion.
ASSYST PLUS does not record any periods of
time during which the battery is disconnec-
ted. In order to maintain the time-dependent
service schedule, you should call up the
service due date and make a note of it before
you disconnect the battery. The other optio nis to subtract the battery-disconnection peri-
ods from the service date shown on the dis-
play. Fading out the service message
X Press the Jreset button on the left of the
instrument cluster (Y page 24). Exceeding the service due date
One of the following messages appears in the
multi-function display:
Service A .. days overdue
Service A overdue by .. km
You will also hear a warning tone.
A qualified specialist workshop, e.g. a
Mercedes-Benz Service Centre, will reset the
service indicator after the necessary service
work has been carried out.
i If you fail to have the service performe d
by the specified date, you may be contra-
vening the relevant laws. Your warranty
may be invalidated and goodwill settle-
ments may be refused. Operation
171_AKB; 3; 4, en-GB
vpfaff7
, 2007-11-13T10:50:25+01:00 - Seite 165
Page 236 of 273

Battery
23
3
i
If the battery power supply has been inter-
rupted (e.g. if it has been reconnected), you
must carry out the following tasks:
R Set the time (Y page 104).
R Reset the function for folding the exterio r
mirrors in/out automatically* by folding
the mirrors out once (Y page 66). Jump-starting
If your vehicle's battery is discharged, the
engine can be jump-started from another
vehicle or from an external battery using jump
leads.
Observe the following points:
R Jump-starting may only be performed when
the engine and catalytic converter are cold.
R Do not start the engine if the battery ha s
frozen. Thaw the battery out first.
R Jump-starting may only be performed from
batteries with a nominal voltage of 12V.
R Only use jump leads which are protected
against polarity reversal and which have a
sufficient cross-section and insulated ter-
minal clamps. i
Jump leads which are protected against
polarity reversal and further informatio n
about jump-starting can be obtained from
any Mercedes-Benz Service Centre.
! Avoid repeated and lengthy starting
attempts.
Never start the vehicle using a rapid battery
charger. G
Risk of injury
There is a risk of acid burns when jump -
starting a vehicle due to the gases which
escape from the battery. Do not lean over
the battery while the engine is being jump-
started. G
Risk of explosion
Gases escaping from the battery during
jump-starting may cause minor explosions.
Avoid creating sparks. Keep naked flames
away from the battery, and do not smoke .
Comply with safety precautions and tak e
protective measures when handling batter-
ies. You will find these under “Battery” in
the index .
X Make sure that the two vehicles do not
touch.
X Apply the handbrake. X
Manual transmission: engage neutral.
X Automatic transmission*: move the
selector lever to P.
X All vehicles: switch off all electric consum-
ers . 1
Positive terminal of donor batter y
2 Positive terminal on your vehicle
3 Negative terminal of donor battery
4 Earth point on your vehicl e
X Lift up the cover of positive terminal 2on
your vehicle.
X Connect positive terminal 2on your vehi-
cle to positive terminal 1of the donor
battery using the jump lead, connecting the
jump lead to your own battery first. Practical advice
* optional
171_AKB; 3; 4, en-GB
vpfaff7,
2007-11-13T10:50:25+01:00 - Seite 233 Z