2008 MERCEDES-BENZ SLK ROADSTER check oil
[x] Cancel search: check oilPage 9 of 273
6
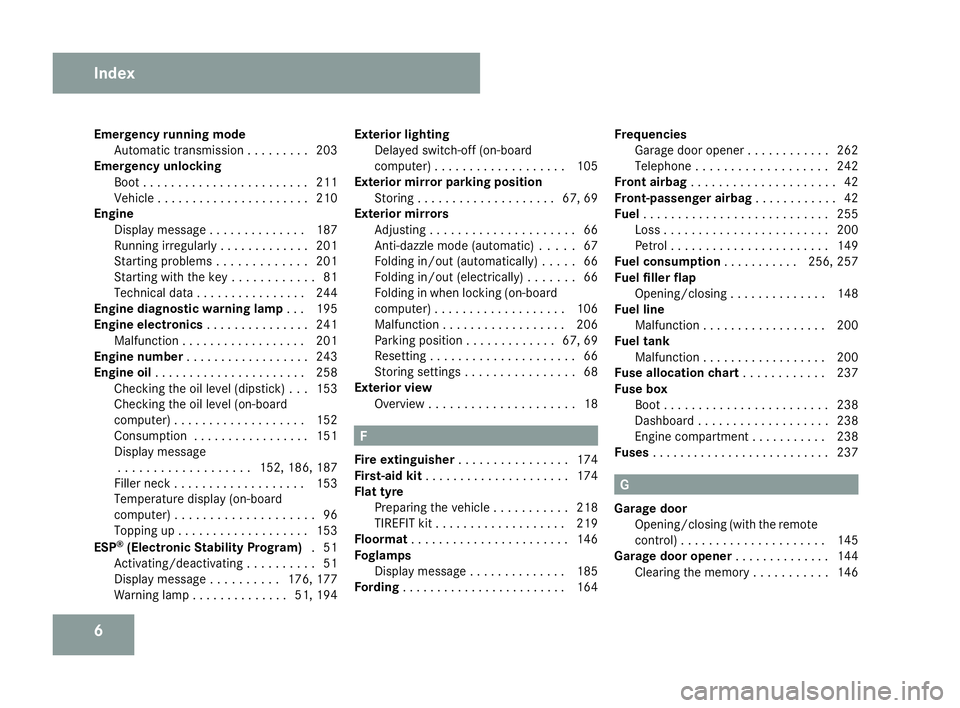
Emergency running mod
e
Automatic transmission . . . . . . . . .203
Emergency unlocking
Boot . . . . . . . . . . . . . . . . . . . . . . . .211
Vehicle . . . . . . . . . . . . . . . . . . . . . .210
Engine
Display message . . . . . . . . . . . . . .187
Running irregularl y.. . . . . . . . . . . .201
Starting problems . . . . . . . . . . . . .201
Starting with the key . . . . . . . . . . . .81
Technical data . . . . . . . . . . . . . . . .244
Engine diagnostic warning lamp . ..1 95
Engine electronics . . . . . . . . . . . . . ..241
Malfunction . . . . . . . . . . . . . . . . . .201
Engine number . . . . . . . . . . . . . . . . . .243
Engine oil . . . . . . . . . . . . . . . . . . . . . .258
Checking the oil level (dipstick) . . .153
Checking the oil level (on-board
computer) . . . . . . . . . . . . . . . . . . .152
Consumption . . . . . . . . . . . . . . . . .151
Display message . . . . . . . . . . . . . . . . . . .152, 186, 187
Filler neck . . . . . . . . . . . . . . . . . . .153
Temperature display (on-board
computer) . . . . . . . . . . . . . . . . . . . .96
Topping up . . . . . . . . . . . . . . . . . . .153
ESP ®
(Electronic Stability Program) .51
Activating/deactivating . . . . . . . . . .51
Display message . . . . . . . . . .176, 177
Warning lamp . . . . . . . . . . . . . .51, 194 Exterior lighting
Delayed switch-off (on-board
computer) . . . . . . . . . . . . . . . . . . .105
Exterior mirror parking position
Storing . . . . . . . . . . . . . . . . . . . .67, 69
Exterior mirrors
Adjusting . . . . . . . . . . . . . . . . . . . . .66
Anti-dazzle mode (automatic) . . . . .67
Folding in/out (automatically ).. . . .66
Folding in/out (electrically) . . . . . . .66
Folding in when locking (on-board
computer) . . . . . . . . . . . . . . . . . . .106
Malfunction . . . . . . . . . . . . . . . . . .206
Parking position . . . . . . . . . . . . .67, 69
Resetting . . . . . . . . . . . . . . . . . . . . .66
Storing settings . . . . . . . . . . . . . . . .68
Exterior view
Overview . . . . . . . . . . . . . . . . . . . . .18 F
Fire extinguishe r. . . . . . . . . . . . . . . .174
First-aid kit . . . . . . . . . . . . . . . . . . . . .174
Flat tyre Preparing the vehicle . . . . . . . . . . .218
TIREFIT kit . . . . . . . . . . . . . . . . . . .219
Floormat . . . . . . . . . . . . . . . . . . . . . . .146
Foglamps Display message . . . . . . . . . . . . . .185
Fording . . . . . . . . . . . . . . . . . . . . . . . .164 Frequencies
Garage door opene r.. . . . . . . . . . .262
Telephone . . . . . . . . . . . . . . . . . . .242
Front airbag . . . . . . . . . . . . . . . . . . . . .42
Front-passenger airbag . . . . . . . . . . ..42
Fuel . . . . . . . . . . . . . . . . . . . . . . . . . . .255
Loss . . . . . . . . . . . . . . . . . . . . . . . .200
Petrol . . . . . . . . . . . . . . . . . . . . . . .149
Fuel consumptio n. . . . . . . . . . .256, 257
Fuel filler flap Opening/closing . . . . . . . . . . . . . .148
Fuel lin e
Malfunction . . . . . . . . . . . . . . . . . .200
Fuel tank
Malfunction . . . . . . . . . . . . . . . . . .200
Fuse allocation chart . . . . . . . . . . ..237
Fuse box Boot . . . . . . . . . . . . . . . . . . . . . . . .238
Dashboard . . . . . . . . . . . . . . . . . . .238
Engine compartment . . . . . . . . . . .238
Fuse s. . . . . . . . . . . . . . . . . . . . . . . . . .237 G
Garage door Opening/closing (with the remote
control) . . . . . . . . . . . . . . . . . . . . .145
Garage door opener . . . . . . . . . . . . ..144
Clearing the memory . . . . . . . . . . .146 Index
171_AKB; 3; 4, en-GB
vpfaff7,
2007-11-13T10:50:25+01:00 - Seite
6
Page 154 of 273
Engine compartment
151
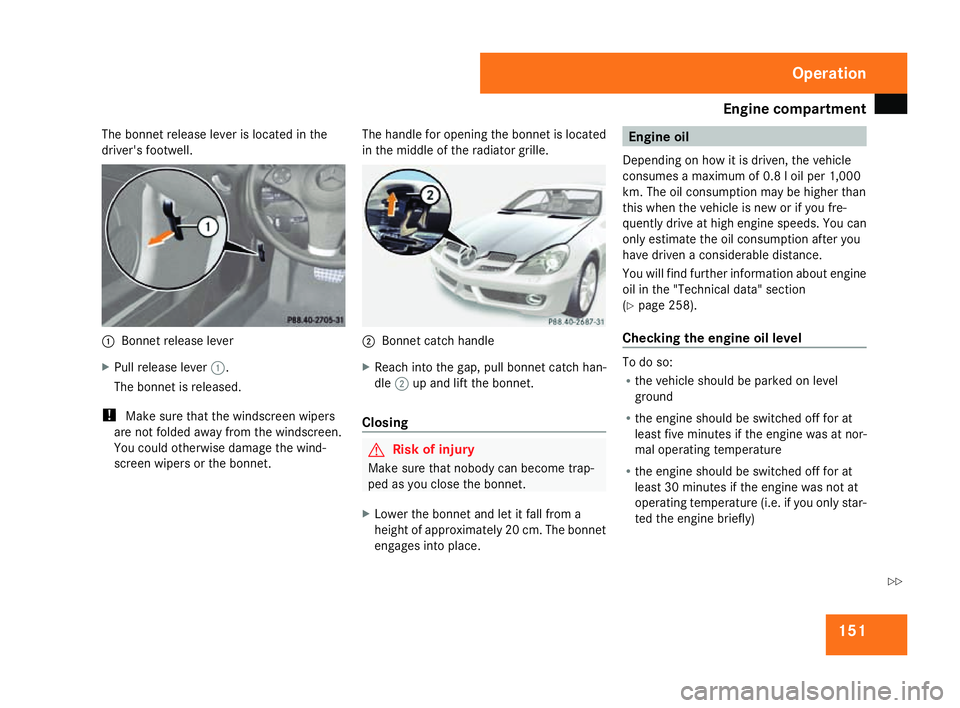
The bonnet release lever is located in th
e
driver's footwell. 1
Bonnet release lever
X Pull release lever 1.
The bonnet is released.
! Make sure that the windscreen wipers
are not folded away from the windscreen.
You could otherwise damage the wind-
screen wipers or the bonnet. The handle for opening the bonnet is located
in the middle of the radiator grille. 2
Bonnet catch handl e
X Reach into the gap, pull bonnet catch han-
dle 2up and lift the bonnet.
Closing G
Risk of injury
Make sure that nobody can become trap-
ped as you close the bonnet.
X Lower the bonnet and let it fall from a
height of approximately 20 cm. The bonnet
engages into place. Engine oil
Depending on how it is driven, the vehicle
consumes a maximum of 0.8 l oil per 1,000
km. The oil consumption may be higher than
this when the vehicle is new or if you fre-
quently drive at high engine speeds. You can
only estimate the oil consumption after you
have driven a considerable distance.
You will find further information about engine
oil in the "Technical data" section
( Y page 258).
Checking the engine oil level To do so:
R
the vehicle should be parked on leve l
ground
R the engine should be switched off for at
least five minutes if the engine was at nor -
mal operating temperature
R the engine should be switched off for at
least 30 minutes if the engine was not at
operating temperature (i.e. if you only star-
ted the engine briefly ) Operation
171_AKB; 3; 4, en-GB
vpfaff7,
2007-11-13T10:50:25+01:00 - Seite 151 Z
Page 159 of 273
Tyres and wheels
15
6
may be adversely affected. In addition, the
wheels may come into contact with the
body or axle components when heavily loa-
ded or when driving with snow chains. This
could result in damage to the tyres or the
vehicle.
! Retreaded tyres are neither tested nor
recommended by Mercedes-Benz, sinc e
previous damage cannot always be detec -
ted on retreaded tyres. As a result,
Mercedes-Benz cannot guarantee vehicl e
safety if retreaded tyres are fitted. Do not
fit used tyres if you have no information
about their previous usage. G
Risk of accident
If wheels or tyres other than those which
have been tested are fitted:
R the brakes or chassis components could
be damage d
R wheel and tyre clearances can no longer
be guarantee d
This could cause an accident .
Modification work on the brake system and
wheels is not permitted, nor is the use of
spacer plates or brake dust shields. This inva-
lidates the General Operating Permit for the
vehicle. Notes on selecting, fitting and replacing
tyres R
Only fit tyres and wheels of the same type
and make.
R Only fit tyres of the correct size onto the
wheels.
R After fitting new tyres, run them in at mod -
erate speeds for the first 100 km as they
only reach their full performance after this
distance.
R Fit new tyres on the front wheels first if
tyres of the same size are required on the
front and rear wheels.
R Replace the tyres after six years at the lat -
est, regardless of wear. This also applies to
the spare wheel*.
R Do not drive with tyres which have too little
tread depth as this significantly reduce s
the traction on wet roads (aquaplaning).
! Store tyres that are not being used in a
cool, dry and preferably dark place. Protect
the tyres against oil, grease, petrol and die-
sel . Notes on regularly inspecting wheels
and tyre s R
Regularly check the wheels and tyres of
your vehicle for damage (e.g. cuts, punctu-
res, tears, bumps on tyres and deforma-
tion, cracks or severe corrosion on wheels),
at least every 14 days, as well as after off -
road trips or after travelling on rough roads.
Damaged wheels could cause a loss of tyre
pressure.
R Regularly check the tyre tread depth and
the condition of the tread across the whol e
width of the tyre (Y page 157). If neces-
sary, turn the front wheels to full lock in
order to inspect the inner side of the tyre
surface.
R All wheels must have a valve cap to protect
the valve against dirt and moisture.
R Regularly check the pressure of all your
tyres (including the spare tyre*), particu-
larly prior to long trips, and correct th e
pressure as necessary (Y page 157).
Notes on driving R
While driving, pay attention to vibrations,
noises and unusual handling characteris-
tics, e.g. pulling to one side. This may indi- Operation
* optional
171_AKB; 3; 4, en-GB
vpfaff7
, 2007-11-13T10:50:25+01:00 - Seite 156
Page 189 of 273
Display
messages 18
6 Display messages Possible cause/consequence Possible solution
. Left-hand tail
lamp Back-up bulb
on
or
Right-hand tail
lamp Back-up bulb
on The left-hand or right-hand tail lamp is
faulty. X
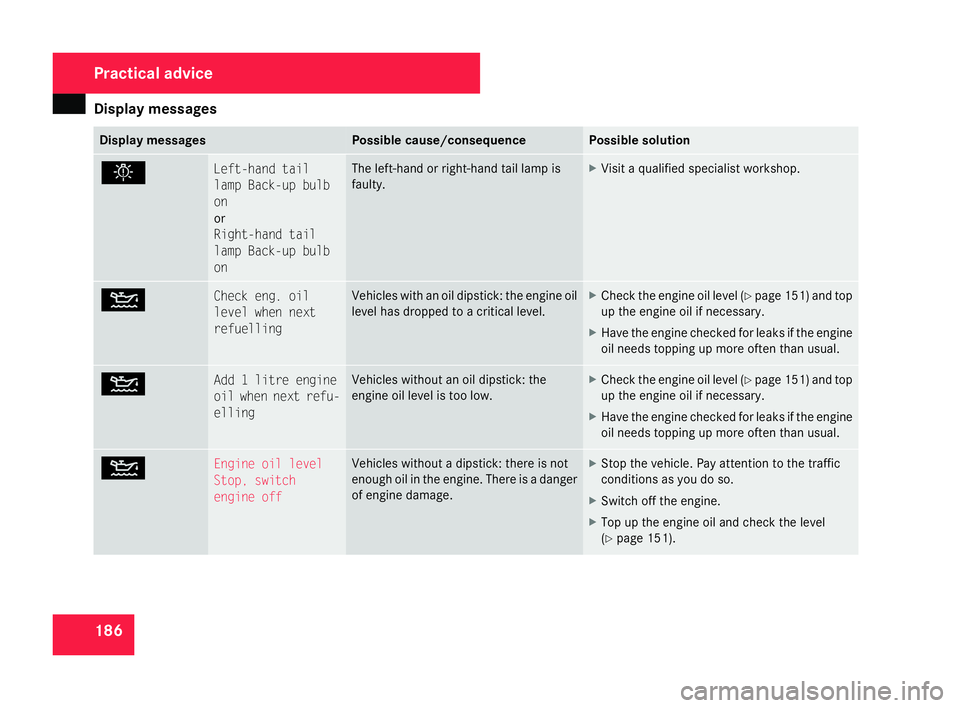
Visit a qualified specialist workshop. N Check eng. oil
level when next
refuelling Vehicles with an oil dipstick: the engine oil
level has dropped to a critical level. X
Check the engine oil level (Y page 151 )and top
up the engine oil if necessary .
X Have the engine checked for leaks if the engine
oil needs topping up more often than usual .N Add 1 litre engine
oil when next refu-
elling Vehicles without an oil dipstick: the
engine oil level is too low. X
Check the engine oil level (Y page 151 )and top
up the engine oil if necessary .
X Have the engine checked for leaks if the engine
oil needs topping up more often than usual .N Engine oil level
Stop, switch
engine off Vehicles without a dipstick: there is not
enough oil in the engine. There is a danger
of engine damage. X
Stop the vehicle. Pay attention to the traffic
conditions as you do so.
X Switch off the engine.
X Top up the engine oil and check the level
(Y page 151). Practical advice
171_AKB; 3; 4, en-GB
vpfaff7,
2007-11-13T10:50:25+01:00 - Seite 186
Page 206 of 273
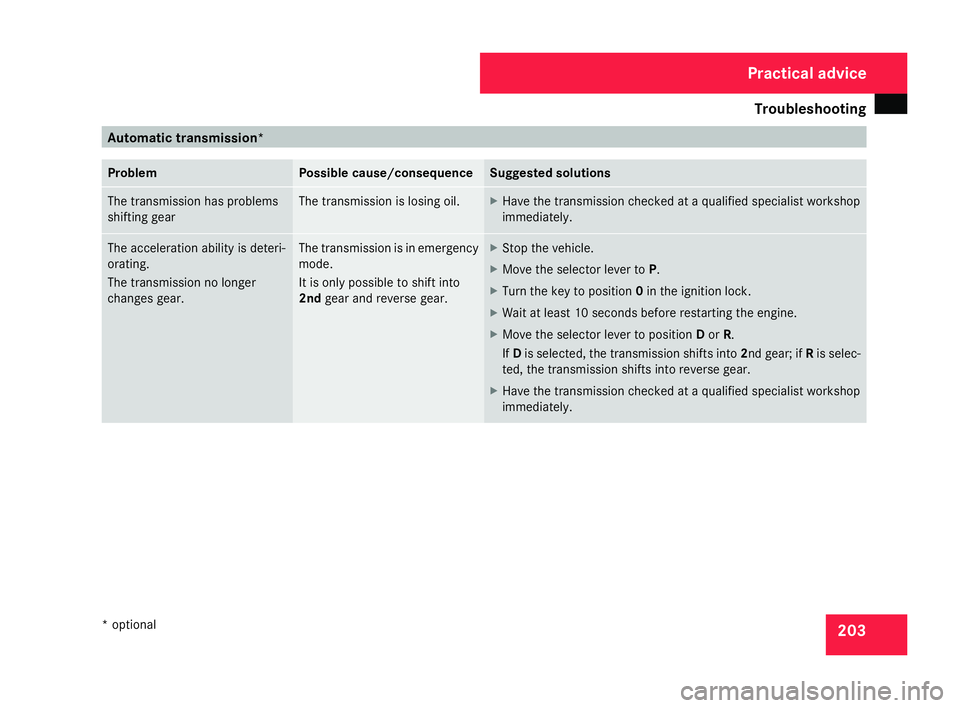
Troubleshooting
20
3 Automatic transmission
*Problem Possible cause/consequence Suggested solutions
The transmission has problems
shifting gear The transmission is losing oil. X
Have the transmission checked at a qualified specialist workshop
immediately . The acceleration ability is deteri-
orating.
The transmission no longer
changes gear. The transmission is in emergenc
y
mode.
It is only possible to shift into
2nd gear and reverse gear. X
Stop the vehicle.
X Move the selector lever to P.
X Turn the key to position 0in the ignition lock .
X Wait at least 10 seconds before restarting the engine.
X Move the selector lever to position Dor R.
If D is selected, the transmission shifts into 2nd gear; if Ris selec -
ted, the transmission shifts into reverse gear .
X Have the transmission checked at a qualified specialist workshop
immediately . Practical advice
* optional
171_AKB; 3; 4, en-GB
vpfaff7,
2007-11-13T10:50:25+01:00 - Seite 203