Page 376 of 761

375 Controls in detail
Lighting
Rear fog lamp (driver’s side only)
�Switch on the low beam
headlampsB (
�page 372).
�Pull out exterior lamp switch to second
stop.
The front fog lamps and the rear fog
lamp switch on.
The yellow indicator lamp† in the
exterior lamp switch comes on
(
�page 371).
�Push in the exterior lamp switch to first
stop.
The rear fog lamp switches off.
The green indicator lamp‡ in the
exterior lamp switch goes out.
The front fog lamps remain lit.
Switching on high beams
Combination switch
1High beam
2High beam flasher
�Turn the exterior lamp switch to
positionB (
�page 371).
�Push the combination switch in the di-
rection of arrow1.
The high beam indicatorA in the in-
strument cluster comes on
(
�page 28).
�High beam flasher: Pull the combina-
tion switch briefly in the direction of
arrow2.
Headlamp cleaning system
1Headlamp cleaning button
�Switch on the ignition (�page 344).
�Press button1 up or down.
The headlamps are cleaned with a
high-pressure water jet.
iThe headlamps are automatically cleaned
when, at the same time,
�the engine is running
�the headlamps are switched on
�the windshield wipers have wiped the wind-
shield with washer fluid fifteen times
��
Page 462 of 761

461 Controls in detail
Driving systems
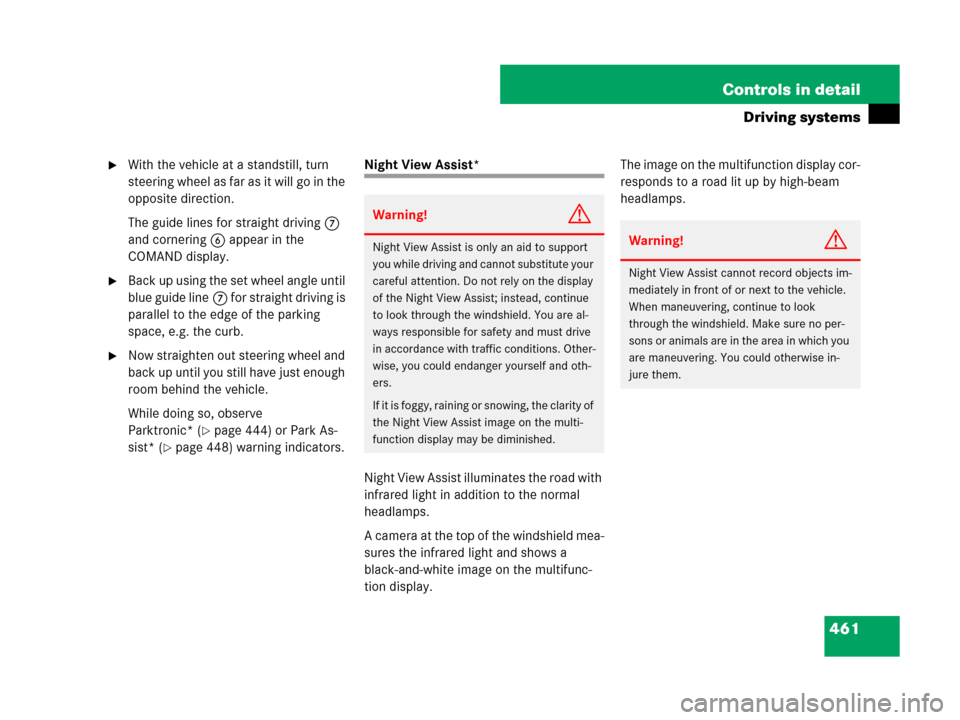
�With the vehicle at a standstill, turn
steering wheel as far as it will go in the
opposite direction.
The guide lines for straight driving7
and cornering6 appear in the
COMAND display.
�Back up using the set wheel angle until
blue guide line7 for straight driving is
parallel to the edge of the parking
space, e.g. the curb.
�Now straighten out steering wheel and
back up until you still have just enough
room behind the vehicle.
While doing so, observe
Parktronic* (
�page 444) or Park As-
sist* (
�page 448) warning indicators.
Night View Assist*
Night View Assist illuminates the road with
infrared light in addition to the normal
headlamps.
A camera at the top of the windshield mea-
sures the infrared light and shows a
black-and-white image on the multifunc-
tion display. The image on the multifunction display cor-
responds to a road lit up by high-beam
headlamps.
Warning!G
Night View Assist is only an aid to support
you while driving and cannot substitute your
careful attention. Do not rely on the display
of the Night View Assist; instead, continue
to look through the windshield. You are al-
ways responsible for safety and must drive
in accordance with traffic conditions. Other-
wise, you could endanger yourself and oth-
ers.
If it is foggy, raining or snowing, the clarity of
the Night View Assist image on the multi-
function display may be diminished.Warning!G
Night View Assist cannot record objects im-
mediately in front of or next to the vehicle.
When maneuvering, continue to look
through the windshield. Make sure no per-
sons or animals are in the area in which you
are maneuvering. You could otherwise in-
jure them.
Page 463 of 761

462 Controls in detail
Driving systems
The Night View Assist image on the multi-
function display is not impaired
�by the headlamps of approaching vehi-
cles
�if you cannot switch on the high beams
due to oncoming traffic
As a result, you can better follow the
course of the road and detect obstacles
earlier on.
The camera is at the top of the windshield.
1Night View Assist cameraSwitching on or off
You can only switch on the Night View As-
sist if
�the SmartKey in the starter switch is
set to position2
�it is dark
�the light switch is set to * or B
or if the daytime driving lamps are
switched on
�the automatic transmission is not in
positionR
1Night View Assist on or off
�Press button1 up or down.
The Night View Assist image appears
on the multifunction display.
Image on multifunction display
When you switch on Night View Assist, the
image for the speed gauge changes on the
multifunction display. The speed gauge is
shown as a bar on the lower edge of the
multifunction display. The line for main
menus is no longer available. If you would
like to change a setting using the steering
wheel buttons, you must first switch off
Night View Assist.
iInfrared light is invisible to the human eye
and can therefore remain permanently switched
on without blinding oncoming traffic.
iThe infrared headlamps only come on above
a speed of approximately 9 mph (15 km/h).
Therefore, when you are at a standstill, you do
not have a complete view and cannot check the
function of the Night View Assist.
Page 614 of 761
613 Practical hints
What to do if …?
On the pages that follow, you will find a
compilation of the most important warning
and malfunction messages that may ap-
pear in the malfunction display.
For your convenience the messages are di-
vided into two sections:
�Text messages (�page 614)
�Symbol messages (�page 626)
Warning!G
All categories of messages contain impor-
tant information which should be taken note
of and, where a malfunction is indicated, ad-
dressed as soon as possible at an autho-
rized Mercedes-Benz Center.
Failure to repair condition noted may cause
damage not covered by the Mercedes-Benz
Limited Warranty, or result in property dam-
age or personal injury.
iSwitching on the ignition causes all instru-
ment cluster lamps (except high beam headlamp
indicator lamp and turn signal indicator lamps
unless activated) as well as the multifunction dis-
play to come on. Make sure the lamps and multi-
function display are in working order before
starting your journey.
Page 654 of 761
653 Practical hints
What to do if …?
Display Possible cause/consequencePossible solution
Third brake lampThe high mounted brake lamp is malfunc-
tioning. This message will only appear if a
critical number of light emitting diodes have
stopped working.�Contact an authorized Mercedes-Benz Cen-
ter as soon as possible.
Corner. lamp,
LeftThe left-hand corner-illuminating lamp is
malfunctioning.�Replace the bulb as soon as possible
(
�page 678).
Corner. lamp,
RightThe right-hand corner-illuminating lamp is
malfunctioning.�Replace the bulb as soon as possible
(
�page 678).
Low beam,
LeftThe left low beam lamp is malfunctioning.�Contact an authorized Mercedes-Benz Cen-
ter as soon as possible.
Low beam,
RightThe right low beam lamp is malfunctioning.�Contact an authorized Mercedes-Benz Cen-
ter as soon as possible.
Active headlamps
inoperativeThe active headlamps are malfunctioning.�Contact an authorized Mercedes-Benz Cen-
ter as soon as possible.
Page 656 of 761

655 Practical hints
What to do if …?
Display Possible cause/consequencePossible solution
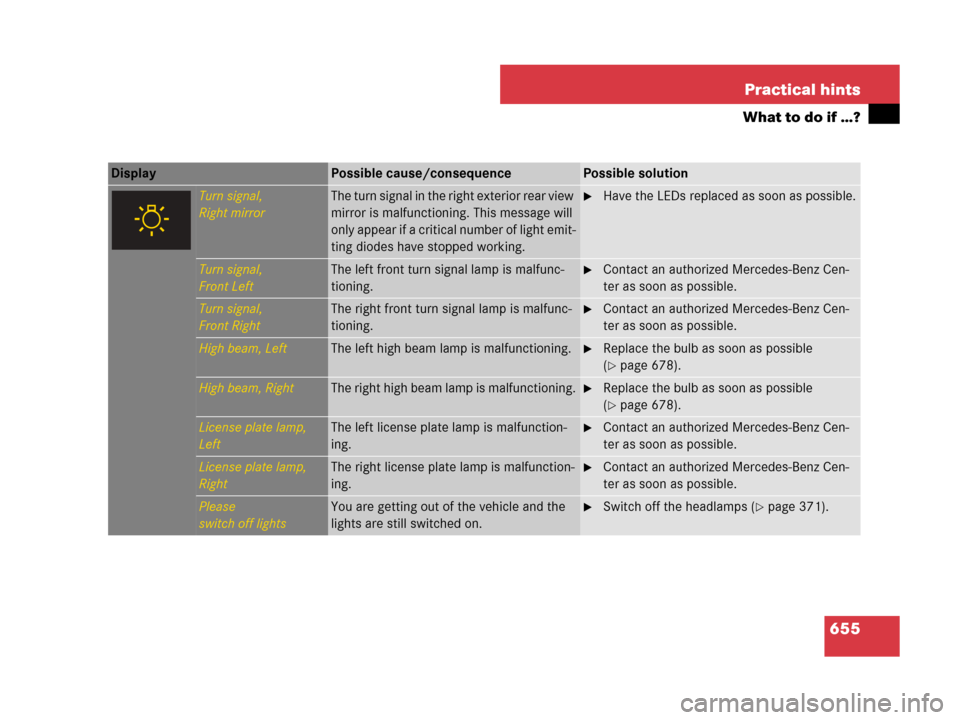
Turn signal,
Right mirrorThe turn signal in the right exterior rear view
mirror is malfunctioning. This message will
only appear if a critical number of light emit-
ting diodes have stopped working.�Have the LEDs replaced as soon as possible.
Turn signal,
Front LeftThe left front turn signal lamp is malfunc-
tioning.�Contact an authorized Mercedes-Benz Cen-
ter as soon as possible.
Turn signal,
Front RightThe right front turn signal lamp is malfunc-
tioning.�Contact an authorized Mercedes-Benz Cen-
ter as soon as possible.
High beam, LeftThe left high beam lamp is malfunctioning.�Replace the bulb as soon as possible
(
�page 678).
High beam, RightThe right high beam lamp is malfunctioning.�Replace the bulb as soon as possible
(
�page 678).
License plate lamp,
LeftThe left license plate lamp is malfunction-
ing.�Contact an authorized Mercedes-Benz Cen-
ter as soon as possible.
License plate lamp,
RightThe right license plate lamp is malfunction-
ing.�Contact an authorized Mercedes-Benz Cen-
ter as soon as possible.
Please
switch off lightsYou are getting out of the vehicle and the
lights are still switched on.�Switch off the headlamps (�page 371).
Page 680 of 761
679 Practical hints
Replacing bulbs
Bulbs Front lamps Rear lamps
LampType
1Bi-Xenon headlamp:
Low and high beam
lamp
1
1Bi-Xenon headlamps: Low beam and high beam
use the same D1S-35W lamp. Do not replace the
Bi-Xenon bulbs yourself. Contact an authorized
Mercedes-Benz Center.
D1S-35 W
2Additional turn signal
lampLED
3Parking and standing
lampW5W
4Side marker lampW5W
5Bi-Xenon headlamp:
High beam flasher lampH7-55 W
IR emitter* (for Night
View Assist*)H11-55 W
6Corner-illuminating
lampH7-55 W
7Fog lampH11-55 W
8Turn signal lampPY 24 W
LampType
9High mounted brake
lampLED
aTurn signal lampHiP 16 W
bBrake lamp/tail lamp
and standing lampLED
cLicense plate lampW5W
dBackup lampHiP 16 W
eSide marker lampLED
fRear fog lamp (driver’s
side only)HiP 19 W
Page 683 of 761

682 Practical hints
Replacing bulbs
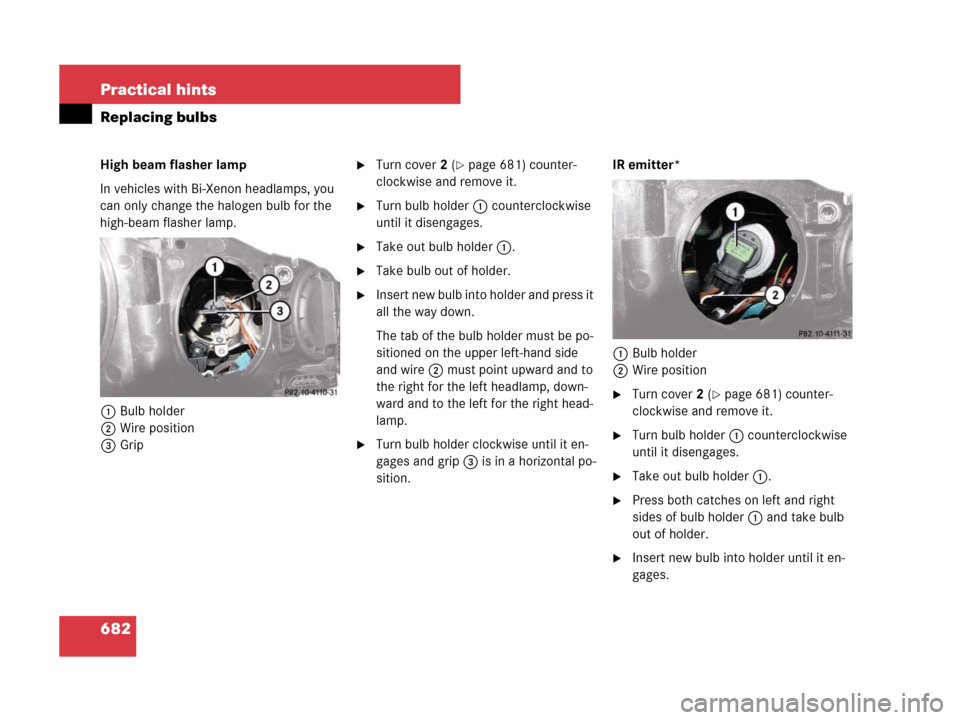
High beam flasher lamp
In vehicles with Bi-Xenon headlamps, you
can only change the halogen bulb for the
high-beam flasher lamp.
1Bulb holder
2Wire position
3Grip�Turn cover2 (�page 681) counter-
clockwise and remove it.
�Turn bulb holder1 counterclockwise
until it disengages.
�Take out bulb holder1.
�Take bulb out of holder.
�Insert new bulb into holder and press it
all the way down.
The tab of the bulb holder must be po-
sitioned on the upper left-hand side
and wire2 must point upward and to
the right for the left headlamp, down-
ward and to the left for the right head-
lamp.
�Turn bulb holder clockwise until it en-
gages and grip3 is in a horizontal po-
sition.IR emitter*
1Bulb holder
2Wire position
�Turn cover2 (�page 681) counter-
clockwise and remove it.
�Turn bulb holder1 counterclockwise
until it disengages.
�Take out bulb holder1.
�Press both catches on left and right
sides of bulb holder1 and take bulb
out of holder.
�Insert new bulb into holder until it en-
gages.