Page 45 of 273
TILT STEERING WHEEL
To adjust the steering wheel:
1. Pull and hold the steering wheel
release control toward you.
2. Move the steering wheel up or
down until you find the desired
location.
3. Release the steering wheel
release control. This will lock the
steering wheel in position.
WARNING:Never adjust the steering wheel when the vehicle is
moving.
ILLUMINATED VISOR MIRROR (IF EQUIPPED)
Lift the mirror cover to turn on the
visor mirror lamp.
Slide on rod feature (if
equipped)
Rotate the visor towards the side
window and extend it rearward for
additional sunlight coverage.
Note:To stow the visor back into
the headliner, visor must be
retracted before moving it back
towards the windshield.
2008 Town Car(tow)
Owners Guide (post-2002-fmt)
USA(fus)
Driver Controls
45
Page 46 of 273

Power outlets are designed for accessory plugs")
CLOCK
Press the right control to move the
time display forward.
Press the left control to move the
time display backwards.
AUXILIARY POWER POINT (12VDC)
Power outlets are designed for accessory plugs only. Do not insert
any other object in the power outlet as this will damage the
outlet and blow the fuse. Do not hang any type of accessory or
accessory bracket from the plug. Improper use of the power
outlet can cause damage not covered by your warranty.
The auxiliary power point is located
under the instrument panel.
Do not use the power point for
operating the cigarette lighter
element (if equipped).
To prevent the fuse from being
blown, do not use the power
point(s) over the vehicle capacity of
12 VDC/180W. If the power point or cigar lighter socket is not working, a
fuse may have blown. Refer toFuses and relaysin theRoadside
Emergencieschapter for information on checking and replacing fuses.
To have full capacity usage of your power point, the engine is required to
be running to avoid unintentional discharge of the battery. To prevent
the battery from being discharged:
•do not use the power point longer than necessary when the engine is
not running,
2008 Town Car(tow)
Owners Guide (post-2002-fmt)
USA(fus)
Driver Controls
46
Page 47 of 273

•do not leave battery chargers, video game adapters, computers and
other devices plugged in overnight or when the vehicle is parked for
extended periods.
Always keep the power point caps closed when not being used.
Cigar/Cigarette lighter (if equipped)
Do not plug optional electrical accessories into the cigarette lighter
socket.
Do not hold the lighter in with your hand while it is heating, this will
damage the lighter element and socket. The lighter will be released from
its heating position when it is ready to be used.
Improper use of the lighter can cause damage not covered by your
warranty.
REAR CENTER CONSOLE FEATURES (IF EQUIPPED)
The rear center console incorporates the following features:
•utility compartment
•auxiliary power point (if equipped)
•remote radio/climate controls (if equipped)
•remote seat adjustment (if equipped)
Remote seat adjustment
The rear passenger can move the
front passenger seat forward or
backward using the control located
in the rear center console.
With the ignition is in the accessory
position, move the control forward
or backward to move front
passenger seat.
2008 Town Car(tow)
Owners Guide (post-2002-fmt)
USA(fus)
Driver Controls
47
Page 50 of 273

Your vehicle may be equipped with
an interior rear view mirror which
has an auto-dimming function
(optional on the driver’s side
exterior mi")
AUTOMATIC DIMMING INTERIOR REAR VIEW MIRROR
(IF EQUIPPED)
Your vehicle may be equipped with
an interior rear view mirror which
has an auto-dimming function
(optional on the driver’s side
exterior mirror). The electronic
day/night mirrors will change from
the normal (high reflective) state to
the non-glare (darkened) state
when bright lights (glare) reach the interior mirror. When the interior
mirror detects bright light from behind the vehicle, the interior rear view
mirror and the driver’s side exterior mirror (if equipped) will
automatically adjust (darken) to minimize glare.
The mirrors will automatically return to the normal state whenever the
vehicle is placed in R (Reverse) to ensure a bright clear view when
backing up.
Do not block the sensors on the front and back of the interior
rear view mirror since this may impair proper mirror
performance.
Do not clean the housing or glass of any mirror with harsh
abrasives, fuel or other petroleum-based cleaning products.
EXTERIOR MIRRORS
Power side view mirrors
WARNING:Do not adjust the mirror while the vehicle is in
motion.
To adjust your mirrors:
1. SelectLto adjust the left mirror
orRto adjust the right mirror.
2. Move the control in the direction
you wish to tilt the mirror.
3. Return to the center position to
disable the adjust function.
2008 Town Car(tow)
Owners Guide (post-2002-fmt)
USA(fus)
Driver Controls
50
Page 52 of 273

SPEED CONTROL
With speed control set, you can maintain a set speed without keeping
your foot on the accelerator pedal.
WARNING:Do not use the speed control in heavy traffic or on
roads that are winding, slippery or unpaved.
Setting speed control
The controls for using your speed
control are located on the steering
wheel for your convenience.
1. Press the ON control and release it.
2. Accelerate to the desired speed.
3. Press the SET + control and
release it.
4. Take your foot off the accelerator
pedal.
5. The
light will be displayed in
the instrument cluster.
Note:
•Vehicle speed may vary momentarily when driving up and down a
steep hill.
•If the vehicle speed increases above the set speed on a downhill, you
may want to apply the brakes to reduce the speed.
•If the vehicle speed decreases more than 10 mph (16 km/h) below
your set speed on an uphill, your speed control will disengage.
Disengaging speed control
To disengage the speed control:
•Depress the brake pedal
Disengaging the speed control will not erase previous set speed.
2008 Town Car(tow)
Owners Guide (post-2002-fmt)
USA(fus)
Driver Controls
52
Page 55 of 273
In any mode:
•Press VOL + or - to adjust the
volume.
Climate control features (if equipped)
•Press TEMP + or - to adjust
temperature.
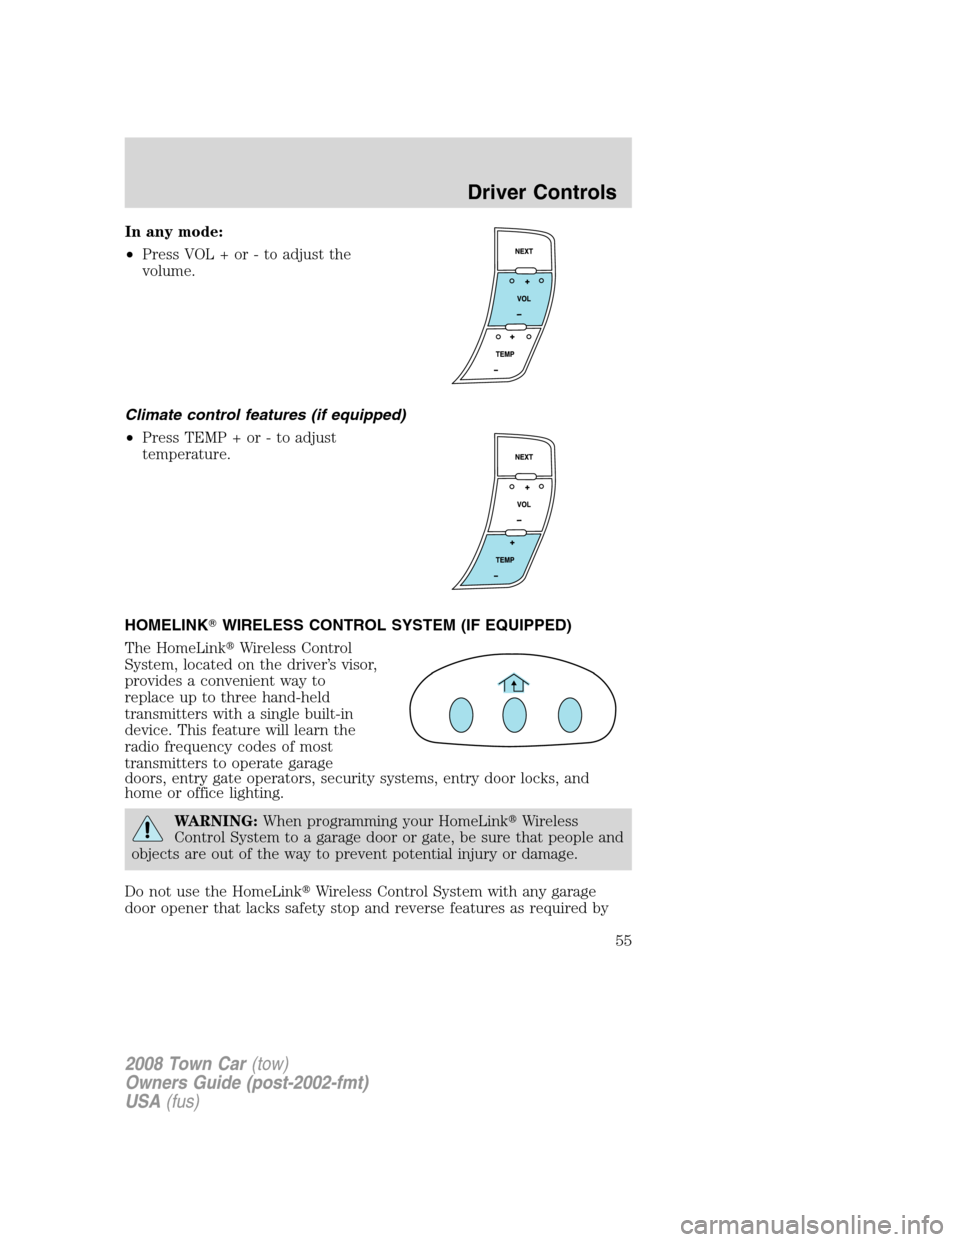
HOMELINK�WIRELESS CONTROL SYSTEM (IF EQUIPPED)
The HomeLink�Wireless Control
System, located on the driver’s visor,
provides a convenient way to
replace up to three hand-held
transmitters with a single built-in
device. This feature will learn the
radio frequency codes of most
transmitters to operate garage
doors, entry gate operators, security systems, entry door locks, and
home or office lighting.
WARNING:When programming your HomeLink�Wireless
Control System to a garage door or gate, be sure that people and
objects are out of the way to prevent potential injury or damage.
Do not use the HomeLink�Wireless Control System with any garage
door opener that lacks safety stop and reverse features as required by
2008 Town Car(tow)
Owners Guide (post-2002-fmt)
USA(fus)
Driver Controls
55
Page 56 of 273
. A garage door which cannot
detect an object, signaling the door to stop and reverse, does")
U.S. federal safety standards (this includes any garage door opener
model manufactured before April 1, 1982). A garage door which cannot
detect an object, signaling the door to stop and reverse, does not meet
current U.S. federal safety standards. For more information, contact
HomeLink�at:www.homelink.comor1–800–355–3515.
Retain the original transmitter for use in other vehicles as well as for
future programming procedures (i.e. new HomeLink�equipped vehicle
purchase). It is also suggested that upon the sale of the vehicle, the
programmed Homelink�buttons be erased for security purposes, refer to
Programmingin this section.
Programming
Do not program HomeLink�with the vehicle parked in the garage.
Note:Some vehicles may require the ignition switch to be turned to the
accessory position for programming and/or operation of the HomeLink�.
It is also recommended that a new battery be placed in the hand-held
transmitter of the device being programmed to HomeLink�for quicker
training and accurate transmission of the radio-frequency signal.
1. Position the end of your
hand-held transmitter 1–3 inches
(2–8 cm) away from the HomeLink�
button you wish to program (located
on your overhead console) while
keeping the indicator light in view.
2. Simultaneously press and hold
both the chosen HomeLink�and
hand-held transmitter buttons until the HomeLink�indicator light
changes from a slow to a rapidly blinking light. Now you may release
both the HomeLink�and hand-held transmitter buttons.
Note:Some entry gates and garage door openers may require you to
replace Step 2 with procedures noted in theGate Operator and
Canadian Programmingsection for Canadian residents.
3. Firmlypress, hold for five seconds and releasethe programmed
HomeLink�button up to two separate times to activate the door. If the
door does not activate, press and hold the just-trained HomeLink�
button and observe the indicator light.
•If the indicator lightstays on constantly, programming is complete
and your device should activate when the HomeLink�button is pressed
and released.
2008 Town Car(tow)
Owners Guide (post-2002-fmt)
USA(fus)
Driver Controls
56
Page 57 of 273

•If the indicator light blinksrapidly for two seconds and then turns
to a constant light continue with “Programming” Steps 4 through
6to complete programming of a rolling code equipped device (most
commonly a garage door opener).
4. At the garage door opener receiver (motor-head unit) in the garage,
locate the “learn” or “smart” button (usually near where the hanging
antenna wire is attached to the unit).
5. Firmly press and release the “learn” or “smart” button. (The name and
color of the button may vary by manufacturer.)
Note:There are 30 seconds in which to initiate Step 6.
6. Return to the vehicle and firmlypress, hold for two seconds and
releasethe HomeLink�button. Repeat thepress/hold/release
sequence again and, depending on the brand of the garage door opener
(or other rolling code equipped device), repeat this sequence a third
time to complete the programming.
HomeLink�should now activate your rolling code equipped device. To
program additional HomeLink�buttons begin with Step 1 in this section.
For questions or comments, please contact HomeLink at
www.homelink.comor1–800–355–3515.
Gate Operator & Canadian Programming
During programming, your
hand-held transmitter may
automatically stop transmitting —
not allowing enough time for
HomeLink�to accept the signal
from the hand-held transmitter.
After completing Step 1 outlined in
theProgrammingsection, replace
Step 2 with the following:
Note:If programming a garage door opener or gate operator, it is advised
to unplug the device during the “cycling” process to prevent overheating.
•Continue to press and hold the HomeLink�button (note Step 2 in the
Programmingsection) while you press and release —every two
seconds(“cycle”) your hand-held transmitter until the frequency
signal has been accepted by the HomeLink�. The indicator light will
flash slowly and then rapidly after HomeLink�accepts the radio
frequency signal.
•Proceed with Step 3 in theProgrammingsection.
2008 Town Car(tow)
Owners Guide (post-2002-fmt)
USA(fus)
Driver Controls
57