Page 255 of 596

255
3-3. Using the audio system
3
Interior features
GS_HV_U
December 13, 2007 10:50 am
Using Dolby® Noise Reduction
Touch on the screen.
Reduces the level of noise for tapes recorded with Dolby NR only.
Dolby noise reduction is manufactured under license from Dolby Laborato-
ries Licensing Corporation. DOLB Y and the double-D symbol are
registered trademarks of Dolby Laboratories.
■Canceling noise reduction, skip play, repeat play, rewind and fast forward
To cancel , and : Touch the corresponding button on the screen.
To cancel and : Touch the corresponding button on the screen or press
.
■Auto-reverse feature
After the cassette player reaches the end of a tape, it automatically reverses and
begins to play the other side, regardless of whether the cassette was playing or fast
forwarding.
■When the cassette player does not operate correctly due to the cassette record-
ing conditions
Forwarding to the beginning of a track, repeat, blank tape skip and fast-forward
may not be possible in the following situations:
●The interval between tracks is less th an 3 seconds (beginning of track and
repeat playback) or less than 15 seconds (blank tape skip).
●When there is noise between 2 tracks.
●The beginning and end of subsequent tracks are not clearly defined.
Page 256 of 596
256
3-3. Using the audio system
GS_HV_U
December 13, 2007 10:50 am
■Cleaning the cassette player
Cassette player components (heads, capstan, pinch rollers) should be cleaned at
least once a month using a cleaning tape to remove dirt and dust that can easily
build up.
■Using long playing cassette tapes
Avoid using tapes with a length of more than 90 minutes, as the tape used is very
thin and may become tangled in the cassette player.
NOTICE
■Cassette tapes that cannot be used
Do not use a cassette tape if it has been damaged or tangled or if its label is peeling
off. Such tapes may affect playing speed and may also get stuck in the player.
■Cassette player precautions
●Store cassette tapes away from direct sunlight.
●Do not insert anything other than cass ette tapes into the cassette player.
●Do not apply oil to the cassette player.
Page 257 of 596
257
3-3. Using the audio system
3
Interior features
GS_HV_U
December 13, 2007 10:50 am
Using the CD player
Insert a CD or press with a CD inserted.
When you press while listening to a CD, the following audio control
screen appears.
Select CD
Display track list
Select CD
Search playback
CD slot
Random playback
Repeat play
Po w e r Vo l u m e
CD ejectPlayback
Track selection CD load
Display audio control screen
Page 258 of 596

258
3-3. Using the audio system
GS_HV_U
December 13, 2007 10:50 am
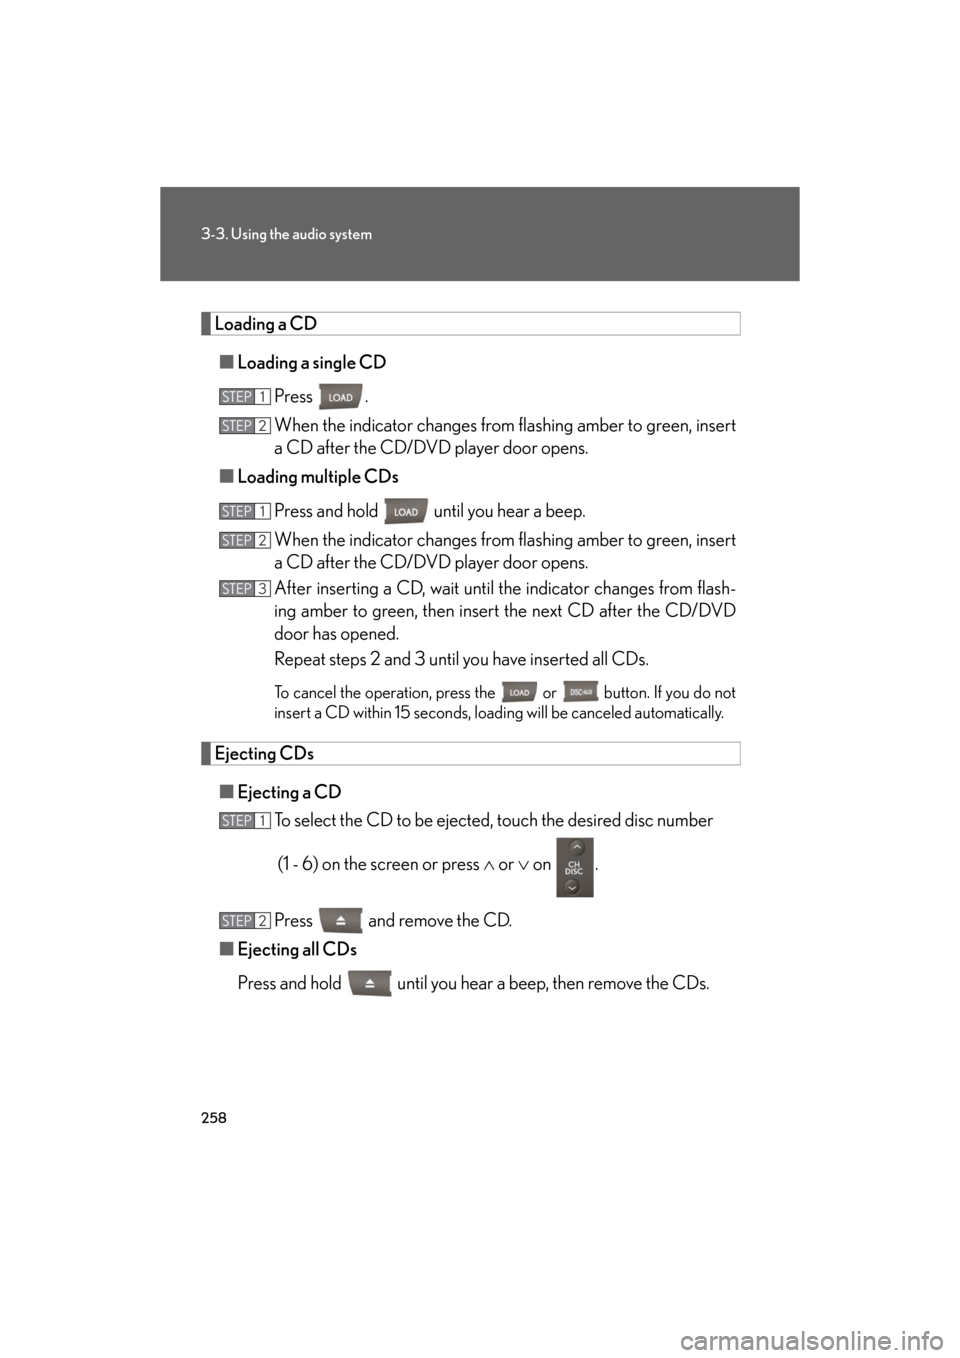
Loading a CD■ Loading a single CD
Press .
When the indicator changes from flashing amber to green, insert
a CD after the CD/DVD player door opens.
■ Loading multiple CDs
Press and hold until you hear a beep.
When the indicator changes from flashing amber to green, insert
a CD after the CD/DVD player door opens.
After inserting a CD, wait until th e indicator changes from flash-
ing amber to green, then insert the next CD after the CD/DVD
door has opened.
Repeat steps 2 and 3 until you have inserted all CDs.
To cancel the operation, press the or button. If you do not
insert a CD within 15 seconds, loading will be canceled automatically.
Ejecting CDs
■ Ejecting a CD
To select the CD to be ejected , touch the desired disc number
(1 - 6) on the screen or press or on .
Press and remove the CD.
■ Ejecting all CDs
Press and hold until you hear a beep, then remove the CDs.
STEP1
STEP2
STEP1
STEP2
STEP3
STEP1
STEP2
Page 263 of 596
263
3-3. Using the audio system
3
Interior features
GS_HV_U
December 13, 2007 10:50 am
Loading, ejecting and selecting MP3 and WMA discsRefer to the section titled “Usin g the CD player” for details. (P. 257)
Selecting a folder
■ Selecting a folder
Touch “FOLDER ” or “ ” on the screen to select the previ-
ous/next folder.
■ Selecting a folder from the folder list
Touch on the screen.
Touch the desired folder number.
or : Changes the list by 6 folder groups.
: Displays the details of the file currently play-
ing.
: Displays the file list.
This function is available only when
the vehicle is not moving.
■ Selecting the desired folder by cueing the first file of each folder
Touch and hold on the screen until “FLD SCAN” appears. When
the desired folder is reached, touch once again.
STEP1
STEP2
Page 266 of 596
266
3-3. Using the audio system
GS_HV_U
December 13, 2007 10:50 am
Using the DVD player (if equipped)
Insert a disc or press with a disc inserted.
When you press during the playback of the disc, the following audio/
video control screen appears.
Po w e r Vo l u m e
Track, file and chapter
selection/fast forward/
rewind Disc eject
PlaybackDisc load Change disc
Display audio/video control screen
Select disc
Disc slot
Select file
Page 267 of 596
267
3-3. Using the audio system
3
Interior features
GS_HV_U
December 13, 2007 10:50 am
Loading a discs■ Loading a single disc
Push .
When the indicator changes from flashing amber to green, insert
a disc after the DVD player door opens.
■ Loading multiple discs
Press and hold until you hear a beep.
When the indicator changes from flashing amber to green, insert
a disc after the DVD player door opens.
After inserting a disc, wait until the indicator changes from flash-
ing amber to green, then insert the next disc after the DVD player
door has opened.
Repeat steps 2 and 3 until you have inserted all discs.
To cancel the operation, press the or button. If you do not
insert a disc within 15 seconds, loading will be canceled automatically.
■DVD hint screen
This screen appears when a DVD
video, DVD audio or video CD is
first selected with the “POWER”
switch in ACCESSORY or ON
mode.
Touch once you have
read the message.
STEP1
STEP2
STEP1
STEP2
STEP3
STEP4
Page 280 of 596
280
3-3. Using the audio system
GS_HV_U
December 13, 2007 10:50 am
CodeLanguageCodeLanguageCodeLanguage
1815Romanian1919Siswati2019Ts o n g a
1823Kinyarwanda1920Sesotho2020Ta t a r
1901Sanskrit1921Sundanese2023Tw i
1904Sindhi1923Swahili2111Ukrainian
1907Sangho2001Ta m i l2118Urdu
1908Serbo-
Croatian2005Te l u g u2126Uzbek
1909Sinhalese2007Tajik2209Vietnamese
1911Slovak2008Thai2215Vo l a p ü k
1912Slovenian2009Ti g r i n y a2315Wo l o f
1913Samoan2011Tu r k m e n2408Xhosa
1914Shona2012Ta g a l o g2515Yo r u b a
1915Somali2014Setswana2621Zulu
1917Albanian2015To n g a
1918Serbian2018Tu r k i s h
■Error messages
If “Region Code Error” is displayed, check the region code printed on the DVD
matches the player’s region code.
If a different message is displayed: P. 2 8 5