2008 KIA Sedona jump start
[x] Cancel search: jump startPage 250 of 339
Driving your vehicle
18 4
• Even with the anti-lock brake system,
your vehicle still requires sufficient
stopping distance. Always maintain a
safe distance from the vehicle in front
of you.
• Always slow down when cornering.
The anti-lock brake system cannot pre-
vent accidents resulting from exces-
sive speeds.
• On loose or uneven road surfaces,
operation of the anti-lock brake system
may result in a longer stopping dis-
tance than for vehicles equipped with a
conventional brake system.
✽
NOTICE
When you jump start your vehicle
because of a drained battery, the engine
may not run as smoothly and the ABS
warning light may turn on at the same
time. This happens because of the low
battery voltage. It does not mean your
ABS is malfunctioning.
• Do not pump your brakes!
• Have the battery recharged before
driving the vehicle.
W-78
CAUTION
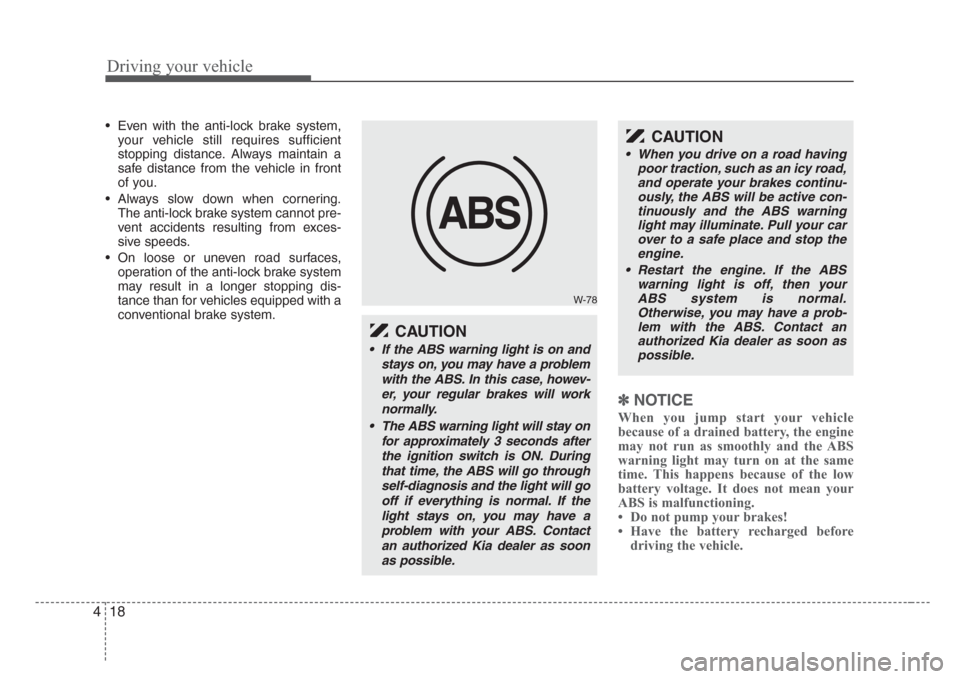
• If the ABS warning light is on and
stays on, you may have a problem
with the ABS. In this case, howev-
er, your regular brakes will work
normally.
• The ABS warning light will stay on
for approximately 3 seconds after
the ignition switch is ON. During
that time, the ABS will go through
self-diagnosis and the light will go
off if everything is normal. If the
light stays on, you may have a
problem with your ABS. Contact
an authorized Kia dealer as soon
as possible.
CAUTION
• When you drive on a road having
poor traction, such as an icy road,
and operate your brakes continu-
ously, the ABS will be active con-
tinuously and the ABS warning
light may illuminate. Pull your car
over to a safe place and stop the
engine.
• Restart the engine. If the ABS
warning light is off, then your
ABS system is normal.
Otherwise, you may have a prob-
lem with the ABS. Contact an
authorized Kia dealer as soon as
possible.
Page 260 of 339
Driving your vehicle
28 4
• We recommend that you carry emer-
gency equipment, including a window
scraper, windshield de-icer, a bag of
sand or salt, flares, a small shovel and
jumper cables.
• Make sure you have sufficient ethyl-
ene-glycol coolant in the radiator.
• Check the battery condition and
cables. Cold temperatures reduce the
capacity of any battery, so it must be in
excellent condition to provide enough
winter starting power.
• Make sure the engine oil viscosity is
suitable for cold weather.
• Check the ignition system for loose
connections and damage.
• Use antifreeze-formulated windshield
washer fluid. (Do not use engine
coolant antifreeze.)
• Do not use the parking brake if it might
freeze. When parking, shift to P (Park)
with an automatic transaxle and block
the rear wheels.Snow tires
If you mount snow tires on your Kia,
make sure they are radial tires of the
same size and load range as the original
tires. Mount snow tires on all four wheels
to balance your vehicle’s handling in all
weather conditions. Keep in mind that the
traction provided by snow tires on dry
roads may not be as high as your vehi-
cle's original equipment tires. You should
drive cautiously even when the roads are
clear. Check with the tire dealer for max-
imum speed recommendations.
Do not install studded tires without first
checking local, state and municipal regu-
lations for possible restrictions against
their use.
WINTER DRIVING
WARNING- Snow tire size
Snow tires should be equivalent in
size and type to the vehicle's stan-
dard tires. Otherwise, the safety and
handling of your vehicle may be
adversely affected.
TRAILER TOWING
WARNING- Towing a trail-
er
If you don't use the correct equip-
ment and drive improperly, you can
lose control when you pull a trailer.
For example, if the trailer is too
heavy, the brakes may not work well
- or even at all. You and your pas-
sengers could be seriously or fatal-
ly injured. Pull a trailer only if you
have followed all the steps in this
section.
WARNING- Weight limits
Before towing, make sure the total
trailer weight, gross combination
weight, gross vehicle weight, gross
axle weight and trailer tongue load
are all within the limits.
Page 269 of 339
What to do in an emergency
2 5
ROAD WARNING
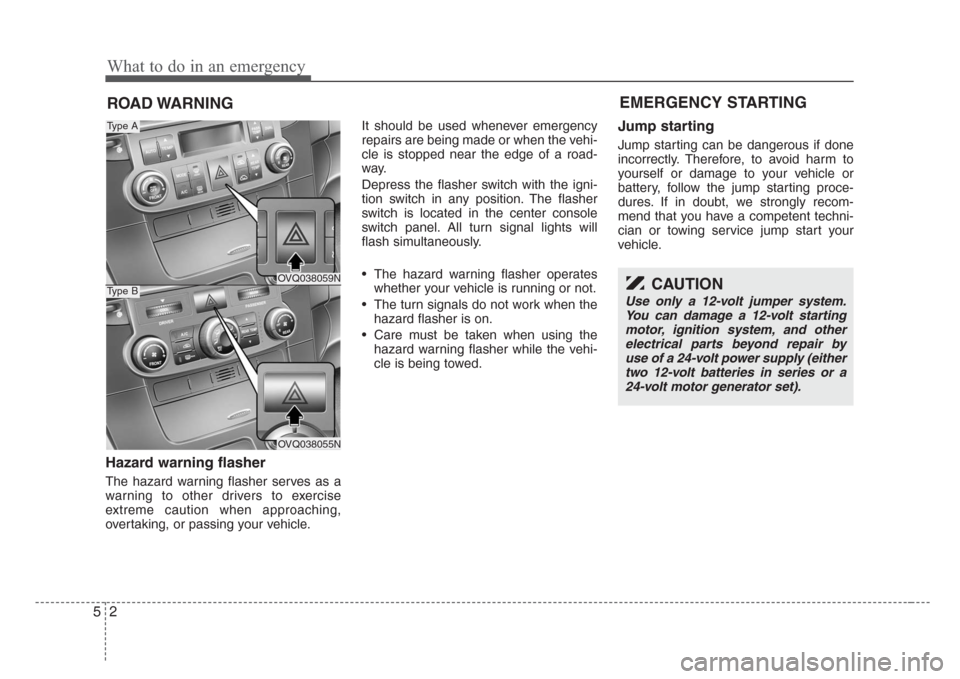
Hazard warning flasher
The hazard warning flasher serves as a
warning to other drivers to exercise
extreme caution when approaching,
overtaking, or passing your vehicle.It should be used whenever emergency
repairs are being made or when the vehi-
cle is stopped near the edge of a road-
way.
Depress the flasher switch with the igni-
tion switch in any position. The flasher
switch is located in the center console
switch panel. All turn signal lights will
flash simultaneously.
• The hazard warning flasher operates
whether your vehicle is running or not.
• The turn signals do not work when the
hazard flasher is on.
• Care must be taken when using the
hazard warning flasher while the vehi-
cle is being towed.
Jump starting
Jump starting can be dangerous if done
incorrectly. Therefore, to avoid harm to
yourself or damage to your vehicle or
battery, follow the jump starting proce-
dures. If in doubt, we strongly recom-
mend that you have a competent techni-
cian or towing service jump start your
vehicle.
EMERGENCY STARTING
CAUTION
Use only a 12-volt jumper system.
You can damage a 12-volt starting
motor, ignition system, and other
electrical parts beyond repair by
use of a 24-volt power supply (either
two 12-volt batteries in series or a
24-volt motor generator set).
OVQ038059N
OVQ038055N
Type A
Type B
Page 270 of 339
53
What to do in an emergency
Connecting jumper cables
WARNING- Battery
• Keep all flames or sparks away
from the battery. The battery pro-
duces hydrogen gas which may
explode if exposed to flame or
sparks.
• Do not attempt to jump start the
vehicle if the discharged battery
is frozen or if the electrolyte level
is low; the battery may rupture or
explode.
WARNING- Battery
Never attempt to check the elec-
trolyte level of the battery as this
may cause the battery to rupture or
explode causing serious injury.
1VQA4001
Connect cables in numerical order and
disconnect in reverse order.
Discharged battery Jumper Cables
Booster battery(-)
(+)
(+)(-)
Page 271 of 339
What to do in an emergency
4 5
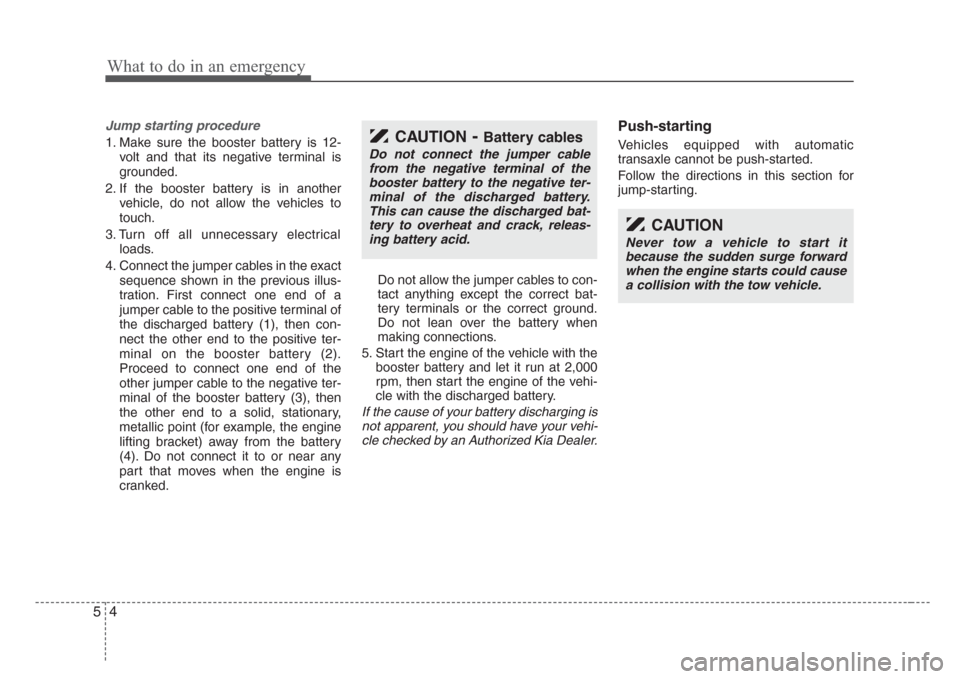
Jump starting procedure
1. Make sure the booster battery is 12-
volt and that its negative terminal is
grounded.
2. If the booster battery is in another
vehicle, do not allow the vehicles to
touch.
3. Turn off all unnecessary electrical
loads.
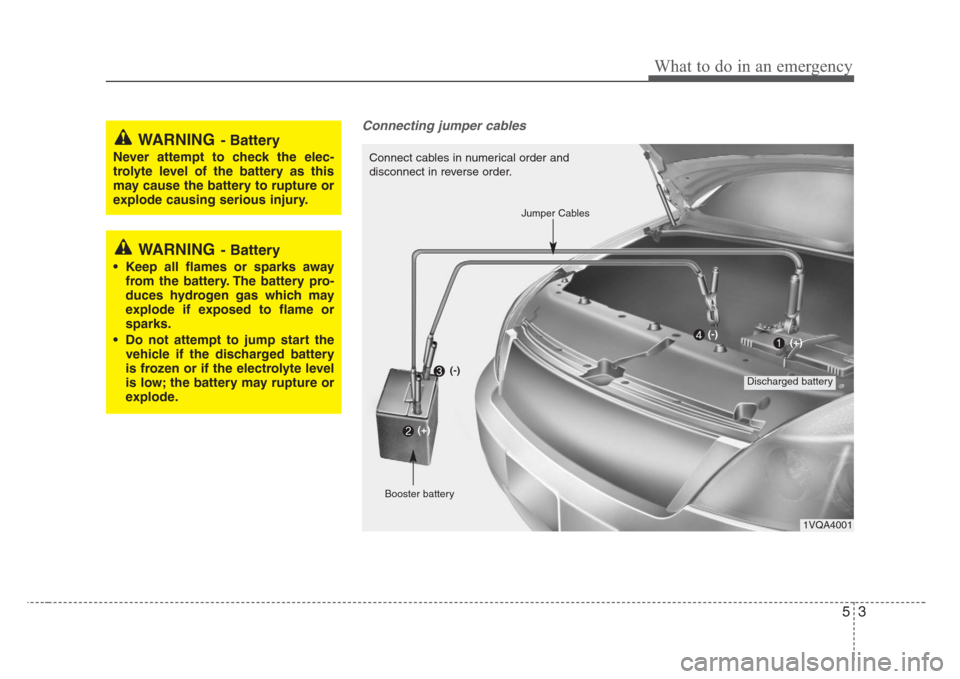
4. Connect the jumper cables in the exact
sequence shown in the previous illus-
tration. First connect one end of a
jumper cable to the positive terminal of
the discharged battery (1), then con-
nect the other end to the positive ter-
minal on the booster battery (2).
Proceed to connect one end of the
other jumper cable to the negative ter-
minal of the booster battery (3), then
the other end to a solid, stationary,
metallic point (for example, the engine
lifting bracket) away from the battery
(4). Do not connect it to or near any
part that moves when the engine is
cranked.Do not allow the jumper cables to con-
tact anything except the correct bat-
tery terminals or the correct ground.
Do not lean over the battery when
making connections.
5. Start the engine of the vehicle with the
booster battery and let it run at 2,000
rpm, then start the engine of the vehi-
cle with the discharged battery.
If the cause of your battery discharging is
not apparent, you should have your vehi-
cle checked by an Authorized Kia Dealer.
Push-starting
Vehicles equipped with automatic
transaxle cannot be push-started.
Follow the directions in this section for
jump-starting.
CAUTION
Never tow a vehicle to start it
because the sudden surge forward
when the engine starts could cause
a collision with the tow vehicle.
CAUTION-Battery cables
Do not connect the jumper cable
from the negative terminal of the
booster battery to the negative ter-
minal of the discharged battery.
This can cause the discharged bat-
tery to overheat and crack, releas-
ing battery acid.