2008 JEEP WRANGLER warning lights
[x] Cancel search: warning lightsPage 60 of 466

Enhanced Accident Response Feature
If the airbags deploy after an impact and the electrical
system remains functional, vehicles equipped with
power door locks will unlock automatically. The hazard
lights will flash and the fuel will be cut off to the engine.
In addition, after the vehicle has stopped moving, the
interior lights will illuminate to aid visibility and remain
lit until the ignition switch is turned off.
NOTE:The interior lights can only be deactivated if the
key is removed from the ignition switch or the vehicle is
driven.
Maintaining Your Airbag System
WARNING!
• Modifications to any part of the airbag system
could cause it to fail when you need it. You could
be injured if the airbag system is not there to
protect you. Do not modify the components or
wiring, including adding any kind of badges or
stickers to the steering wheel hub trim cover or the
upper right side of the instrument panel. Do not
modify the front bumper or vehicle body structure.
• You need proper knee impact protection in a
collision. Do not mount or locate any aftermarket
equipment on or behind the knee bolsters.
• It is dangerous to try to repair any part of the
airbag system yourself. Be sure to tell anyone who
works on your vehicle that it has an airbag system.
THINGS TO KNOW BEFORE STARTING YOUR VEHICLE 59
2
Page 78 of 466

Airbag Warning Light
The light should come on and remain on for six to eight
seconds as a indicator check when the ignition switch is
first turned on. If the indicator is not lit during starting,
have it serviced. If the light stays on or comes on while
driving, have the system checked by an authorized
dealer.
Defrosters
Check operation by selecting the defrost mode and place
the blower control on high speed. You should be able to
feel the air directed against the windshield. See your
authorized dealer for service if your defroster is inoper-
able.
Safety Checks You Should Make Outside The
Vehicle
Tires
Examine tires for excessive tread wear or uneven wear
patterns. Check for stones, nails, glass, or other objects
lodged in the tread. Inspect for tread cuts or sidewall
cracks. Check wheel nuts for tightness and tires (includ-
ing spare) for proper pressure.
Lights
Have someone observe the operation of all exterior lights
while you work the controls. Check turn signal and high
beam indicator lights on the instrument panel.
Fluid Leaks
Check area under vehicle after overnight parking for fuel,
coolant, oil, or other fluid leaks. Also, if gasoline fumes
are detected, the cause should be located and corrected
immediately.
THINGS TO KNOW BEFORE STARTING YOUR VEHICLE 77
2
Page 96 of 466

Next, locate handle in middle of the front end of the
hood. Insert hand into gap between hood and top of
grille, and push handle to the side to raise hood. You may
have to push down slightly on the hood before pushing
the handle. Insert the support rod into the slot on the
hood panel.
To close the hood, remove the support rod from the hood
panel and place it in the retaining clip. Lower the hood
slowly. Secure both of the hood latches.
WARNING!
If the hood is not fully latched, it could fly up when
the vehicle is moving and block your forward vision.
Be sure all hood latches are latched fully before
driving.
LIGHTS
Interior Lights
The overhead light will come on when a door is opened.
It may also be turned on by rotating the control for the
dimmer switch on the multifunction control lever fully
upward.
The overhead light will automatically turn off in about 20
minutes if a door is left open or the dimmer control is left
in the dome light position. Turn the ignition switch ON to
restore the overhead light operation.
Cargo Lamp
The courtesy and dome lights will turn on when the front
doors are opened, when the dimmer control (rotating
wheel on the right side of the switch) is rotated to the
upward detent position, or if equipped, when the UN-
LOCK button is pressed on the RKE key fob.
UNDERSTANDING THE FEATURES OF YOUR VEHICLE 95
3
Page 118 of 466

Electrical Outlet Use With Engine Off
WARNING!
•Many accessories that can be plugged in draw power
from the vehicle’s battery, even when not in use (i.e.,
cellular phones, etc.). Eventually, if plugged in long
enough, the vehicle’s battery will discharge suffi-
ciently to degrade battery life and/or prevent engine
starting.
• Accessories that draw higher power (i.e., coolers,
vacuum cleaners, lights, etc.), will degrade the battery
even more quickly. Only use these intermittently and
with greater caution.
• After the use of high-power draw accessories, or long
periods of the vehicle not being started (with acces-
sories still plugged in), the vehicle must be driven a
sufficient length of time to allow the alternator to
recharge the vehicle’s battery.
• Power outlets are designed for accessory plugs only.
Do not hang any type of accessory or accessory
bracket from the plug.
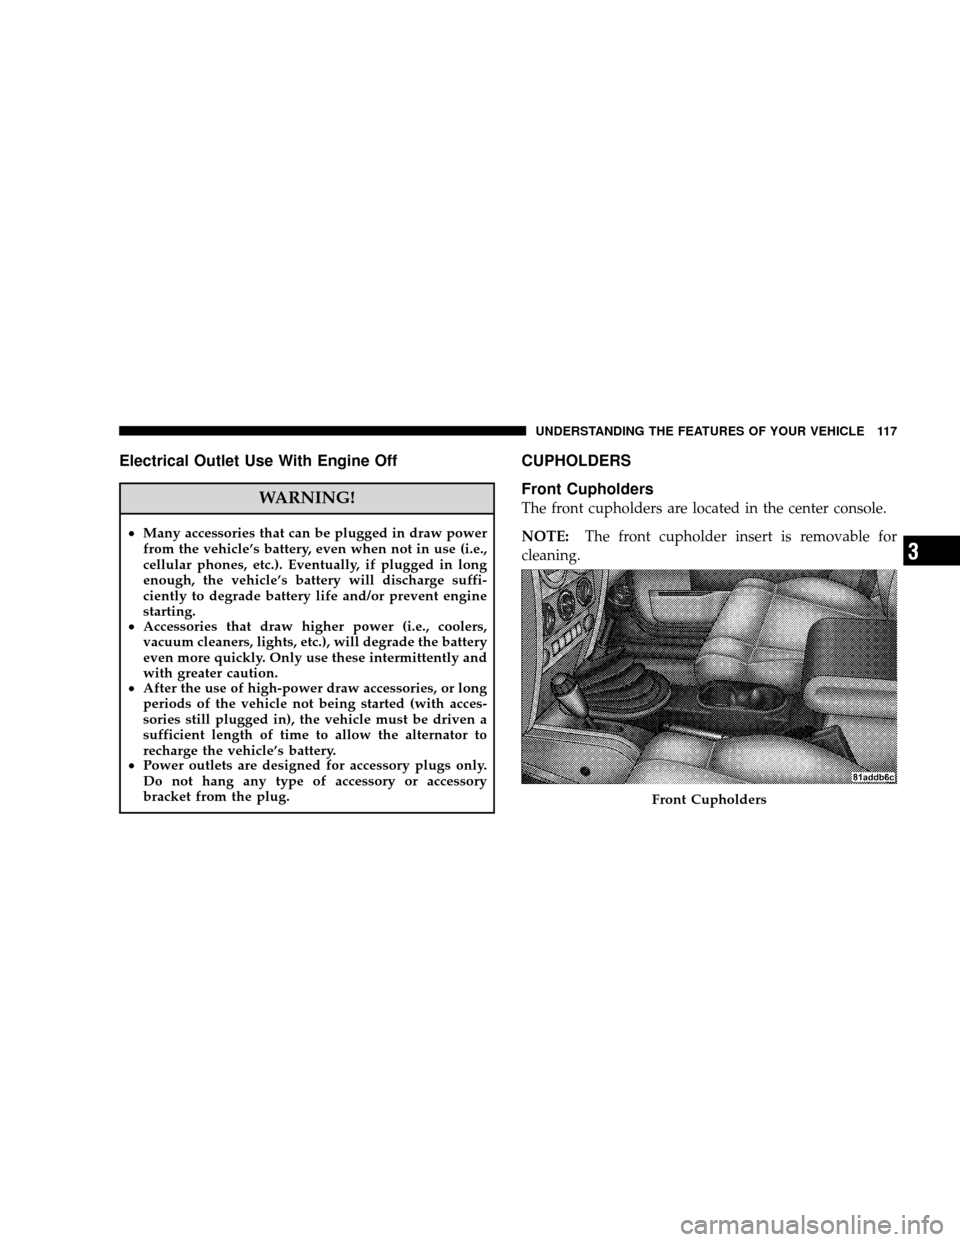
CUPHOLDERS
Front Cupholders
The front cupholders are located in the center console.
NOTE: The front cupholder insert is removable for
cleaning.
Front Cupholders
UNDERSTANDING THE FEATURES OF YOUR VEHICLE 117
3
Page 207 of 466

INSTRUMENT CLUSTER DESCRIPTION
Your vehicle is equipped with the instrument cluster
described on the following pages.
1. Fuel Gauge
The pointer shows the level of fuel in the fuel tank.
NOTE:When the ignition switch is turned to OFF, the
fuel gauge, voltmeter, oil pressure and temperature
gauges may not show accurate readings. When the
engine is not running, turn the ignition switch to ON to
obtain accurate readings.
2. Charging System Warning Light This light shows the status of the electrical charg-
ing system. The light should come on for three
seconds when the ignition is first turned ON. If the light
comes back on immediately or comes on while driving, it
means that there is a problem with the charging system
or the battery is low. Also, a chime will sound if the light
comes back on. See your authorized dealer immediately. 3. Front Fog Light Indicator Light — If Equipped
This light shows when the front fog lights are on.
4. Low Fuel Warning Light When the fuel level reaches approximately 2.8 gal
(10.6L) this light will turn on and a single chime
will sound.
5. Speedometer
Indicates vehicle speed.
6. Front Axle Lock Indicator Light — If Equipped Indicates when the front axle lock has been
activated.
206 UNDERSTANDING YOUR INSTRUMENT PANEL
Page 208 of 466

7. Seat Belt Indicator LightA warning chime and an indicator light will alert
you to buckle the seat belts. When the belt is
buckled, the chime will stop, but the light will stay
on until it times out (about six seconds).
8. Turn Signal Indicator Lights The arrows will flash with the exterior turn signals
when the turn signal lever is operated. A tone will
chime if the turn signals are left on for more than 1 mi (2
km).
9. Oil Pressure Warning Light Shows low engine oil pressure. The light will come
on and remain on when the ignition switch is
turned from the OFF to the ON position, and the light
will turn off after the engine is started. If the bulb does
not come on, have the system checked by your autho-
rized dealer. If the warning light comes on and remains on while
driving, stop the vehicle and shut off the engine. DO
NOT OPERATE THE VEHICLE UNTIL THE CAUSE IS
CORRECTED. Also, a single chime will sound.
10. High Beam Indicator Light
This light shows that the headlights are on high
beam. Push the multifunction control lever away
from you to switch the headlights to high beam. Pull the
lever towards you to switch the headlights back to low
beam. If the driver’s door is open, and the headlights or
park lights are left on, the High Beam Indicator Light will
remain illuminated and a chime will sound.
11. Brake Warning Light After the ignition is turned on, this light illumi-
nates to indicate function check at vehicle start-
up. It also indicates if the parking brake is
applied. If the light stays on when the parking brake is
UNDERSTANDING YOUR INSTRUMENT PANEL 207
4
Page 209 of 466

off, it indicates a possible brake system fluid leak or low
pressure level,see your authorized dealer immediately.
If the parking brake is applied and the vehicle is in
motion, the Brake Warning Light will “flash” and a chime
will sound.
The operation of the Brake Warning Light can be checked
by turning the ignition switch from the OFF position to
the ON position. The light should illuminate for approxi-
mately two seconds. The light should then turn off unless
the parking brake is applied or a brake fault is detected.
If the light does not illuminate, have the light inspected
by an authorized dealer.
12. Anti-Lock (ABS) Warning Light After the ignition is turned on, this light illumi-
nates to indicate function check at vehicle start-up.
If the light remains on after start-up or comes on and
stays on at road speeds, it may indicate that the ABS has detected a malfunction or has become inoperative. The
system reverts to standard non-anti-lock brakes.
If both the Brake Warning Light and the ABS Warning
Light are on, see your authorized dealer immediately.
Refer to “Anti-Lock Brake System” in Section 5 of this
manual.
13. Airbag Warning Light
This indicator lights and remains lit for six to
eight seconds when the ignition is first turned
on. If the light does not come on for six to eight
seconds, stays on or comes on while driving,
have the airbag system checked by an authorized dealer.
14. Rear Axle Lock Indicator Light — If Equipped This light indicates when the rear axle lock has
been activated.
208 UNDERSTANDING YOUR INSTRUMENT PANEL
Page 297 of 466

The Basics of Off-Road Driving
You will encounter many types of terrain driving off-
road. You should be familiar with the terrain and area
before proceeding. There are many types of surface
conditions: hard packed dirt, gravel, rocks, grass, sand,
mud, snow and ice. Every surface has a different effect on
your vehicle’s steering, handling and traction. Control-
ling your vehicle is one of the keys to successful off-road
driving, so always keep a firm grip on the steering wheel
and maintain a good driving posture. Avoid sudden
accelerations, turns or braking. In most cases there are no
road signs, posted speed limits or signal lights. Therefore
you will need to use your own good judgment on what is
safe and what isn’t. When on a trail you should always be
looking ahead for surface obstacles and changes in
terrain. The key is to plan your future driving route while
remembering what you are currently driving over.CAUTION!
Never park your vehicle over dry grass or other
combustible materials. The heat from your vehicle
exhaust system could cause a fire.
WARNING!
Always wear your seat belt and firmly tie down
cargo. Unsecured cargo can become projectiles in an
off-road situation.
296 STARTING AND OPERATING