2008 JEEP PATRIOT service
[x] Cancel search: servicePage 182 of 438

U.S. Federal regulations require that upon transfer of
vehicle ownership, the seller certify to the purchaser the
correct mileage that the vehicle has been driven. There-
fore, if the odometer reading is changed during repair or
replacement, be sure to keep a record of the reading
before and after the service so that the correct mileage can
be determined.
Change Oil Message
Your vehicle is equipped with an engine oil change
indicator system. The “Change Oil” message will flash in
the instrument cluster odometer for approximately 12
seconds after a single chime has sounded to indicate the
next scheduled oil change interval. The engine oil change
indicator system is duty cycle based, which means the
engine oil change interval may fluctuate dependent upon
your personal driving style. Unless reset, this message
will continue to display each time you turn the ignition
switch to the ON/RUN position. To turn off the messagetemporarily, press and release the Trip Odometer button
on the instrument cluster. To reset the oil change indica-
tor system (after performing the scheduled maintenance)
refer to the following procedure.
1. Turn the ignition switch to the ON position.Do not
start the engine.
2. Fully depress the accelerator pedal slowly three
times within 10 seconds.
3. Turn the ignition switch to the OFF/LOCK position.
NOTE:If the indicator message illuminates when you
start the vehicle, the oil change indicator system did not
reset. If necessary repeat this procedure.
25. OFF ROAD Indicator Light — If Equipped
The symbol illuminates (is armed) when the 4WD lock
switch is activated and the transmission range indicator
is in LOW or REVERSE position.
180 UNDERSTANDING YOUR INSTRUMENT PANEL
Page 183 of 438

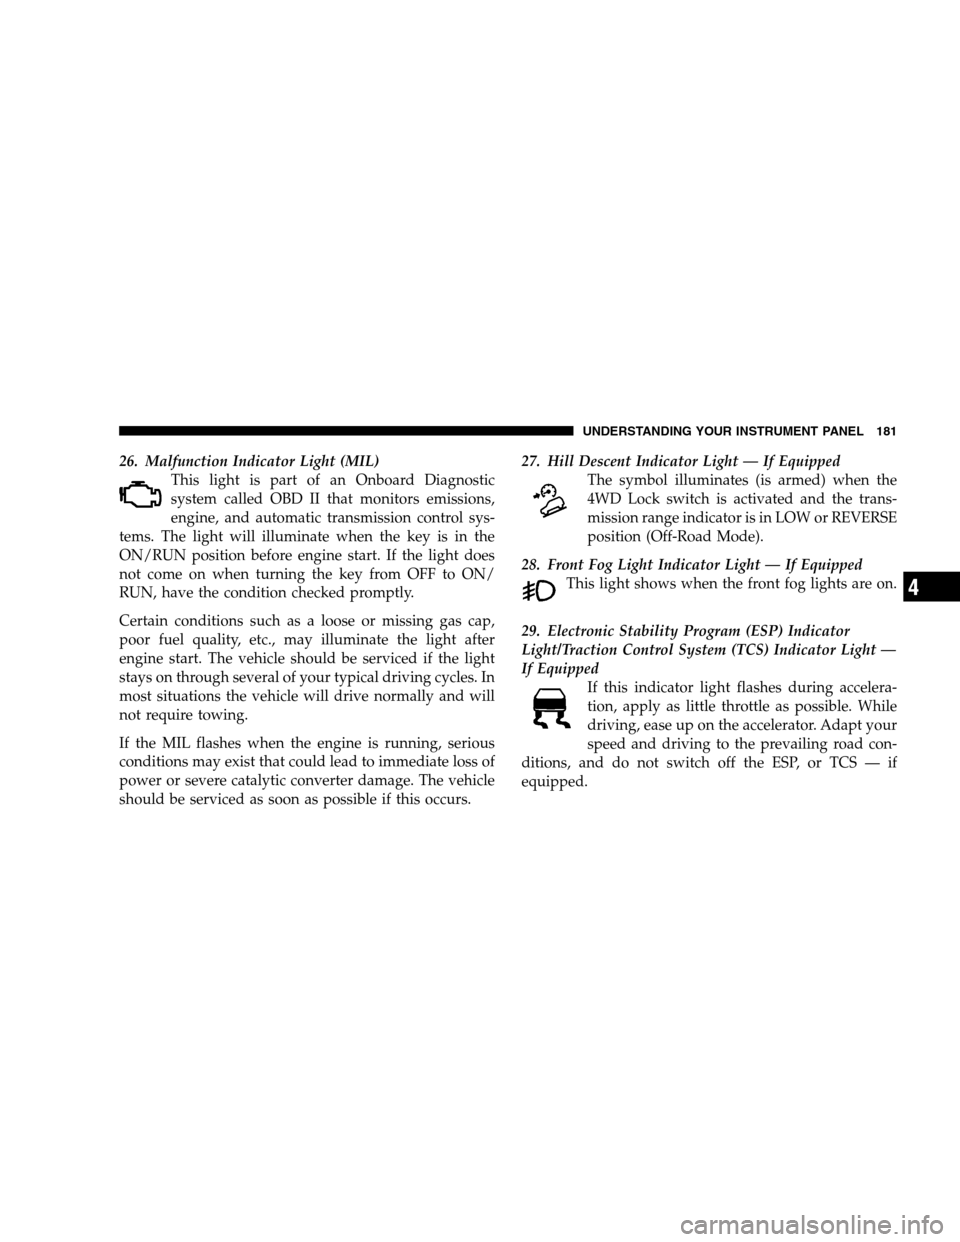
26. Malfunction Indicator Light (MIL)
This light is part of an Onboard Diagnostic
system called OBD II that monitors emissions,
engine, and automatic transmission control sys-
tems. The light will illuminate when the key is in the
ON/RUN position before engine start. If the light does
not come on when turning the key from OFF to ON/
RUN, have the condition checked promptly.
Certain conditions such as a loose or missing gas cap,
poor fuel quality, etc., may illuminate the light after
engine start. The vehicle should be serviced if the light
stays on through several of your typical driving cycles. In
most situations the vehicle will drive normally and will
not require towing.
If the MIL flashes when the engine is running, serious
conditions may exist that could lead to immediate loss of
power or severe catalytic converter damage. The vehicle
should be serviced as soon as possible if this occurs.27. Hill Descent Indicator Light — If Equipped
The symbol illuminates (is armed) when the
4WD Lock switch is activated and the trans-
mission range indicator is in LOW or REVERSE
position (Off-Road Mode).
28. Front Fog Light Indicator Light — If Equipped
This light shows when the front fog lights are on.
29. Electronic Stability Program (ESP) Indicator
Light/Traction Control System (TCS) Indicator Light —
If Equipped
If this indicator light flashes during accelera-
tion, apply as little throttle as possible. While
driving, ease up on the accelerator. Adapt your
speed and driving to the prevailing road con-
ditions, and do not switch off the ESP, or TCS — if
equipped.
UNDERSTANDING YOUR INSTRUMENT PANEL 181
4
Page 184 of 438

30. Electronic Stability Program (ESP) Indicator Light
The malfunction light for the ESP is combined
with BAS. The yellow “ESP/BAS Warning
Light” comes on when the ignition switch is
turned to the ON position. They should go out
with the engine running. If the “ESP/BAS Warning
Light” comes on continuously with the engine running, a
malfunction has been detected in either the ESP or the
BAS system. If this light remains on after several ignition
cycles, and the vehicle has been driven several miles/
kilometers at speeds greater than 30 mph (48 km/h), see
your authorized dealer as soon as possible.
31. 4WD! Warning Light
This light monitors the 4-Wheel Drive (4WD)
system. The light will come on, for a bulb
check, when the ignition key is turned to the
ON position and may stay on for as long as
three seconds.When lit solid:There is an 4WD system fault. 4WD
performance will be at a reduced level. Service the 4WD
system soon.
When blinking:The 4WD system is temporarily dis-
abled due to overload condition.
32. Electronic Vehicle Information Center Display — If
Equipped
When the appropriate conditions exist, this display
shows the Electronic Vehicle Information Center (EVIC)
messages.
33. Electronic Vehicle Information Center (EVIC)
Button — If Equipped
Pushing this button, will change the display to the
choices available for EVIC.
182 UNDERSTANDING YOUR INSTRUMENT PANEL
Page 222 of 438

3. To decrease the clock by one hour, use the Select
Encoder to highlight the “-” sign. Press ENTER. Press
ENTER again to decrease the clock by another hour.
4. To increase the clock by minutes, make sure “MIN +”
is highlighted and press ENTER. Press ENTER again to
increase the clock by another minute.
5. To decrease the clock by minutes, use the Select
Encoder to highlight the “-“ sign. Press ENTER. Press
ENTER again to decrease the clock by another minute.
6. Select “DONE” to exit from the clock setting mode.
Press ENTER to save your changes. If you press CAN-
CEL or NAV then your changes will not be saved.SATELLITE RADIO — IF EQUIPPED
Satellite radio uses direct satellite to receiver broadcast-
ing technology to provide clear digital sound, coast to
coast. The subscription service provider is Sirius™ Satel-
lite Radio. This service offers over 130 channels of music,
sports, news, entertainment, and programming for chil-
dren, directly from its satellites and broadcasting studios.
NOTE:Sirius service is not available in Hawaii and has
limited coverage in Alaska.
System Activation
Sirius Satellite Radio service is pre-activated, and you
may begin listening immediately to the one year of audio
service that is included with the factory-installed satellite
radio system in your vehicle. Sirius will supply a wel-
come kit that contains general information, including
how to setup your on-line listening account at no addi-
tional charge. For further information, call the toll-free
220 UNDERSTANDING YOUR INSTRUMENT PANEL
Page 233 of 438

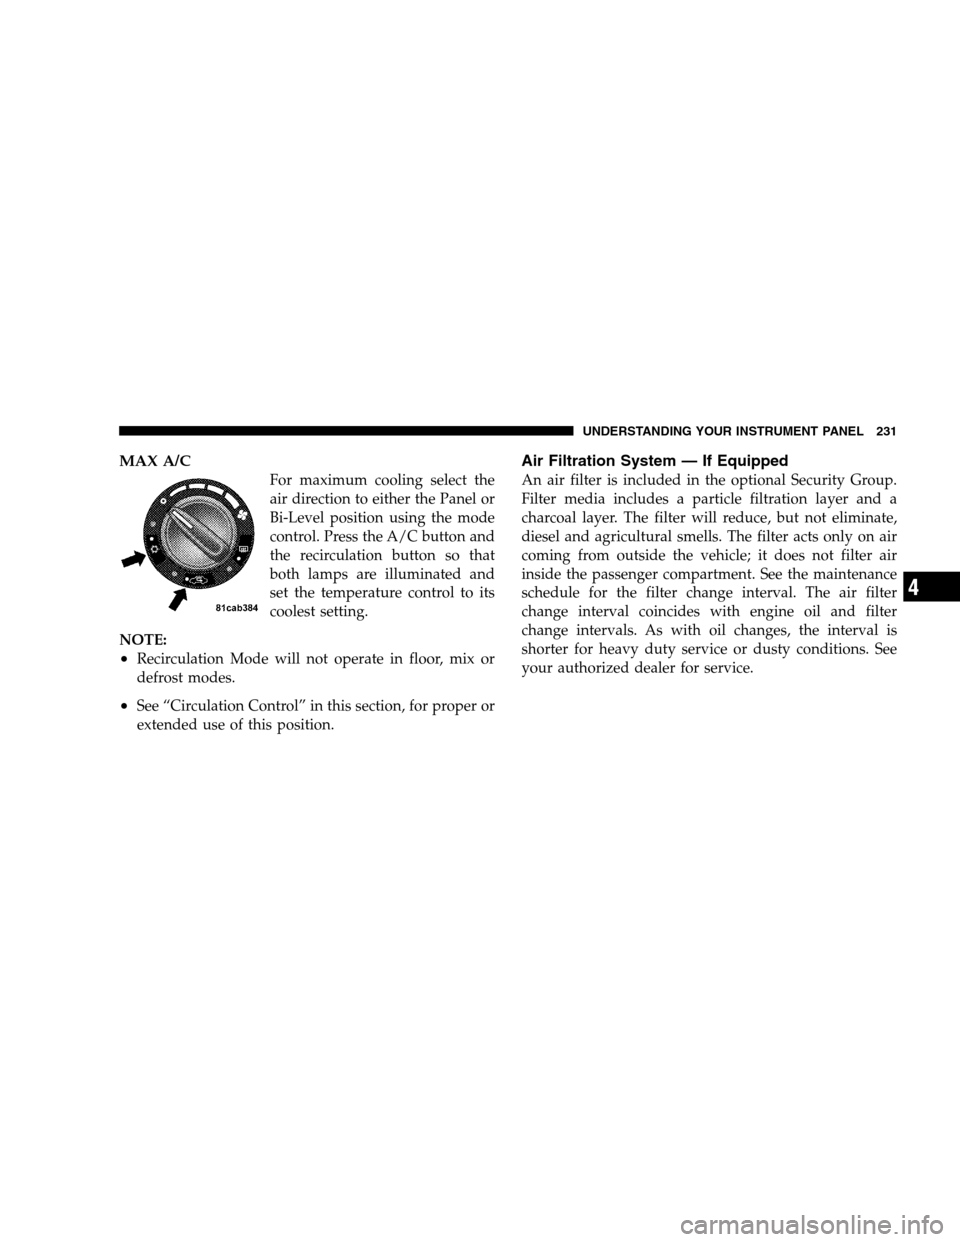
MAX A/C
For maximum cooling select the
air direction to either the Panel or
Bi-Level position using the mode
control. Press the A/C button and
the recirculation button so that
both lamps are illuminated and
set the temperature control to its
coolest setting.
NOTE:
•Recirculation Mode will not operate in floor, mix or
defrost modes.
•See “Circulation Control” in this section, for proper or
extended use of this position.
Air Filtration System — If Equipped
An air filter is included in the optional Security Group.
Filter media includes a particle filtration layer and a
charcoal layer. The filter will reduce, but not eliminate,
diesel and agricultural smells. The filter acts only on air
coming from outside the vehicle; it does not filter air
inside the passenger compartment. See the maintenance
schedule for the filter change interval. The air filter
change interval coincides with engine oil and filter
change intervals. As with oil changes, the interval is
shorter for heavy duty service or dusty conditions. See
your authorized dealer for service.
UNDERSTANDING YOUR INSTRUMENT PANEL 231
4
Page 248 of 438

Brake/Transmission Interlock System
This system prevents you from moving the shift lever out
of PARK and into any gear unless the brake pedal is
pressed. This system is active only while the ignition
switch is in the ON or ACC positions. Always depress the
brake pedal first,before moving the shift lever out of
PARK.
NOTE:If a malfunction occurs, the transaxle will not
shift out of PARK. Battery power is required to release the
brake/transmission interlock system. There is a remov-
able plug in the right side of the shift lever housing that
allows you to insert your finger to override the system.
The key must be in the ignition and in the ON position to
use the override lever. If this occurs obtain service as
soon as possible.
Automatic Transaxle Ignition Interlock System
This system prevents the key from being removed unless
the shift lever is in PARK. It also prevents shifting out of
PARK unless the key is in the ACC or ON position, and
the brake pedal is depressed.
NOTE:If a malfunction occurs, the system will trap the
key in the ignition cylinder to warn you that this safety
feature is inoperable. The engine can be started and
stopped, but the key cannot be removed, until you obtain
service.
Gear Ranges For Continuously Variable
Automatic Transaxle (CVT)
DO NOT race the engine when shifting from PARK or
NEUTRAL positions into another gear range.
246 STARTING AND OPERATING
Page 254 of 438

FREEDOM DRIVE II – SAFE OFF-ROAD DRIVING
Off-Road Driving Tips and Vehicle Characteristics
The Freedom Drive II Off-Road Package has excellent on
and off-road capabilities. These off-road capabilities will
allow you to explore those wilderness trails where few
travel, providing a source of exciting and satisfying
recreation. Before you venture out you should contact
your local governmental agency to determine what are
the designated off-road vehicle (ORV) trails or recreation
areas. You should always tread lightly and only use
established roads, trails or ORV recreational areas. The
National Forest Service, Bureau of Land Management or
local Department of Natural Resources are a wealth of
information and usually have maps with marked trails.
NOTE: For optimum off-road performance, premium
fuel is recommended. However, your vehicle isequipped with an active spark knock system and can
adjust the engine calibration for a varying range of fuel
octane levels.The Freedom Drive II Off-Road Package
The Freedom Drive II Off-Road Package provides excel-
lent capability on and off-road.
The package includes:
•2.4L DOHC 16-Valve I4 (172 bhp @ 6000 RPM, 165 lb-ft
@ 4400 RPM)
•Second generation continuously variable transaxle
(CVT2L) with 19:1 crawl ratio
•Tow Hooks: two front and one rear
•Front engine and transaxle skid plate
•Fuel tank skid plate
•Air filtration system
252 STARTING AND OPERATING
Page 276 of 438

WARNING!
Never use tow straps with end hooks or link two
straps with a clevis pin. These heavy metal objects
could become projectiles if a strap breaks, which
could cause severe injury. Never leave more than 2 to
3 ft (61 to 91 cm) of slack in the strap. More slack than
this greatly increases the risk of injury and vehicle
damage. Always keep everyone at least 30 ft (9 m)
away from a strapping or winching situation.
After Driving Off-Road
Off-road operation puts more stress on your vehicle than
does most on-road driving. After driving off-road, it is
always a good idea to check for damage.
•Completely inspect the underbody of your vehicle.
Check tires, body structure, steering, suspension, and
exhaust system for damage.
•Check threaded fasteners for looseness, particularly on
the chassis, drivetrain components, steering, and sus-
pension. Retighten them, if required, and torque to the
values specified in the Service Manual.
•Check for accumulations of plants or brush. These
things could be a fire hazard, or they might hide
damage to fuel lines, brake hoses, axle pinion seals,
and propeller shafts.
•After extended operation in mud, sand, water, or
similar dirty conditions, have brake drums and rotors,
brake linings, and axle yokes inspected and cleaned as
soon as possible.
•If you experience unusual vibration after driving in
mud, slush or similar conditions, check the wheels for
packed material. Packed foreign material can cause a
wheel imbalance and cleaning the wheels will correct
the situation.
274 STARTING AND OPERATING