Page 71 of 355

1
FEATURES OF YOUR HYUNDAI
59
!
B240C01CM-AATSRS CareThe SRS is virtually maintenance free and
there are no parts you can safely service by
yourself. If the SRS SRI (Service Reminder
Indicator) does not illuminate, or continu-
ously remains on, have your vehicle im-
mediately inspected by your Hyundai
dealer.
Any work on the SRS system, such as
removing, installing, repairing, or any work
on the steering wheel must be performed
by a qualified Hyundai technician. Improper
handling of the air bag system may result
in serious personal injury.
!
!
WARNING:
o The built in coat hooks should only be
used for light weight clothing. Ensure
that clothing pockets are free of any
heavy or sharp objects. When using
coat hooks, do not hang clothes on
coat hangers.
o The space between the occupant and
the curtain air bag must never be
occupied by children, passengers or
pets. Occupants should never lean
out or have any parts of their body
protruding from the window while the
engine is running.
o Do not move the sun visor out to cover
the side window if there is an item
attached to it such as garage door
remote control, pens, compact disc
pocket, air fresheners or the like.
These objects may cause injury if the
Curtain Air Bag is deployed.
o Where sun blinds are fitted to the rear
doors, these must not obstruct or
impair the air bag in any way.o Do not install any accessories or
children’s toys in the Curtain Air Bag
deployment zones, as this may im-
pair the operation of the system or
throw parts of them into the vehicle
cabin causing injury to occupants if
the system is deployed.
o To maintain the integrity of the Cur-
tain Air Bag system, any work, re-
moval or installation of the air bag and
associated components (such as roof
lining and side trims) should always
be performed by an authorized
Hyundai dealer.
WARNING:
WARNING:
Never tamper with or disconnect the air
bag system sensors & wiring. You could
cause the air bag to inflate or the system
may fail to operate which may result in
fatal personal injury.
Page 109 of 355

1
FEATURES OF YOUR HYUNDAI
97
!
WARNING:
o Do not store cigarette lighters, pro-
pane cylinders, or other flammable/
explosive materials in the vehicle.
These items may catch fire and/or
explode if the vehicle is exposed to
hot temperatures for extended peri-
ods.
o To avoid the possibility of injury in
case of an accident or a sudden stop,
the center facia upper tray lid should
be kept closed when the car is in
motion.
OUTSIDE REARVIEW
MIRROR
CAUTION:
If the mirror is jammed with ice, do not
adjust the mirror by force. Use an ap-
proved spray de-icer (not radiator anti-
freeze) to release the frozen mecha-
nism or move the vehicle to a warm
place and allow the ice to melt.
To adjust the position of either
mirror:1. Move the selecting switch to the right or
left to activate the adjustable mecha-
nism for the corresponding door mirror.
2. Adjust mirror angle by depressing the
appropriate perimeter switch as illus-
trated.
!
OCM052053
B510B01TG-AATThe outside rearview mirrors can be ad-
justed to your preferred rear vision, both
directly behind the vehicle, and to the rear
of the left and right sides.
The remote control outside rearview mir-
ror switch controls the adjustments for both
right and left outside mirrors.NOTE:Before driving away, always check that
your mirrors are positioned so you can
see behind you, both to the left and right
sides, as well as directly behind your
vehicle.
Page 129 of 355
1
FEATURES OF YOUR HYUNDAI
117
!
WARNING:
o Do not place the sun visor in such a
manner that it obscures visibility of
the roadway, traffic or other objects.
o Do not move the sun visor out to cover
the side window if there is an item
attended to it such as a garage door
remote control, pens, air fresheners
or the like. These objects could cause
injury if the curtain air bag is deployed.
B580B01B-GATIlluminated Vanity Mirror
(If installed)Opening the lid of the vanity mirror will
automatically turn on the mirror light.
OCM052126
B580C01O
B585BA01JM-AATSun Visor Extender (If Installed)Your vehicle is equipped with sun visor
extenders that may be used when the visor
is in the side glass position.
Page 135 of 355
1
FEATURES OF YOUR HYUNDAI
123
!
o During normal cruise control opera-
tion, when the "SET" switch is acti-
vated or reactivated after applying
the brakes, the cruise control will
energize after approximately 3 sec-
onds. This delay is normal.
WARNING:
AUDIO REMOTE CONTROL
SWITCHB610A01CM-AAT(If Installed)The steering wheel audio remote control
switch is installed to promote safe driving.NOTE:Do not operate audio remote control
switches simultaneously.
OCM052141
2. MUTE Switcho Press the MUTE switch to disappear the
sound.
o Press the MUTE switch again to repro-
duce the sound.3. VOL SwitchPress the VOL switch to increase or de-
crease volume.1. MODE SwitchPress the MODE switch to select Radio,
CD (Compact Disc) and CDC (Compact
Disc Changer).
Each press of the switch changes the dis-
play as follows:
→
RADIO (FM1 → FM2 →AM) → CD* → CDC** : If installed
Page 161 of 355

1149149149149149149
FEATURES OF YOUR HYUNDAI
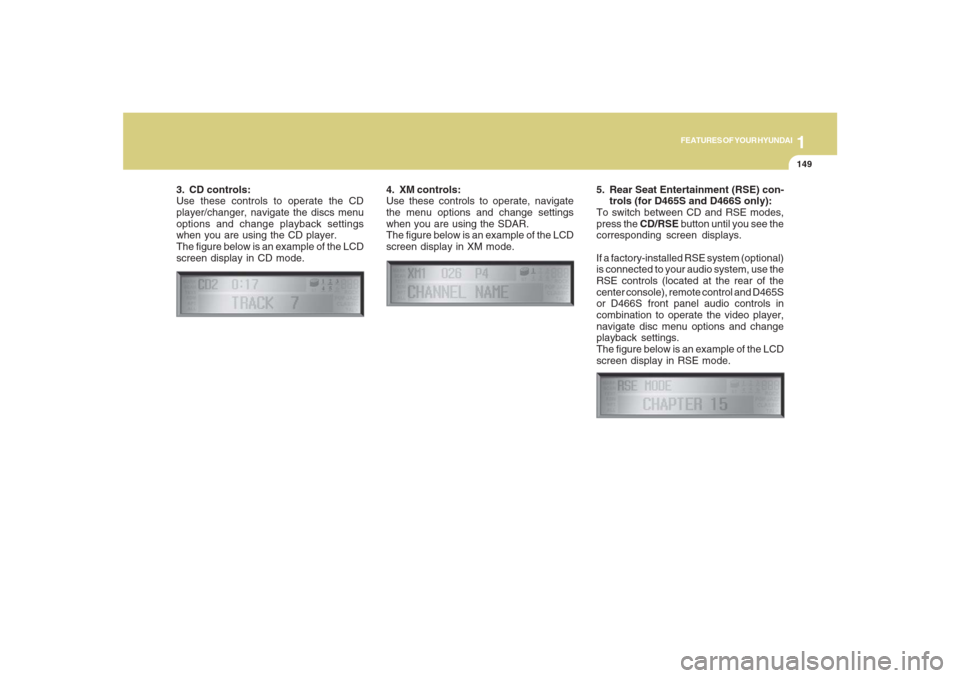
3. CD controls:
Use these controls to operate the CD
player/changer, navigate the discs menu
options and change playback settings
when you are using the CD player.
The figure below is an example of the LCD
screen display in CD mode.4. XM controls:
Use these controls to operate, navigate
the menu options and change settings
when you are using the SDAR.
The figure below is an example of the LCD
screen display in XM mode.
5. Rear Seat Entertainment (RSE) con-
trols (for D465S and D466S only):
To switch between CD and RSE modes,
press the CD/RSE button until you see the
corresponding screen displays.
If a factory-installed RSE system (optional)
is connected to your audio system, use the
RSE controls (located at the rear of the
center console), remote control and D465S
or D466S front panel audio controls in
combination to operate the video player,
navigate disc menu options and change
playback settings.
The figure below is an example of the LCD
screen display in RSE mode.
Page 191 of 355

1
FEATURES OF YOUR HYUNDAI
179
FEATURES OF YOUR HYUNDAI
179179179179
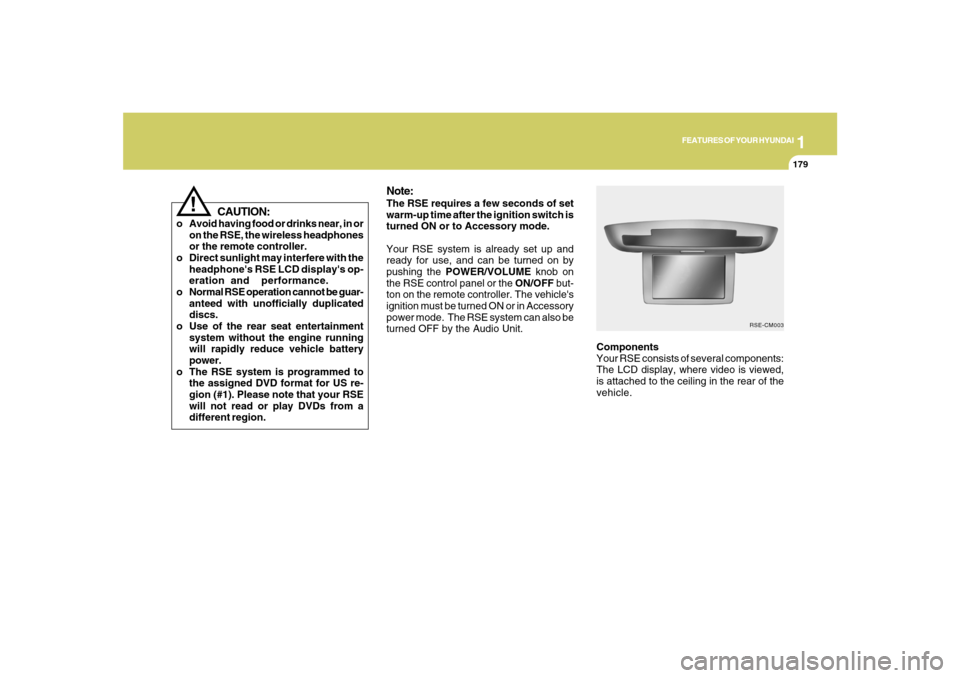
Components
Your RSE consists of several components:
The LCD display, where video is viewed,
is attached to the ceiling in the rear of the
vehicle.
Note:The RSE requires a few seconds of set
warm-up time after the ignition switch is
turned ON or to Accessory mode.
Your RSE system is already set up and
ready for use, and can be turned on by
pushing the POWER/VOLUME knob on
the RSE control panel or the ON/OFF but-
ton on the remote controller. The vehicle's
ignition must be turned ON or in Accessory
power mode. The RSE system can also be
turned OFF by the Audio Unit.
RSE-CM003
!
CAUTION:
o Avoid having food or drinks near, in or
on the RSE, the wireless headphones
or the remote controller.
o Direct sunlight may interfere with the
headphone's RSE LCD display's op-
eration and performance.
o Normal RSE operation cannot be guar-
anteed with unofficially duplicated
discs.
o Use of the rear seat entertainment
system without the engine running
will rapidly reduce vehicle battery
power.
o The RSE system is programmed to
the assigned DVD format for US re-
gion (#1). Please note that your RSE
will not read or play DVDs from a
different region.
Page 192 of 355
1FEATURES OF YOUR HYUNDAI
180
The Wireless headphones, allow you to
hear the audio from the RSE without dis-
turbing other passengers. Two sets, with
batteries, are provided.The Remote controller, allows you to
control RSE functions. Batteries are in-
cluded.
HEADPHONE02ARSE-CM002A
The RSE Control Panel, which includes a
digital display and the RSE control but-
tons, is located in the armrest console
between the front seats.
The DVD Player, where a CD, DVD or
other disc is inserted, is located below the
RSE control panel in the first row seat
armrest console.
RSE-CM02A
Page 194 of 355

1FEATURES OF YOUR HYUNDAI
182
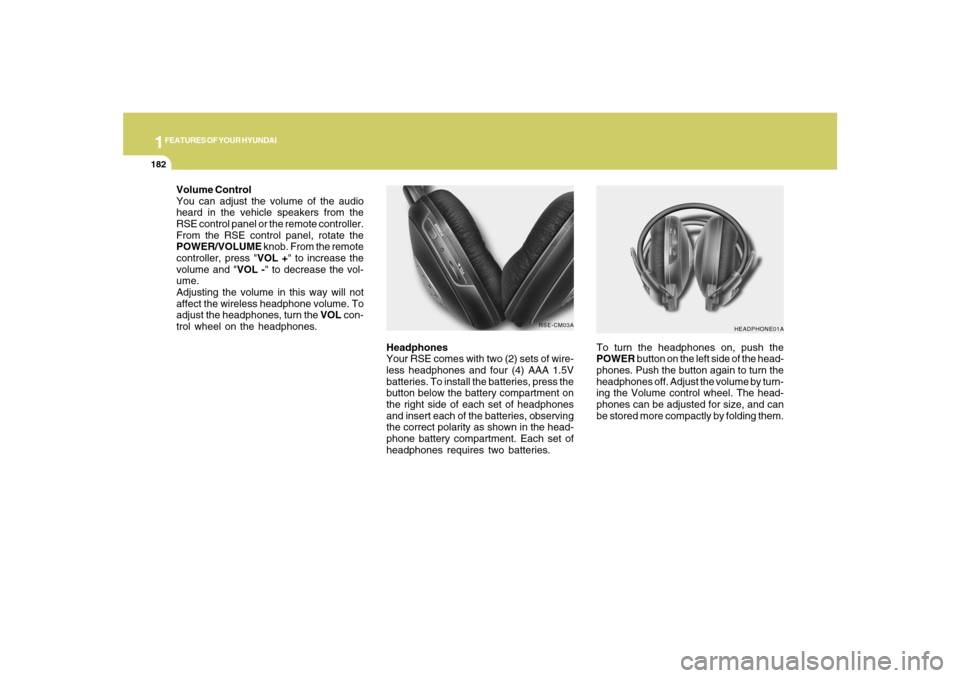
Headphones
Your RSE comes with two (2) sets of wire-
less headphones and four (4) AAA 1.5V
batteries. To install the batteries, press the
button below the battery compartment on
the right side of each set of headphones
and insert each of the batteries, observing
the correct polarity as shown in the head-
phone battery compartment. Each set of
headphones requires two batteries.
HEADPHONE01A
To turn the headphones on, push the
POWER button on the left side of the head-
phones. Push the button again to turn the
headphones off. Adjust the volume by turn-
ing the Volume control wheel. The head-
phones can be adjusted for size, and can
be stored more compactly by folding them.
RSE-CM03A
Volume Control
You can adjust the volume of the audio
heard in the vehicle speakers from the
RSE control panel or the remote controller.
From the RSE control panel, rotate the
POWER/VOLUME knob. From the remote
controller, press "VOL +" to increase the
volume and "VOL -" to decrease the vol-
ume.
Adjusting the volume in this way will not
affect the wireless headphone volume. To
adjust the headphones, turn the VOL con-
trol wheel on the headphones.