Page 195 of 360

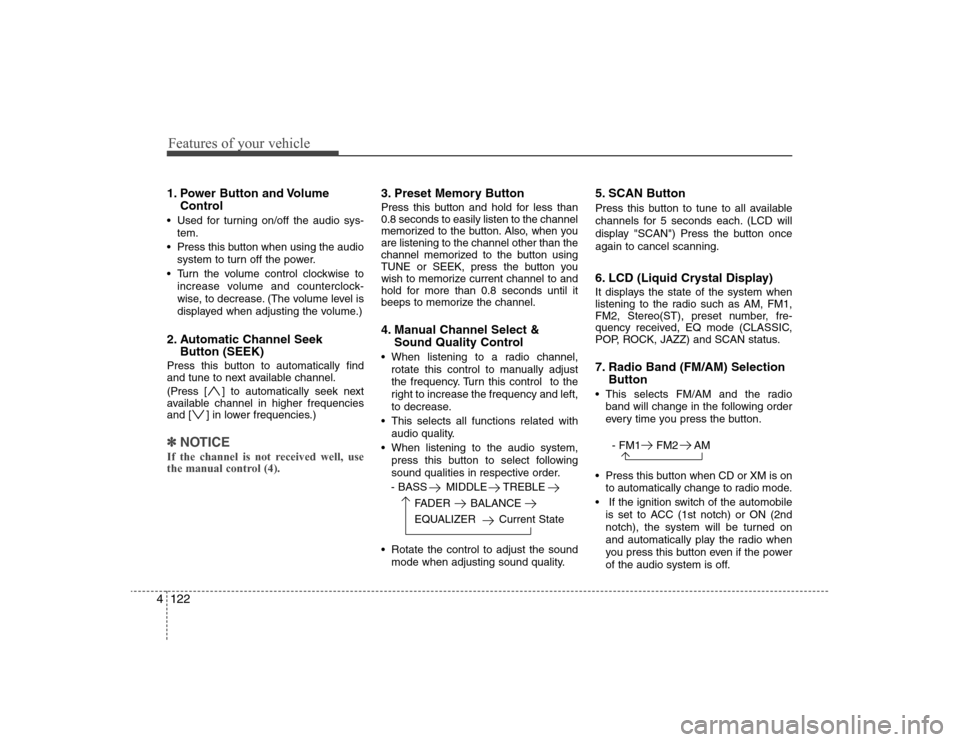
Features of your vehicle122 41. Power Button and Volume
Control Used for turning on/off the audio sys-
tem.
Press this button when using the audio
system to turn off the power.
Turn the volume control clockwise to
increase volume and counterclock-
wise, to decrease. (The volume level is
displayed when adjusting the volume.)2. Automatic Channel Seek
Button (SEEK)Press this button to automatically find
and tune to next available channel.
(Press [ ] to automatically seek next
available channel in higher frequencies
and [ ] in lower frequencies.)✽ ✽
NOTICEIf the channel is not received well, use
the manual control (4).
3. Preset Memory ButtonPress this button and hold for less than
0.8 seconds to easily listen to the channel
memorized to the button. Also, when you
are listening to the channel other than the
channel memorized to the button using
TUNE or SEEK, press the button you
wish to memorize current channel to and
hold for more than 0.8 seconds until it
beeps to memorize the channel.4. Manual Channel Select &
Sound Quality Control When listening to a radio channel,
rotate this control to manually adjust
the frequency. Turn this control to the
right to increase the frequency and left,
to decrease.
This selects all functions related with
audio quality.
When listening to the audio system,
press this button to select following
sound qualities in respective order.
- BASS MIDDLE TREBLE
FADER BALANCE
EQUALIZER Current State
Rotate the control to adjust the sound
mode when adjusting sound quality.
5. SCAN ButtonPress this button to tune to all available
channels for 5 seconds each. (LCD will
display "SCAN") Press the button once
again to cancel scanning.6. LCD (Liquid Crystal Display)It displays the state of the system when
listening to the radio such as AM, FM1,
FM2, Stereo(ST), preset number, fre-
quency received, EQ mode (CLASSIC,
POP, ROCK, JAZZ) and SCAN status.7. Radio Band (FM/AM) Selection
Button This selects FM/AM and the radio
band will change in the following order
every time you press the button.
- FM1 FM2 AM
Press this button when CD or XM is on
to automatically change to radio mode.
If the ignition switch of the automobile
is set to ACC (1st notch) or ON (2nd
notch), the system will be turned on
and automatically play the radio when
you press this button even if the power
of the audio system is off.
Page 267 of 360
What to do in an emergency14 64. Remove the wheel lug nut wrench,
jack, jack handle, and spare tire
from the vehicle.
5. Block both the front and rear of the
wheel that is diagonally opposite
the jack position.6. Loosen the wheel lug nuts coun-
terclockwise one turn each, but do
not remove any nut until the tire
has been raised off the ground.
1JBA6504
OHD066004
WARNING
- Changing a tire
To prevent vehicle movement
while changing a tire, always
set the parking brake fully,
and always block the wheel
diagonally opposite the wheel
being changed.
We recommend that the
wheels of the vehicle be
chocked, and that no person
remain in a vehicle that is
being jacked.
Page 306 of 360

Maintenance30 7
Battery recharging Your vehicle has a maintenance-free,
calcium-based battery.
If the battery becomes discharged in a
short time (because, for example, the
headlights or interior lights were left on
while the vehicle was not in use),
recharge it by slow charging (trickle)
for 10 hours.
If the battery gradually discharges
because of high electric load while the
vehicle is being used, recharge it at 20-
30A for two hours.
Reset itemsItems should be reset after the battery
has been discharged or the battery has
been disconnected.
Sunroof (See Chapter 4)
Trip computer (See Chapter 4)
Climate control system
(See Chapter 4)
Clock (See Chapter 4)
Audio (See Chapter 4)
Auto up/down window (See chapter 4)
(Continued)
When lifting a plastic-cased bat-
tery, excessive pressure on the
case may cause battery acid to
leak, resulting in personal injury.
Lift with a battery carrier or with
your hands on opposite corners.
Never attempt to recharge the
battery when the battery cables
are connected.
The electrical ignition system
works with high voltage. Never
touch these components with the
engine running or the ignition
switched on.
Failure to follow the above warn-
ings can result in serious bodily
injury or death.
PROPOSITION 65 WARN-
ING
Battery posts, terminals, and relat-
ed accessories contain lead and
lead compounds, chemicals known
to the State of California to cause
cancer and reproductive harm.
Batteries also contain other chemi-
cals known to the State of
California to cause cancer. Wash
hands after handling.
Page 323 of 360

747
Maintenance
Memory fuseYour vehicle is equipped with the memo-
ry fuse to prevent battery discharge if
your vehicle is parked without being
operated for prolonged periods. Use the
following procedures before parking the
vehicle for prolonged periods.
1. Turn off the engine.
2. Turn off the headlights and tail lights.
3. Open the driver’s side panel cover and
pull up the memory fuse.
✽ ✽
NOTICE• If the memory fuse is pulled up from
the fuse panel, the warning chime,
audio, clock and interior lamps, etc.,
will not operate. Some items must be
reset after replacement. Refer to
“Battery” in this section.
• Even though the memory fuse is
pulled up, the battery can still be dis-
charged by operation of the head-
lights or other electrical devices.
Engine compartment panel fuse
replacement1. Turn the ignition switch and all other
switches off.
2. Remove the fuse box cover by press-
ing the tap and pulling up.
3. Check the removed fuse; replace it if it
is blown. To remove or insert the fuse,
use the fuse puller in the main fuse
box in the engine compartment.
4. Push in a new fuse of the same rating,
and make sure it fits tightly in the clips.
If it fits loosely, consult an authorized
Hyundai dealer.
OHD076027
OHD076028