Page 200 of 280
Remove the electrical connector
f rom the bulb by pulling the
connector straight back.
Remove the rubber weather seal
by pulling on the tab.Make sure that the hold-down
wire is installed properly and
securely. You can check its
installation f rom the inspection
window on the headlight assembly.
Install the rubber seal over the
back of the headlight assembly.
Unclip the end of the hold-down
wire f rom its slot. Pivot the wire
out of the way, then remove the
bulb.
Install the new bulb into the hole,
making sure the tabs are in their
slots. Pivot the hold-down wire
back in place, and clip the end into
the slot.
5.
6.
3.
4. 7.
8.
CONT INUED
Lights
Maint enance
197
RUBBER WEATHER SEAL
HOLD-DOWN
WIRE BULB
ELECTRICAL
CONNECTOR HOLD-DOWN
WIRE
INSPECTION WINDOW
�\f���—�\f���—�����y���\f����
������y���
�(�������
�\f�y�\f���\f���y
2008 Fit
Page 201 of 280
Use a f lat-tip screwdriver to
remove the holding clip f rom the
inner f ender, then pull the inner
f ender cover back.
To change the bulb on the driver’s
side, start the engine, turn the
steering wheel all the way to the
right, then turn of f the engine. To
change the bulb on the passenger’s
side, turn the steering wheel to the
lef t.
Reinstall the inner f ender cover.
Then reinstall the holding clip, and
lock it in place by pushing on its
center.
Push the electrical connector onto
the new bulb. Make sure it is
connected securely. Turn on the
headlights to test the new bulb. 1.
2.
9.
10.
Lights
Replacing a Parking L ight/Front
Side Marker Bulb and a T urn
Signal Light Bulb
198
HOLDING CLIP
�\f���—�\f���—�����y���\f����
������y���
�(�������
�\f�y�\f���\f���y
2008 Fit
Page 225 of 280
Put on the spare tire. Put the
wheel nuts back on f inger-tight,
then tighten them in a crisscross
pattern with the wheel nut wrench
until the wheel is f irmly against
the hub. Do not try to tighten the
wheel nuts f ully.
Lower the vehicle to the ground,
and remove the jack.Tighten the wheel nuts securely in
the same crisscross pattern. Have
the wheel nut torque checked at
the nearest automotive service
f acility.
Tighten the wheel nuts to:Place the flat tire face down in the
sparetirewell.
Securetheflattirebyscrewing
the wing bolt back into its hole.
Remove the center cap before
storing the f lat tire.
13.
14.
15.
16.17.
18.
On Sport model:
Changing a Flat Tire
222
For
normal
tire
For
spare
tire
80 lbf·ft (108 N·m , 11 kgf·m)
�\f���—�\f���—�����y���\f�������
�\f�y���
�(�������
�\f�y�\f�������y
2008 Fit
Page 226 of 280
CONT INUED
Store the jack. Place the tool kit in
the center of the flat tire.
Store the wheel cover or center
cap in the cargo area. Make sure it
will not get scratched or damaged.
Remove the strap loop from the
leg of the head restraint, then
lower the f loor lid, and close the
tailgate.Align the valve mark on the wheel
cover to the tire valve on the
wheel, then install the wheel cover.
Make sure the wire support ring is
hooked into the clips around the
edge of the wheel cover.
1.
2.
19.
20.
21.
All models except Sport
Changing a Flat Tire
Inst alling a wheel cover
T aking Care of t he Unexpect ed
223
CLIPS
CLIPS
Loose items can fly around the
interior in a crash and could
seriously injure the occupants.
Store the wheel, jack, and tools
securely before driving.
�\f���—�\f���—�����y���\f�������
���y���
�(�������
�\f�y�\f�������y
2008 Fit
Page 243 of 280
Screw the towing hook into the
bolt hole behind the bumper, then
tighten the hook securely with the
extension.
3.
If Your Vehicle Gets Stuck
240
To avoid damage to your vehicle, use
the towing hook f or straight, f lat
ground towing only. Do not tow at an
angle. The tow hook should not be used
to tow the vehicle onto a f lat bed. Do
not use it as a tie down.
�\f���—�\f���—�����y���\f�����������y���
�(�������
�\f�y�\f�������y
2008 Fit
Page 270 of 280

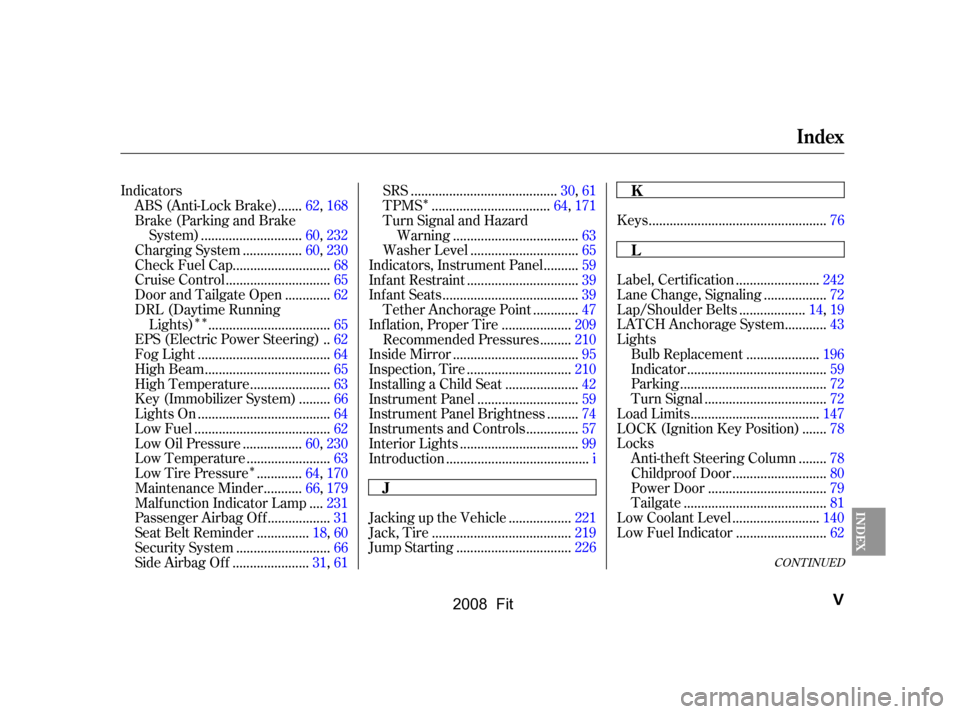
�Î�Î�Î �Î
CONT INUED
..................................................
Keys .76
.................
Jacking up the Vehicle .221
.......................................
Jack, Tire .219
................................
Jump Starting .226 .......................
Label, Certif ication .242
.................
Lane Change, Signaling .72
..................
Lap/Shoulder Belts .14,19
...........
LATCH Anchorage System .43
Lights
....................
Bulb Replacement .196
.......................................
Indicator .59
.........................................
Parking .72
..................................
Turn Signal .72
....................................
Load Limits .147
......
LOCK (Ignition Key Position) .78
Locks
.......
Anti-thef t Steering Column .78
..........................
Childproof Door .80
.................................
Power Door .79
........................................
Tailgate .81
........................
Low Coolant Level .140
.........................
Low Fuel Indicator .62
Indicators
......
ABS (Anti-Lock Brake) .62,168
Brake (Parking and Brake
............................
System) .60,232
................
Charging System .60,230
...........................
Check Fuel Cap .68
.............................
Cruise Control .65
............
Door and Tailgate Open .62
DRL (Daytime Running
..................................
Lights) .65
.
EPS (Electric Power Steering) .62
.....................................
Fog Light .64
...................................
High Beam .65
......................
High Temperature .63
........
Key (Immobilizer System) .66
.....................................
Lights On .64
......................................
Low Fuel .62
................
Low Oil Pressure .60,230
.......................
Low Temperature .63
............
Low Tire Pressure .64,170
..........
Maintenance Minder .66,179
...
Malf unction Indicator Lamp .231
.................
Passenger Airbag Of f .31
..............
Seat Belt Reminder .18,60
..........................
Security System .66
.....................
Side Airbag Of f .31,61 .........................................
SRS .30,61
.................................
TPMS .64,171
Turn Signal and Hazard
...................................
Warning .63
..............................
Washer Level .65
.........
Indicators, Instrument Panel .59
...............................
Inf ant Restraint .39
......................................
Inf ant Seats .39
............
Tether Anchorage Point .47
...................
Inf lation, Proper Tire .209
........
Recommended Pressures .210
...................................
Inside Mirror .95
.............................
Inspection, Tire .210
....................
Installing a Child Seat .42
............................
Instrument Panel .59
........
Instrument Panel Brightness .74
..............
Instruments and Controls .57
.................................
Interior Lights .99
........................................
Introduction .i
Index
L K
J
INDEX
V
�����—�����—�����y���������������y���
�(�������
���y���������y
2008 Fit