Page 257 of 352

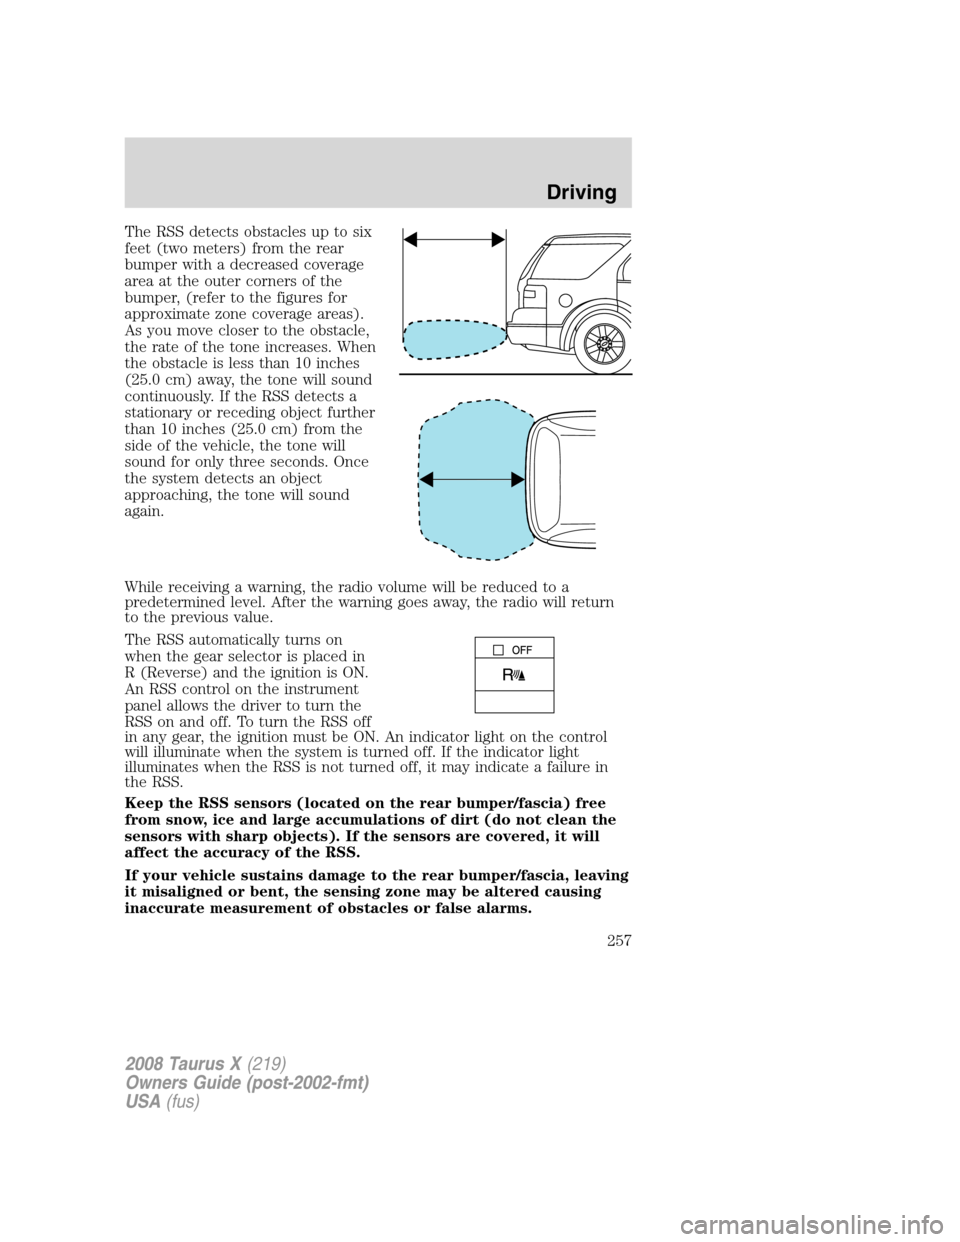
The RSS detects obstacles up to six
feet (two meters) from the rear
bumper with a decreased coverage
area at the outer corners of the
bumper, (refer to the figures for
approximate zone coverage areas).
As you move closer to the obstacle,
the rate of the tone increases. When
the obstacle is less than 10 inches
(25.0 cm) away, the tone will sound
continuously. If the RSS detects a
stationary or receding object further
than 10 inches (25.0 cm) from the
side of the vehicle, the tone will
sound for only three seconds. Once
the system detects an object
approaching, the tone will sound
again.
While receiving a warning, the radio volume will be reduced to a
predetermined level. After the warning goes away, the radio will return
to the previous value.
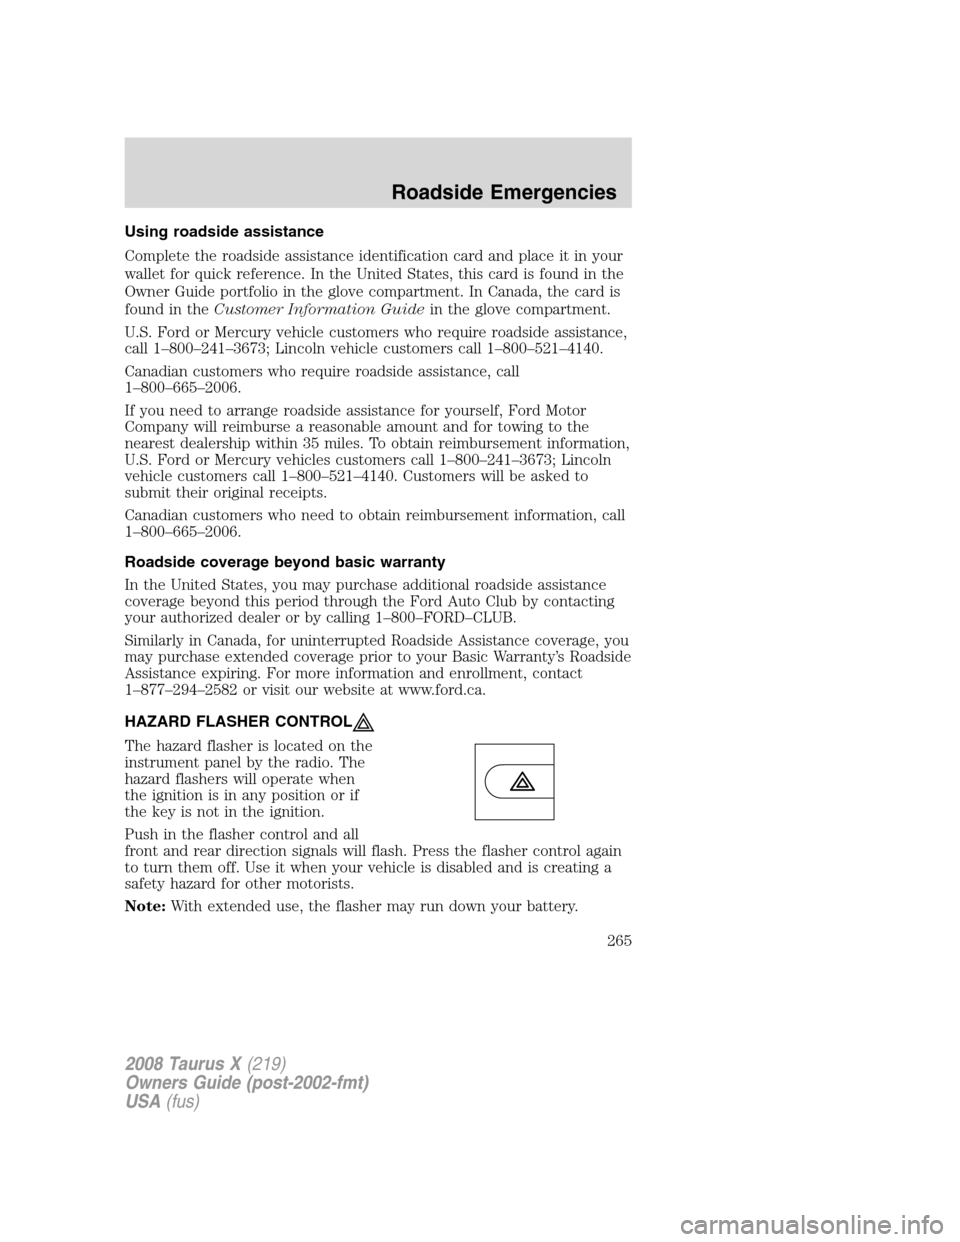
The RSS automatically turns on
when the gear selector is placed in
R (Reverse) and the ignition is ON.
An RSS control on the instrument
panel allows the driver to turn the
RSS on and off. To turn the RSS off
in any gear, the ignition must be ON. An indicator light on the control
will illuminate when the system is turned off. If the indicator light
illuminates when the RSS is not turned off, it may indicate a failure in
the RSS.
Keep the RSS sensors (located on the rear bumper/fascia) free
from snow, ice and large accumulations of dirt (do not clean the
sensors with sharp objects). If the sensors are covered, it will
affect the accuracy of the RSS.
If your vehicle sustains damage to the rear bumper/fascia, leaving
it misaligned or bent, the sensing zone may be altered causing
inaccurate measurement of obstacles or false alarms.
2008 Taurus X(219)
Owners Guide (post-2002-fmt)
USA(fus)
Driving
257
Page 265 of 352

Using roadside assistance
Complete the roadside assistance identification card and place it in your
wallet for quick reference. In the United States, this card is found in the
Owner Guide portfolio in the glove compartment. In Canada, the card is
found in theCustomer Information Guidein the glove compartment.
U.S. Ford or Mercury vehicle customers who require roadside assistance,
call 1–800–241–3673; Lincoln vehicle customers call 1–800–521–4140.
Canadian customers who require roadside assistance, call
1–800–665–2006.
If you need to arrange roadside assistance for yourself, Ford Motor
Company will reimburse a reasonable amount and for towing to the
nearest dealership within 35 miles. To obtain reimbursement information,
U.S. Ford or Mercury vehicles customers call 1–800–241–3673; Lincoln
vehicle customers call 1–800–521–4140. Customers will be asked to
submit their original receipts.
Canadian customers who need to obtain reimbursement information, call
1–800–665–2006.
Roadside coverage beyond basic warranty
In the United States, you may purchase additional roadside assistance
coverage beyond this period through the Ford Auto Club by contacting
your authorized dealer or by calling 1–800–FORD–CLUB.
Similarly in Canada, for uninterrupted Roadside Assistance coverage, you
may purchase extended coverage prior to your Basic Warranty’s Roadside
Assistance expiring. For more information and enrollment, contact
1–877–294–2582 or visit our website at www.ford.ca.
HAZARD FLASHER CONTROL
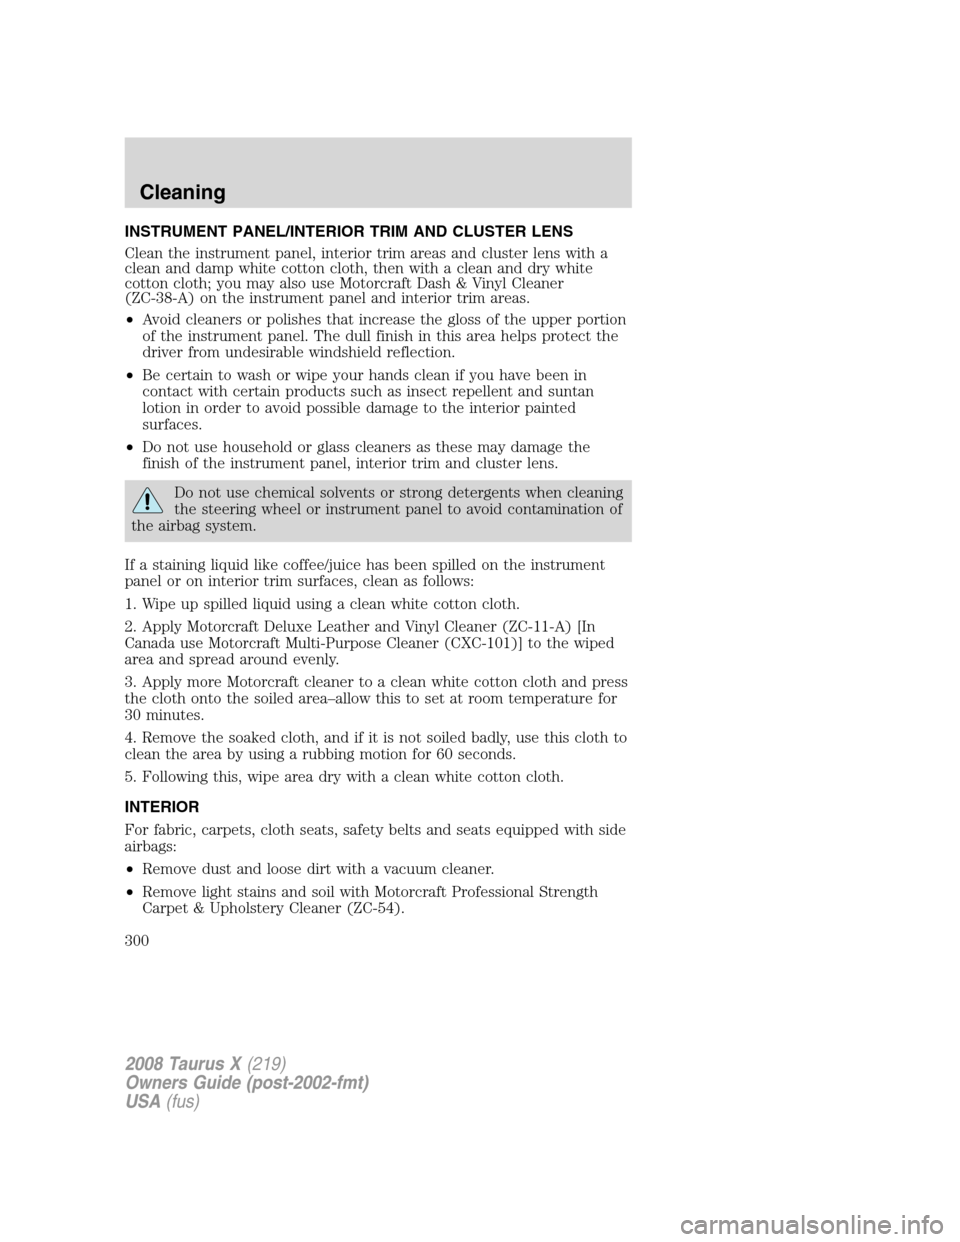
The hazard flasher is located on the
instrument panel by the radio. The
hazard flashers will operate when
the ignition is in any position or if
the key is not in the ignition.
Push in the flasher control and all
front and rear direction signals will flash. Press the flasher control again
to turn them off. Use it when your vehicle is disabled and is creating a
safety hazard for other motorists.
Note:With extended use, the flasher may run down your battery.
2008 Taurus X(219)
Owners Guide (post-2002-fmt)
USA(fus)
Roadside Emergencies
265
Page 268 of 352
Passenger compartment fuse panel
The fuse panel is located under the instrument panel to the left of the
steering wheel.
The fuses are coded as follows.
Fuse/Relay
LocationFuse Amp
RatingPassenger Compartment Fuse
Panel Description
1 30A Smart window motor
2 15A Brake on/off switch,
High-mounted brake lamp
3 15A SDARS, Bluetooth, Family
entertainment system (FES)/Rear
seat control
4 30A Spare
5 10A SPDJB logic power
6 20A Turn signals
7 10A Low beam headlamps (left)
2008 Taurus X(219)
Owners Guide (post-2002-fmt)
USA(fus)
Roadside Emergencies
268
Page 269 of 352
Fuse/Relay
LocationFuse Amp
RatingPassenger Compartment Fuse
Panel Description
8 10A Low beam headlamps (right)
9 15A Interior lights, Cargo lamps
10 15A Backlighting, Puddle lamps
11 10A All wheel drive
12 7. 5A Memory seat/mirror switches,
Memory module
13 5A FEPS module
14 10A Power liftgate module
15 10A Climate control
16 15A Spare
17 20A All power lock motor feeds,
Liftgate release
18 20A 2nd row power seat
19 25A Moon roof
20 15A OBDII connector
21 15A Fog lamps
22 15A Park lamps, License lamps
23 15A High beam headlamps
24 20A Horn relay
25 10A Demand lamps/Interior lamps
26 10A Instrument panel cluster
27 20A Adjustable pedal switch
28 5A Radio, Radio start signal
29 5A Instrument panel cluster
30 5A Overdrive cancel switch
31 10A Compass, Automatic dimming rear
view mirror
32 10A Restraint control module
33 10A Spare
34 5A AWD module
2008 Taurus X(219)
Owners Guide (post-2002-fmt)
USA(fus)
Roadside Emergencies
269
Page 271 of 352
If the battery has been disconnected and reconnected, refer to the
Batterysection of theMaintenance and Specificationschapter.
The high-current fuses are coded as follows:
Fuse/Relay
LocationFuse Amp
RatingPower Distribution Box
Description
1 80A* SPDJB power
2 80A* SPDJB power
3 30A* Front wipers
4 — Not used
5 20A* Rear heated seat module
6 — Not used
7 50A* Engine cooling fan
8 — Not used
9 40A* Anti-lock Brake System
(ABS)/AdvanceTrac pump
10 30A* Starter
11 50A* Powertrain Control Module (PCM)
relay
12 20A* ABS/AdvanceTrac valve
13 20A** Power point (instrument panel)
2008 Taurus X(219)
Owners Guide (post-2002-fmt)
USA(fus)
Roadside Emergencies
271
Page 300 of 352

INSTRUMENT PANEL/INTERIOR TRIM AND CLUSTER LENS
Clean the instrument panel, interior trim areas and cluster lens with a
clean and damp white cotton cloth, then with a clean and dry white
cotton cloth; you may also use Motorcraft Dash & Vinyl Cleaner
(ZC-38-A) on the instrument panel and interior trim areas.
•Avoid cleaners or polishes that increase the gloss of the upper portion
of the instrument panel. The dull finish in this area helps protect the
driver from undesirable windshield reflection.
•Be certain to wash or wipe your hands clean if you have been in
contact with certain products such as insect repellent and suntan
lotion in order to avoid possible damage to the interior painted
surfaces.
•Do not use household or glass cleaners as these may damage the
finish of the instrument panel, interior trim and cluster lens.
Do not use chemical solvents or strong detergents when cleaning
the steering wheel or instrument panel to avoid contamination of
the airbag system.
If a staining liquid like coffee/juice has been spilled on the instrument
panel or on interior trim surfaces, clean as follows:
1. Wipe up spilled liquid using a clean white cotton cloth.
2. Apply Motorcraft Deluxe Leather and Vinyl Cleaner (ZC-11-A) [In
Canada use Motorcraft Multi-Purpose Cleaner (CXC-101)] to the wiped
area and spread around evenly.
3. Apply more Motorcraft cleaner to a clean white cotton cloth and press
the cloth onto the soiled area–allow this to set at room temperature for
30 minutes.
4. Remove the soaked cloth, and if it is not soiled badly, use this cloth to
clean the area by using a rubbing motion for 60 seconds.
5. Following this, wipe area dry with a clean white cotton cloth.
INTERIOR
For fabric, carpets, cloth seats, safety belts and seats equipped with side
airbags:
•Remove dust and loose dirt with a vacuum cleaner.
•Remove light stains and soil with Motorcraft Professional Strength
Carpet & Upholstery Cleaner (ZC-54).
2008 Taurus X(219)
Owners Guide (post-2002-fmt)
USA(fus)
Cleaning
300
Page 304 of 352
OPENING THE HOOD
1. Inside the vehicle, pull the hood
release handle located under the
bottom of the instrument panel near
the steering column.
2. Go to the front of the vehicle and
release the auxiliary latch that is
located under the front center of
the hood.
3. Lift the hood and support it with
the prop rod. Lift the prop rod by
the sleeve and not the bare metal.
2008 Taurus X(219)
Owners Guide (post-2002-fmt)
USA(fus)
Maintenance and Specifications
304
Page 337 of 352
IDENTIFYING YOUR VEHICLE
Safety Compliance Certification Label
The National Highway Traffic Safety
Administration Regulations require
that a Safety Compliance
Certification Label be affixed to a
vehicle and prescribe where the
Safety Compliance Certification
Label may be located. The Safety
Compliance Certification Label is
located on the structure (B-Pillar)
by the trailing edge of the driver’s
door or the edge of the driver’s
door.
Vehicle identification number (VIN)
The vehicle identification number is
located on the driver side
instrument panel.
Please note that in the graphic,
XXXX is representative of your
vehicle identification number.
XXXXXXXXXXXXXXXXX
2008 Taurus X(219)
Owners Guide (post-2002-fmt)
USA(fus)
Maintenance and Specifications
337