Page 8 of 304
These are some of the symbols you may see on your vehicle.
Vehicle Symbol Glossary
Safety Alert
See Owner’s Guide
Fasten Safety BeltAirbag - Front
Airbag - SideChild Seat Lower
Anchor
Child Seat Tether
AnchorBrake System
Anti-Lock Brake SystemParking Brake System
Brake Fluid -
Non-Petroleum BasedParking Aid System
Stability Control SystemSpeed Control
Master Lighting SwitchHazard Warning Flasher
Fog Lamps-FrontFuse Compartment
Fuel Pump ResetWindshield Wash/Wipe
Windshield
Defrost/DemistRear Window
Defrost/Demist
2008 Fusion(fsn)
Owners Guide (post-2002-fmt)
USA(fus)
Introduction
8
Page 47 of 304

6.Fan speed adjustment:Controls the volume of air circulated in the
vehicle.
Manual heating and air conditioning system operating tips
•To reduce fog build up on the windshield during humid weather, place
the air flow selector in the
position.
•To reduce humidity build up inside the vehicle: do not drive with the
airflow selector in the O (OFF) position or with recirculated air
engaged and A/C off.
•Do not put objects under the front seats that will interfere with the
airflow to the back seats.
•Remove any snow, ice or leaves from the air intake area at the base of
the windshield.
•To improve the A/C cool down, drive with the windows slightly open
for 2–3 minutes after start up or until the vehicle has been “aired out.”
•For maximum cooling performance (MAX A/C):
In the MAX A/C mode:
•Move the temperature control selector to the coldest setting.
•Set the fan to the highest speed initially, then adjust to maintain
passenger comfort.
In the
andmodes:
•Move the temperature control selector to the coldest setting.
•Select A/C and recirculated air
. Usewith A/C to provide
colder airflow.
•Set the fan to the highest speed initially, then adjust to maintain
passenger comfort.
•To aid in side window defogging/demisting in cold weather:
1. Select
.
2. Select A/C.
3. Set the temperature control to full heat.
4. Set the fan speed to the highest setting.
5. Direct the outer instrument panel vents towards the side windows.
2008 Fusion(fsn)
Owners Guide (post-2002-fmt)
USA(fus)
Climate Controls
47
Page 50 of 304

Automatic Temperature Control (ATC) system with heated seats
(if equipped)
Temperature conversion:To switch between Fahrenheit and Celsius:
If your vehicle is equipped with a full message center, refer toUnits
(Fahrenheit/Celsius)in theDriver Controlschapter.
If your vehicle is equipped with a mini message center, see your
authorized dealer for temperature conversion.
MAX A/C setting:In order to achieve maximum cooling performance,
press
, A/C,, and set the temperature to 60° F (16° C) and the
highest blower setting.
1.
Defrost:Distributes outside air through the windshield defroster
and demister vents. Can be used to clear thin ice or fog from the
windshield. To exit
select another mode.
2.
Fan speed control:Press to manually increase or decrease the
fan speed. To return to automatic fan operation, press AUTO.
3.
RRear defroster:Press to defrost the rear window. Refer to
Rear window defrosterin this section for more information. If your
vehicle is equipped with both rear defroster and heated mirrors, the
same button will activate both.
4.
Passenger heated seat control:Press to heat the passenger
seat. Press once to activate high heat (two indicator lights). Press again
to activate low heat (one indicator light). Press again to deactivate the
passenger heated seat.
2008 Fusion(fsn)
Owners Guide (post-2002-fmt)
USA(fus)
Climate Controls
50
Page 51 of 304

5.:Distributes air through the windshield defroster ducts, demister
outlets, and the front and rear seat floor ducts. The system will
automatically provide outside air to reduce window fogging.
6.
:Distributes air through the floor and rear seat floor ducts.
7.
:Distributes air through the instrument panel and center console
registers (if equipped) and the front and rear seat floor ducts.
8.
:Distributes air through the instrument panel and center console
registers (if equipped).
9.
Driver heated seat control:Press to heat the driver seat. Press
once to activate high heat (two indicator lights). Press again to activate
low heat (one indicator light). Press again to deactivate the driver
heated seat.
10.Manual override controls:Allows you to manually select where
airflow is directed. To return to full automatic control, press AUTO.
11.
Recirculation control:Press to activate/deactivate air
recirculation in cabin. Recirculated air may reduce the amount of time to
cool down the interior of the vehicle and may also help reduce undesired
odors from reaching the interior of the vehicle. Recirculation can be
engaged manually in any other airflow selection except
(defrost).
Recirculation may turn off automatically in all airflow selections except
MAX A/C.
12.A/C control:Press to activate/deactivate air conditioning. Use with
recirculated air to improve cooling performance and efficiency. Engages
automatically in AUTO,
(defrost) and(floor/defrost).
13.OFF:Outside air is shut out and the fan will not operate.
14.Temperature control:Press to increase/decrease the temperature
in the vehicle cabin.
15.AUTO:To engage automatic temperature control, press AUTO and
select the desired temperature using the temperature control. The
system will automatically determine fan speed, airflow location, A/C on
or off, and outside or recirculated air, to heat or cool the vehicle to reach
the desired temperature.
16.EXT:Press to display outside temperature. Press again to display
cabin temperature settings.
2008 Fusion(fsn)
Owners Guide (post-2002-fmt)
USA(fus)
Climate Controls
51
Page 52 of 304

Automatic Temperature Control (ATC) system operating tips
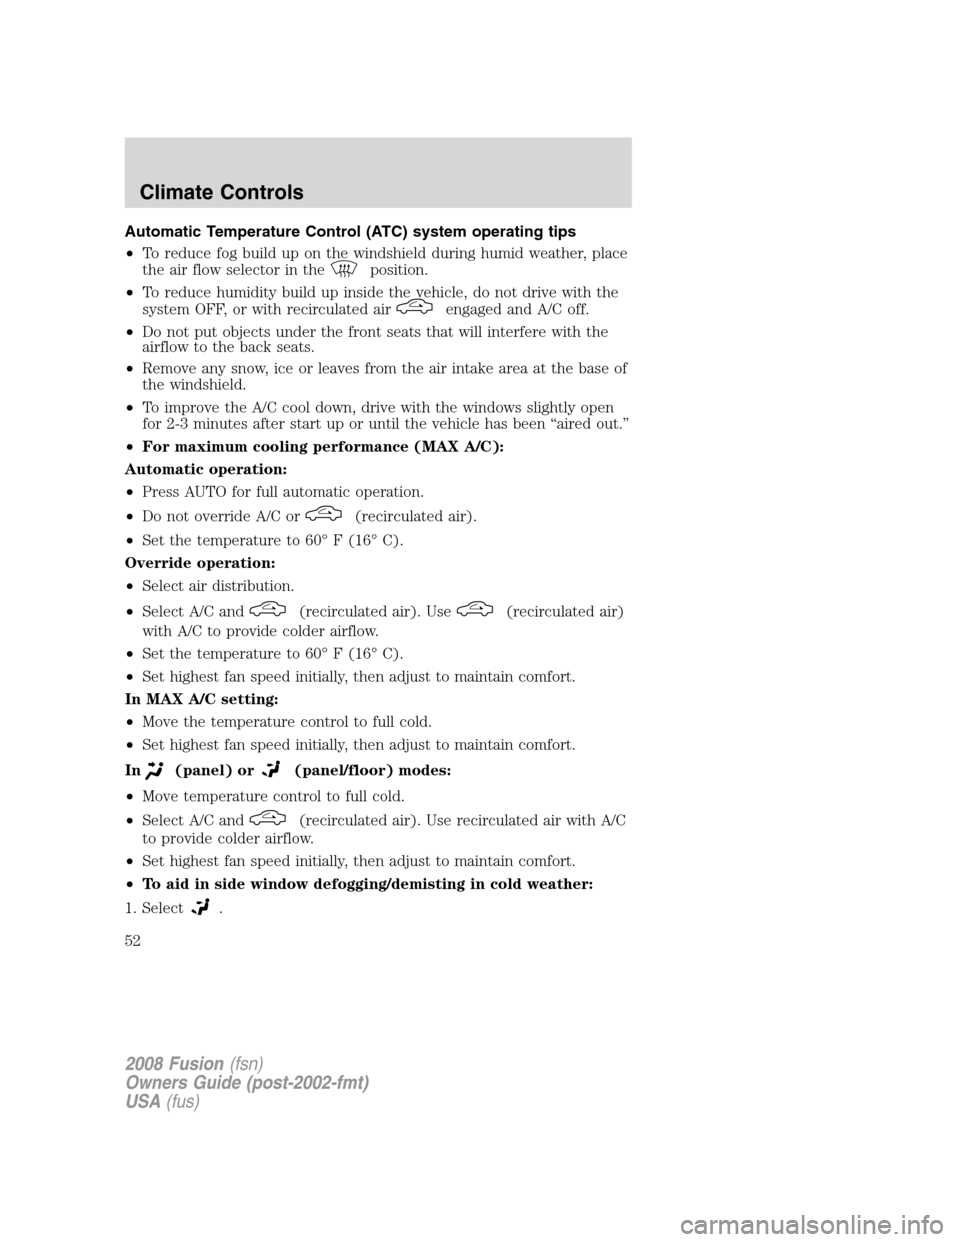
•To reduce fog build up on the windshield during humid weather, place
the air flow selector in the
position.
•To reduce humidity build up inside the vehicle, do not drive with the
system OFF, or with recirculated air
engaged and A/C off.
•Do not put objects under the front seats that will interfere with the
airflow to the back seats.
•Remove any snow, ice or leaves from the air intake area at the base of
the windshield.
•To improve the A/C cool down, drive with the windows slightly open
for 2-3 minutes after start up or until the vehicle has been “aired out.”
•For maximum cooling performance (MAX A/C):
Automatic operation:
•Press AUTO for full automatic operation.
•Do not override A/C or
(recirculated air).
•Set the temperature to 60° F (16° C).
Override operation:
•Select air distribution.
•Select A/C and
(recirculated air). Use(recirculated air)
with A/C to provide colder airflow.
•Set the temperature to 60° F (16° C).
•Set highest fan speed initially, then adjust to maintain comfort.
In MAX A/C setting:
•Move the temperature control to full cold.
•Set highest fan speed initially, then adjust to maintain comfort.
In
(panel) or(panel/floor) modes:
•Move temperature control to full cold.
•Select A/C and
(recirculated air). Use recirculated air with A/C
to provide colder airflow.
•Set highest fan speed initially, then adjust to maintain comfort.
•To aid in side window defogging/demisting in cold weather:
1. Select
.
2008 Fusion(fsn)
Owners Guide (post-2002-fmt)
USA(fus)
Climate Controls
52
Page 55 of 304

3. Turn the ignition switch to RUN and then back to LOCK.
4. Turn the headlamp switch to the autolamp position. The headlamps
will turn on.
5. Wait the desired amount of time for the exit delay you want (up to
three minutes), then turn the headlamp switch to
. The headlamps
will turn off.
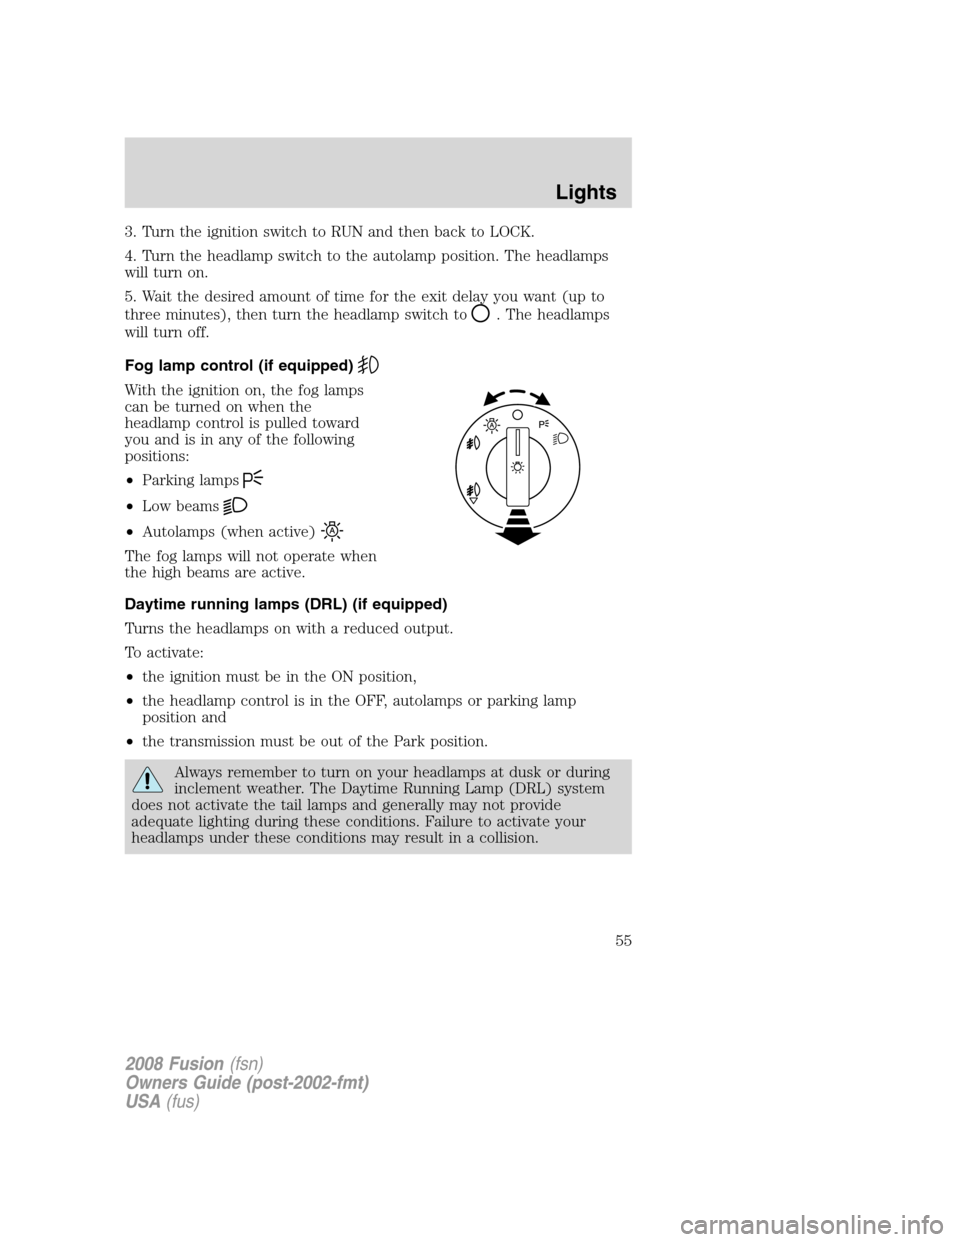
Fog lamp control (if equipped)
With the ignition on, the fog lamps
can be turned on when the
headlamp control is pulled toward
you and is in any of the following
positions:
•Parking lamps
•Low beams
•Autolamps (when active)
The fog lamps will not operate when
the high beams are active.
Daytime running lamps (DRL) (if equipped)
Turns the headlamps on with a reduced output.
To activate:
•the ignition must be in the ON position,
•the headlamp control is in the OFF, autolamps or parking lamp
position and
•the transmission must be out of the Park position.
Always remember to turn on your headlamps at dusk or during
inclement weather. The Daytime Running Lamp (DRL) system
does not activate the tail lamps and generally may not provide
adequate lighting during these conditions. Failure to activate your
headlamps under these conditions may result in a collision.
2008 Fusion(fsn)
Owners Guide (post-2002-fmt)
USA(fus)
Lights
55
Page 60 of 304
Function Number of bulbsTrade
number
Headlamp high beam 2 H7
Headlamp low beam 2 H11LL
Front sidemarker lamp 2 168
Front park/turn signal
lamp23457NAK
(amber)
Rear sidemarker lamp 2 194
Stop/tail/turn lamp 2 4157 K
Backup lamp 2 921
License plate lamp 2 C5W
High-mount brake lamp 1 921
Fog lamp (if equipped) 2 H11
Map lamp 2 12V6W
Dome/reading lamp 6 578
Visor vanity lamp - Slide
on Rail system (SOR) (if
equipped)2 37 or 14V1CP
Puddle lamp (if equipped) 2 W5W
Glove box lamp 1 194
Luggage compartment
lamp1 578
All replacement bulbs are clear in color except where noted.
To replace all instrument panel lights - see your authorized dealer.
Replacing exterior bulbs
Check the operation of all the bulbs frequently.
Replacing headlamp bulbs
Highbeam bulb (lower) replacement
1. Make sure headlamp switch is in the OFF position, then open the
hood.
2. Reach over the front bolster.
2008 Fusion(fsn)
Owners Guide (post-2002-fmt)
USA(fus)
Lights
60
Page 68 of 304
Replacing fog lamp bulbs (if equipped)
1. Make sure the fog lamp switch is
in the OFF position.
2. From underneath the vehicle,
partially remove the tire splash
shield by removing four drive
screws.
After removing to allow free access
to the front fog lamp bulb and
electrical wire harness, the splash shield flap should be able to be
repositioned.
3. Rotate the harness/bulb assembly
counterclockwise, to remove from
the fog lamp.
4. Carefully disconnect the bulb
from the harness assembly via the
two snap clips.
Install the new bulb in reverse order.
2008 Fusion(fsn)
Owners Guide (post-2002-fmt)
USA(fus)
Lights
68