2008 FORD FREESTYLE reset
[x] Cancel search: resetPage 48 of 352
5. Press VIDEO on the DVD system to change the video source to
DVD-AUX. If your source is properly plugged in, it will appear on the
LCD (Liquid Crystal Display) screen. If your auxiliary source does not
have a video signal, or if the DVD system does not detect a video signal
from the auxiliary source, the screen will remain black. If the video
source is set to DVD-AUX, the display will automatically turn on if a
video signal is detected.
To listen to audio over the headphones (Dual play mode):
1. You may listen to channels A and B over wired or wireless
headphones. Refer toUsing the infrared wireless headphonesand
Using wired headphonesfor further information.
•Black (4) — wired headphone output (wired headphones not
included)
2. Press the headphone/speaker
button on the DVD player or press
the 2 and 4 memory presets on the
audio system at the same time.
A green light will illuminate next to either the A or B Headphone Control
Button to indicate which channel is active (able to be controlled).
3. Press MEDIA to change the audio source of the active channel (A or
B). The audio source will be shown on the display. You may change the
active channel by pressing the A or B headphone control button.
Note:Channel A can access any possible media source (AM, FM1, FM2,
SAT (if equipped), CD, DVD, AUX). Channel B can only access DVD and
AUX sources.
Note:Refer toSingle play/Dual playfor more information.
Using the infrared (IR) wireless headphones:
1. Press the power control on the earpiece to turn the headphones ON.
2. Select Channel A or B for each set of wireless headphones by using
the A/B control on the ear piece.
3. Adjust the headphone volume using the rotary dial on the earpiece.
Using wired headphones (not included):
Do not leave children unattended in the vehicle and do not let
children operate the system while unsupervised. If wired
headphones or auxiliary systems are used, children may become
entangled in the cords and seriously injure themselves.
2008 Taurus X(219)
Owners Guide (post-2002-fmt)
USA(fus)
Entertainment Systems
48
ProCarManuals.com
Page 51 of 352
7.VIDEO:Press repeatedly to cycle
through the following video state
options which will be indicated on
the bottom right hand corner of the
display: DVD DISC, DVD-AUX,
NON-DVD and Off (no indicator). If you select the DVD-AUX video
source, the display will turn off if there is no video signal detected. When
a video signal is detected on the auxiliary video input, and the display is
in the DVD-AUX video mode, the display will automatically turn on.
8.Infrared (IR) Receiver & Transmitter:System sensor which reads
the signals from the remote control and sends audio signals to the
infrared (IR) wireless headphones.
9.LCD screen:The eight inch diagonal screen rotates down to view and
up into housing to store when not in use. Ensure that the screen is
latched into the housing when being stored.
10.Volume:When in Single Play,
press to increase (
) or decrease
(
) the volume over all speakers.
When in Dual Play, press to increase
(
) or decrease () the volume
for the wired headphones. (Wireless headphone volume is controlled
with the rotary dial on the right ear piece.)
11.
/(Headphones/Speakers): Press once for Dual Play
(Headphone mode- the rear speakers are muted) and press again for
Single Play (same media playing through all speakers). You can also
press the 2 and 4 memory preset buttons on the audio system at the
same time to perform the same function. For further interaction
information, refer toSingle Play/Dual play.
12.MEDIA:Press repeatedly to
select from the various possible
playing media sources (AM, FM1,
FM2, SAT (if equipped), CD, DVD, DVD-AUX). The media will show in
the status display on the top of the screen when in Dual Play mode.
When in Single Play mode, the media source will be displayed on the
radio.
Note:Channel A can access any possible media source (AM, FM1, FM2,
SAT (if equipped), CD, DVD, DVD-AUX). Channel B can only access
DVD and DVD-AUX sources.
2008 Taurus X(219)
Owners Guide (post-2002-fmt)
USA(fus)
Entertainment Systems
51
ProCarManuals.com
Page 54 of 352
(Wireless headphone volume is controlled with the rotary dial on the
right ear piece.)
8.Fast Forward/Next:In DVD mode, press and hold for a quick
advance within the DVD. Press and release to advance to the next
chapter. In CD/MP3 mode, press to access the next track.
9.Play/Pause:Press to play or pause a DVD.
10.SHUFFLE:Press to play all tracks on the current CD/MP3 disc in
random order.
11.STOP:Press to stop the current DVD or CD/MP3.
12.
/Speaker/Headphone(Single/Dual Play): Press to toggle
between Single Play (same media playing through all speakers) and Dual
Play (headphone mode — the rear speakers are muted). You can also
press the 2 and 4 memory presets on the audio system at the same time
to perform the same function.
13.Keypad:Use the numeric controls to enter in a specific CD/MP3
track or DVD chapter to be played.
14.C (Cancel):Press to cancel/clear the numeric input (i.e. chapter
number).
15.MEDIA:Press to cycle through the possible media sources: AM,
FM1, FM2, SAT (if equipped), CD, DVD, LINE IN (if equipped),
DVD-AUX.
Channel B can only access DVD and AUX sources.
16.VIDEO:Press to cycle through video states: DVD-DISC, DVD-AUX,
NON-DVD, Off.
17.EJECT:Press to eject a disc from the FES.
18.Fast reverse/Previous:When a DVD is playing, press and hold for a
quick reverse within the DVD. Press and release for the previous
chapter. Press PLAY to resume normal playback speed and volume.
In CD/MP3 mode, press to access the previous track.
19.MENU:Press to access the DVD disc menu for selections. Press
MENU again when in the DVD disc menu to access the system set-up
menu.
20.SUBTITLE(DVD dependent): Press to turn the subtitle feature ON
or OFF.
21.LANGUAGE(DVD dependent): Press to select the desired
language.
22.ENTER:Press to select the highlighted menu option.
2008 Taurus X(219)
Owners Guide (post-2002-fmt)
USA(fus)
Entertainment Systems
54
ProCarManuals.com
Page 69 of 352
Audio interaction
You can then also use the front audio controls to advance, reverse, play
and pause a DVD. While a DVD is playing you may use the following
controls on the front radio:
•SEEK: Press to advance to the previous (
) or next () DVD
chapters.
•
: Press to play a DVD or to pause the DVD.
When the radio displays “DVD MENU”, press PLAY on the radio
(memory preset #6), to play the disc.
Parental control for the DVD system
Your Family Entertainment System (FES) allows you to have control
over the rear seat controls in a few different ways. The DVD system is
automatically activated when the vehicle ignition is ON, which allows the
rear seat passengers to use the DVD system.
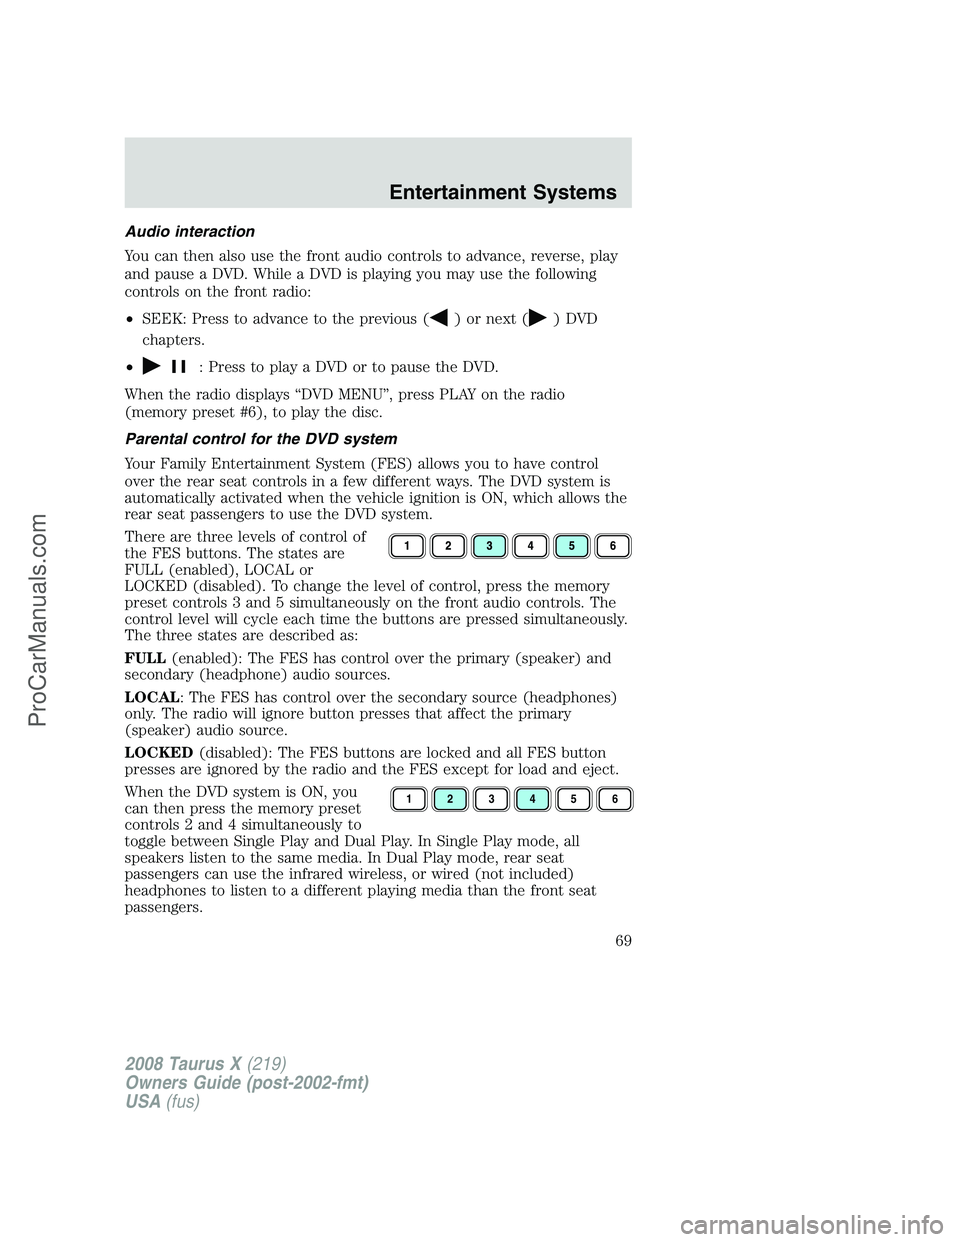
There are three levels of control of
the FES buttons. The states are
FULL (enabled), LOCAL or
LOCKED (disabled). To change the level of control, press the memory
preset controls 3 and 5 simultaneously on the front audio controls. The
control level will cycle each time the buttons are pressed simultaneously.
The three states are described as:
FULL(enabled): The FES has control over the primary (speaker) and
secondary (headphone) audio sources.
LOCAL: The FES has control over the secondary source (headphones)
only. The radio will ignore button presses that affect the primary
(speaker) audio source.
LOCKED(disabled): The FES buttons are locked and all FES button
presses are ignored by the radio and the FES except for load and eject.
When the DVD system is ON, you
can then press the memory preset
controls 2 and 4 simultaneously to
toggle between Single Play and Dual Play. In Single Play mode, all
speakers listen to the same media. In Dual Play mode, rear seat
passengers can use the infrared wireless, or wired (not included)
headphones to listen to a different playing media than the front seat
passengers.
123456
2008 Taurus X(219)
Owners Guide (post-2002-fmt)
USA(fus)
Entertainment Systems
69
ProCarManuals.com
Page 89 of 352
Daytime running lamps (DRL) (if equipped)
Turns the headlamps on with a reduced output.
To activate:
•the ignition must be in the ON position,
•the headlamp control is in the OFF, autolamps or parking lamp
position and
•the transmission must be out of the Park position.
Always remember to turn on your headlamps at dusk or during
inclement weather. The Daytime Running Lamp (DRL) system
does not activate the tail lamps and generally may not provide
adequate lighting during these conditions. Failure to activate your
headlamps under these conditions may result in a collision.
PANEL DIMMER CONTROL
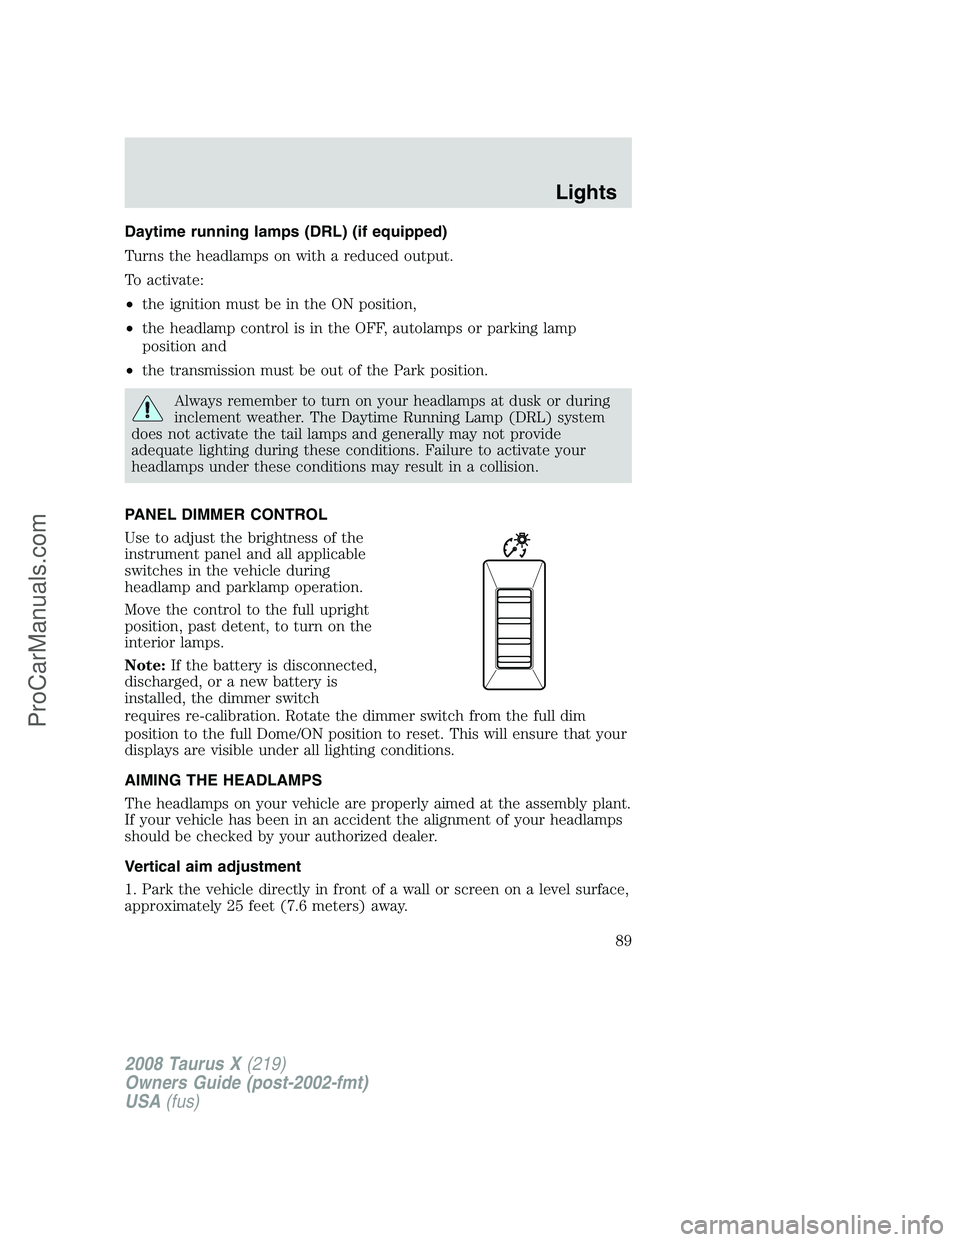
Use to adjust the brightness of the
instrument panel and all applicable
switches in the vehicle during
headlamp and parklamp operation.
Move the control to the full upright
position, past detent, to turn on the
interior lamps.
Note:If the battery is disconnected,
discharged, or a new battery is
installed, the dimmer switch
requires re-calibration. Rotate the dimmer switch from the full dim
position to the full Dome/ON position to reset. This will ensure that your
displays are visible under all lighting conditions.
AIMING THE HEADLAMPS
The headlamps on your vehicle are properly aimed at the assembly plant.
If your vehicle has been in an accident the alignment of your headlamps
should be checked by your authorized dealer.
Vertical aim adjustment
1. Park the vehicle directly in front of a wall or screen on a level surface,
approximately 25 feet (7.6 meters) away.
2008 Taurus X(219)
Owners Guide (post-2002-fmt)
USA(fus)
Lights
89
ProCarManuals.com
Page 109 of 352
STEERING WHEEL CONTROLS (IF EQUIPPED)
Driving while distracted can result in loss of vehicle control,
accident and injury. Ford strongly recommends that drivers use
extreme caution when using any device that may take their focus off
the road. The drivers primary responsibility is the safe operation of
their vehicle. Only use steering wheel controls and other devices not
essential to the driving task when it is safe to do so.
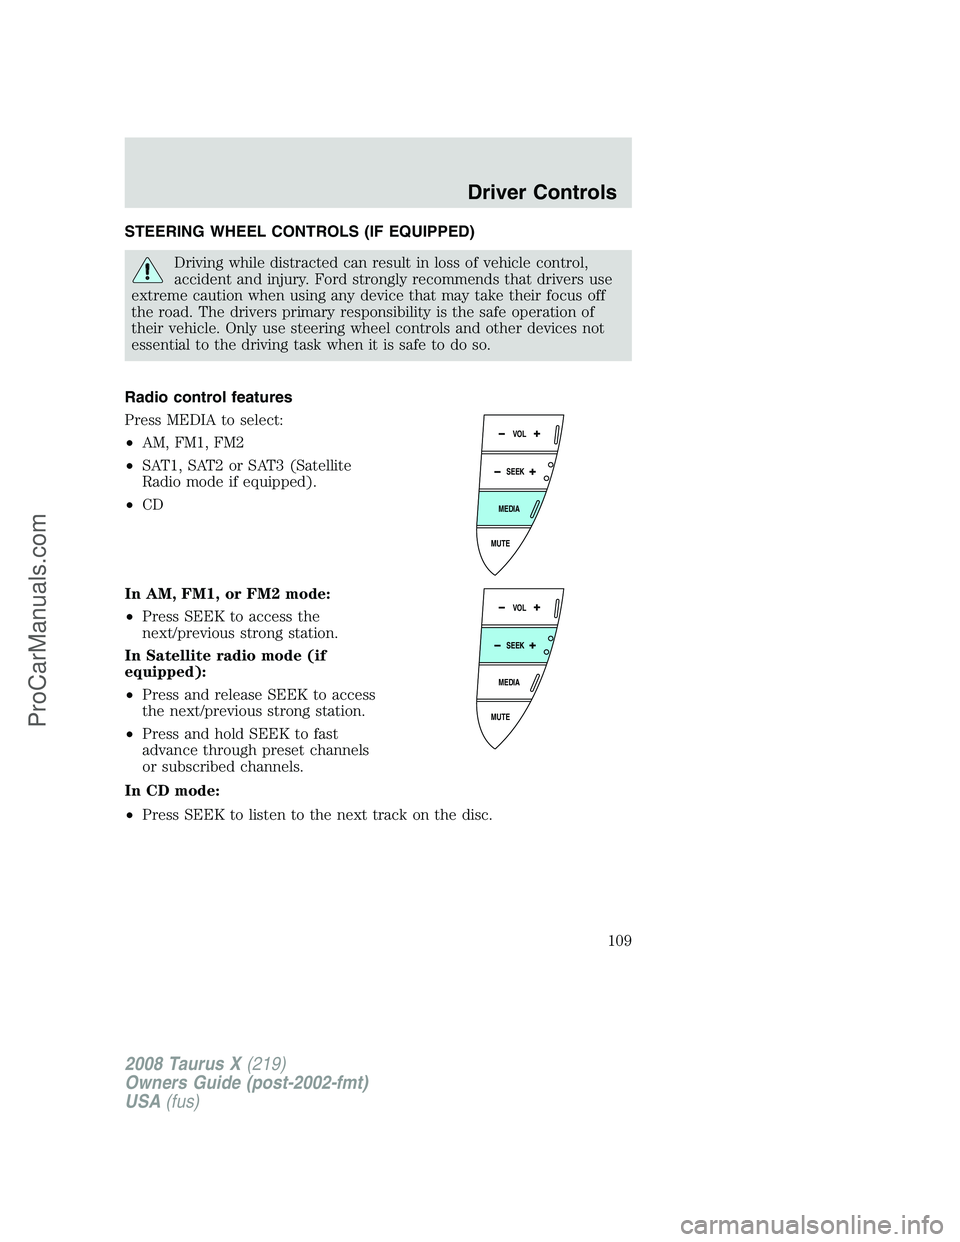
Radio control features
Press MEDIA to select:
•AM, FM1, FM2
•SAT1, SAT2 or SAT3 (Satellite
Radio mode if equipped).
•CD
In AM, FM1, or FM2 mode:
•Press SEEK to access the
next/previous strong station.
In Satellite radio mode (if
equipped):
•Press and release SEEK to access
the next/previous strong station.
•Press and hold SEEK to fast
advance through preset channels
or subscribed channels.
In CD mode:
•Press SEEK to listen to the next track on the disc.
MUTE
MEDIA
SEEKVOL
MUTE
MEDIA
SEEKVOL
2008 Taurus X(219)
Owners Guide (post-2002-fmt)
USA(fus)
Driver Controls
109
ProCarManuals.com
Page 116 of 352
MESSAGE CENTER
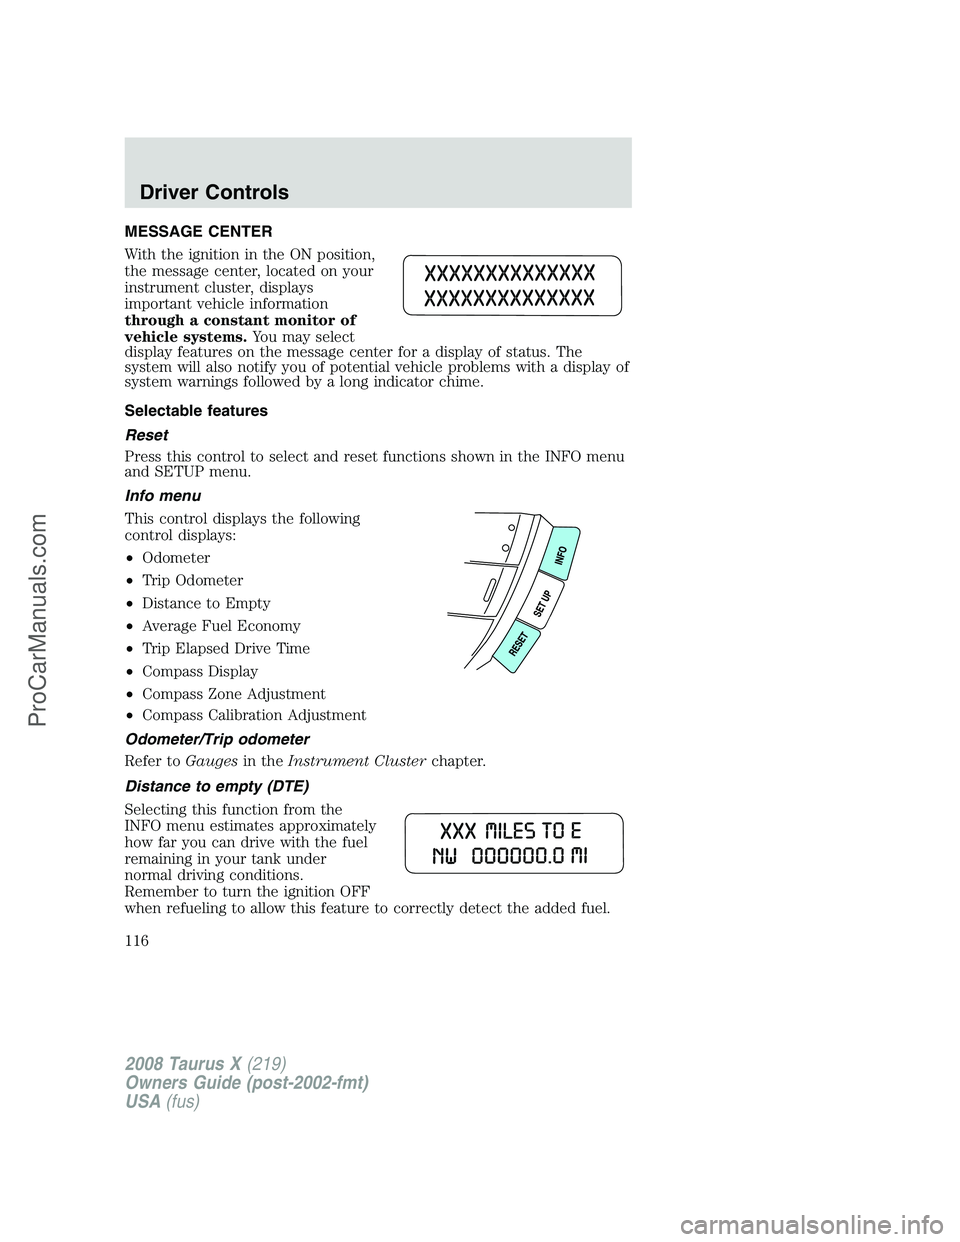
With the ignition in the ON position,
the message center, located on your
instrument cluster, displays
important vehicle information
through a constant monitor of
vehicle systems.You may select
display features on the message center for a display of status. The
system will also notify you of potential vehicle problems with a display of
system warnings followed by a long indicator chime.
Selectable features
Reset
Press this control to select and reset functions shown in the INFO menu
and SETUP menu.
Info menu
This control displays the following
control displays:
•Odometer
•Trip Odometer
•Distance to Empty
•Average Fuel Economy
•Trip Elapsed Drive Time
•Compass Display
•Compass Zone Adjustment
•Compass Calibration Adjustment
Odometer/Trip odometer
Refer toGaugesin theInstrument Clusterchapter.
Distance to empty (DTE)
Selecting this function from the
INFO menu estimates approximately
how far you can drive with the fuel
remaining in your tank under
normal driving conditions.
Remember to turn the ignition OFF
when refueling to allow this feature to correctly detect the added fuel.
2008 Taurus X(219)
Owners Guide (post-2002-fmt)
USA(fus)
Driver Controls
116
ProCarManuals.com
Page 117 of 352
The DTE function will display FUEL LEVEL LOW and a single tone
when you have approximately 50 miles (80 km) to empty. If you RESET
this warning message, this display and tone will return within 10
minutes.
DTE is calculated using a running average fuel economy, which is based
on your recent driving history of 500 miles (800 km). This value is not
the same as the average fuel economy display. The running average fuel
economy is reinitialized to a factory default value if the battery is
disconnected.
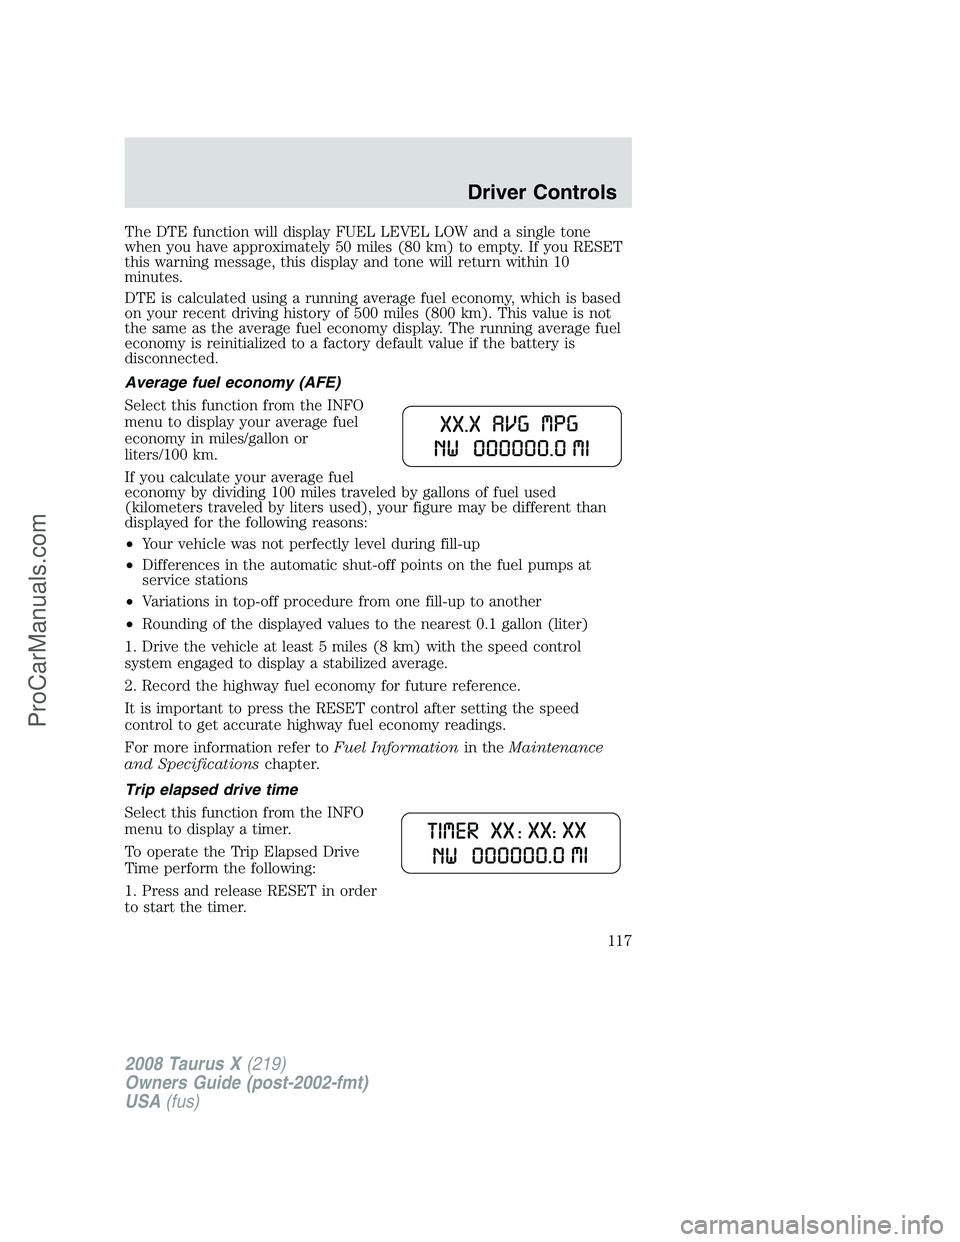
Average fuel economy (AFE)
Select this function from the INFO
menu to display your average fuel
economy in miles/gallon or
liters/100 km.
If you calculate your average fuel
economy by dividing 100 miles traveled by gallons of fuel used
(kilometers traveled by liters used), your figure may be different than
displayed for the following reasons:
•Your vehicle was not perfectly level during fill-up
•Differences in the automatic shut-off points on the fuel pumps at
service stations
•Variations in top-off procedure from one fill-up to another
•Rounding of the displayed values to the nearest 0.1 gallon (liter)
1. Drive the vehicle at least 5 miles (8 km) with the speed control
system engaged to display a stabilized average.
2. Record the highway fuel economy for future reference.
It is important to press the RESET control after setting the speed
control to get accurate highway fuel economy readings.
For more information refer toFuel Informationin theMaintenance
and Specificationschapter.
Trip elapsed drive time
Select this function from the INFO
menu to display a timer.
To operate the Trip Elapsed Drive
Time perform the following:
1. Press and release RESET in order
to start the timer.
2008 Taurus X(219)
Owners Guide (post-2002-fmt)
USA(fus)
Driver Controls
117
ProCarManuals.com