2008 FORD F250 manual transmission
[x] Cancel search: manual transmissionPage 269 of 400
3 (Third)
Transmission starts and operates in third gear only.
Used for improved traction on slippery roads. Selecting 3 (Third)
provides engine braking.
2 (Second)
Use 2 (Second) to start-up on slippery roads or to provide additional
engine braking on downgrades.
1 (First)
•Provides maximum engine braking.
•Allows upshifts by moving gearshift lever.
•The transmission will not downshift into 1 (First) at high speeds; it
will downshift to a lower gear and then shift into 1 (First) when the
vehicle reaches slower speeds.
Forced downshifts
•Allowed in D (Overdrive) or D (Drive).
•Depress the accelerator to the floor.
•Allows transmission to select an appropriate gear.
If your vehicle gets stuck in mud or snow
If your vehicle gets stuck in mud or snow, it may be rocked out by
shifting between forward and reverse gears, stopping between shifts in a
steady pattern. Press lightly on the accelerator in each gear.
Do not rock the vehicle if the engine is not at normal operating
temperature or damage to the transmission may occur.
Do not rock the vehicle for more than a minute or damage to the
transmission and tires may occur, or the engine may overheat.
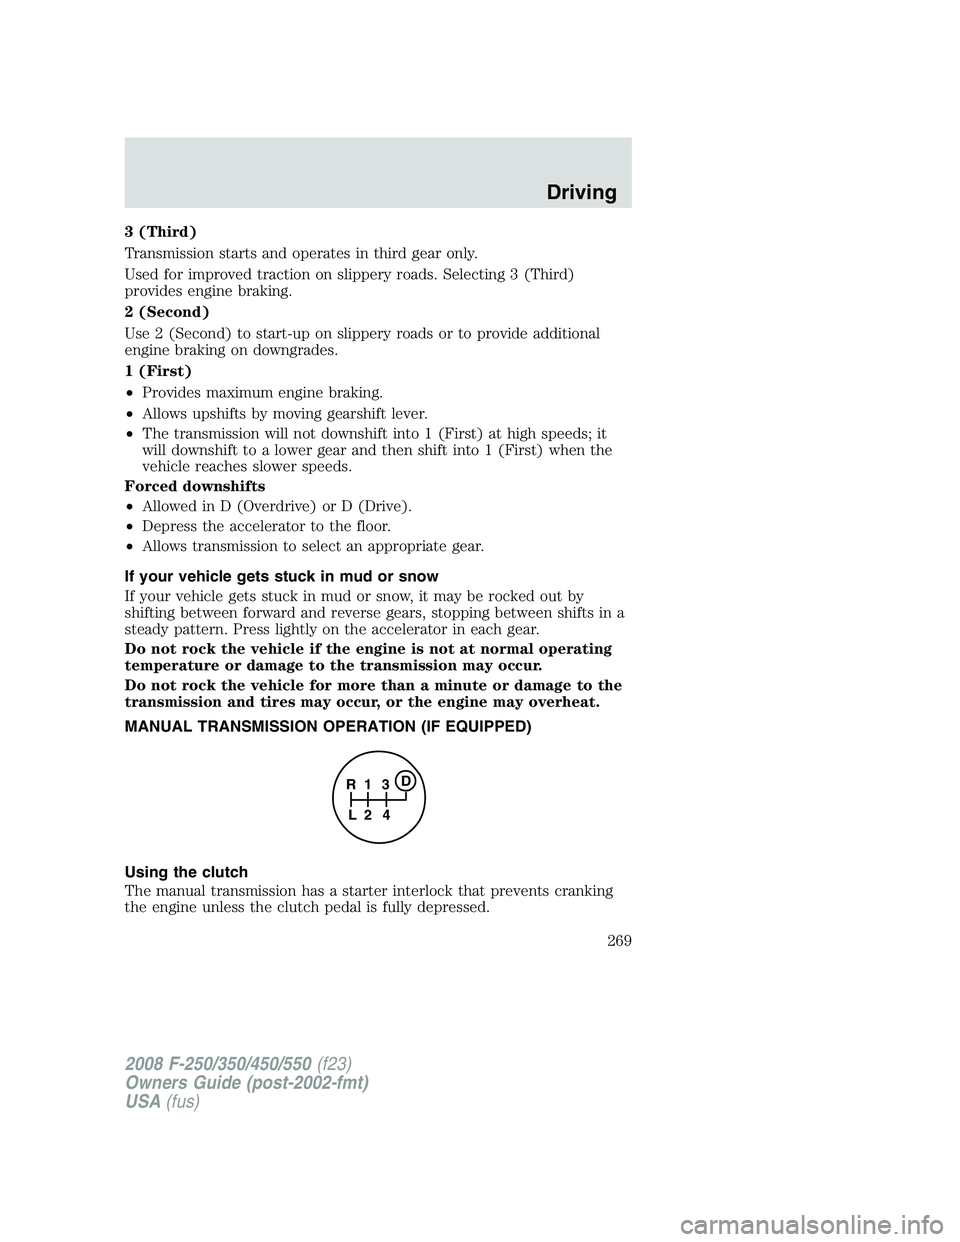
MANUAL TRANSMISSION OPERATION (IF EQUIPPED)
Using the clutch
The manual transmission has a starter interlock that prevents cranking
the engine unless the clutch pedal is fully depressed.
1
24 R
L3D
2008 F-250/350/450/550(f23)
Owners Guide (post-2002-fmt)
USA(fus)
Driving
269
Page 277 of 400
Manual Shift On Stop (MSOS) 4x4 system (if equipped)
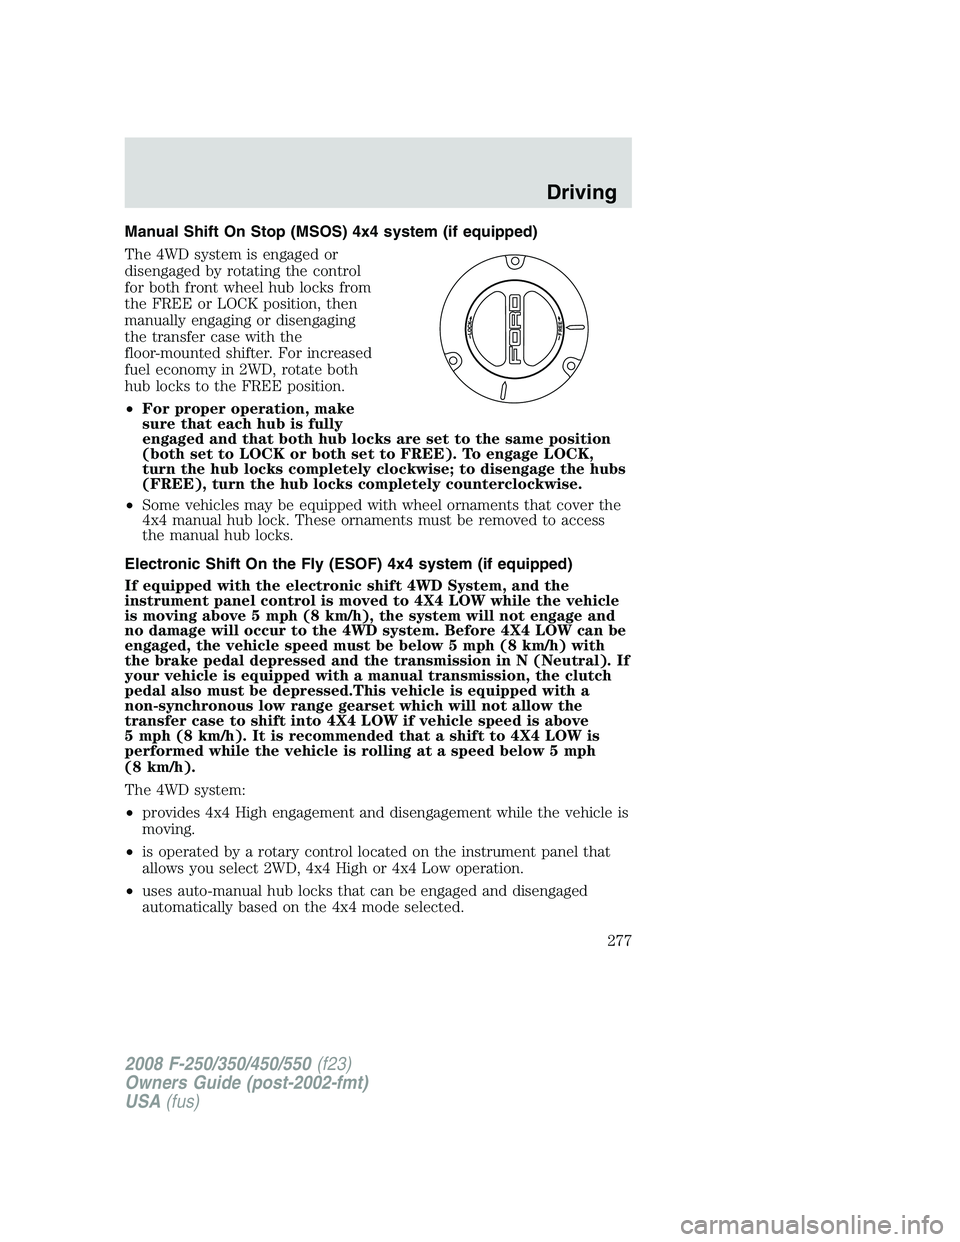
The 4WD system is engaged or
disengaged by rotating the control
for both front wheel hub locks from
the FREE or LOCK position, then
manually engaging or disengaging
the transfer case with the
floor-mounted shifter. For increased
fuel economy in 2WD, rotate both
hub locks to the FREE position.
•For proper operation, make
sure that each hub is fully
engaged and that both hub locks are set to the same position
(both set to LOCK or both set to FREE). To engage LOCK,
turn the hub locks completely clockwise; to disengage the hubs
(FREE), turn the hub locks completely counterclockwise.
•Some vehicles may be equipped with wheel ornaments that cover the
4x4 manual hub lock. These ornaments must be removed to access
the manual hub locks.
Electronic Shift On the Fly (ESOF) 4x4 system (if equipped)
If equipped with the electronic shift 4WD System, and the
instrument panel control is moved to 4X4 LOW while the vehicle
is moving above 5 mph (8 km/h), the system will not engage and
no damage will occur to the 4WD system. Before 4X4 LOW can be
engaged, the vehicle speed must be below 5 mph (8 km/h) with
the brake pedal depressed and the transmission in N (Neutral). If
your vehicle is equipped with a manual transmission, the clutch
pedal also must be depressed.This vehicle is equipped with a
non-synchronous low range gearset which will not allow the
transfer case to shift into 4X4 LOW if vehicle speed is above
5 mph (8 km/h). It is recommended that a shift to 4X4 LOW is
performed while the vehicle is rolling at a speed below 5 mph
(8 km/h).
The 4WD system:
•provides 4x4 High engagement and disengagement while the vehicle is
moving.
•is operated by a rotary control located on the instrument panel that
allows you select 2WD, 4x4 High or 4x4 Low operation.
•uses auto-manual hub locks that can be engaged and disengaged
automatically based on the 4x4 mode selected.
2008 F-250/350/450/550(f23)
Owners Guide (post-2002-fmt)
USA(fus)
Driving
277
Page 280 of 400
Shifting from 4H (4x4 High) to 4L (4x4 Low)
1. Bring the vehicle to a stop or a speed below 5 mph (8 km/h).
2. Place the gearshift lever in N (Neutral). If the vehicle is equipped with
a manual transmission, also depress the clutch pedal.
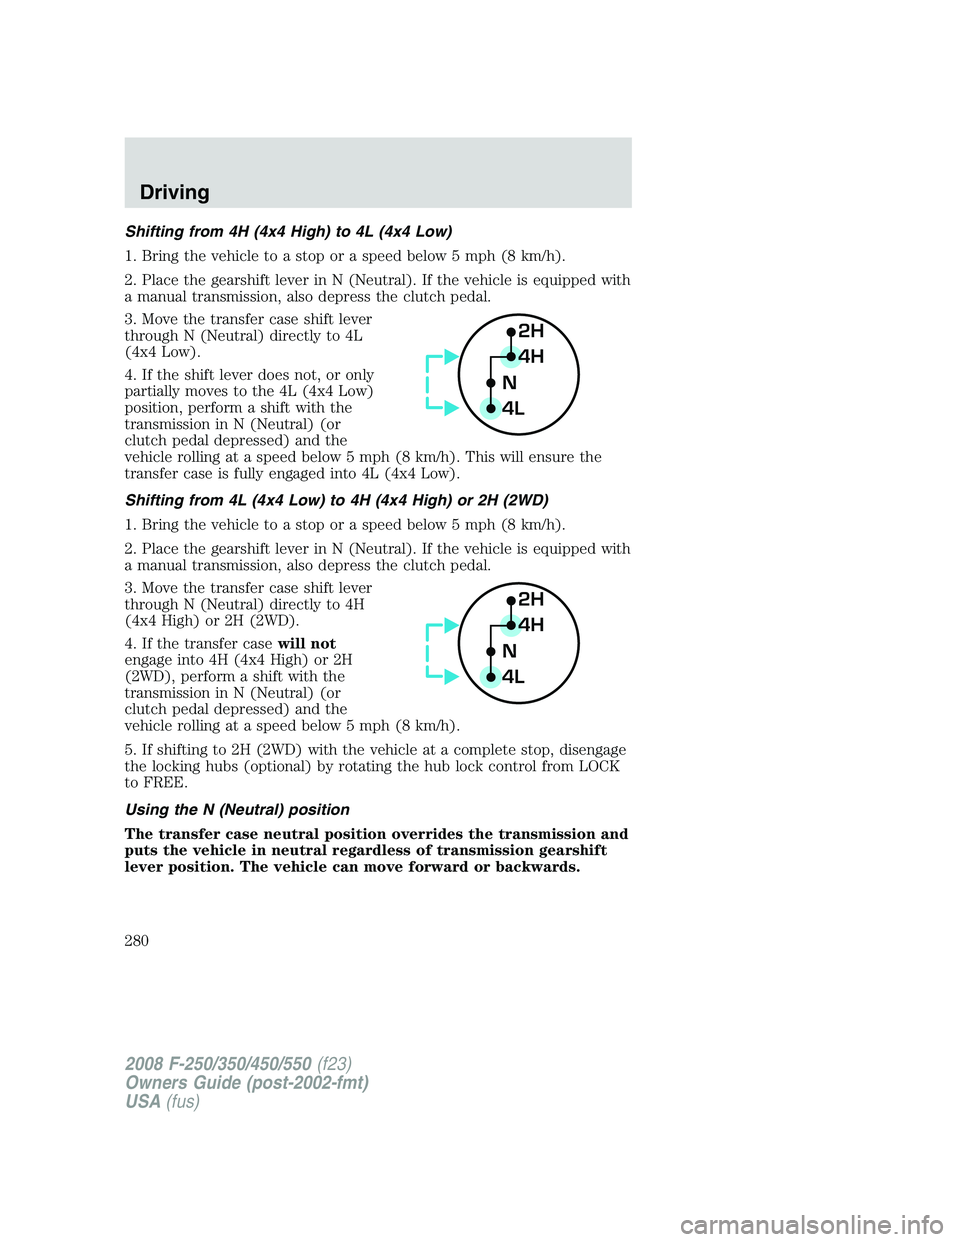
3. Move the transfer case shift lever
through N (Neutral) directly to 4L
(4x4 Low).
4. If the shift lever does not, or only
partially moves to the 4L (4x4 Low)
position, perform a shift with the
transmission in N (Neutral) (or
clutch pedal depressed) and the
vehicle rolling at a speed below 5 mph (8 km/h). This will ensure the
transfer case is fully engaged into 4L (4x4 Low).
Shifting from 4L (4x4 Low) to 4H (4x4 High) or 2H (2WD)
1. Bring the vehicle to a stop or a speed below 5 mph (8 km/h).
2. Place the gearshift lever in N (Neutral). If the vehicle is equipped with
a manual transmission, also depress the clutch pedal.
3. Move the transfer case shift lever
through N (Neutral) directly to 4H
(4x4 High) or 2H (2WD).
4. If the transfer casewill not
engage into 4H (4x4 High) or 2H
(2WD), perform a shift with the
transmission in N (Neutral) (or
clutch pedal depressed) and the
vehicle rolling at a speed below 5 mph (8 km/h).
5. If shifting to 2H (2WD) with the vehicle at a complete stop, disengage
the locking hubs (optional) by rotating the hub lock control from LOCK
to FREE.
Using the N (Neutral) position
The transfer case neutral position overrides the transmission and
puts the vehicle in neutral regardless of transmission gearshift
lever position. The vehicle can move forward or backwards.
2H
4H
4LN
2H
4H
4LN
2008 F-250/350/450/550(f23)
Owners Guide (post-2002-fmt)
USA(fus)
Driving
280
Page 282 of 400
•Do not shift into 4x4 HIGH with the rear wheels slipping.
Shifting from 4x4 HIGH to 2WD
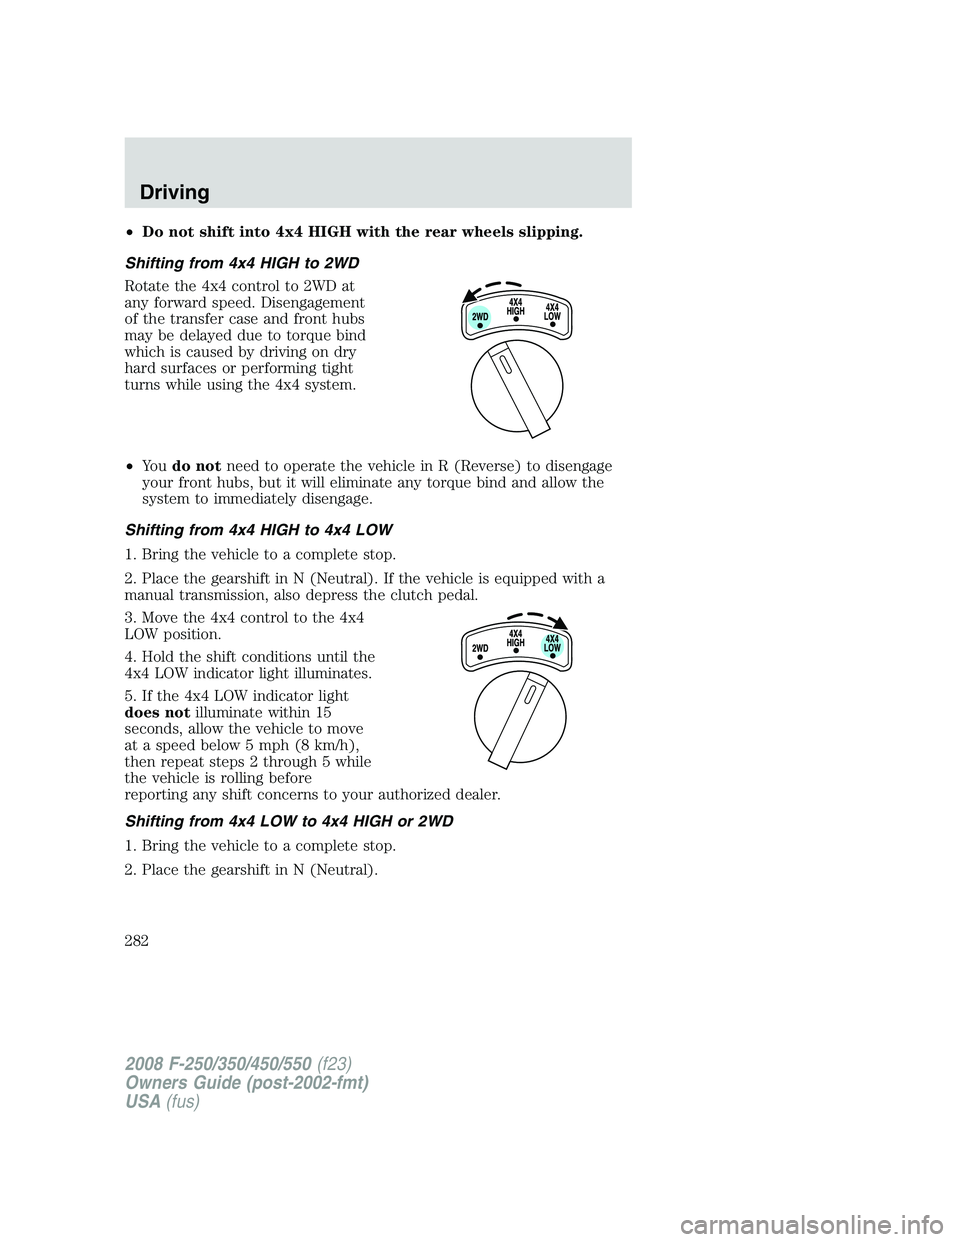
Rotate the 4x4 control to 2WD at
any forward speed. Disengagement
of the transfer case and front hubs
may be delayed due to torque bind
which is caused by driving on dry
hard surfaces or performing tight
turns while using the 4x4 system.
•Yo udo notneed to operate the vehicle in R (Reverse) to disengage
your front hubs, but it will eliminate any torque bind and allow the
system to immediately disengage.
Shifting from 4x4 HIGH to 4x4 LOW
1. Bring the vehicle to a complete stop.
2. Place the gearshift in N (Neutral). If the vehicle is equipped with a
manual transmission, also depress the clutch pedal.
3. Move the 4x4 control to the 4x4
LOW position.
4. Hold the shift conditions until the
4x4 LOW indicator light illuminates.
5. If the 4x4 LOW indicator light
does notilluminate within 15
seconds, allow the vehicle to move
at a speed below 5 mph (8 km/h),
then repeat steps 2 through 5 while
the vehicle is rolling before
reporting any shift concerns to your authorized dealer.
Shifting from 4x4 LOW to 4x4 HIGH or 2WD
1. Bring the vehicle to a complete stop.
2. Place the gearshift in N (Neutral).
2008 F-250/350/450/550(f23)
Owners Guide (post-2002-fmt)
USA(fus)
Driving
282
Page 286 of 400
transmission is in P (Park) or the manual transmission is in gear. Do not
leave the vehicle unattended with the transfer case in the N (Neutral)
position. Always set the parking brake fully and turn off the ignition
when leaving the vehicle.
Always set the parking brake fully and make sure the gearshift is
latched in P (Park). Turn the ignition to the LOCK position and
remove the key whenever you leave your vehicle.
If the parking brake is fully released, but the brake warning lamp
remains illuminated, the brakes may not be working properly.
See your authorized dealer.
4WD Systems
4WD (when you select a 4WD mode), uses all four wheels to power the
vehicle. This increases traction, enabling you to drive over terrain and
road conditions that a conventional two-wheel drive vehicle cannot.
Power is supplied to all four wheels through a transfer case. On 4WD
vehicles, the transfer case allows you to select 4WD when necessary.
Information on transfer case operation and shifting procedures can be
found in theDrivingchapter. Information on transfer case maintenance
can be found in theMaintenance and Specificationschapter. You
should become thoroughly familiar with this information before you
operate your vehicle.
Normal characteristics
On some 4WD models, the initial shift from two-wheel drive to 4x4 while
the vehicle is moving can cause some momentary clunk and ratcheting
sounds. This is the front drivetrain coming up to speed and the
automatic locking hubs engaging and is not cause for concern.
Sand
When driving over sand, try to keep all four wheels on the most solid
area of the trail. Avoid reducing the tire pressures but shift to a lower
gear and drive steadily through the terrain. Apply the accelerator slowly
and avoid spinning the wheels.
Avoid excessive speed because vehicle momentum can work against you
and cause the vehicle to become stuck to the point that assistance may
be required from another vehicle. Remember, you may be able to back
out the way you came if you proceed with caution.
2008 F-250/350/450/550(f23)
Owners Guide (post-2002-fmt)
USA(fus)
Driving
286
Page 310 of 400
When driving with the temporary spare tiredo not:
•Exceed 50 mph (80 km/h)
•Load the vehicle beyond maximum vehicle load rating listed on the
Safety Compliance Label
•Tow a trailer
•
Use snow chains on the end of the vehicle with the temporary spare tire
•Use more than one temporary spare tire at a time
Use of a temporary spare tire at any one wheel location can lead to
impairment of the following:
•Handling, stability and braking performance
•Comfort and noise
•Ground clearance and parking at curbs
•Winter weather driving capability
•Wet weather driving capability
Stopping and securing the vehicle
To help prevent the vehicle from moving when you change a tire,
be sure the parking brake is set, then block (in both directions)
the wheel that is diagonally opposite to the tire being changed.
Refer to the instruction sheet (located in the glove box) for detailed tire
change instructions.
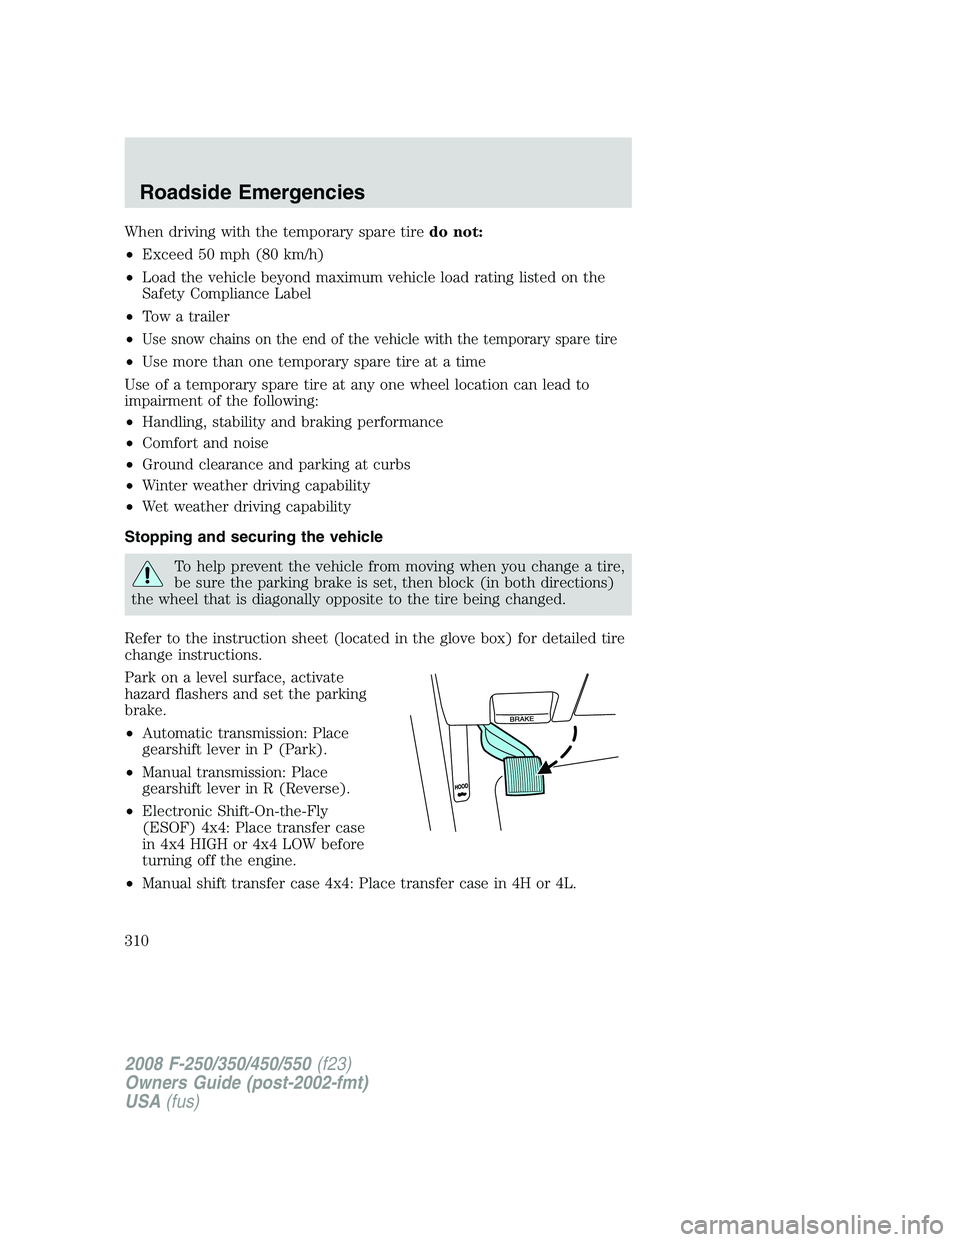
Park on a level surface, activate
hazard flashers and set the parking
brake.
•Automatic transmission: Place
gearshift lever in P (Park).
•Manual transmission: Place
gearshift lever in R (Reverse).
•Electronic Shift-On-the-Fly
(ESOF) 4x4: Place transfer case
in 4x4 HIGH or 4x4 LOW before
turning off the engine.
•Manual shift transfer case 4x4: Place transfer case in 4H or 4L.
2008 F-250/350/450/550(f23)
Owners Guide (post-2002-fmt)
USA(fus)
Roadside Emergencies
310
Page 313 of 400
4. Loosen each wheel lug nut one-half turn counterclockwise but do not
remove them until the wheel is raised off the ground.
When one of the rear wheels is off the ground, the transmission
alone will not prevent the vehicle from moving or slipping off the
jack, even if the transmission is in P (Park) (automatic transmission)
or R (Reverse) (manual transmission). To help prevent the vehicle
from moving when you change the tire, be sure that the parking brake
is set and the diagonally opposite wheel is blocked.
If the vehicle slips off the jack, you or someone else could be
seriously injured.
The following steps apply to F–250/F–350 Single Rear Wheel
(SRW) vehicles only:
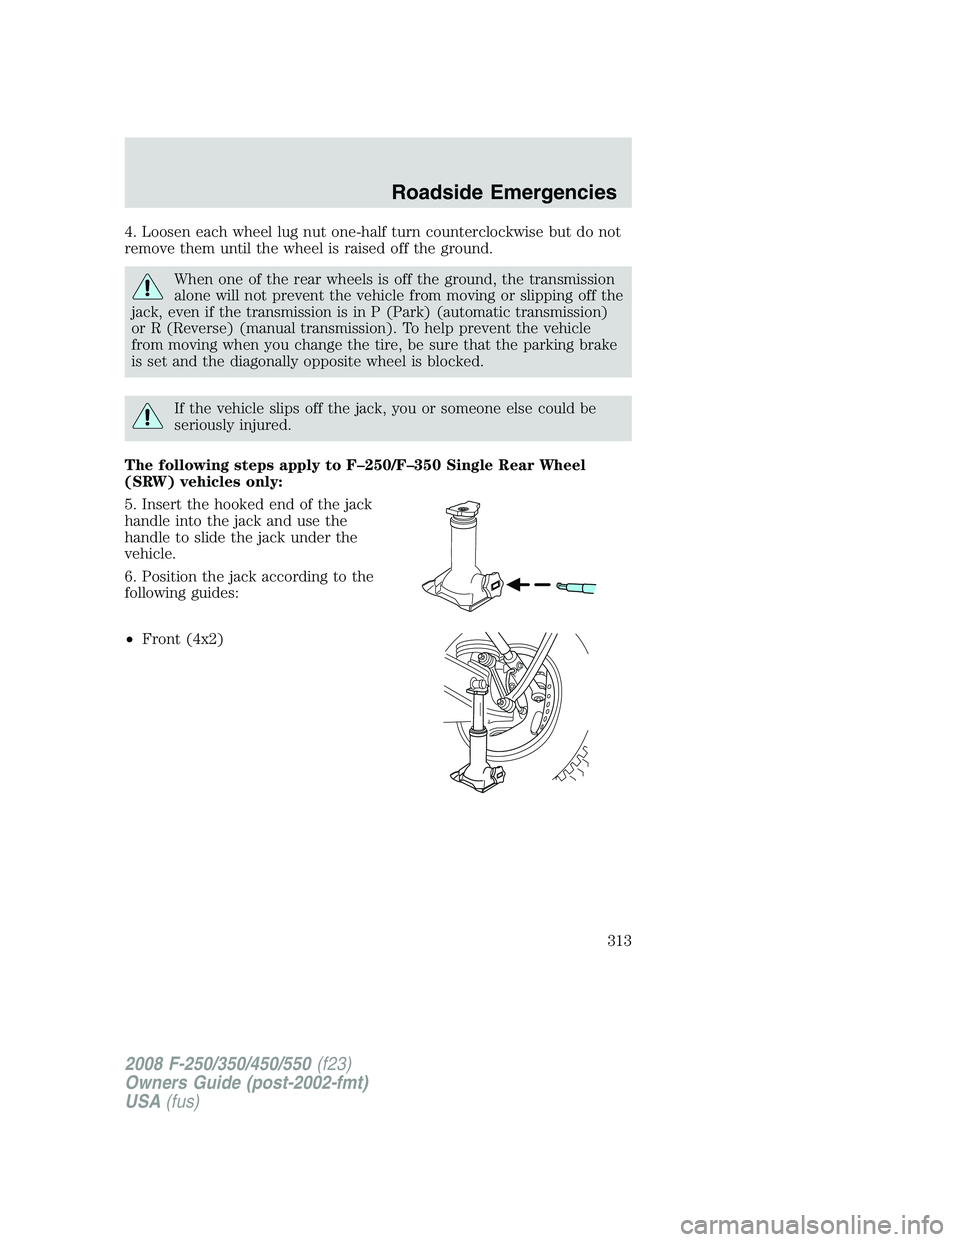
5. Insert the hooked end of the jack
handle into the jack and use the
handle to slide the jack under the
vehicle.
6. Position the jack according to the
following guides:
•Front (4x2)
2008 F-250/350/450/550(f23)
Owners Guide (post-2002-fmt)
USA(fus)
Roadside Emergencies
313
Page 328 of 400
Note:Towing an ESOF 4x4 vehicle with the front wheels on the ground
without disengaging the front hubs may cause damage to the automatic
transmission.
Note:Towing a 4x2 or an ESOF 4x4 vehicle with the rear wheels on the
ground for more than 50 miles (80 km) and/or in excess of 35 mph (56
km/h) may cause damage to the automatic transmission.
Note:On Dual Rear Wheel (DRW) vehicles, an outer rear wheel must be
removed prior to using a wheel lift wrecker.
If the vehicle is towed by other means or incorrectly, vehicle
damage may occur.
Ford Motor Company produces a towing manual for all authorized tow
truck operators. Have your tow truck operator refer to this manual for
proper hook-up and towing procedures for your vehicle.
Emergency Towing
In case of a roadside emergency with a disabled vehicle (without access
to wheel dollies, car hauling trailer, or flatbed transport vehicle) your
vehicle (regardless of transmission powertrain configuration) can be flat
towed (all wheels on the ground) under the following conditions:
•Vehicle is facing forward.
•Place the transmission in N (Neutral).
•Maximum speed is not to exceed 35 mph (56 km/h).
•Maximum distance is 50 miles (80 km).
2008 F-250/350/450/550(f23)
Owners Guide (post-2002-fmt)
USA(fus)
Roadside Emergencies
328