2008 FORD EXPEDITION key battery
[x] Cancel search: key batteryPage 92 of 392

Rear cargo lamp
The dome lamp lights when:
•any door is opened, and the
switch is in the middle position.
•the instrument panel dimmer
switch is rotated until the
courtesy lamps come on.
•any of the remote entry controls
are pressed and ignition is OFF
(and switch is in the middle
position).
With the ignition key in the ACC or ON position, the rear dome lamp can
be turned ON or OFF by sliding the control.
Battery saver
The battery saver will shut off the exterior lamps and interior lamps,
except the hazard warning lamps if activated, 10 minutes after the
ignition control has been turned off. The system will not turn off the
parking lamps if the headlamp control is in the PARK position.
BULB REPLACEMENT
Headlamp Condensation
The headlamps are vented to equalize pressure. When moist air enters
the headlamp(s) through the vents, there is a possibility that
condensation can occur. This condensation is normal and will clear
within 45 minutes of headlamp operation.
Using the right bulbs
Replacement bulbs are specified in the chart below. Headlamp bulbs
must be marked with an authorized “D.O.T.” for North America to ensure
lamp performance, light brightness and pattern and safe visibility. The
correct bulbs will not damage the lamp assembly or void the lamp
assembly warranty and will provide quality bulb burn time.
2008 Expedition(exd)
Owners Guide (post-2002-fmt)
USA(fus)
Lights
92
Page 146 of 392
POWER LIFTGATE (IF EQUIPPED)
The liftgate can be operated by the following:
•instrument panel control button
•key fob button
•outside release handle
•control button in the rear cargo area
Note:The liftgate can be reversed with a second press on a control
button or key fob and can be manually closed at any time.
The liftgate will only operate with the vehicle in P (Park). The chime will
beep once if conditions are not correct to start an operation. These
conditions include:
•the vehicle speed is at or above 3 mph (5 kph)
•or the ignition is in Run and the transmission is not in Park
•or the Battery Voltage is below the minimum operating voltage
WARNING: Make sure all persons are clear of the power liftgate
area before using the power liftgate control.
Keep keys out of reach of children. Do not allow children to play
near an open or moving power liftgate.
Do not open the liftgate in a garage or other enclosed area with a low
ceiling. If the liftgate is raised the liftgate could be damaged against a
low ceiling.
To open the liftgate from the
Instrument panel:
Press the button once to open the
liftgate, press it again to close.
To open the liftgate with the Remote entry transmitter:
Refer toRemote Entry Systemin theLocks and securitychapter.
2008 Expedition(exd)
Owners Guide (post-2002-fmt)
USA(fus)
Driver Controls
146
Page 162 of 392
Deactivating the memory seat feature
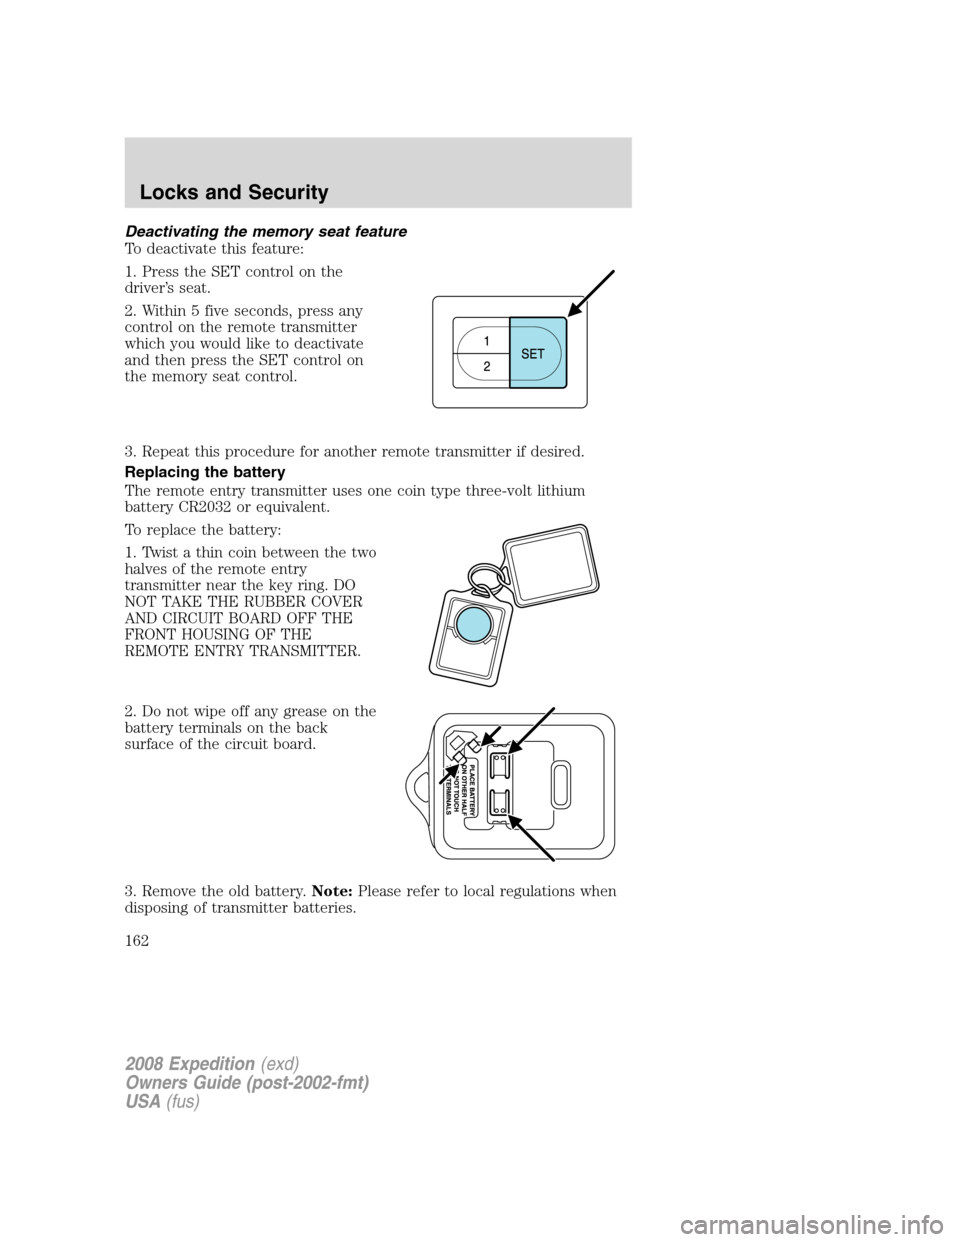
To deactivate this feature:
1. Press the SET control on the
driver’s seat.
2. Within 5 five seconds, press any
control on the remote transmitter
which you would like to deactivate
and then press the SET control on
the memory seat control.
3. Repeat this procedure for another remote transmitter if desired.
Replacing the battery
The remote entry transmitter uses one coin type three-volt lithium
battery CR2032 or equivalent.
To replace the battery:
1. Twist a thin coin between the two
halves of the remote entry
transmitter near the key ring. DO
NOT TAKE THE RUBBER COVER
AND CIRCUIT BOARD OFF THE
FRONT HOUSING OF THE
REMOTE ENTRY TRANSMITTER.
2. Do not wipe off any grease on the
battery terminals on the back
surface of the circuit board.
3. Remove the old battery.Note:Please refer to local regulations when
disposing of transmitter batteries.
2008 Expedition(exd)
Owners Guide (post-2002-fmt)
USA(fus)
Locks and Security
162
Page 163 of 392
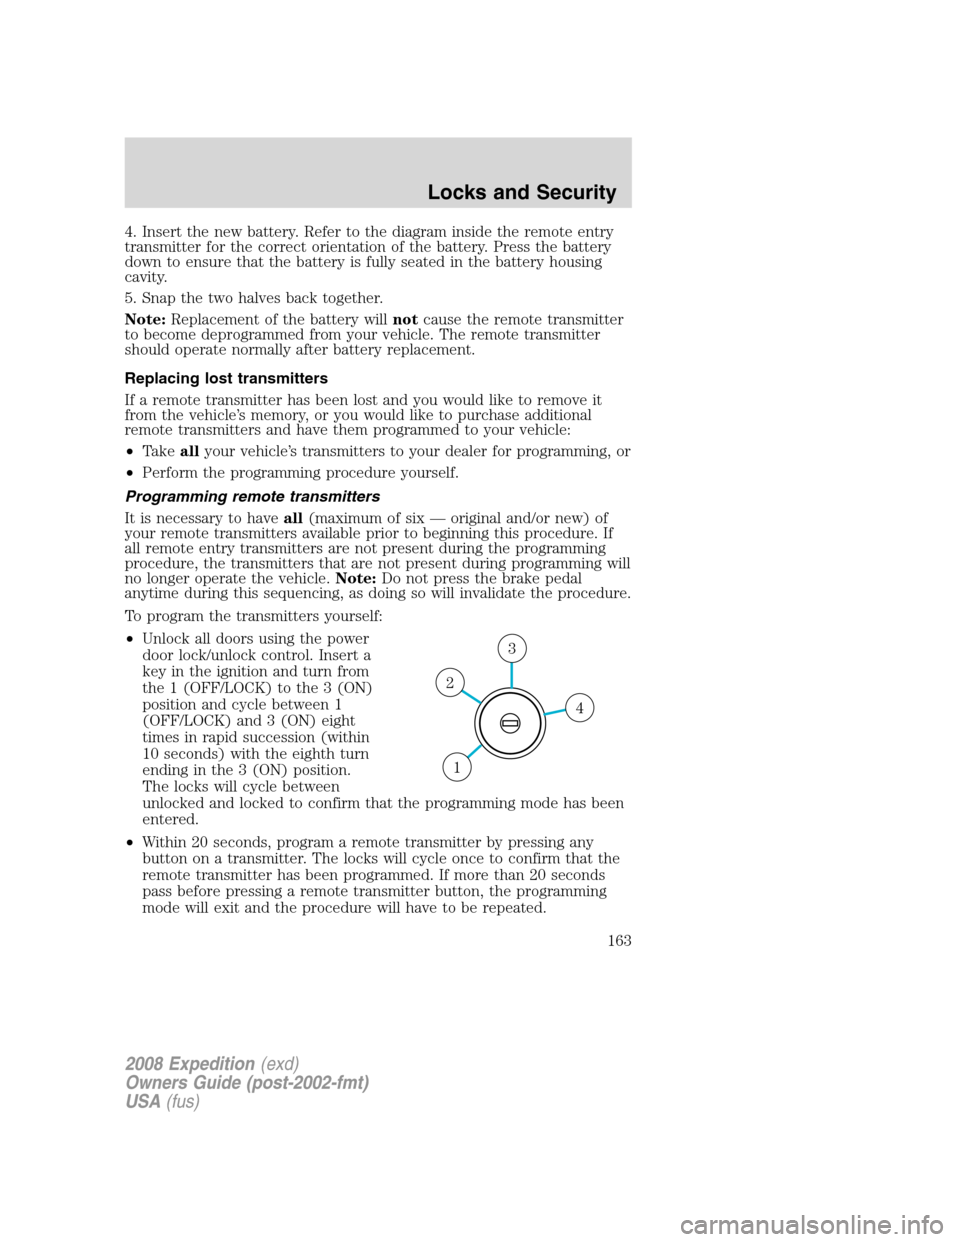
4. Insert the new battery. Refer to the diagram inside the remote entry
transmitter for the correct orientation of the battery. Press the battery
down to ensure that the battery is fully seated in the battery housing
cavity.
5. Snap the two halves back together.
Note:Replacement of the battery willnotcause the remote transmitter
to become deprogrammed from your vehicle. The remote transmitter
should operate normally after battery replacement.
Replacing lost transmitters
If a remote transmitter has been lost and you would like to remove it
from the vehicle’s memory, or you would like to purchase additional
remote transmitters and have them programmed to your vehicle:
•Takeallyour vehicle’s transmitters to your dealer for programming, or
•Perform the programming procedure yourself.
Programming remote transmitters
It is necessary to haveall(maximum of six — original and/or new) of
your remote transmitters available prior to beginning this procedure. If
all remote entry transmitters are not present during the programming
procedure, the transmitters that are not present during programming will
no longer operate the vehicle.Note:Do not press the brake pedal
anytime during this sequencing, as doing so will invalidate the procedure.
To program the transmitters yourself:
•Unlock all doors using the power
door lock/unlock control. Insert a
key in the ignition and turn from
the 1 (OFF/LOCK) to the 3 (ON)
position and cycle between 1
(OFF/LOCK) and 3 (ON) eight
times in rapid succession (within
10 seconds) with the eighth turn
ending in the 3 (ON) position.
The locks will cycle between
unlocked and locked to confirm that the programming mode has been
entered.
•Within 20 seconds, program a remote transmitter by pressing any
button on a transmitter. The locks will cycle once to confirm that the
remote transmitter has been programmed. If more than 20 seconds
pass before pressing a remote transmitter button, the programming
mode will exit and the procedure will have to be repeated.
4
3
2
1
2008 Expedition(exd)
Owners Guide (post-2002-fmt)
USA(fus)
Locks and Security
163
Page 282 of 392
5. Start the vehicle and release the parking brake.
Do not drive your vehicle until you verify that the brakelamps
are working.
Always set the parking brake fully and make sure the gearshift is
latched in P (Park). Turn the ignition to the LOCK position and
remove the key whenever you leave your vehicle.
If the parking brake is fully released, but the brake warning lamp
remains illuminated, the brakes may not be working properly.
See your authorized dealer.
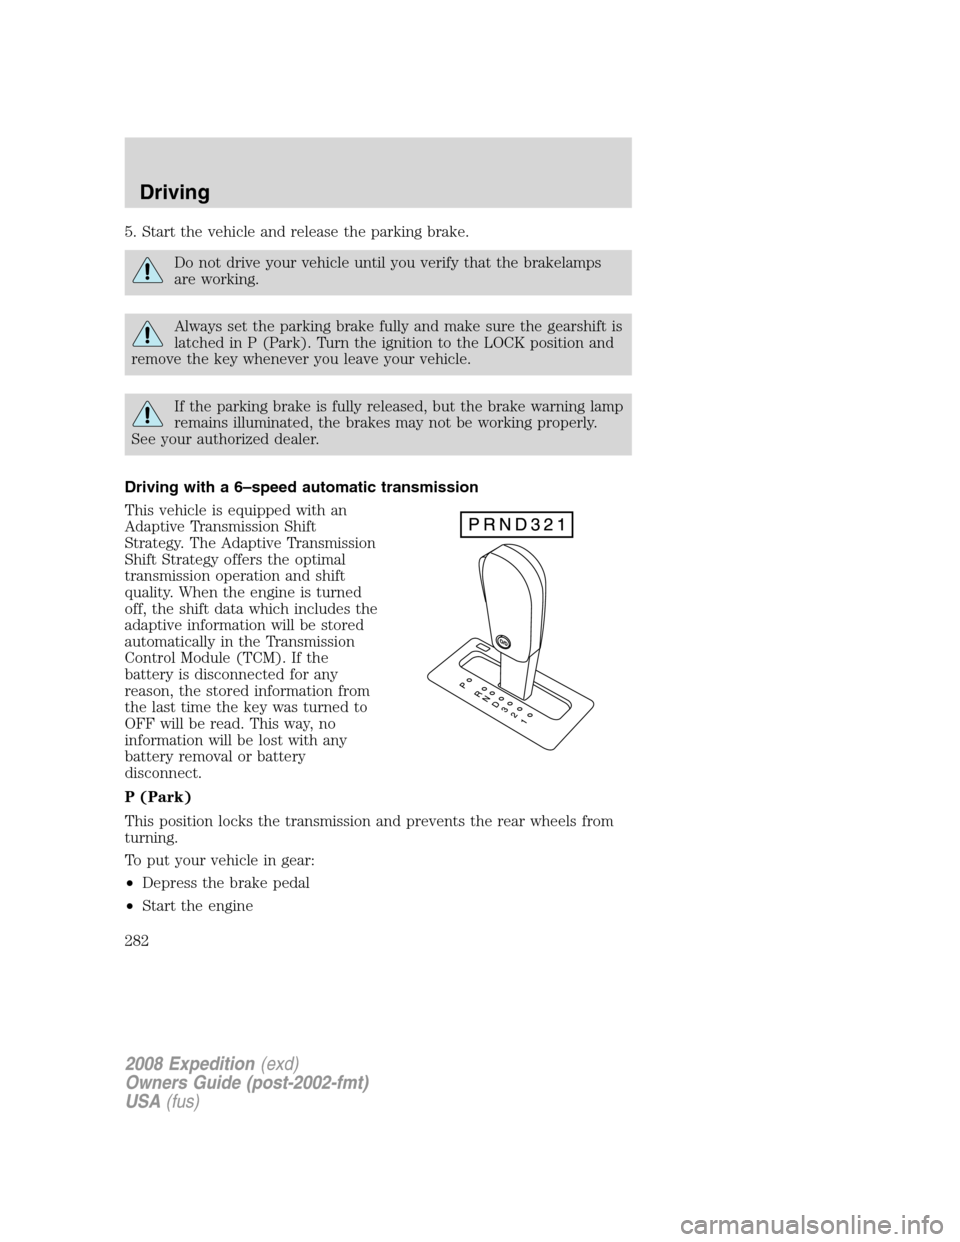
Driving with a 6–speed automatic transmission
This vehicle is equipped with an
Adaptive Transmission Shift
Strategy. The Adaptive Transmission
Shift Strategy offers the optimal
transmission operation and shift
quality. When the engine is turned
off, the shift data which includes the
adaptive information will be stored
automatically in the Transmission
Control Module (TCM). If the
battery is disconnected for any
reason, the stored information from
the last time the key was turned to
OFF will be read. This way, no
information will be lost with any
battery removal or battery
disconnect.
P (Park)
This position locks the transmission and prevents the rear wheels from
turning.
To put your vehicle in gear:
•Depress the brake pedal
•Start the engine
2008 Expedition(exd)
Owners Guide (post-2002-fmt)
USA(fus)
Driving
282
Page 300 of 392
ROADSIDE ASSISTANCE
Getting roadside assistance
To fully assist you should you have a vehicle concern, Ford Motor
Company offers a complimentary roadside assistance program. This
program is separate from the New Vehicle Limited Warranty. The service
is available:
•24–hours, seven days a week
•for the coverage period listed on the Roadside Assistance Card
included in your Owner Guide portfolio.
Roadside assistance will cover:
•a flat tire change with a good spare (except vehicles that have been
supplied with a tire inflation kit)
•battery jump start
•lock-out assistance (key replacement cost is the customer’s
responsibility)
•fuel delivery – Independent Service Contractors, if not prohibited by
state, local or municipal law shall deliver up to 2.0 gallons (7.5L) of
gasoline or 5 gallons (18.9L) of diesel fuel to a disabled vehicle. Fuel
delivery service is limited to two no-charge occurrences within a
12-month period.
•winch out – available within 100 feet (30.5 meters) of a paved or
county maintained road, no recoveries.
•towing – Ford/Mercury/Lincoln eligible vehicle towed to an authorized
dealer within 35 miles (56.3 km) of the disablement location or to the
nearest authorized dealer. If a member requests to be towed to an
authorized dealer more than 35 miles (56.3 km) from the disablement
location, the member shall be responsible for any mileage costs in
excess of 35 miles (56.3 km).
Trailers shall be covered up to $200 if the disabled eligible vehicle
requires service at the nearest authorized dealer. If the trailer is disabled,
but the towing vehicle is operational, the trailer does not qualify for any
roadside services.
Canadian customers refer to your Customer Information Guide
for information on:
•coverage period
•exact fuel amounts
2008 Expedition(exd)
Owners Guide (post-2002-fmt)
USA(fus)
Roadside Emergencies
300
Page 302 of 392
Push in the flasher control and all front and rear direction signals will
flash. Press the flasher control again to turn them off. Use it when your
vehicle is disabled and is creating a safety hazard for other motorists.
Note:With extended use, the flasher may run down your battery.
FUEL PUMP SHUT-OFF SWITCH
FUEL
RESET
The fuel pump shut-off switch is a device intended to stop the electric
fuel pump when your vehicle has been involved in a substantial jolt.
After a collision, if the engine cranks but does not start, the fuel pump
shut-off switch may have been activated.
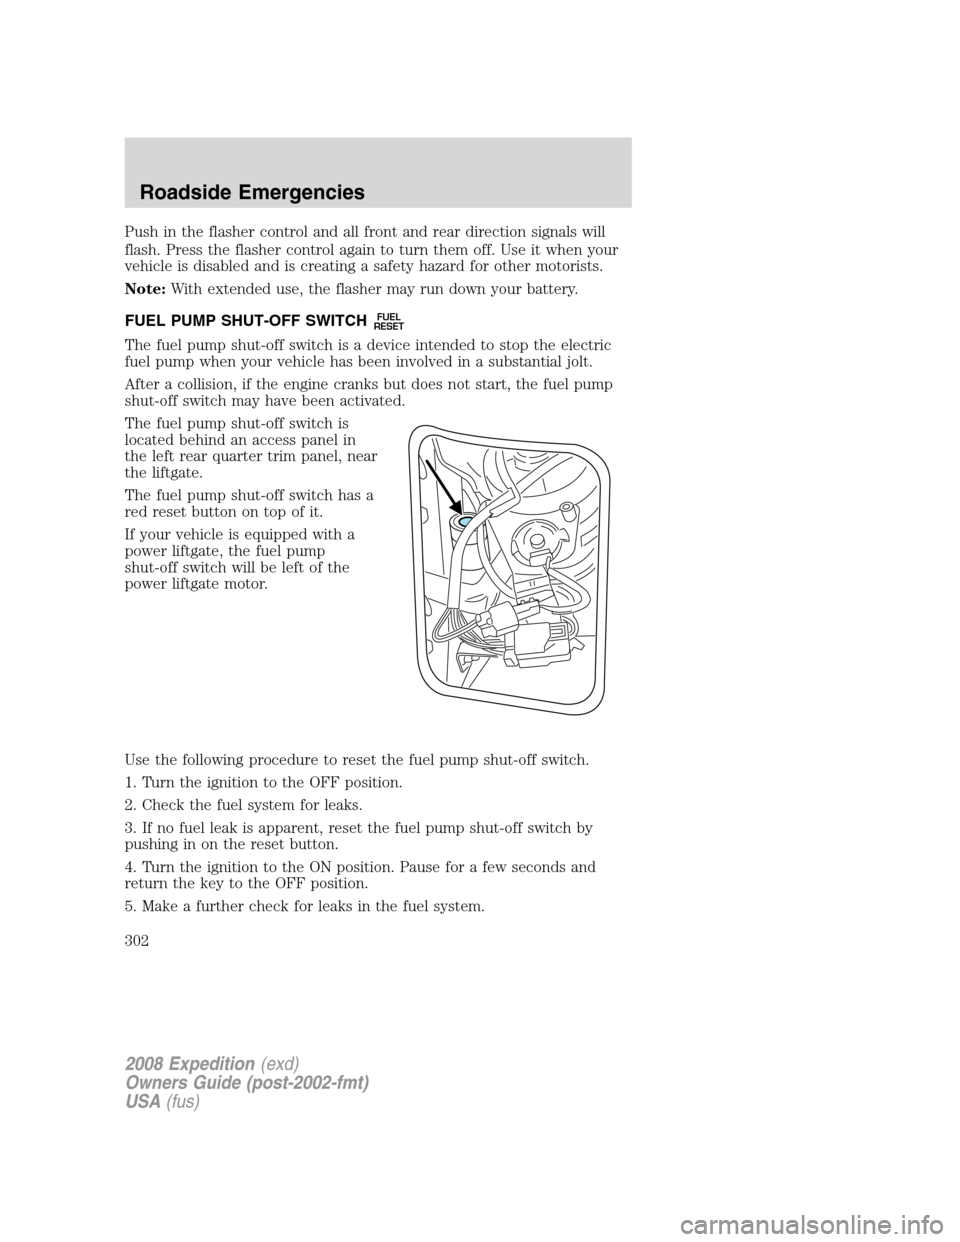
The fuel pump shut-off switch is
located behind an access panel in
the left rear quarter trim panel, near
the liftgate.
The fuel pump shut-off switch has a
red reset button on top of it.
If your vehicle is equipped with a
power liftgate, the fuel pump
shut-off switch will be left of the
power liftgate motor.
Use the following procedure to reset the fuel pump shut-off switch.
1. Turn the ignition to the OFF position.
2. Check the fuel system for leaks.
3. If no fuel leak is apparent, reset the fuel pump shut-off switch by
pushing in on the reset button.
4. Turn the ignition to the ON position. Pause for a few seconds and
return the key to the OFF position.
5. Make a further check for leaks in the fuel system.
2008 Expedition(exd)
Owners Guide (post-2002-fmt)
USA(fus)
Roadside Emergencies
302
Page 344 of 392
SERVICE RECOMMENDATIONS
To help you service your vehicle, we providescheduled maintenance
informationwhich makes tracking routine service easy.
If your vehicle requires professional service, your authorized dealer can
provide the necessary parts and service. Check yourWarranty Guideto
find out which parts and services are covered.
Use only recommended fuels, lubricants, fluids and service parts
conforming to specifications. Motorcraft parts are designed and built to
provide the best performance in your vehicle.
PRECAUTIONS WHEN SERVICING YOUR VEHICLE
•Do not work on a hot engine.
•Make sure that nothing gets caught in moving parts.
•Do not work on a vehicle with the engine running in an enclosed
space, unless you are sure you have enough ventilation.
•Keep all open flames and other burning (cigarettes) material away
from the battery and all fuel related parts.
Working with the engine off
1. Set the parking brake and ensure the gearshift is securely latched in P
(Park).
2. Turn off the engine and remove the key.
3. Block the wheels to prevent the vehicle from moving unexpectedly.
Working with the engine on
1. Set the parking brake and shift to P (Park).
2. Block the wheels.
To reduce the risk of vehicle damage and/or personal burn
injuries, do not start your engine with the air cleaner removed
and do not remove it while the engine is running.
2008 Expedition(exd)
Owners Guide (post-2002-fmt)
USA(fus)
Maintenance and Specifications
344