2008 FORD EXPEDITION warning
[x] Cancel search: warningPage 260 of 392
Integrated hitch rating
The standard integrated hitch has two ratings depending on mode of
operation:
•Weight carrying- requires a draw bar and hitch ball. The draw bar
supports all the vertical tongue load of the trailer.
•Weight distributing- requires an aftermarket weight distributing
system which includes draw bar, hitch ball, spring bars and snap-up
brackets. The vertical tongue load of the trailer is distributed between
the truck and the trailer by this system.
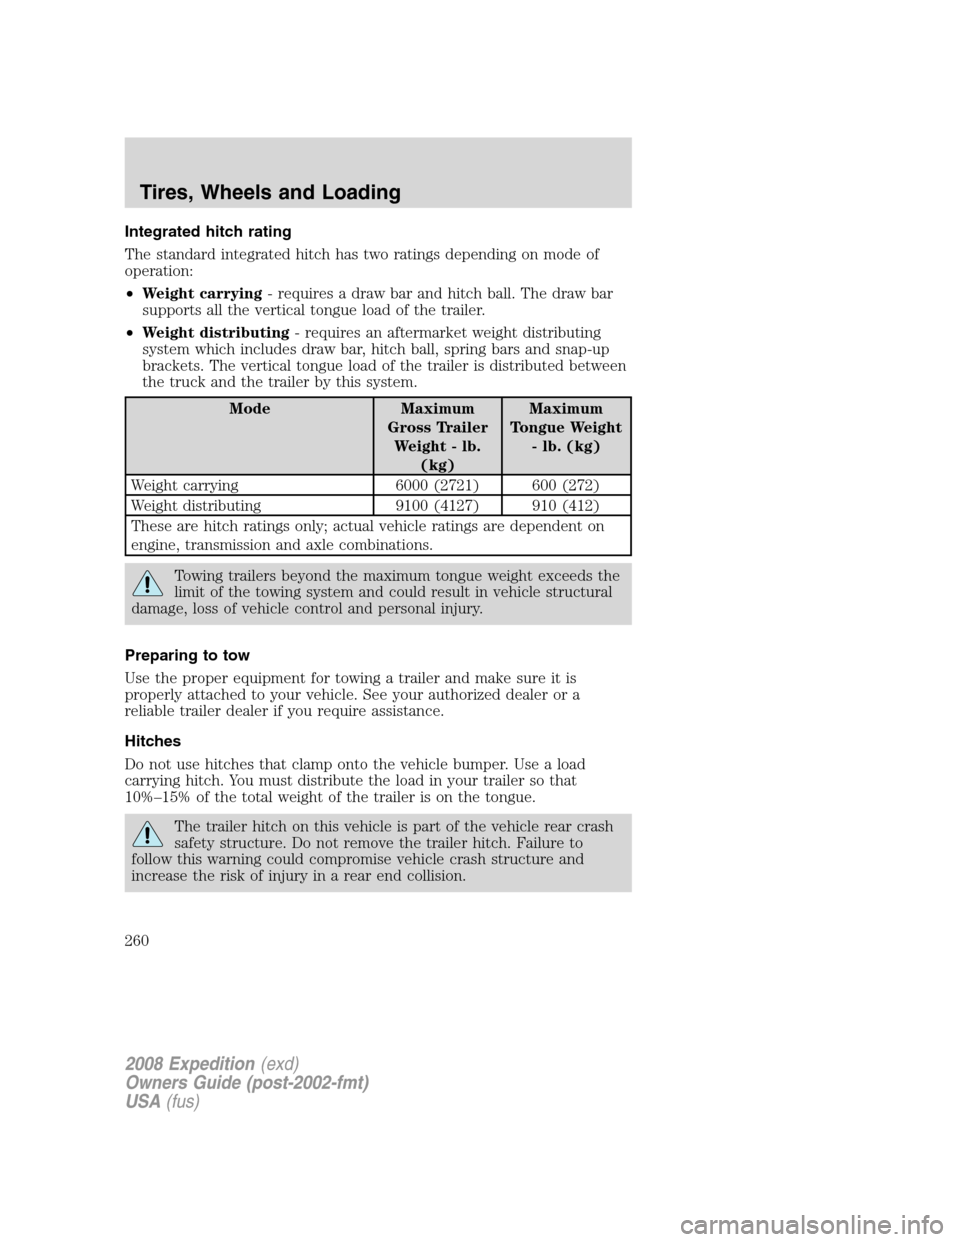
Mode Maximum
Gross Trailer
Weight - lb.
(kg)Maximum
Tongue Weight
- lb. (kg)
Weight carrying 6000 (2721) 600 (272)
Weight distributing 9100 (4127) 910 (412)
These are hitch ratings only; actual vehicle ratings are dependent on
engine, transmission and axle combinations.
Towing trailers beyond the maximum tongue weight exceeds the
limit of the towing system and could result in vehicle structural
damage, loss of vehicle control and personal injury.
Preparing to tow
Use the proper equipment for towing a trailer and make sure it is
properly attached to your vehicle. See your authorized dealer or a
reliable trailer dealer if you require assistance.
Hitches
Do not use hitches that clamp onto the vehicle bumper. Use a load
carrying hitch. You must distribute the load in your trailer so that
10%–15% of the total weight of the trailer is on the tongue.
The trailer hitch on this vehicle is part of the vehicle rear crash
safety structure. Do not remove the trailer hitch. Failure to
follow this warning could compromise vehicle crash structure and
increase the risk of injury in a rear end collision.
2008 Expedition(exd)
Owners Guide (post-2002-fmt)
USA(fus)
Tires, Wheels and Loading
260
Page 265 of 392
STARTING
Positions of the ignition
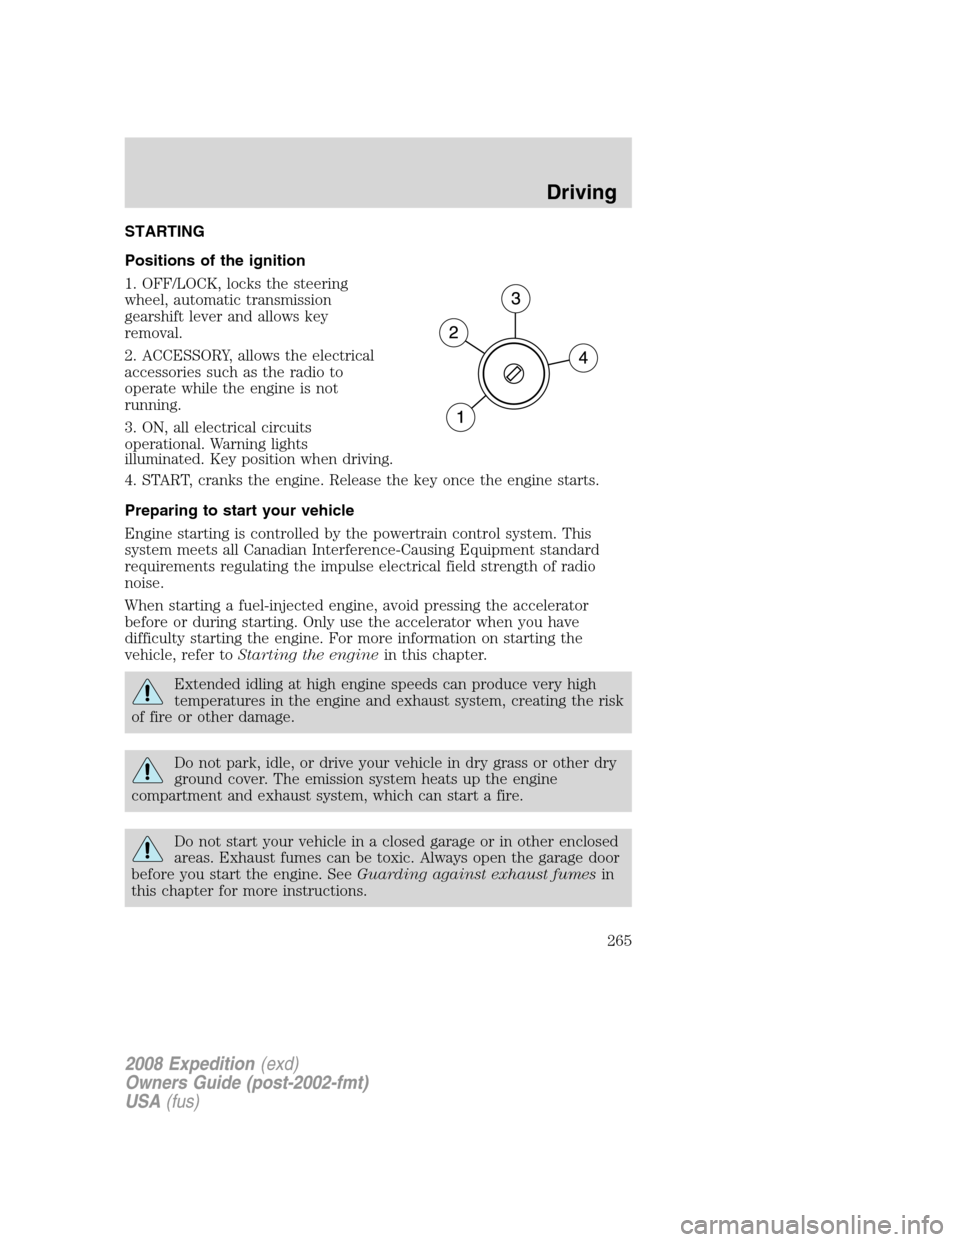
1. OFF/LOCK, locks the steering
wheel, automatic transmission
gearshift lever and allows key
removal.
2. ACCESSORY, allows the electrical
accessories such as the radio to
operate while the engine is not
running.
3. ON, all electrical circuits
operational. Warning lights
illuminated. Key position when driving.
4. START, cranks the engine. Release the key once the engine starts.
Preparing to start your vehicle
Engine starting is controlled by the powertrain control system. This
system meets all Canadian Interference-Causing Equipment standard
requirements regulating the impulse electrical field strength of radio
noise.
When starting a fuel-injected engine, avoid pressing the accelerator
before or during starting. Only use the accelerator when you have
difficulty starting the engine. For more information on starting the
vehicle, refer toStarting the enginein this chapter.
Extended idling at high engine speeds can produce very high
temperatures in the engine and exhaust system, creating the risk
of fire or other damage.
Do not park, idle, or drive your vehicle in dry grass or other dry
ground cover. The emission system heats up the engine
compartment and exhaust system, which can start a fire.
Do not start your vehicle in a closed garage or in other enclosed
areas. Exhaust fumes can be toxic. Always open the garage door
before you start the engine. SeeGuarding against exhaust fumesin
this chapter for more instructions.
2008 Expedition(exd)
Owners Guide (post-2002-fmt)
USA(fus)
Driving
265
Page 267 of 392
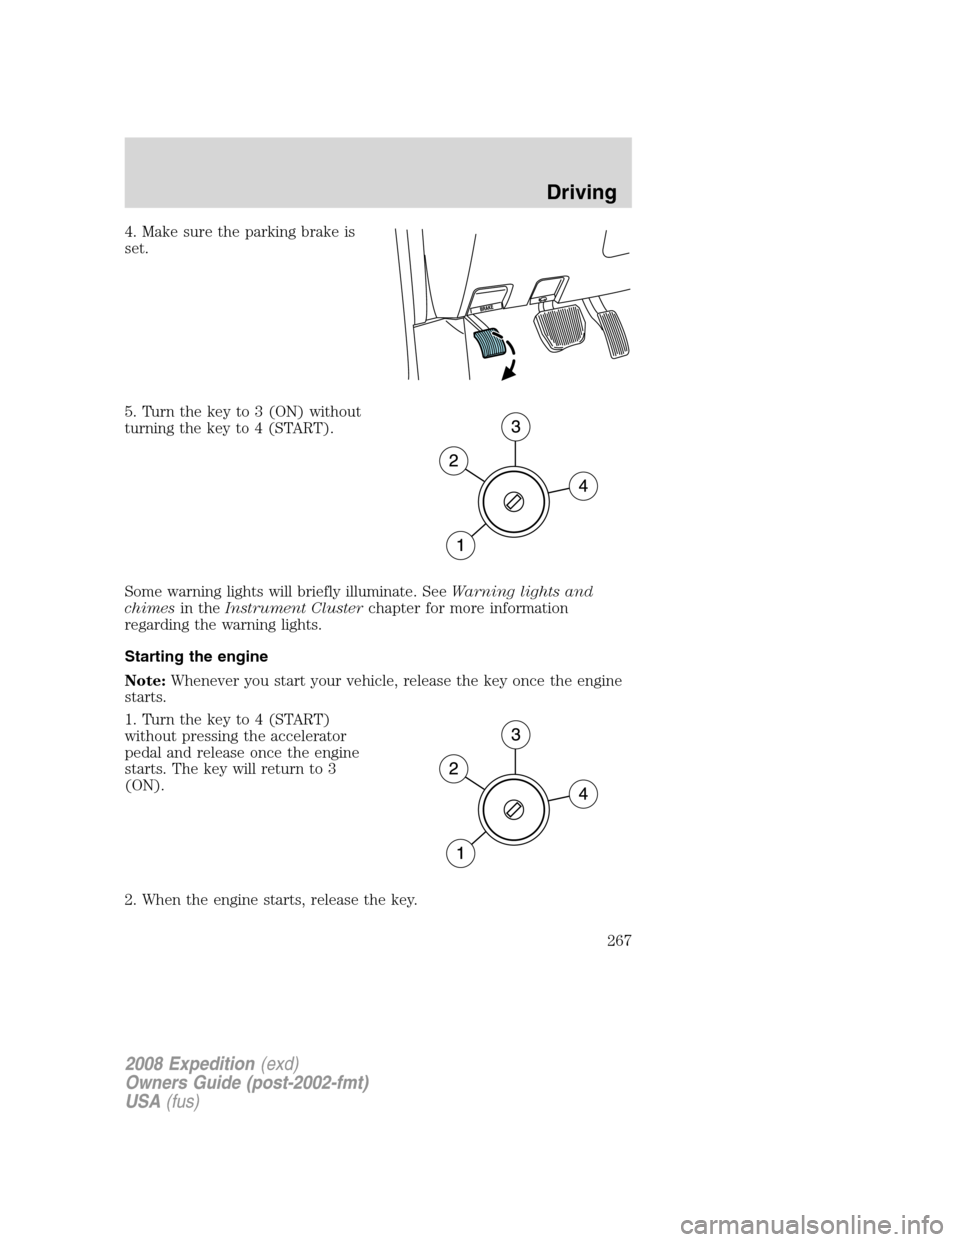
4. Make sure the parking brake is
set.
5. Turn the key to 3 (ON) without
turning the key to 4 (START).
Some warning lights will briefly illuminate. SeeWarning lights and
chimesin theInstrument Clusterchapter for more information
regarding the warning lights.
Starting the engine
Note:Whenever you start your vehicle, release the key once the engine
starts.
1. Turn the key to 4 (START)
without pressing the accelerator
pedal and release once the engine
starts. The key will return to 3
(ON).
2. When the engine starts, release the key.
2008 Expedition(exd)
Owners Guide (post-2002-fmt)
USA(fus)
Driving
267
Page 270 of 392
•Be sure that the engine block heater, heater cord and extension cord
are solidly connected. A poor connection can cause the cord to
become very hot and may result in an electrical shock or fire. Be sure
to check for heat anywhere in the electrical hookup once the system
has been operating for approximately a half hour.
•Finally, have the engine block heater system checked during your fall
tune-up to be sure it’s in good working order.
How to use the engine block heater
Ensure the receptacle terminals are clean and dry prior to use. To clean
them, use a dry cloth.
Depending on the type of factory installed equipment, your engine block
heater system may consume anywhere between 400 watts or 1000 watts
of energy per hour. Your factory installed block heater system does not
have a thermostat; however, maximum temperature is attained after
approximately 3 hours of operation. Block heater operation longer than 3
hours will not improve system performance and will unnecessarily use
additional electricity.
Make sure system is unplugged and properly stowed before driving the
vehicle. While not in use, make sure the protective cover seals the
prongs of the engine block heater cord plug.
BRAKES
Your service brakes are self-adjusting. Refer to thescheduled
maintenance informationfor scheduled maintenance.
Occasional brake noise is normal and often does not indicate a
performance concern with the vehicle’s brake system. In normal
operation, automotive brake systems may emit occasional or intermittent
squeal or groan noises when the brakes are applied. Such noises are
usually heard during the first few brake applications in the morning;
however, they may be heard at any time while braking and can be
aggravated by environmental conditions such as cold, heat, moisture,
road dust, salt or mud. If a “metal-to-metal,” “continuous grinding” or
“continuous squeal” sound is present while braking, the brake linings
may be worn-out and should be inspected by an authorized dealer.
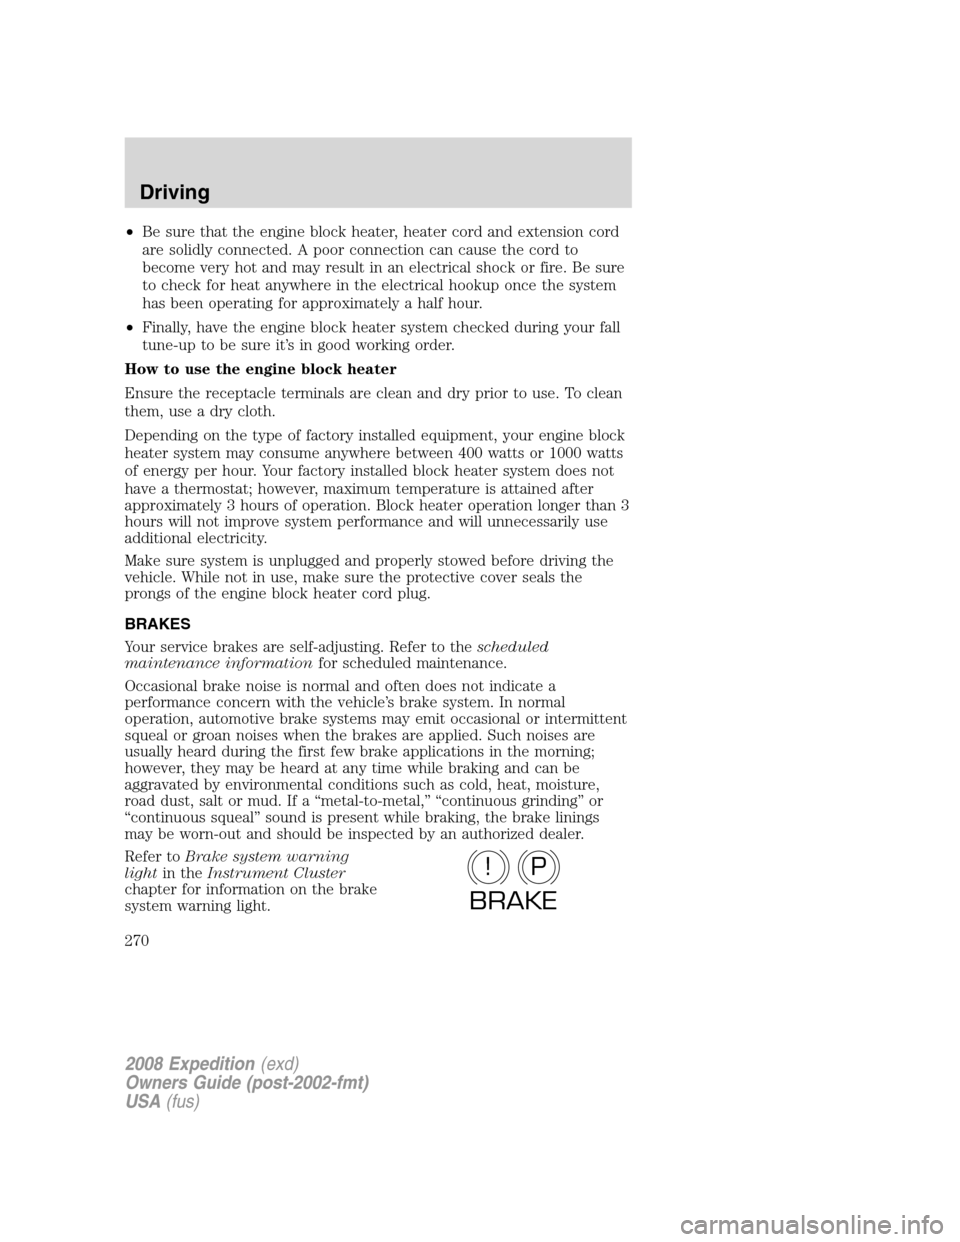
Refer toBrake system warning
lightin theInstrument Cluster
chapter for information on the brake
system warning light.
P!
BRAKE
2008 Expedition(exd)
Owners Guide (post-2002-fmt)
USA(fus)
Driving
270
Page 271 of 392
If you are driving down a long or steep hill, shift to a lower gear.
Do not apply your brakes continuously, as they may overheat
and become less effective.
Anti-lock brake system (ABS)
On ABS-equipped vehicles, a noise from the hydraulic pump motor and
pulsation in the pedal may be observed during ABS braking events. Pedal
pulsation coupled with noise while braking under panic conditions or on
loose gravel, bumps, wet or snowy roads is normal and indicates proper
functioning of the vehicle’s anti-lock brake system. The ABS performs a
self-check after you start the engine and begin to drive away. A brief
mechanical noise may be heard during this test. This is normal. If a
malfunction is found, the ABS warning light will come on. If the vehicle
has continuous vibration or shudder in the steering wheel while braking,
the vehicle should be inspected by an authorized dealer.
The ABS operates by detecting the onset of wheel lockup during brake
applications and compensates for this tendency. The wheels are
prevented from locking even when the brakes are firmly applied.
Using ABS
•In an emergency or when maximum efficiency from the four-wheel
ABS is required, apply continuous force on the brake. The four wheel
ABS will be activated immediately, thus allowing you to retain steering
control of your vehicle and, providing there is sufficient space, will
enable you to avoid obstacles and bring the vehicle to a controlled
stop.
•The anti-lock system does not always reduce stopping distance.
Always leave enough room between your vehicle and the vehicle in
front of you to stop.
•We recommend that you familiarize yourself with this braking
technique. However, avoid taking any unnecessary risks.
ABS warning lamp
The ABS warning lamp in the
instrument cluster momentarily
illuminates when the ignition is
turned on. If the light does not
illuminate momentarily at start up,
remains on or continues to flash, the ABS needs to be serviced.
ABS
2008 Expedition(exd)
Owners Guide (post-2002-fmt)
USA(fus)
Driving
271
Page 272 of 392
With the ABS light on, the anti-lock
brake system is disabled and normal
braking is still effective unless the
brake warning light also remains
illuminated with parking brake
released. (If your brake warning lamp illuminates, have your vehicle
serviced immediately.)
Parking brake
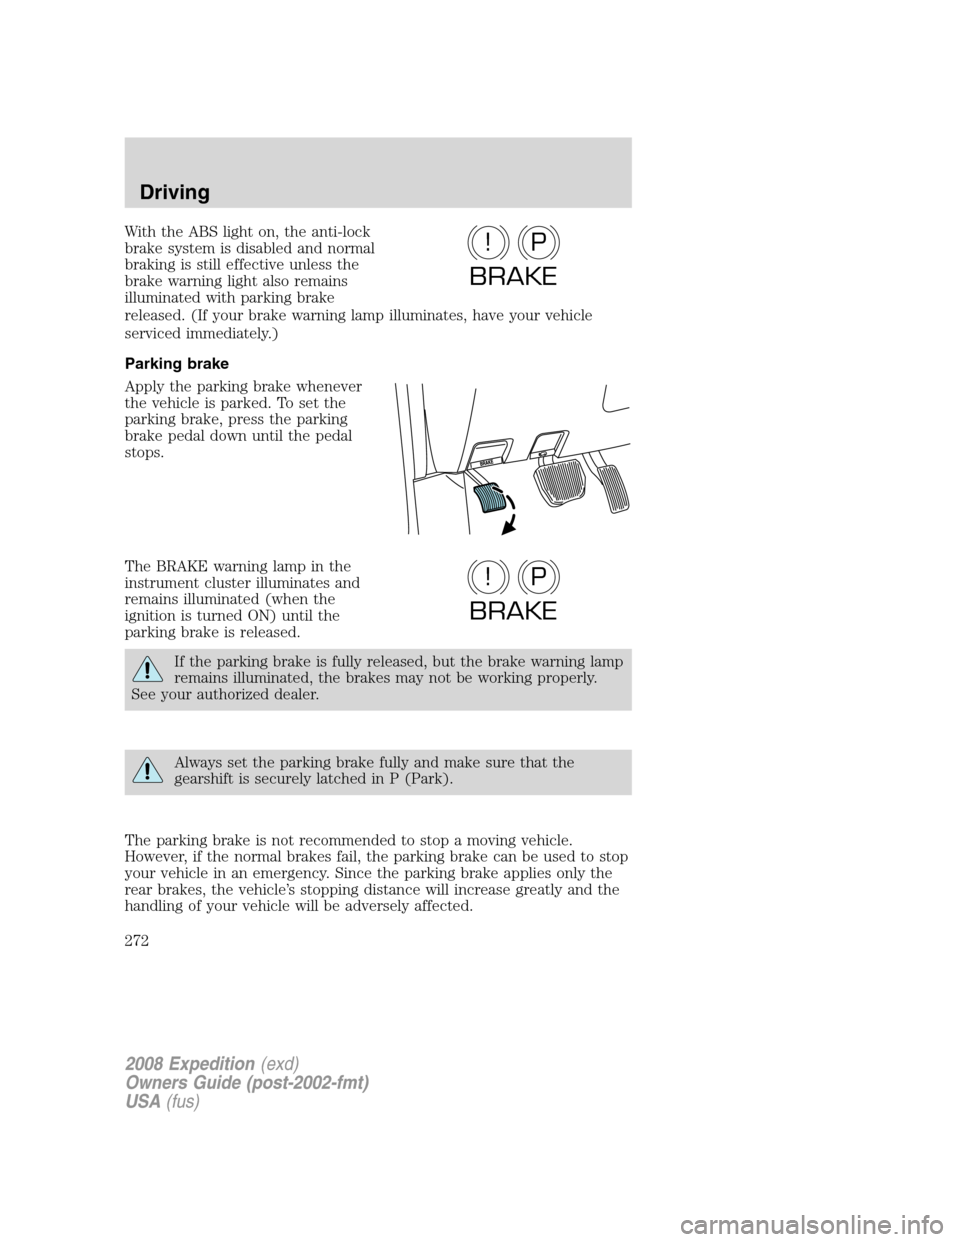
Apply the parking brake whenever
the vehicle is parked. To set the
parking brake, press the parking
brake pedal down until the pedal
stops.
The BRAKE warning lamp in the
instrument cluster illuminates and
remains illuminated (when the
ignition is turned ON) until the
parking brake is released.
If the parking brake is fully released, but the brake warning lamp
remains illuminated, the brakes may not be working properly.
See your authorized dealer.
Always set the parking brake fully and make sure that the
gearshift is securely latched in P (Park).
The parking brake is not recommended to stop a moving vehicle.
However, if the normal brakes fail, the parking brake can be used to stop
your vehicle in an emergency. Since the parking brake applies only the
rear brakes, the vehicle’s stopping distance will increase greatly and the
handling of your vehicle will be adversely affected.
P!
BRAKE
P!
BRAKE
2008 Expedition(exd)
Owners Guide (post-2002-fmt)
USA(fus)
Driving
272
Page 281 of 392
Do not drive your vehicle until you verify that the brakelamps
are working.
Always set the parking brake fully and make sure the gearshift is
latched in P (Park). Turn the ignition to the LOCK position and
remove the key whenever you leave your vehicle.
If the parking brake is fully released, but the brake warning lamp
remains illuminated, the brakes may not be working properly.
See your authorized dealer.
Brake-shift interlock – floor-shift transmission
This vehicle is equipped with a brake-shift interlock feature that prevents
the gearshift lever from being moved from P (Park) when the ignition is
in the ON position unless the brake pedal is depressed.
If you cannot move the gearshift lever out of P (Park) with ignition in
the ON position and the brake pedal depressed, or when the ignition is
in the OFF position, it is possible that a fuse has blown or the vehicle’s
brakelamps are not operating properly. Refer toFuses and relaysin the
Roadside Emergencieschapter.
If the fuse is not blown, perform the following procedure:
1. Apply the parking brake, turn the ignition to OFF, then remove the
key.
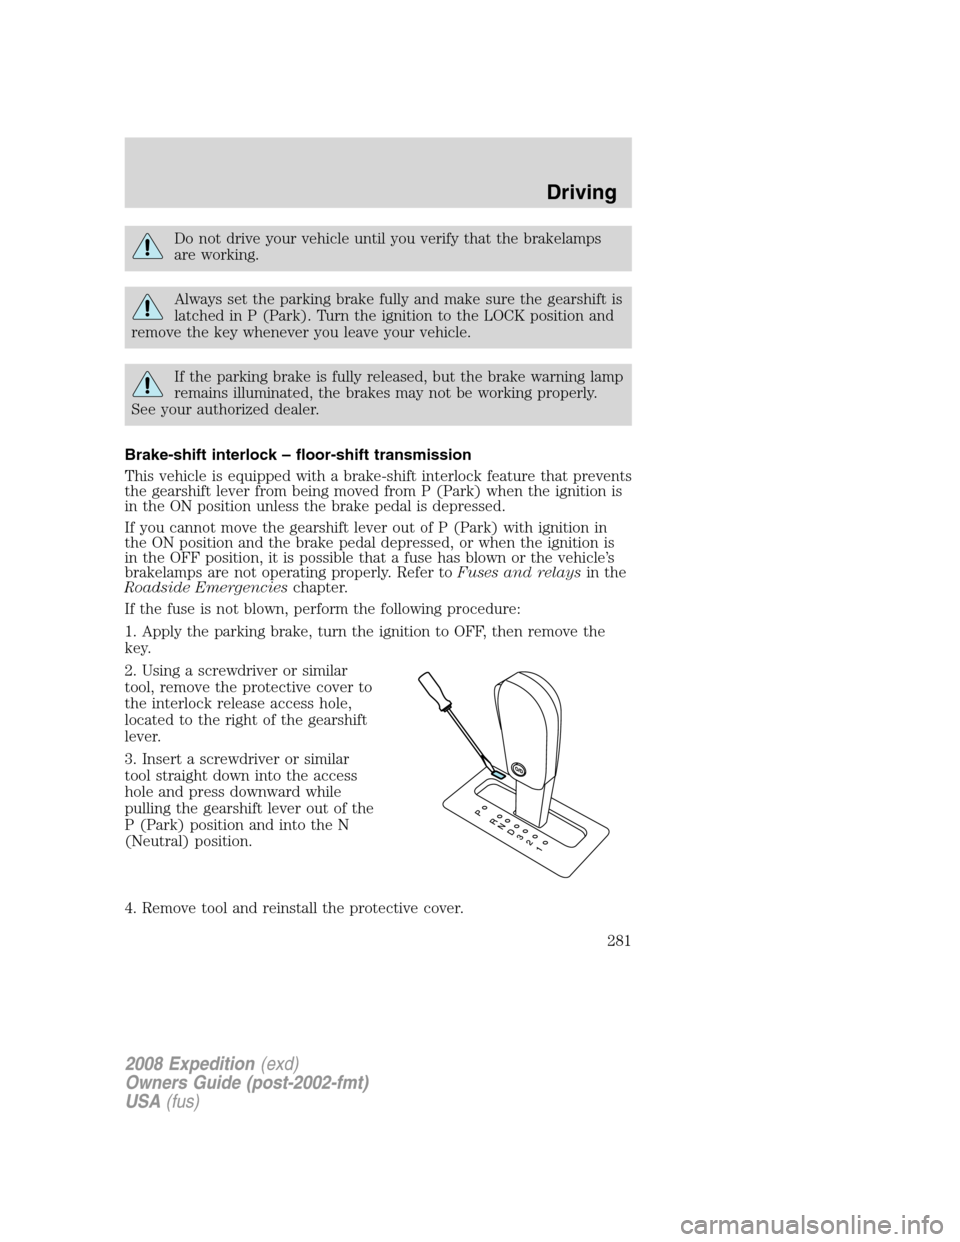
2. Using a screwdriver or similar
tool, remove the protective cover to
the interlock release access hole,
located to the right of the gearshift
lever.
3. Insert a screwdriver or similar
tool straight down into the access
hole and press downward while
pulling the gearshift lever out of the
P (Park) position and into the N
(Neutral) position.
4. Remove tool and reinstall the protective cover.
2008 Expedition(exd)
Owners Guide (post-2002-fmt)
USA(fus)
Driving
281
Page 282 of 392
5. Start the vehicle and release the parking brake.
Do not drive your vehicle until you verify that the brakelamps
are working.
Always set the parking brake fully and make sure the gearshift is
latched in P (Park). Turn the ignition to the LOCK position and
remove the key whenever you leave your vehicle.
If the parking brake is fully released, but the brake warning lamp
remains illuminated, the brakes may not be working properly.
See your authorized dealer.
Driving with a 6–speed automatic transmission
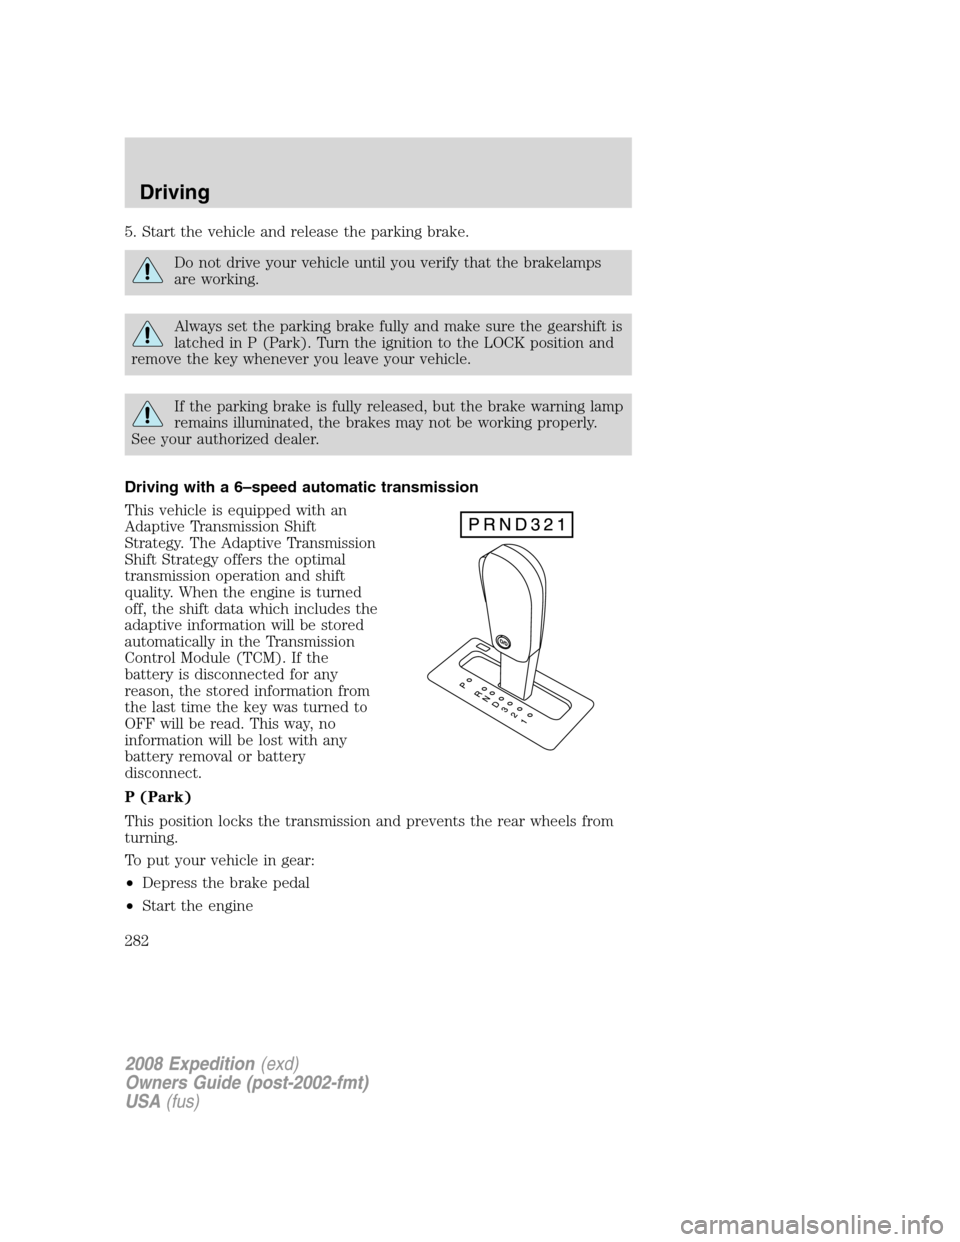
This vehicle is equipped with an
Adaptive Transmission Shift
Strategy. The Adaptive Transmission
Shift Strategy offers the optimal
transmission operation and shift
quality. When the engine is turned
off, the shift data which includes the
adaptive information will be stored
automatically in the Transmission
Control Module (TCM). If the
battery is disconnected for any
reason, the stored information from
the last time the key was turned to
OFF will be read. This way, no
information will be lost with any
battery removal or battery
disconnect.
P (Park)
This position locks the transmission and prevents the rear wheels from
turning.
To put your vehicle in gear:
•Depress the brake pedal
•Start the engine
2008 Expedition(exd)
Owners Guide (post-2002-fmt)
USA(fus)
Driving
282