Page 308 of 392
Fuse/Relay
LocationFuse
Amp
RatingPower Distribution Box Description
7 — Not used
8 40A** Heated/cooled seats
9 60A** ABS (pump)
10 20A** Rear console power point
11 30A** Auxiliary blower
12 25A* Trailer tow connector (park lamps)
13 30A * Trailer tow connector (battery charge)
14 — Not used
15 — Not used
16 — A/C clutch relay
17 — Not used
18 — Fuel pump relay
19 — Back-up relay
20 — Trailer tow connector relay (left turn signal)
21 — Trailer tow connector relay (right turn signal)
22 — Not used
23 15A* Heated mirrors
24 40A** Blower motor
25 — Not used
26 — Not used
27 30A** Power liftgate
28 40A** Rear window defroster, Heated mirror
29 30A** Passenger seat
30 10A* A/C clutch
31 15A* Brake lamps
32 20A* Fuel pump
33 20A* Back-up lamps
34 25A* Trailer tow connector (stop/turn lamps)
35 20A* 4x4 module
2008 Expedition(exd)
Owners Guide (post-2002-fmt)
USA(fus)
Roadside Emergencies
308
Page 309 of 392
Fuse/Relay
LocationFuse
Amp
RatingPower Distribution Box Description
36 10A* Powertrain Control Module (PCM) – Keep
alive power, Canister vent
37 15A* Transmission B+
38 30A** Third row seats (passenger side)
39 60A** Air suspension pump
40 30A** Starter motor
41 20A** IP/Console power point
42 — Not used
43 20A** 4x4 module motor
44 — Not used
45 30A** Driver seat
46 40A** Run/Start bus bar
47 30A** Air suspension – solenoids
48 — Not used
49 30A** Front wipers/washer
50 30A** PCM – bus bar
51 20A** Cargo power point
52 20A** Cigarette lighter
53 — Air suspension relay
54 — Starter relay
55 — Trailer tow connector relay (park lamp)
56 — Trailer tow connector relay (battery charge)
57 — Run/Start relay
58 — Not used
59 — PCM relay
60 — One-touch Start diode
61 — Not used
62 — Fuel pump diode
63 15A* Trailer tow connector (back-up lamp)
64 — Not used
2008 Expedition(exd)
Owners Guide (post-2002-fmt)
USA(fus)
Roadside Emergencies
309
Page 319 of 392

When a wheel is installed, always remove any corrosion, dirt or
foreign materials present on the mounting surfaces of the wheel
or the surface of the wheel hub, brake drum or brake disc that
contacts the wheel. Ensure that any fasteners that attach the rotor to
the hub are secured so they do not interfere with the mounting
surfaces of the wheel. Installing wheels without correct metal-to-metal
contact at the wheel mounting surfaces can cause the wheel nuts to
loosen and the wheel to come off while the vehicle is in motion,
resulting in loss of control.
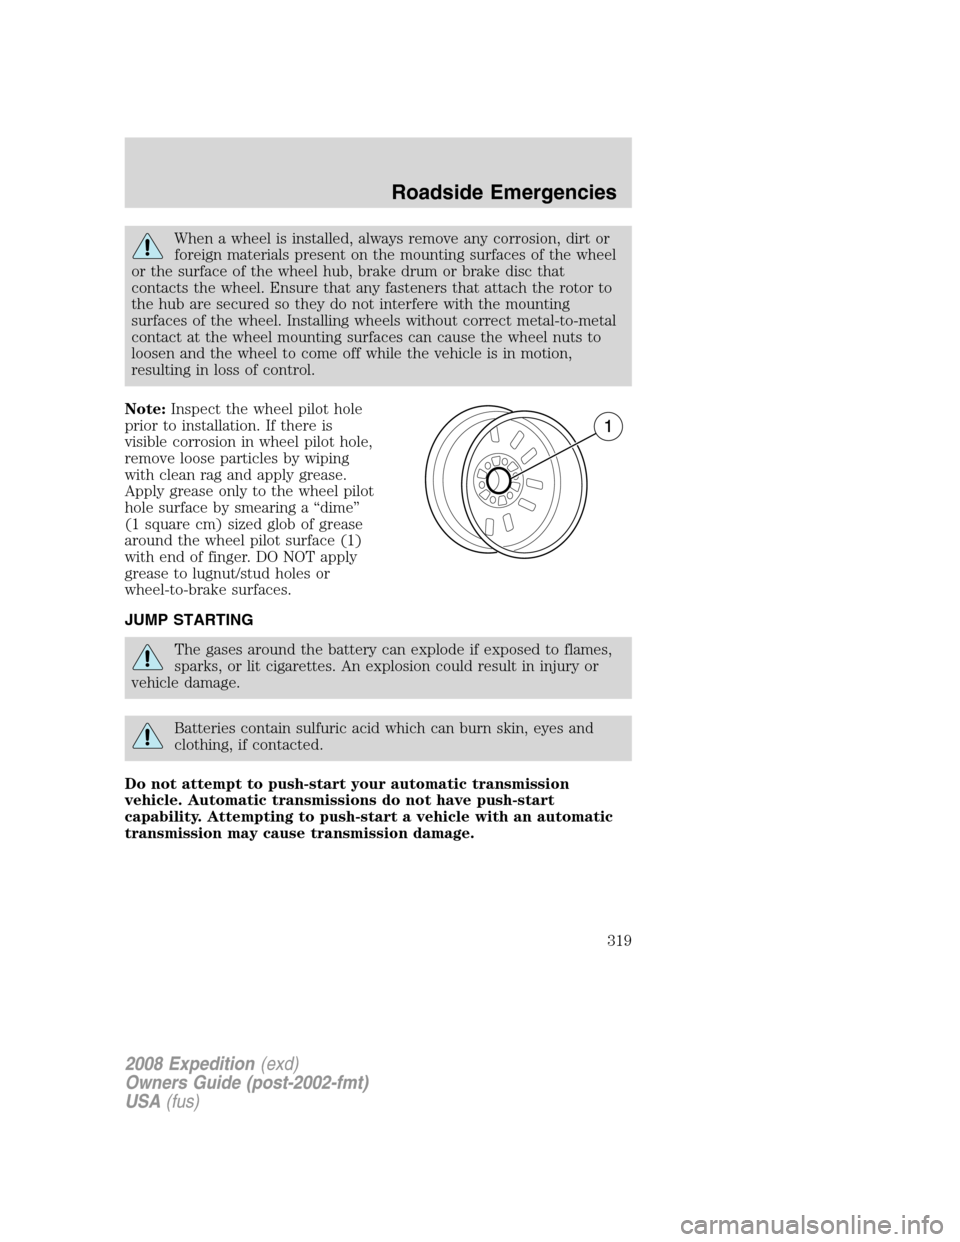
Note:Inspect the wheel pilot hole
prior to installation. If there is
visible corrosion in wheel pilot hole,
remove loose particles by wiping
with clean rag and apply grease.
Apply grease only to the wheel pilot
hole surface by smearing a “dime”
(1 square cm) sized glob of grease
around the wheel pilot surface (1)
with end of finger. DO NOT apply
grease to lugnut/stud holes or
wheel-to-brake surfaces.
JUMP STARTING
The gases around the battery can explode if exposed to flames,
sparks, or lit cigarettes. An explosion could result in injury or
vehicle damage.
Batteries contain sulfuric acid which can burn skin, eyes and
clothing, if contacted.
Do not attempt to push-start your automatic transmission
vehicle. Automatic transmissions do not have push-start
capability. Attempting to push-start a vehicle with an automatic
transmission may cause transmission damage.
2008 Expedition(exd)
Owners Guide (post-2002-fmt)
USA(fus)
Roadside Emergencies
319
Page 320 of 392

Preparing your vehicle
When the battery is disconnected or a new battery is installed, the
automatic transmission must relearn its shift strategy. As a result, the
transmission may have firm and/or soft shifts. This operation is
considered normal and will not affect function or durability of the
transmission. Over time, the adaptive learning process will fully update
transmission operation.
1.Use only a 12–volt supply to start your vehicle.
2. Do not disconnect the battery of the disabled vehicle as this could
damage the vehicle’s electrical system.
3. Park the booster vehicle close to the hood of the disabled vehicle
making sure the two vehiclesdo nottouch. Set the parking brake on
both vehicles and stay clear of the engine cooling fan and other moving
parts.
4. Check all battery terminals and remove any excessive corrosion before
you attach the battery cables. Ensure that vent caps are tight and level.
5. Turn the heater fan on in both vehicles to protect from any electrical
surges. Turn all other accessories off.
Connecting the jumper cables
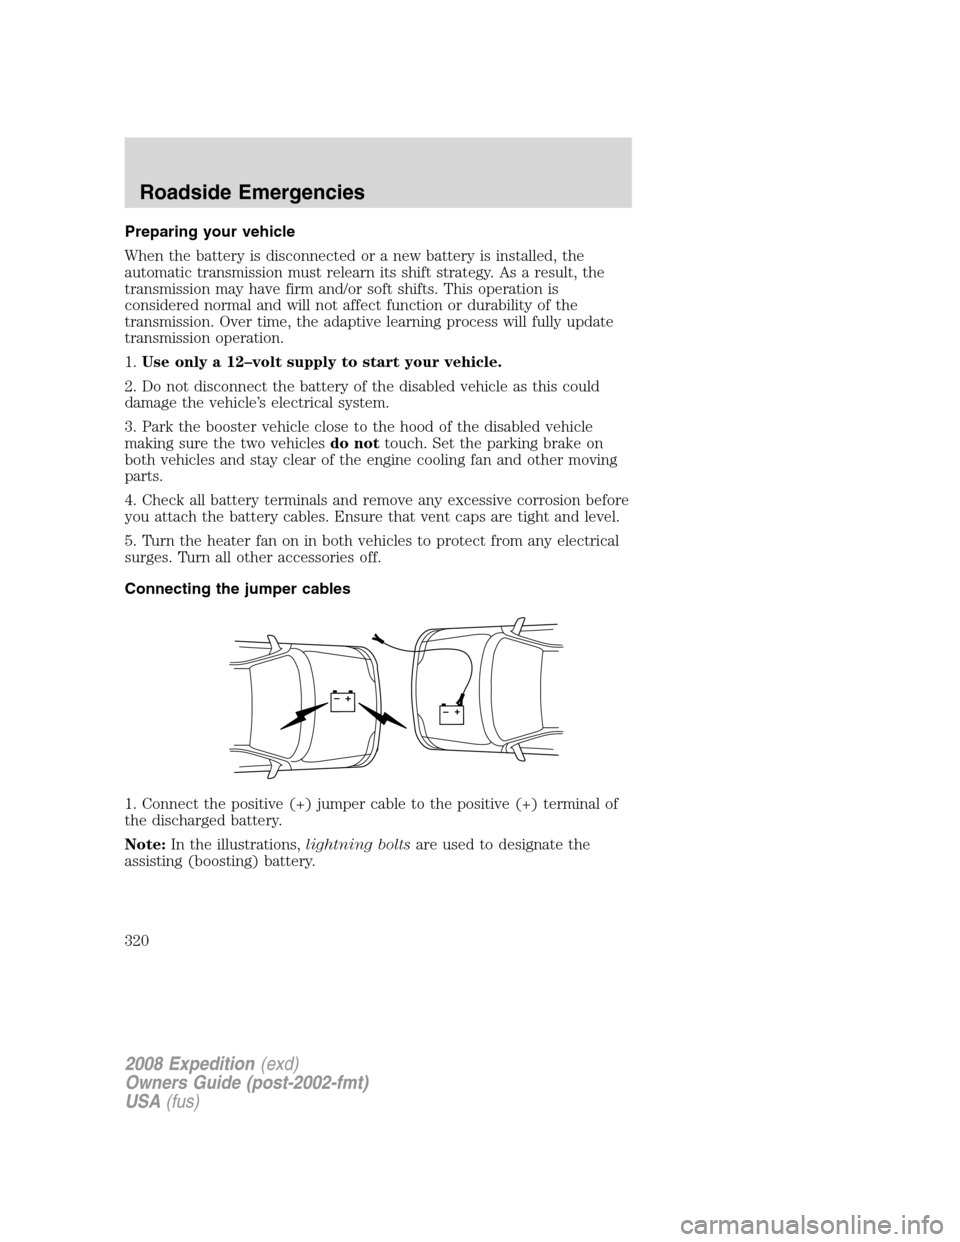
1. Connect the positive (+) jumper cable to the positive (+) terminal of
the discharged battery.
Note:In the illustrations,lightning boltsare used to designate the
assisting (boosting) battery.
+–+–
2008 Expedition(exd)
Owners Guide (post-2002-fmt)
USA(fus)
Roadside Emergencies
320
Page 321 of 392
2. Connect the other end of the positive (+) cable to the positive (+)
terminal of the assisting battery.
3. Connect the negative (-) cable to the negative (-) terminal of the
assisting battery.
+–+–
+–+–
2008 Expedition(exd)
Owners Guide (post-2002-fmt)
USA(fus)
Roadside Emergencies
321
Page 322 of 392
4. Make the final connection of the negative (-) cable to the jump
starting stud located in the engine compartment, near the washer fluid
bottle.Do notuse fuel lines, engine rocker covers or the intake manifold
asgroundingpoints.
Do not connect the end of the second cable to the negative (-)
terminal of the battery to be jumped. A spark may cause an
explosion of the gases that surround the battery.
5. Ensure that the cables are clear of fan blades, belts, moving parts of
both engines, or any fuel delivery system parts.
+–+–
2008 Expedition(exd)
Owners Guide (post-2002-fmt)
USA(fus)
Roadside Emergencies
322
Page 323 of 392
Jump starting
1. Start the engine of the booster vehicle and run the engine at
moderately increased speed.
2. Start the engine of the disabled vehicle.
3. Once the disabled vehicle has been started, run both engines for an
additional three minutes before disconnecting the jumper cables.
Removing the jumper cables
Remove the jumper cables in the reverse order that they were
connected.
1. Remove the jumper cable from the jump starting stud.
Note:In the illustrations,lightning boltsare used to designate the
assisting (boosting) battery.
+–+–
2008 Expedition(exd)
Owners Guide (post-2002-fmt)
USA(fus)
Roadside Emergencies
323
Page 324 of 392
2. Remove the jumper cable on the negative (-) connection of the
booster vehicle’s battery.
3. Remove the jumper cable from the positive (+) terminal of the booster
vehicle’s battery.
+–+–
+–+–
2008 Expedition(exd)
Owners Guide (post-2002-fmt)
USA(fus)
Roadside Emergencies
324