2008 FORD ESCAPE USB
[x] Cancel search: USBPage 2 of 86

Get ready for an intelligent conversation with your car.
The last time you stepped out without your cell phone or digital media player, did you feel out of
sync with the world? We don’t blame you. Our personal devices have become indispensable
extensions of our lives.
Ford ingenuity now brings you a better, more sensible way to remain connected to your world
while behind the wheel. Introducing SYNC - Powered by Microsoft®. SYNC offers voice activated
calling and voice activated music selection while allowing you to maintain your focus on the road.
SYNC Features
• Send and receive hands-free calls
• Play your digital music through voice activated commands
• Use voice recognition to access your cell phone’s contact list
• Transfer an active phone conversation to a hands-free environment
• Play music stored on your digital media player
• Use your device while charging through the USB port
• Listen to music streaming from your Bluetooth® enabled phone
• Advanced voice recognition system fluent in English, French and Spanish
Exclusively available on Ford, Mercury and Lincoln vehicles.
Congratulations on the purchase of your new vehicle
equipped with SYNC.
www.SyncMyRide.com
Page 3 of 86

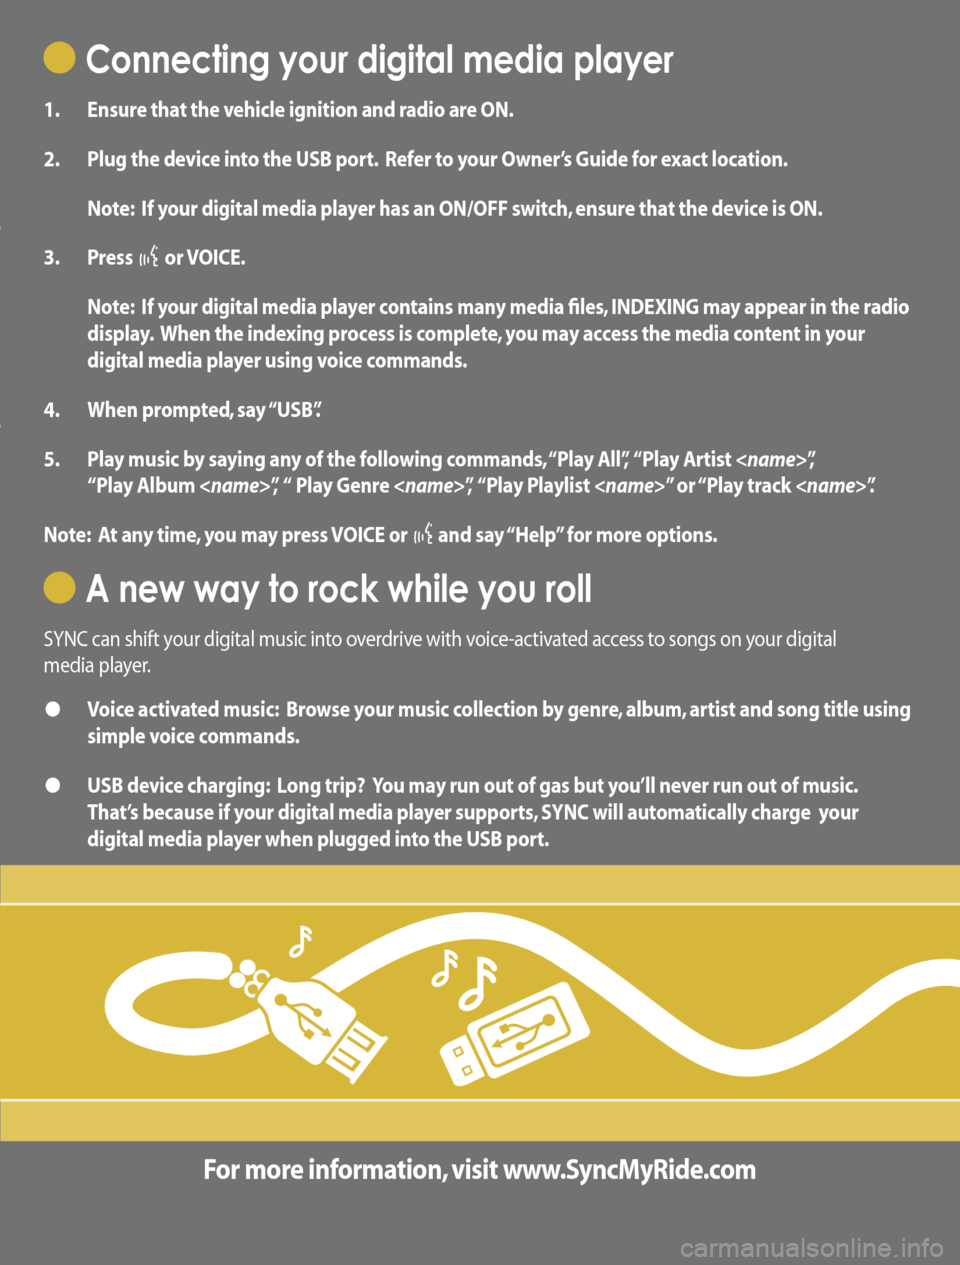
Connecting your digital media player
1. Ensure that the vehicle ignition and radio are ON.
2. Plug the device into the USB port. Refer to your Owner’s Guide for exact location.
Note: If your digital media player has an ON/OFF switch, ensure that the device is ON.
3. Press
or VOICE.
Note: If your digital media player contains many media files, INDEXING may appear in the radio
display. When the indexing process is complete, you may access the media content in your
digital media player using voice commands.
4. When prompted, say “USB”.
5. Play music by saying any of the following commands, “Play All”, “Play Artist
“Play Album
Note: At any time, you may press VOICE or
and say “Help” for more options.
A new way to rock while you roll
SYNC can shift your digital music into overdrive with voice-activated access to songs on your digital
media player.
• Voice activated music: Browse your music collection by genre, album, artist and song title using
simple voice commands.
• USB device charging: Long trip? You may run out of gas but you’ll never run out of music.
That’s because if your digital media player supports, SYNC will automatically charge your
digital media player when plugged into the USB port.
For more information, visit www.SyncMyRide.com
www.SyncMyRide.com
Page 4 of 86

What you need to get started
To use SYNC’s many features, you must have the following:
• Cellular phone with Bluetooth wireless technology (with the phone’s user guide).
• Compatible digital media player with USB cable.
Note: SYNC is capable of hosting nearly any digital media player including: iPod®, Zune™,
“Plays from device” players, and most USB drives. Supported audio formats include MP3,
WMA, WAV, AAC and PCM.
• For more information on all SYNC features and compatible devices, check out
www.SyncMyRide.com.
Pairing your phone for the first time
The first thing you must do to use the phone features of SYNC is to ‘pair’ your Bluetooth enabled
cellular phone with SYNC. This allows your phone to communicate with the hands-free system.
To pair your phone for the first time:
1. Ensure that the vehicle ignition and radio are on and that your vehicle is in Park (P).
2. Press
to enter the PHONE MENU. SYNC will attempt to connect and the radio display
will indicate that no phone is paired.
3. Press OK. ADD DEVICES will appear in the radio display.
Note: Press
/ repeatedly if ADD DEVICES does not first appear in the radio display.
4. Press OK to confirm your selection and enter the ADD DEVICES MENU.
5. When FIND SYNC appears in the radio display, press OK. Follow the instructions in your
cellular phone’s user guide to put your phone into Bluetooth discovery mode. A six digit PIN
will appear in the radio display.
Page 7 of 86

Modifying your phone book 25
Automatically download your phone book 26
Applications 27
System settings 27
Adding a phone 28
Connecting a phone 29
Setting a phone as primary 30
Turning Bluetooth on/off 30
Deleting a phone 31
Deleting all phones 31
Turning prompts on/off 31
Changing the SYNC language setting 32
Returning to factory defaults 32
Performing a master reset 33
Installing new vehicle applications 33
SYNC media features35
Voice commands in media mode 35
Connecting a digital media player to SYNC 37
What’s playing? 37
Using your media menu 37
Selecting different media sources 38
Using your USB port 38
Streaming music from your phone 39
Using the Auxiliary input jack (Line in) 40
Using the media settings 41
Accessing vehicle applications 42
Accessing system settings 42
Adding a Bluetooth media device which is in
discovery mode 43
Adding a Bluetooth media device which is in discoverable mode 43
Connecting a Bluetooth media device 44
Delete a device 45
Using SYNC’s play menu 49
Using the play all feature 50
Selecting and playing specific artists 50
Selecting and playing specific albums 51
Selecting different genres 52
Table of Contents
2See End User License Agreement at the end of this book
2008 SYNC/MGM(mgm)
Supplement
USA (fus)
Page 8 of 86

Accessing your playlists 52
Playing a specific track 53
Exploring the USB device 54
Playing similar music 55
DVD interaction57
Glossary 64
End user license agreement 65
Index 72
All rights reserved. Reproduction by any means, electronic or mechanical
including photocopying, recording or by any information storage and retrieval
system or translation in whole or part is not permitted without written
authorization from Ford Motor Company. Ford may change the contents without
notice and without incurring obligation.
Copyright © 2007 Ford Motor Company
Table of Contents
3SeeEnd User License Agreement at the end of this book
2008 SYNC/MGM(mgm)
Supplement
USA (fus)
Page 13 of 86

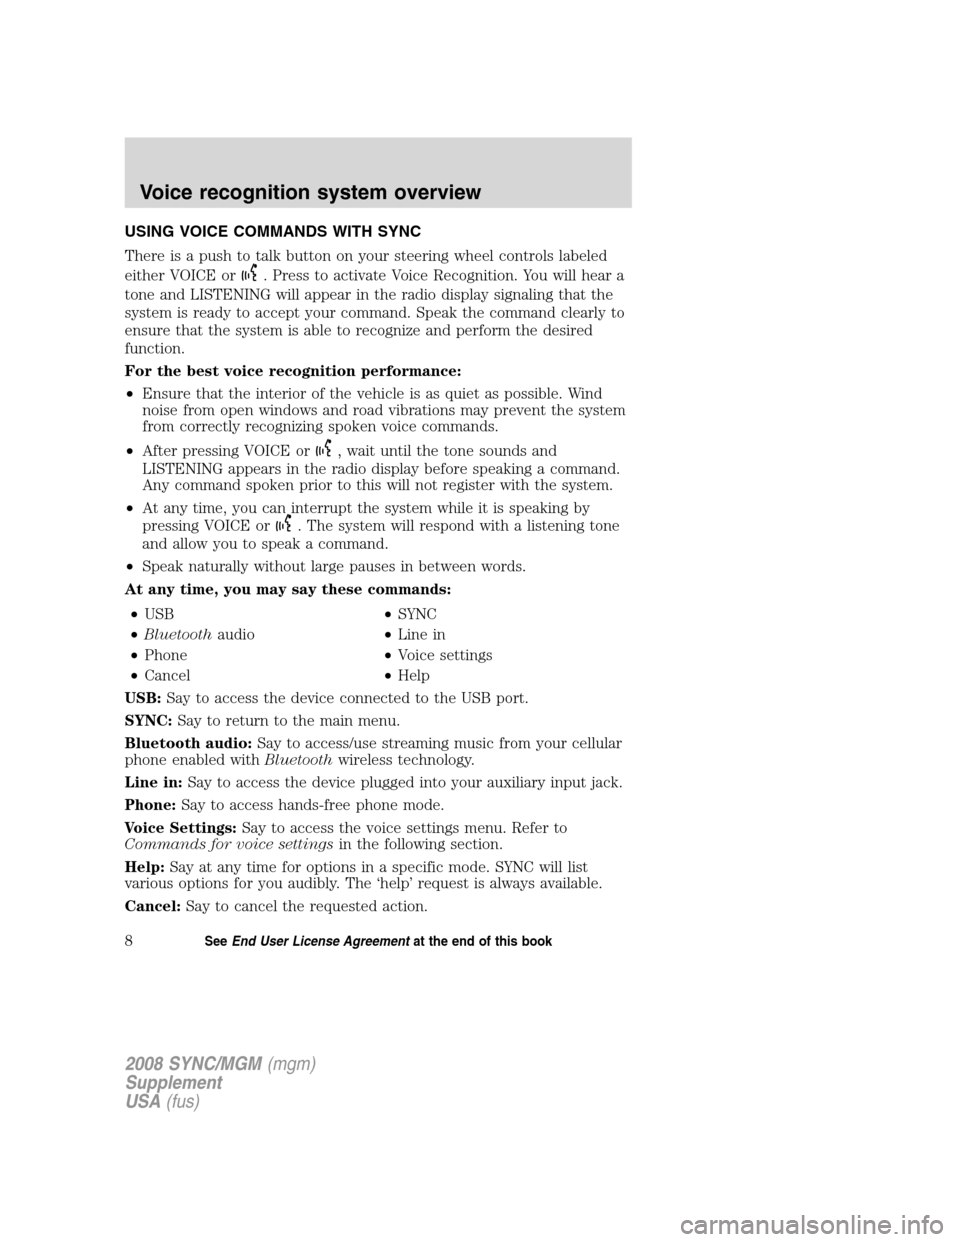
USING VOICE COMMANDS WITH SYNC
There is a push to talk button on your steering wheel controls labeled
either VOICE or
. Press to activate Voice Recognition. You will hear a
tone and LISTENING will appear in the radio display signaling that the
system is ready to accept your command. Speak the command clearly to
ensure that the system is able to recognize and perform the desired
function.
For the best voice recognition performance:
• Ensure that the interior of the vehicle is as quiet as possible. Wind
noise from open windows and road vibrations may prevent the system
from correctly recognizing spoken voice commands.
• After pressing VOICE or
, wait until the tone sounds and
LISTENING appears in the radio display before speaking a command.
Any command spoken prior to this will not register with the system.
• At any time, you can interrupt the system while it is speaking by
pressing VOICE or
. The system will respond with a listening tone
and allow you to speak a command.
• Speak naturally without large pauses in between words.
At any time, you may say these commands:
• USB •SYNC
• Bluetooth audio •Line in
• Phone •Voice settings
• Cancel •Help
USB: Say to access the device connected to the USB port.
SYNC: Say to return to the main menu.
Bluetooth audio: Say to access/use streaming music from your cellular
phone enabled with Bluetoothwireless technology.
Line in: Say to access the device plugged into your auxiliary input jack.
Phone: Say to access hands-free phone mode.
Voice Settings: Say to access the voice settings menu. Refer to
Commands for voice settings in the following section.
Help: Say at any time for options in a specific mode. SYNC will list
various options for you audibly. The ‘help’ request is always available.
Cancel: Say to cancel the requested action.
2008 SYNC/MGM (mgm)
Supplement
USA (fus)
Voice recognition system overview
8SeeEnd User License Agreement at the end of this book
Page 18 of 86

•(Phone) settings
(set) phone ringer •
(Phone) settings (set) ringer 1
• (Phone) settings (set) ringer 2 •(Phone) settings (set) ringer 3
• Text message inbox •(Phone) settings (set) ringer off
Note: With the above commands, words i n ( ) are optional and do not
have to be spoken for the system to understand the command.
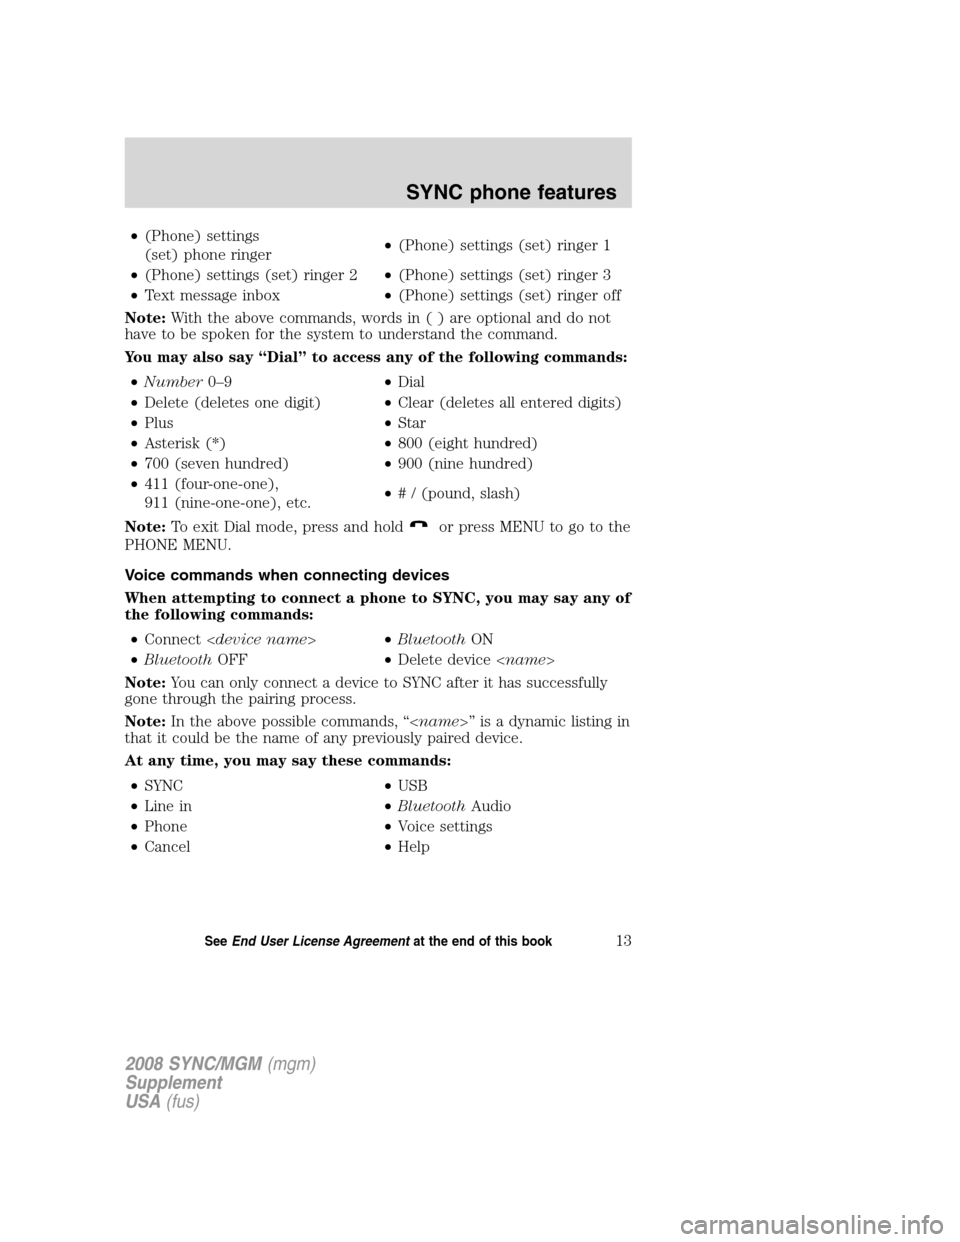
You may also say “Dial” to access any of the following commands:
• Number 0–9 •Dial
• Delete (deletes one digit) •Clear (deletes all entered digits)
• Plus •Star
• Asterisk (*) •800 (eight hundred)
• 700 (seven hundred) •900 (nine hundred)
• 411 (four-one-one),
911 (nine-one-one), etc. •
# / (pound, slash)
Note: To exit Dial mode, press and hold
or press MENU to go to the
PHONE MENU.
Voice commands when connecting devices
When attempting to connect a phone to SYNC, you may say any of
the following commands:
• Connect < device name >•Bluetooth ON
• Bluetooth OFF •Delete device < name>
Note: You can only connect a device to SYNC after it has successfully
gone through the pairing process.
Note: In the above possible commands, “< name>” is a dynamic listing in
that it could be the name of any previously paired device.
At any time, you may say these commands:
• SYNC •USB
• Line in •Bluetooth Audio
• Phone •Voice settings
• Cancel •Help
2008 SYNC/MGM (mgm)
Supplement
USA (fus)
SYNC phone features
13SeeEnd User License Agreement at the end of this book
Page 38 of 86

Note:To scroll, pressSEEKor/.
1. Press
to enter PHONE MENU.
2.
Scroll repeatedly until SYSTEM SETTINGS appears in the radio display.
3. Press OK to confirm and enter the SYSTEM SETTINGS menu.
4. Scroll repeatedly until ADVANCED appears in the radio display.
5. Press OK to confirm and enter the ADVANCED menu.
6. Scroll repeatedly until DEFAULTS appears in the radio display.
7. Press OK. The display will read RESTORE DEFAULTS?
8. Press OK to confirm. The display will read DEFAULTS SET. SYNC will
take you back to the DEFAULTS menu.
Performing a master reset
A master reset allows you to completely erase all information stored in
SYNC (all phone book, call history and text message information as well
as all previously paired phones) and return to the factory default
settings. To perform a master reset:
Note: To scroll, press
SEEKor/.
1. Press
to enter the PHONE MENU.
2.
Scroll repeatedly until SYSTEM SETTINGS appears in the radio display.
3. Press OK to enter the SYSTEM SETTINGS menu.
4. Scroll repeatedly until ADVANCED appears in the radio display.
Press OK.
5. Scroll repeatedly until MASTER RESET appears in the radio display
6. Press OK. SYNC will ask you to confirm the reset.
7. Press OK to confirm. The radio display will read RESET DONE. SYNC
will take you back to the ADVANCED SETTINGS menu.
Note: Once a master reset has been completed, you must re-insert your
USB device to access its contents.
Installing new vehicle applications
You can download new software applications (if available) and then load
the desired applications onto SYNC through your USB port. Please refer
to www.SyncMyRide.com for further information.
2008 SYNC/MGM (mgm)
Supplement
USA (fus)
SYNC phone features
33SeeEnd User License Agreement at the end of this book