Page 165 of 278

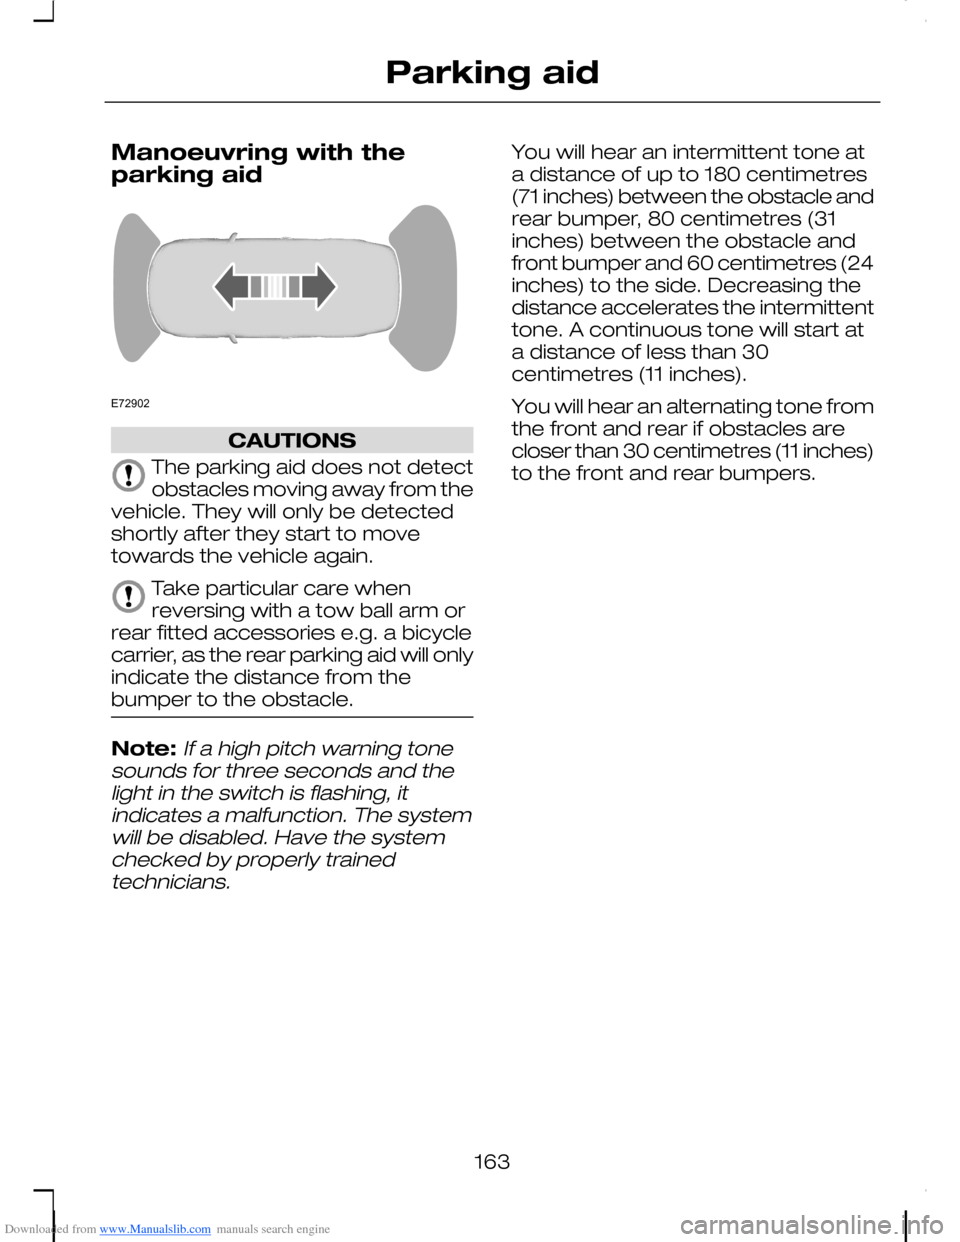
Downloaded from www.Manualslib.com manuals search engine Manoeuvring with theparking aid
CAUTIONS
The parking aid does not detectobstacles moving away from thevehicle. They will only be detectedshortly after they start to movetowards the vehicle again.
Take particular care whenreversing with a tow ball arm orrear fitted accessories e.g. a bicyclecarrier, as the rear parking aid will onlyindicate the distance from thebumper to the obstacle.
Note:If a high pitch warning tonesounds for three seconds and thelight in the switch is flashing, itindicates a malfunction. The systemwill be disabled. Have the systemchecked by properly trainedtechnicians.
You will hear an intermittent tone ata distance of up to 180 centimetres(71 inches) between the obstacle andrear bumper, 80 centimetres (31inches) between the obstacle andfront bumper and 60 centimetres (24inches) to the side. Decreasing thedistance accelerates the intermittenttone. A continuous tone will start ata distance of less than 30centimetres (11 inches).
You will hear an alternating tone fromthe front and rear if obstacles arecloser than 30 centimetres (11 inches)to the front and rear bumpers.
163
Parking aidE72902
Page 171 of 278

Downloaded from www.Manualslib.com manuals search engine TOWING A TRAILER
WARNINGS
Do not exceed the maximumvehicle and trailer weight statedon the vehicle identification plate. SeeVehicle identification (page 226).
ST vehicles are not approvedfor trailer towing.
Note:Not all vehicles are suitable orapproved to have tow bars fitted.Check with your dealer first.
Place loads as low and central to theaxle(s) of the trailer as possible. If youare towing with an unladen vehicle,the load in the trailer should beplaced toward the nose, within themaximum nose load, as this gives thebest stability.
Note:The maximum trailer noseweight can be found on themanufacturers data plate on the towbar.
The stability of the vehicle to trailercombination is very much dependanton the quality of the trailer.
In high altitude regions, the stipulatedmaximum permitted gross trainweight must be reduced by 10% forevery 1 000 metres (3 281 feet).
Steep gradients
WARNING
The overrun brake on a trailer isnot controlled by ABS.
Change down a gear before youreach a steep downhill gradient.
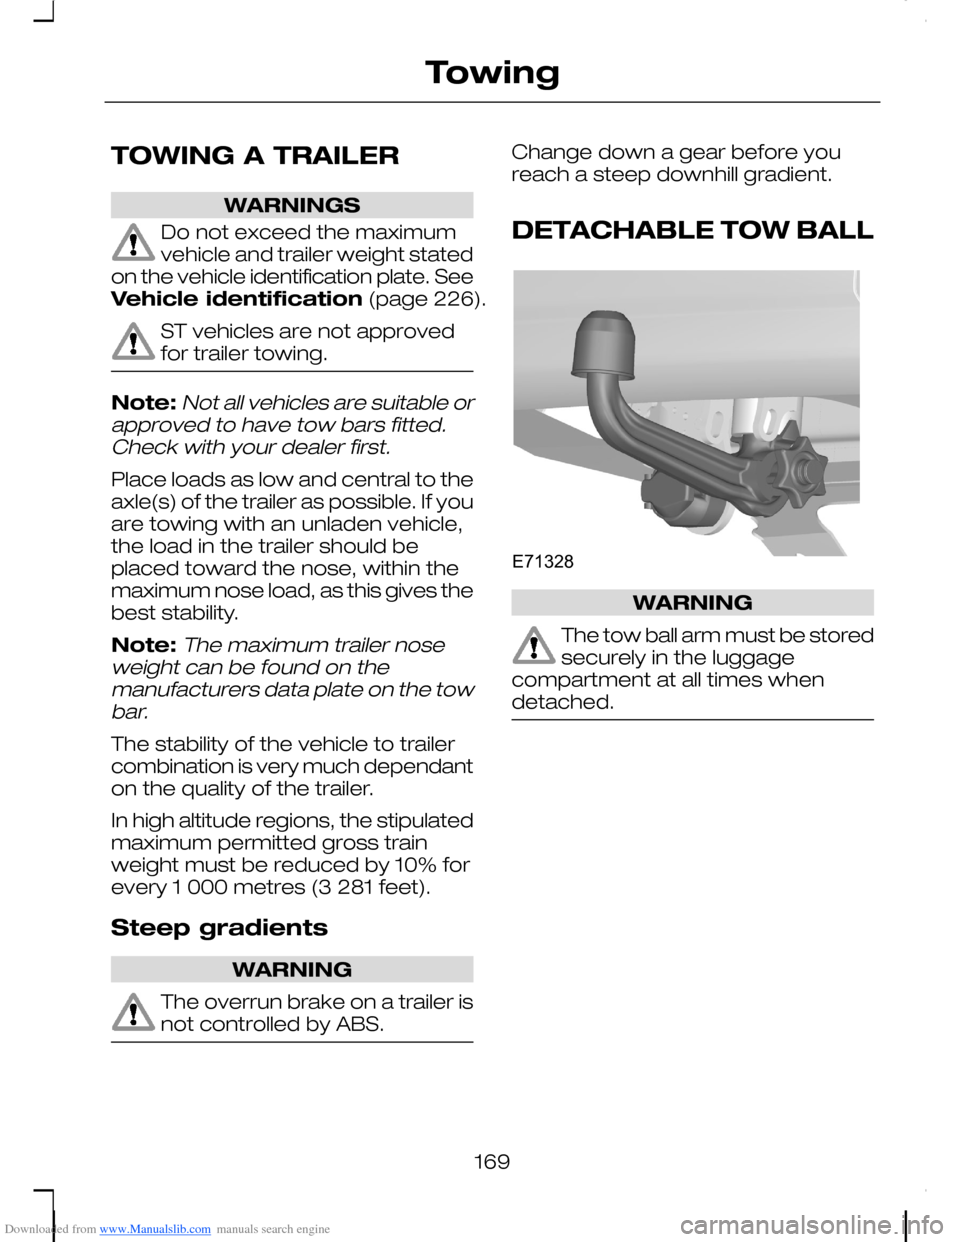
DETACHABLE TOW BALL
WARNING
The tow ball arm must be storedsecurely in the luggagecompartment at all times whendetached.
169
TowingE71328
Page 172 of 278
Downloaded from www.Manualslib.com manuals search engine Unlocking the tow ball armmechanism
WARNING
Do not use any tools formounting or dismounting thetow ball arm. Do not modify the trailercoupling. Do not disassemble orrepair the tow ball arm.
1.Remove the protecting cap. Insertthe key and turn anticlockwise tounlock.
2.Pull the handwheel out and turn itclockwise until it clicks.
The red mark on the handwheel mustalign with the white mark on the towball.
Release the handwheel. The tow ballarm is unlocked.
Inserting the tow ball arm
WARNINGS
Special care should be takenwhen fitting the tow ball arm, asthe safety of the vehicle and thetrailer depends on this.
The tow ball arm may only beinserted when completelyunlocked.
Pull out the plug of the tow ball arm’sseat.
Note:When the towball arm isengaged, the green mark on thehandwheel will be next to the whitedot.
170
TowingE71329213 12E71330
Page 173 of 278

Downloaded from www.Manualslib.com manuals search engine 1.Insert the tow ball arm verticallyand press it upwards until itengages. Do not hold your handnear the handwheel.
2.To lock: Turn the key clockwiseand remove the key.
Insert the end of the protection capinto the keyhole.
Driving with a trailer
WARNING
If any of the below conditionscannot be met, do not use thetow bar and have it inspected by anexpert.
Before starting your journey, ensurethe tow ball arm is properly locked.Check that:
•The green mark on thehandwheel is next to the white doton the tow ball arm.
•The handwheel A is pushed inagainst the tow ball arm.
•The key B has been removed.
•Secure positioning of the towballarm. (Must remain perfectly inplace when jerked.)
Removing the tow ball arm
1.Remove the protection capcovering the keyhole. Insert thekey and turn it anticlockwise tounlock.
2.Hold the towball arm. Pull out thehandwheel and turn it clockwiseuntil it clicks and pull the towballarm downwards.
3.Remove the tow ball arm.
Release the handwheel.
When unlocked in this way, the towball arm can be reinserted at anytime.
171
TowingE71331AB 31E713322
Page 174 of 278
Downloaded from www.Manualslib.com manuals search engine Insert the plug into its seat.
WARNING
To avoid risk of injury, neverunlock the towball arm with thetrailer attached.
If not in use for longer periods of time,lock the mechanism. Push the leverforwards.
Maintenance
WARNING
Remove the tow ball arm andprotect the seat with the plugbefore steam cleaning your vehicle.
Keep the system clean. Periodicallylubricate the lock with graphite.
Keep a note of the key number.
172
TowingE71333
Page 175 of 278
Downloaded from www.Manualslib.com manuals search engine RUNNING-IN
Tyres
WARNING
New tyres need to be run-in forapproximately 500 kilometres(300 miles). During this time, you mayexperience different drivingcharacteristics.
Brakes and clutch
WARNING
Avoid heavy use of the brakesand clutch if possible for the first150 kilometres (100 miles) in townand for the first 1 500 kilometres (1000 miles) on motorways.
Engine
CAUTION
Avoid driving too fast during thefirst 1 500 kilometres (1 000miles). Vary your speed frequentlyand change up through the gearsearly. Do not labour the engine.
173
Driving hints
Page 179 of 278

Downloaded from www.Manualslib.com manuals search engine Central fuse box
This is located behind the glovecompartment in the instrument panel.
To gain access to the fuse box:
•Remove the screws in theinstrument panel trim underneaththe glove compartment and letthe trim panel drop down.
•Loosen the quick fix screws onthe fuse box.
•Let the fuse box down and pull ittowards you.
•Hang the fuse box in the frontfixture of the bracket.
Reinstall in the reverse order.
CHANGING A FUSE
WARNINGS
Do not modify the electricalsystem of your vehicle in anyway. Have repairs to the electricalsystem and the replacement ofrelays and high current fuses carriedout by properly trained technicians.
WARNINGS
Switch the ignition and allelectrical equipment off beforetouching or attempting to change afuse.
CAUTION
Fit a replacement fuse with thesame rating as the one you haveremoved.
Note:You can identify a blown fuseby a break in the filament.
Note:All fuses, except high currentfuses are a push fit.
Note:A fuse puller is located in thelid of the auxiliary fuse box.
FUSE LABELS
The fuse chart label showsrectangles representing a fuse orrelay. The following information isshown in the rectangles:
177
FusesE78331
Page 185 of 278
Downloaded from www.Manualslib.com manuals search engine Circuits protectedAmpere ratingFuse
Fog lamps20116
Number plate lamps7.5117
Door module, left-handrear20118
Trailer tow module,luggage compartmentauxiliary power socket25119
Door module, right-handrear20120
Heated front seats20121
Airbag module10122
Heated exterior mirrors7.5123
Parking lamps, sidelamps, tail lamps (left-hand side)7.5124
Parking lamps, sidelamps, tail lamps (right-hand side)7.5125
Key free system20126
Electric windows,cooling unit25127
Not used-128
Windscreen wipers20129
Not used-130
Rear window wiper15131
Brake lamps15132
Central locking relays,passenger door module25133
183
Fuses