Page 165 of 278

Downloaded from www.Manualslib.com manuals search engine Manoeuvring with theparking aid
CAUTIONS
The parking aid does not detectobstacles moving away from thevehicle. They will only be detectedshortly after they start to movetowards the vehicle again.
Take particular care whenreversing with a tow ball arm orrear fitted accessories e.g. a bicyclecarrier, as the rear parking aid will onlyindicate the distance from thebumper to the obstacle.
Note:If a high pitch warning tonesounds for three seconds and thelight in the switch is flashing, itindicates a malfunction. The systemwill be disabled. Have the systemchecked by properly trainedtechnicians.
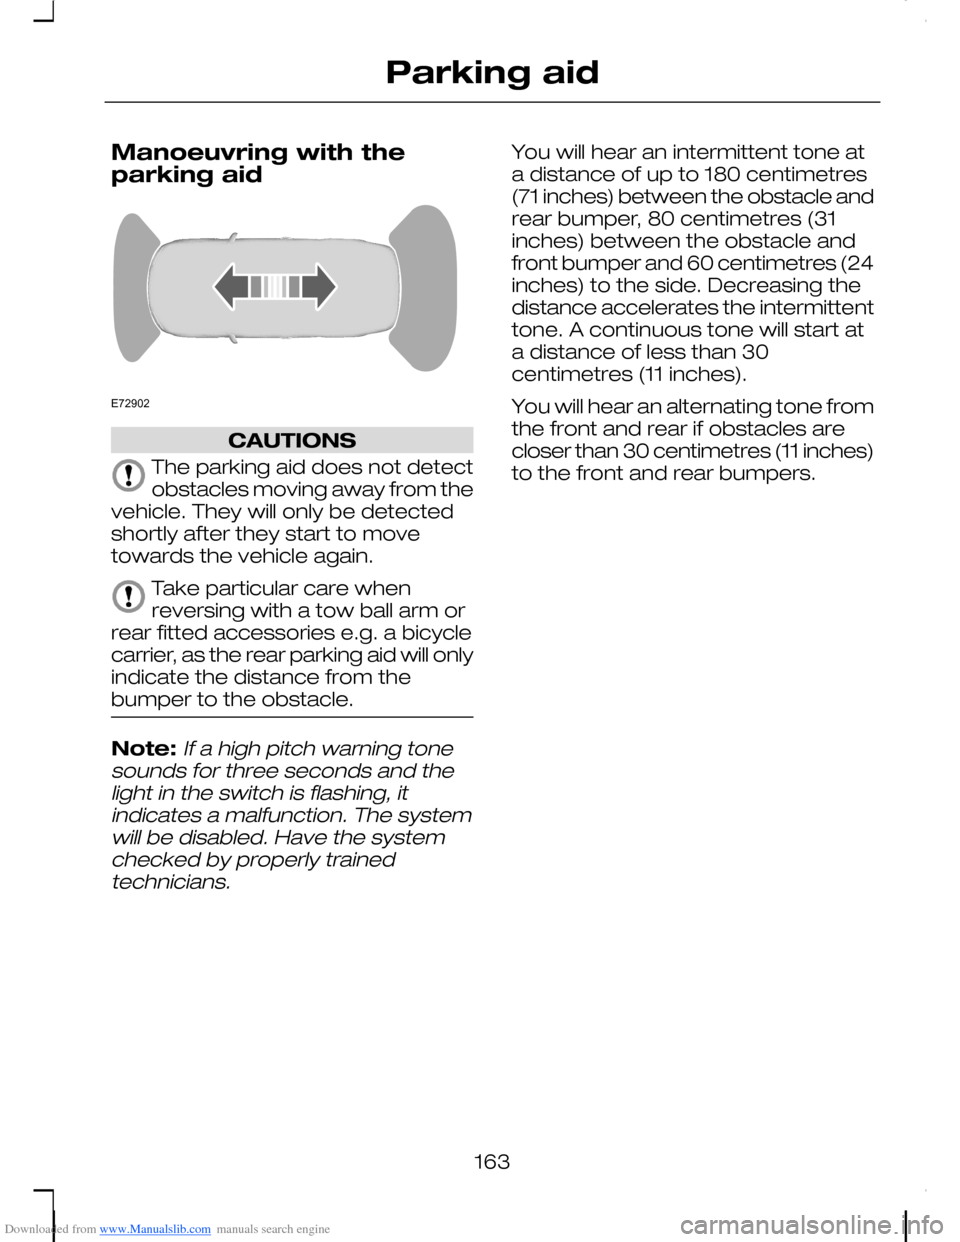
You will hear an intermittent tone ata distance of up to 180 centimetres(71 inches) between the obstacle andrear bumper, 80 centimetres (31inches) between the obstacle andfront bumper and 60 centimetres (24inches) to the side. Decreasing thedistance accelerates the intermittenttone. A continuous tone will start ata distance of less than 30centimetres (11 inches).
You will hear an alternating tone fromthe front and rear if obstacles arecloser than 30 centimetres (11 inches)to the front and rear bumpers.
163
Parking aidE72902
Page 223 of 278

Downloaded from www.Manualslib.com manuals search engine Bottle holderE
Pressure gaugeF
Power plug with cableG
Compressor switchH
LabelI
Bottle lidJ
Sealant bottleK
1.Open the lid of the tyre repair kit.
2.Peel off the label I showing themaximum permissible speed of80 km/h (50 mph) from the casingand attach it to the instrumentpanel in the driver’s field of view.Make sure the label does notobscure anything important.
3.Take the hose C and the powerplug with cable G out of the kit.
4.Unscrew the orange cap D andthe bottle lid J.
5.Screw the sealant bottle Kclockwise into the bottle holder Efully tight.
6.Remove the valve cap from thedamaged tyre.
7.Detach the protective cap A fromthe hose C and screw the hoseC firmly onto the valve of thedamaged tyre.
8.Make sure that the compressorswitch H is in position 0.
9.Insert the power plug G into thecigar lighter socket or auxiliarypower socket. See Cigarlighter (page 134). See Auxiliarypower sockets (page 134).
10.Start the engine.
11.Move the compressor switch Hto position 1.
12.Inflate the tyre for no longer thanseven minutes to an inflationpressure of minimum 1.8 bar(26 psi) and a maximum of3.5 bar (51 psi). Move thecompressor switch H to position0 and check the current tyrepressure with pressure gaugeF.
13.Remove the power plug G fromthe cigar lighter socket orauxiliary power socket.
14.Quickly unscrew the hose Cfrom the tyre valve and replacethe protective cap A. Fasten thevalve cap again.
15.Leave the sealant bottle K in thebottle holder E.
16.Make sure the kit, the bottle lidand the orange cap are storedsafely, but still easily accessiblein the vehicle. The kit will berequired again when you checkthe tyre pressure.
221
Wheels and tyres
Page 269 of 278

Downloaded from www.Manualslib.com manuals search engine Child seats........................................20Child restraints for different massgroups...............................................20
Cigar lighter....................................134Cleaning the exterior....................207Body paintwork preservation..........207Cleaning the chrome trim................207Cleaning the headlamps..................207Cleaning the rear window................207
Cleaning the interior.....................208Instrument cluster screens, LCDscreens, radio screens.................208Seat belts............................................208
Climate control...............................107Principle of operation.........................107
Climate control commands........252Climate................................................252
Coded keys.....................................52Convenience features..................133Coolant checkSee: Engine coolant check..............201
Cool box..........................................137Cruise control.................................164Principle of operation........................164
Cruise controlSee: Using cruise control..................164
D
Detachable tow ball......................169Driving with a trailer.............................171Inserting the tow ball arm..................170Maintenance.......................................172Removing the tow ball arm...............171Unlocking the tow ball armmechanism......................................170
Direction indicators..........................71
Disabling the passengerairbag..............................................33Disabling the passenger airbag.........34Enabling the passenger airbag.........34Fitting the passenger airbagdeactivation switch..........................34
Disarming the alarm........................54Britain and Ireland only........................54
Disarming the engineimmobiliser.....................................52Driving hints....................................173
E
Electric exterior mirrors..................86Electric folding mirrors.........................87Mirror tilting positions..........................86
Electric seats..................................1222-way electric seat............................1226-way electric seat............................123
Electric sunroof...............................116Opening and closing the sunroof.....117Opening and closing the sunroofautomatically....................................117Sunroof anti-trap protection.............118Sunroof relearning..............................118Sunroof safety mode.........................118Tilting the sunroof................................117
Electric windows.............................84Anti-trap function.................................84Driver's door switches........................84Global opening and closing...............84Opening and closing the windowsautomatically.....................................84Resetting the memory of the electricwindows............................................85Safety switch for rear windows.........84
Electromagneticcompatibility................................262Emergency equipment.................174Engine compartment overview.........
267
Index