Page 196 of 527

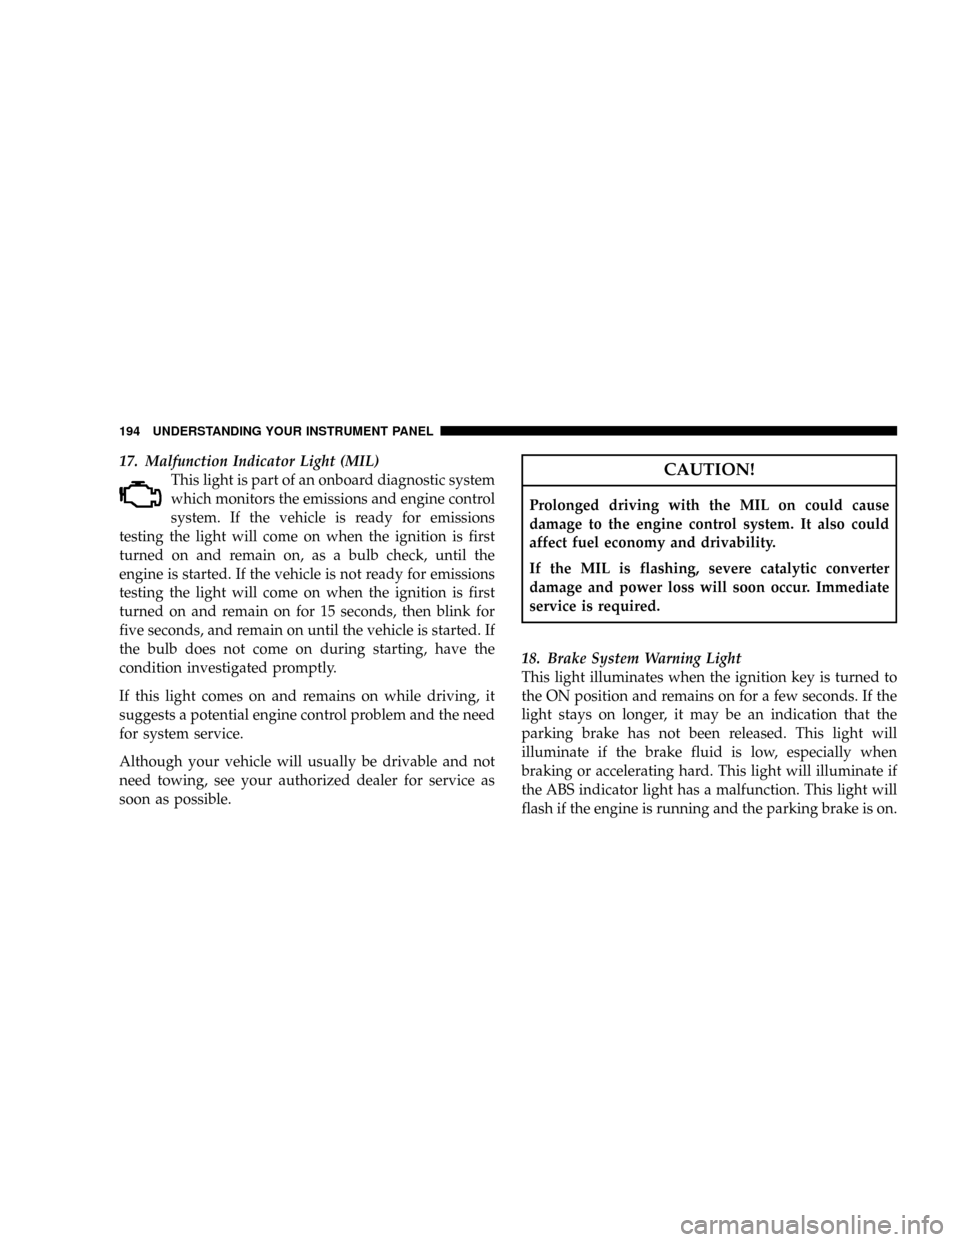
17. Malfunction Indicator Light (MIL)
This light is part of an onboard diagnostic system
which monitors the emissions and engine control
system. If the vehicle is ready for emissions
testing the light will come on when the ignition is first
turned on and remain on, as a bulb check, until the
engine is started. If the vehicle is not ready for emissions
testing the light will come on when the ignition is first
turned on and remain on for 15 seconds, then blink for
five seconds, and remain on until the vehicle is started. If
the bulb does not come on during starting, have the
condition investigated promptly.
If this light comes on and remains on while driving, it
suggests a potential engine control problem and the need
for system service.
Although your vehicle will usually be drivable and not
need towing, see your authorized dealer for service as
soon as possible.CAUTION!
Prolonged driving with the MIL on could cause
damage to the engine control system. It also could
affect fuel economy and drivability.
If the MIL is flashing, severe catalytic converter
damage and power loss will soon occur. Immediate
service is required.
18. Brake System Warning Light
This light illuminates when the ignition key is turned to
the ON position and remains on for a few seconds. If the
light stays on longer, it may be an indication that the
parking brake has not been released. This light will
illuminate if the brake fluid is low, especially when
braking or accelerating hard. This light will illuminate if
the ABS indicator light has a malfunction. This light will
flash if the engine is running and the parking brake is on.
194 UNDERSTANDING YOUR INSTRUMENT PANEL
Page 265 of 527
STARTING AND OPERATING
CONTENTS
mStarting Procedures ± Diesel Engines.........268
NAutomatic Transmission ± If Equipped......268
NManual Transmission ± If Equipped........269
NNormal Starting Procedure ± Engine Manifold
Air Temperature Above 66ÉF (19ÉC)........269
NStarting Procedure ± Engine Manifold Air
Temperature Below 66ÉF (19ÉC)...........270
NStarting Fluids.......................274
mNormal Operation (Diesel Engine)...........274
NCold Weather Precautions...............275NEngine Idling........................278
NStopping The Engine...................280
NEngine Speed Control..................281
NOperating Precautions..................281
NCooling System Tips Ð Automatic
Transmission........................281
mDiesel Exhaust Brake (Engine Braking) ±
If Equipped...........................283
mTransmission Shifting....................285
NAutomatic Transmission With Overdrive
(68RFE) Ð If Equipped.................285
5
Page 289 of 527

Upshifts into both overdrive gears, 5th and 6th, will be
delayed when the transmission fluid temperature is
below 40É F (4.5É C) or above 240É F (115.5É C).
NOTE:Use caution when operating a heavily loaded
vehicle in 2nd or 1st gear in high ambients as torque
converter slip can impose significant additional heat load
on the cooling system.
WARNING!
Never use Park position on an automatic transmis-
sion as a substitute for the parking brake. Always
apply parking brake fully when parked to guard
against vehicle movement and possible injury or
damage.
Overdrive Operation
The overdrive automatic transmission contains an elec-
tronically controlled 5th and 6th (Overdrive). The trans-
mission will automatically shift from Drive to Overdrive
if the following conditions are present:
²the transmission selector is in DRIVE;
²the engine coolant has reached normal operating tem-
perature;
²vehicle speed is above approximately 30 mph (48
km/h);
²the ªTOW HAUL O/D OFFº switch has not been
activated;
²transmission has reached normal operating tempera-
ture.
STARTING AND OPERATING 287
5
Page 293 of 527
MANUAL TRANSMISSION
WARNING!
You or others could be injured if you leave the
vehicle unattended without having the parking
brake fully applied. The parking brake should al-
ways be applied when the driver is not in the vehicle,
especially on an incline.
CAUTION!
Never drive with your foot resting on the clutch
pedal, or attempt to hold the vehicle on a hill with the
clutch pedal partially engaged, as this will cause
abnormal wear on the clutch.NOTE:During cold weather, you may experience in-
creased effort in shifting until the transmission fluid
warms up. This is normal.
Shifting
Shift Pattern
STARTING AND OPERATING 291
5
Page 356 of 527

Curb Weight
The curb weight of a vehicle is defined as the total weight
of the vehicle with all fluids, including vehicle fuel, at full
capacity conditions, and with no occupants or cargo
loaded into the vehicle. The front and rear curb weight
values are determined by weighing your vehicle on a
commercial scale before any occupants or cargo are
added.
Loading
The actual total weight and the weight of the front and
rear of your vehicle at the ground can best be determined
by weighing it when it is loaded and ready for operation.
The entire vehicle should first be weighed on a commer-
cial scale to insure that the GVWR has not been exceeded.
The weight on the front and rear of the vehicle should
then be determined separately to be sure that the load is
properly distributed over front and rear axle. Weighing
the vehicle may show that the GAWR of either the frontor rear axles has been exceeded but the total load is
within the specified GVWR. If so, weight must be shifted
from front to rear or rear to front as appropriate until the
specified weight limitations are met. Store the heavier
items down low and be sure that the weight is distributed
equally. Stow all loose items securely before driving.
Improper weight distributions can have an adverse effect
on the way your vehicle steers and handles and the way
the brakes operate.
CAUTION!
Do not load your vehicle any heavier than the GVWR
or the maximum front and rear GAWR. If you do,
parts on your vehicle can break, or it can change the
way your vehicle handles. This could cause you to
lose control. Also overloading can shorten the life of
your vehicle.
354 STARTING AND OPERATING
Page 380 of 527
CAUTION!
²Do not use a bumper-mounted clamp-on tow bar
on your vehicle. The bumper face bar will be
damaged.
²Do not disconnect the rear driveshaft because
fluid will leak from the transfer case and damage
the internal parts.
Recreational Towing Procedure Ð Electronic Shift
Transfer Case Ð If Equipped
Use the following procedure to prepare your vehicle for
recreational towing:
CAUTION!
It is necessary to follow these steps to be certain that
the transfer case is fully in NEUTRAL before recre-
ational towing, to prevent damage to internal parts.
1. Bring vehicle to a complete stop.
2. Shut OFF the engine.
3. Turn the ignition key to the ON position, but do not
start the engine.
4. Depress the brake pedal.
5. Shift automatic transmission to NEUTRAL or depress
clutch on manual transmission.
6. Using the point of a ballpoint pen or similar object,
depress the recessed transfer case NEUTRAL button for
four seconds.
378 STARTING AND OPERATING
Page 384 of 527
WARNING!
You or others could be injured if you leave the
vehicle unattended with the transfer case in the
NEUTRAL position without first fully engaging the
parking brake. The transfer case NEUTRAL position
disengages both the front and rear driveshafts from
the powertrain and will allow the vehicle to move
despite the transmission position. The parking brake
should always be applied when the driver is not in
the vehicle.
CAUTION!
²Do not use a bumper-mounted clamp-on tow bar
on your vehicle. The bumper face bar will be
damaged.
²Do not disconnect the rear driveshaft because
fluid will leak from the transfer case and fluid loss
will damage internal parts.
382 STARTING AND OPERATING
Page 399 of 527

JUMP-STARTING
WARNING!
To prevent personal injury or damage to clothing, do
not allow battery fluid to contact eyes, skin or fabrics.
Do not lean over a battery when connecting jumper
cables or allow cable clamps to touch each other.
Keep open flames or sparks away from battery vent
holes. Always wear eye protection when working
with batteries.
Do not use a booster battery or any other booster
source that has a greater than 12-volt system, i.e., do
not use a 24-volt power source.NOTE:Replacement batteries should both be of equal
size to prevent damage to the vehicle's charging system.
Your vehicle is equipped with two 12±volt batteries. If it
becomes necessary to use a booster battery with jumper
cables to start a vehicle's engine because its batteries are
discharged, the following procedure should be used:
Set the parking brake and place an automatic transmis-
sion in PARK (or NEUTRAL for a manual transmission).
Turn off lights, heater and other electrical loads. Observe
charge indicator (if equipped) in both batteries. If indica-
tor (if equipped) is light or yellow on either battery,
replace that battery.
WHAT TO DO IN EMERGENCIES 397
6