Page 54 of 527

²Driver and Front Passenger Seat Belt Pretensioners (if
equipped)
²Driver Seat Track Position Sensor (if equipped)
²Passenger Side Frontal Airbag ON/OFF Switch (2500/
3500 Regular Cab Vehicles Only)
²Passenger Airbag Disable (PAD) Indicator Light
(2500/3500 Regular Cab Vehicles Only)
How the Airbag System Works
²
TheOccupant Restraint Controller (ORC)determines
if a frontal collision is severe enough to require the
airbags to inflate. The front airbag inflators are de-
signed to provide different rates of airbag inflation
from information provided by the ORC. The ORC will
not detect rollover or rear collisions.The ORC also monitors the readiness of the electronic
parts of the system whenever the ignition switch is in
the START or RUN positions. These include all of the
items listed above except the steering wheel and
column, and knee bolsters. If the key is in the OFF
position, in the ACC position, or not in the ignition,
the airbags are not on and will not inflate.
Also, the ORC turns on the AIRBAG warn-
ing light in the instrument panel for six to
eight seconds for a self-check when the
ignition is first turned on. After the self-
check, the AIRBAG warning light will turn off. If the
ORC detects a malfunction in any part of the system, it
turns on the AIRBAG warning light either momen-
tarily or continuously. A single chime will sound if the
light comes on again after initial start up.
52 THINGS TO KNOW BEFORE STARTING YOUR VEHICLE
Page 60 of 527

Maintaining Your Airbag System
WARNING!
²Modifications to any part of the airbag system
could cause it to fail when you need it. You could
be injured if the airbag system is not there to
protect you. Do not modify the components or
wiring, including adding any kind of badges or
stickers to the steering wheel hub trim cover or the
upper right side of the instrument panel. Do not
modify the front bumper, vehicle body structure,
or add aftermarket side steps or running boards.
²You need proper knee impact protection in a
collision. Do not mount or locate any aftermarket
equipment on or behind the knee bolsters.
²It is dangerous to try to repair any part of the
airbag system yourself. Be sure to tell anyone who
works on your vehicle that it has an airbag system.NOTE:
Perchlorate Material ± special handling may ap-
ply, see www.dtsc.ca.gov/hazardouswaste/perchlorate
Enhanced Accident Response System
If the airbags deploy after an impact and the electrical
system remains functional, vehicles equipped with
power door locks will unlock automatically. In addition,
approximately five seconds after the vehicle has stopped
moving, the interior lights will light until the ignition
switch is turned off.
Airbag Light
You will want to have the airbags ready to
inflate for your protection in an impact. While
the airbag system is designed to be mainte-
nance free, if any of the following occurs, have
an authorized dealer service the system promptly:
²The airbag light does not come on or flickers during
the six to eight seconds when the ignition switch is
first turned ON.
58 THINGS TO KNOW BEFORE STARTING YOUR VEHICLE
Page 267 of 527

NTire Identification Number (TIN)..........319
NTire Loading And Tire Pressure...........320
mTires Ð General Information...............324
NTire Pressure.........................324
NTire Inflation Pressures.................325
NRadial Ply Tires......................327
NCompact Spare Tire Ð If Equipped.........328
NLimited-Use Spare Ð If Equipped.........328
NTire Spinning........................329
NTread Wear Indicators..................330
NLife Of Tire.........................330
NReplacement Tires.....................331
NAlignment And Balance.................332mSupplemental Tire Pressure Information Ð If
Equipped............................333
mTire Chains...........................333
mSnow Tires...........................335
mTire Rotation Recommendations............335
NDual Rear Wheels.....................337
mTire Pressure Monitor System (TPMS) Ð
If Equipped...........................338
NTire Pressure Monitor System (TPMS) ªLight
Loadº Reset Switch Description ±
If Equipped.........................341
NTire Pressure Monitor System Components . . . 344
NGeneral Information...................347
mEngine Runaway.......................347
STARTING AND OPERATING 265
5
Page 309 of 527

DRIVING ON SLIPPERY SURFACES
When driving on wet or slushy roads, it is possible for a
wedge of water to build up between the tire and road
surface. This is known as hydroplaning and may cause
partial or complete loss of vehicle control and stopping
ability. To reduce this possibility, the following precau-
tions should be observed:
1. Slow down during rainstorms or when roads are
slushy.
2. Slow down if road has standing water or puddles.
3. Replace tires when tread wear indicators first become
visible.
4. Keep tires properly inflated.
5. Maintain sufficient distance between your vehicle and
the car in front to avoid a collision in a sudden stop.
DRIVING THROUGH WATER
Driving through water more than a few inches/
centimeters deep will require extra caution to ensure
safety and prevent damage to your vehicle.
Flowing/Rising Water
WARNING!
Do not drive on, or cross, a road or a path where
water is flowing and/or rising (as in storm run-off).
Flowing water can wear away the road or path's
surface and cause your vehicle to sink into deeper
water. Furthermore, flowing and/or rising water can
carry your vehicle away swiftly. Failure to follow this
warning may result in injuries that are serious or
fatal to you, your passengers, and others around you.
STARTING AND OPERATING 307
5
Page 345 of 527

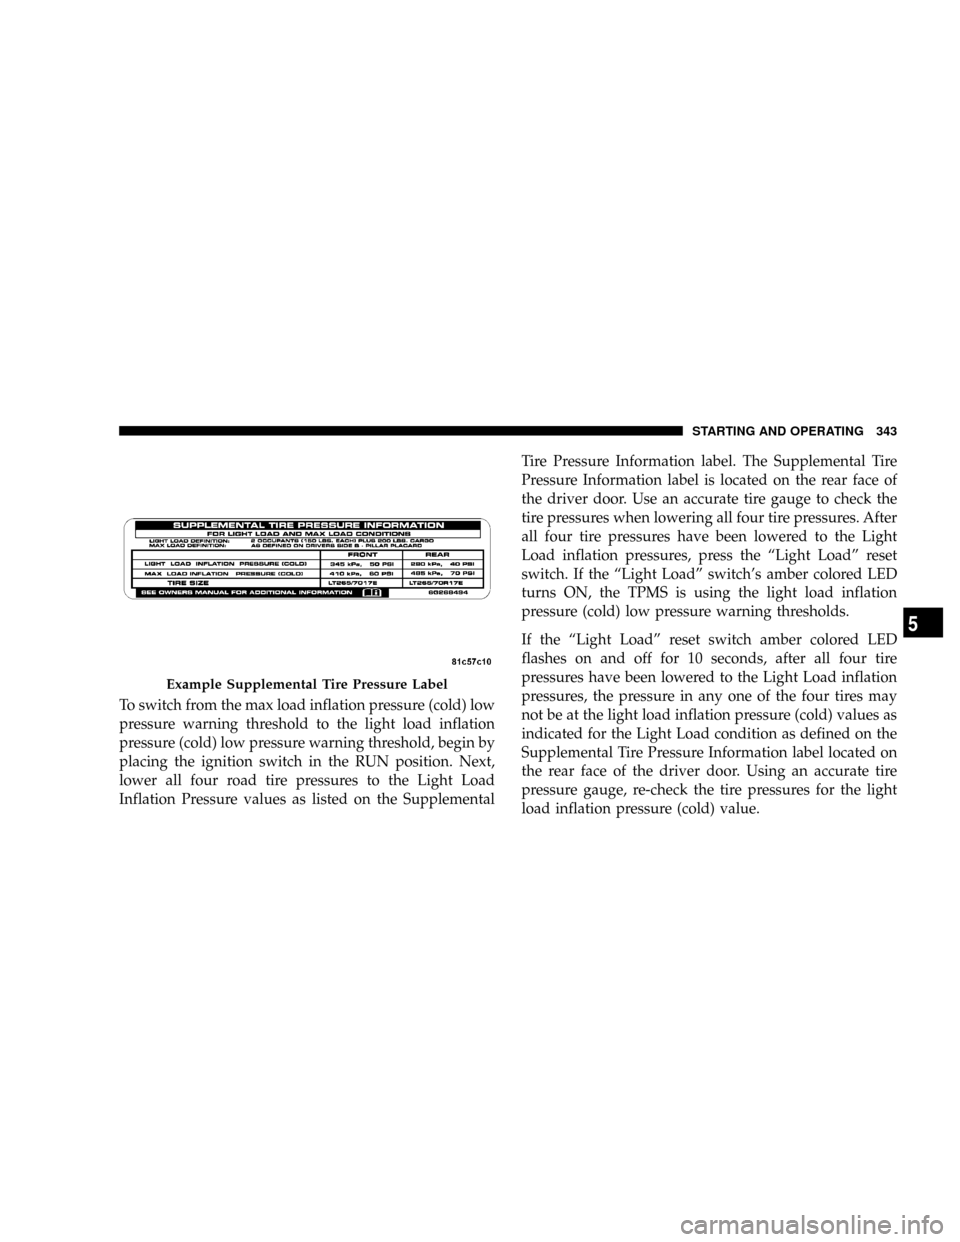
To switch from the max load inflation pressure (cold) low
pressure warning threshold to the light load inflation
pressure (cold) low pressure warning threshold, begin by
placing the ignition switch in the RUN position. Next,
lower all four road tire pressures to the Light Load
Inflation Pressure values as listed on the SupplementalTire Pressure Information label. The Supplemental Tire
Pressure Information label is located on the rear face of
the driver door. Use an accurate tire gauge to check the
tire pressures when lowering all four tire pressures. After
all four tire pressures have been lowered to the Light
Load inflation pressures, press the ªLight Loadº reset
switch. If the ªLight Loadº switch's amber colored LED
turns ON, the TPMS is using the light load inflation
pressure (cold) low pressure warning thresholds.
If the ªLight Loadº reset switch amber colored LED
flashes on and off for 10 seconds, after all four tire
pressures have been lowered to the Light Load inflation
pressures, the pressure in any one of the four tires may
not be at the light load inflation pressure (cold) values as
indicated for the Light Load condition as defined on the
Supplemental Tire Pressure Information label located on
the rear face of the driver door. Using an accurate tire
pressure gauge, re-check the tire pressures for the light
load inflation pressure (cold) value.
Example Supplemental Tire Pressure Label
STARTING AND OPERATING 343
5