2008 DODGE RAM 2500 DIESEL odometer
[x] Cancel search: odometerPage 132 of 527

Courtesy and dome lights are turned on when the front
doors are opened, when the dimmer control (rotating
wheel on the right side of the switch) is rotated to the
upward detent position, or if equipped, when the UN-
LOCK button is pressed on the key fob. When a door is
open and the interior lights are on, rotating the dimmer
control all the way down to the OFF detent will cause all
the interior lights to go out. This is also known as the
9Party9mode because it allows the doors to stay open for
extended periods of time without discharging the vehi-
cle's battery.
The brightness of the instrument panel lighting can be
regulated by rotating the dimmer control up (brighter) or
down (dimmer). When the headlights are ON you can
supplement the brightness of the odometer, trip odom-
eter, radio and overhead console by rotating the control
up until you hear a click. This feature is termed the
ªParadeº mode and is useful when headlights are re-
quired during the day.Mega Cabt/Quad Cabtmodels may have an optional
switched dome lamp that may be operated by pressing
the lens.
Battery Saver
To protect the life of your vehicle's battery, load shedding
is provided for both the interior and exterior lights.
If the ignition is OFF and any door is left ajar for 10
minutes or the dimmer control is rotated upwards for 10
minutes, the interior lights will automatically turn off.
If the headlamps remain on while the ignition is cycled
OFF, the exterior lights will automatically turn off after
eight minutes. If the headlamps are turned on and left on
for eight minutes while the ignition is OFF, the exterior
lights will automatically turn off.
NOTE:Battery saver mode is cancelled if the ignition is
ON.
130 UNDERSTANDING THE FEATURES OF YOUR VEHICLE
Page 151 of 527

NOTE:If this feature is enabled, the headlamps will be
on during the engine pre-heat and cold crank; therefore,
it is recommended that the feature be disabled when
overnight ambient temperature is at or below 20ÉF (-7ÉC)
to prevent excessive drain on batteries during cold crank-
ing.
²ªUNIT IN > US/METRICº ± The EVIC and odometer
display can be changed between English and Metric
units of measure. To make your selection, press and
release the RESET button until ªUSº or ªMETRICº
appears.
²ªCOMPASS VARIANCE > 8º ± Press the RESET
button to change the compass variance setting. For
additional information, refer to ªCompass Varianceº
in this section.
²ªCOMPASS CALIBRATE > YESº ± Press the RESET
button to calibrate the compass. For additional infor-
mation, refer to ªCompass Calibrateº in this section.
Compass/Temperature Button
Pressing the Compass/Temperature button
will return the display to the normal compass/
temperature display.
NOTE:Temperature accuracy can be affected from heat
soak. For best accuracy, the vehicle should be driven at a
speed greater than 25 mph (40 km/h) for several min-
utes.
Automatic Compass Calibration
This compass is self-calibrating, which eliminates the
need to set the compass manually. When the vehicle is
new, the compass may appear erratic and the EVIC will
display ªCALº until the compass is calibrated. You may
also calibrate the compass by completing one or more
360É turns (in an area free from large metal or metallic
objects) until the ªCALº message displayed in the EVIC
turns off. The compass will now function normally.
UNDERSTANDING THE FEATURES OF YOUR VEHICLE 149
3
Page 194 of 527

CAUTION!
Do not leave your vehicle unattended with the en-
gine running as you would not be able to react to the
temperature indicator if the engine overheats.
NOTE:Engine idle speed will automatically increase to
1000 rpm at elevated coolant temperatures to improve
engine cooling.
NOTE:If the gauge pointer moves to either extreme of
the gauge, the ªCheck Gaugesº indicator will illuminate
and a single chime will sound.
13. Security Light
The light will flash rapidly for approximately 16 seconds
when the Vehicle Theft Alarm is arming. The light willflash at a slower rate after the alarm is set. The Security
Light will also come on for about two seconds when the
ignition is first turned ON.
14. Transmission Range Indicator (Automatic
Transmissions Only)
When the gear selector lever is moved on vehicles with
the 68RFE transmission, this indicator shows the auto-
matic transmission gear range selected (P R N D). Ve-
hicles equipped with Auto-6/Electronic Range Select
(ERS) will display the selection of the desired top gear, in
the position next to the D (Drive).
15. Odometer/Trip Odometer
The odometer shows the total distance the vehicle has
been driven. U.S. federal regulations require that upon
transfer of vehicle ownership, the seller certify to the
purchaser the correct mileage that the vehicle has been
driven. Therefore, if the odometer reading is changed
192 UNDERSTANDING YOUR INSTRUMENT PANEL
Page 195 of 527

during repair or replacement, be sure to keep a record of
the reading before and after the service so that the correct
mileage can be determined.
The two trip odometers show individual trip mileage. To
switch from odometer to trip odometers, press and
release the Trip Odometer button.
To reset a trip odometer, display the desired trip odom-
eter to be reset then push and hold the button until the
display resets (approximately two seconds).
Vehicle Warning Messages
When the appropriate conditions exist, messages such as
ªdoorº (indicates that a door(s) may be ajar), ªgASCAPº
(which indicates that your gas cap is possibly loose or
damaged), and ªnoFUSEº (indicates that the IOD fuse is
removed from the Integrated Power Module), will dis-
play in the odometer.NOTE:Most warnings will display in the EVIC (Elec-
tronic Vehicle Information Center).
NOTE:There is also an engine hour function. This
indicates the total number of hours the engine has been
running. To display the engine hours perform the follow-
ing: Place the ignition in RUN, but do not start the
engine. With the odometer value displayed, hold the trip
button down for a period of 6 seconds. The odometer will
change to trip value first, then it will display the engine
hour value. The engine hours will be displayed for a
period of 30 seconds until the ignition is turned off or the
engine is started.
16. Front Fog Light Indicator Ð If Equipped
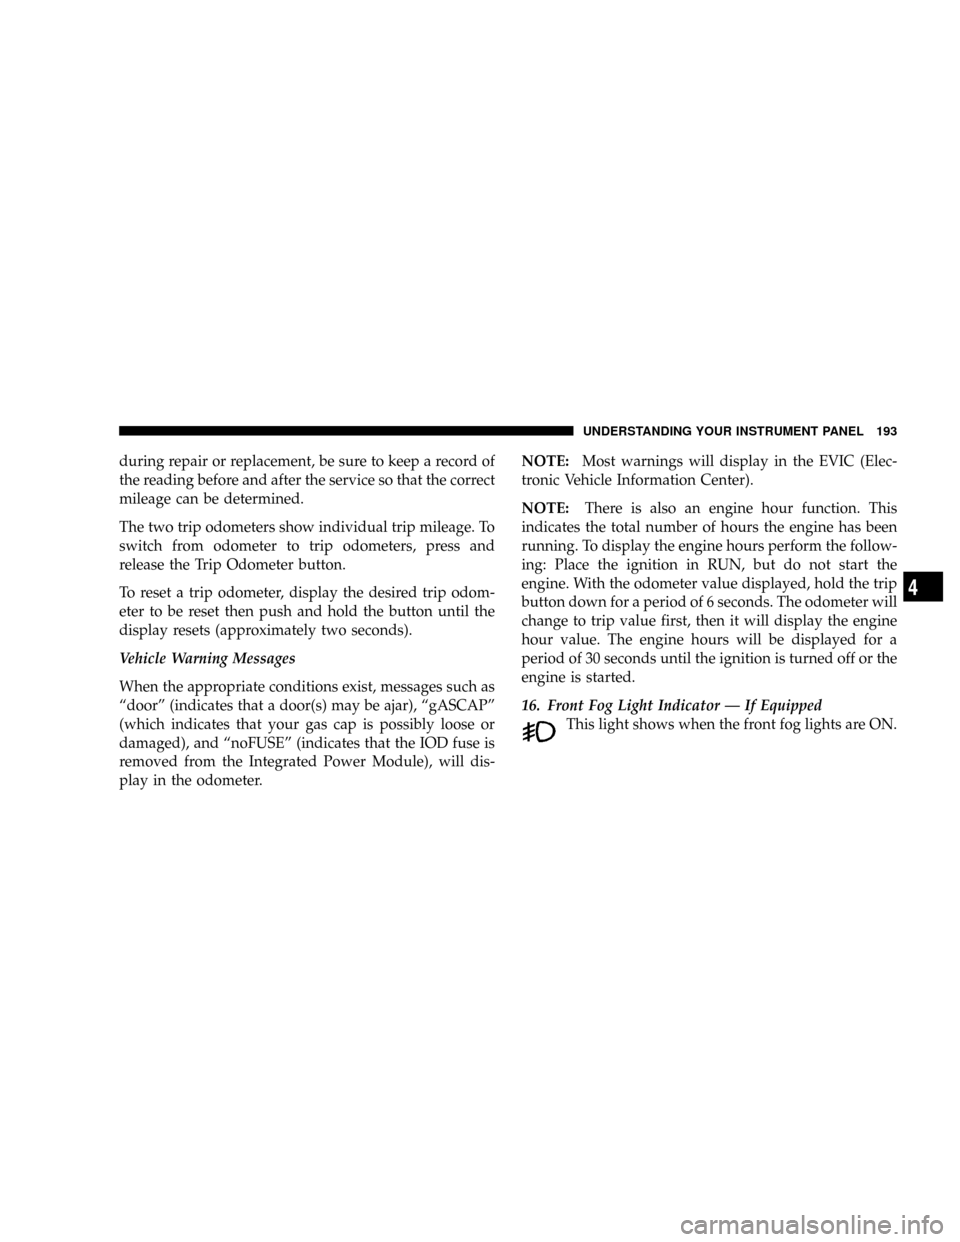
This light shows when the front fog lights are ON.
UNDERSTANDING YOUR INSTRUMENT PANEL 193
4
Page 201 of 527

Follow engine starting procedure for proper engine start-
ing and operating. Wait until the Wait To Start indicator
turns OFF, then start the vehicle.
NOTE:The Wait To Start Indicator may not illuminate if
the engine coolant temperature is warm enough.
27. Odometer/Trip Odometer Button
Press this button to toggle between the odometer and the
trip odometer display. Holding the button in resets the
trip odometer reading when in trip mode.
28. Fuel Gauge
Shows level of fuel in tank when ignition switch is in the
ON position.
29. Low Fuel Warning Light
Glows when the pointer is between ªEº and 1/8
indication mark (approximately 15% of tank vol-
ume) on the fuel gauge. When the fuel gauge
pointer is on ªEº (equivalent to Distance To Empty[DTE]=0ontheoverhead console, if so equipped) there
is reserve fuel capacity, which corresponds to approxi-
mately 8% of tank volume. This reserve capacity was put
in place to prevent the likelihood of customers running
out of fuel when operating at maximum load conditions
in areas where there aren't many fuel stations.
Fuel tank volumes are as follows:
²34 gal (128 L) - 2500/3500 short box models
²35 gal (132 L) - 2500/3500 long box models
30. CRUISE Light
This indicator lights when the electronic speed control
system is turned on.
UNDERSTANDING YOUR INSTRUMENT PANEL 199
4
Page 291 of 527

delayed. Shifts into 5th and 6th gear are still allowed
under steady cruise conditions. Closed throttle down-
shifts (for improved engine braking) may occur during
steady braking maneuvers. Pressing the switch a second
time restores normal operation. Normal operation is
always the default at engine start-up.
The TOW HAUL light will illuminate in the instrument
cluster to indicate when the switch has been activated. If
the TOW HAUL modes are desired, the button must be
pressed each time the engine is started.
Electronic Range Select (ERS) Operation
The Auto±6 Electronic Range Select (ERS) shift control
allows you to move the switch down (-) or up (+) when
the shifter is in the D (Drive) position, allowing the
selection of the desired top gear. For example, if the
driver shifts the transmission into 3rd gear, the transmis-
sion will never shift above 3rd gear, but can shift down to
2nd or 1st gear, when needed.Switching from ERS to D-Mode can be done at any
vehicle speed. To switch from ªDriveº mode to ªERSº
mode, press the switch down (-) once. The current gear
will be maintained as the top gear. To disable ERS, simply
press and hold the switch up (+) until ªDº is displayed in
the instrument cluster odometer.
WARNING!
Do not downshift for additional engine braking on a
slippery surface. The drive wheels could lose their
grip and the vehicle could skid.
Screen Display12 3456D
Actual Gear(s)
Allowed1 1-2 1-3 1-4 1-5 1-6 1-6
STARTING AND OPERATING 289
5
Page 334 of 527

WARNING!
²Do not use a tire, wheel size or rating other than that
specified for your vehicle. Some combinations of
unapproved tires and wheels may change suspension
dimensions and performance characteristics, result-
ing in changes to steering, handling, and braking of
your vehicle. This can cause unpredictable handling
and stress to steering and suspension components.
You could lose control and have an accident resulting
in serious injury or death. Use only the tire and
wheel sizes with load ratings approved for your
vehicle.
²Never use a tire with a smaller load index or capacity,
other than what was originally equipped on your
vehicle. Using a tire with a smaller load index could
result in tire overloading and failure. You could lose
control and have an accident.
²Failure to equip your vehicle with tires having ad-
equate speed capability can result in sudden tire
failure and loss of vehicle control.
CAUTION!
Replacing original tires with tires of a different size
may result in false speedometer and odometer
readings.
Alignment and Balance
Poor suspension alignment may result in:
²Fast tire wear.
²Uneven tire wear, such as feathering and one-sided
wear.
²Vehicle pull to right or left.
Tires may also cause the vehicle to pull to the left or right.
Alignment will not correct this condition. See your
authorized dealer for proper diagnosis.
332 STARTING AND OPERATING
Page 456 of 527

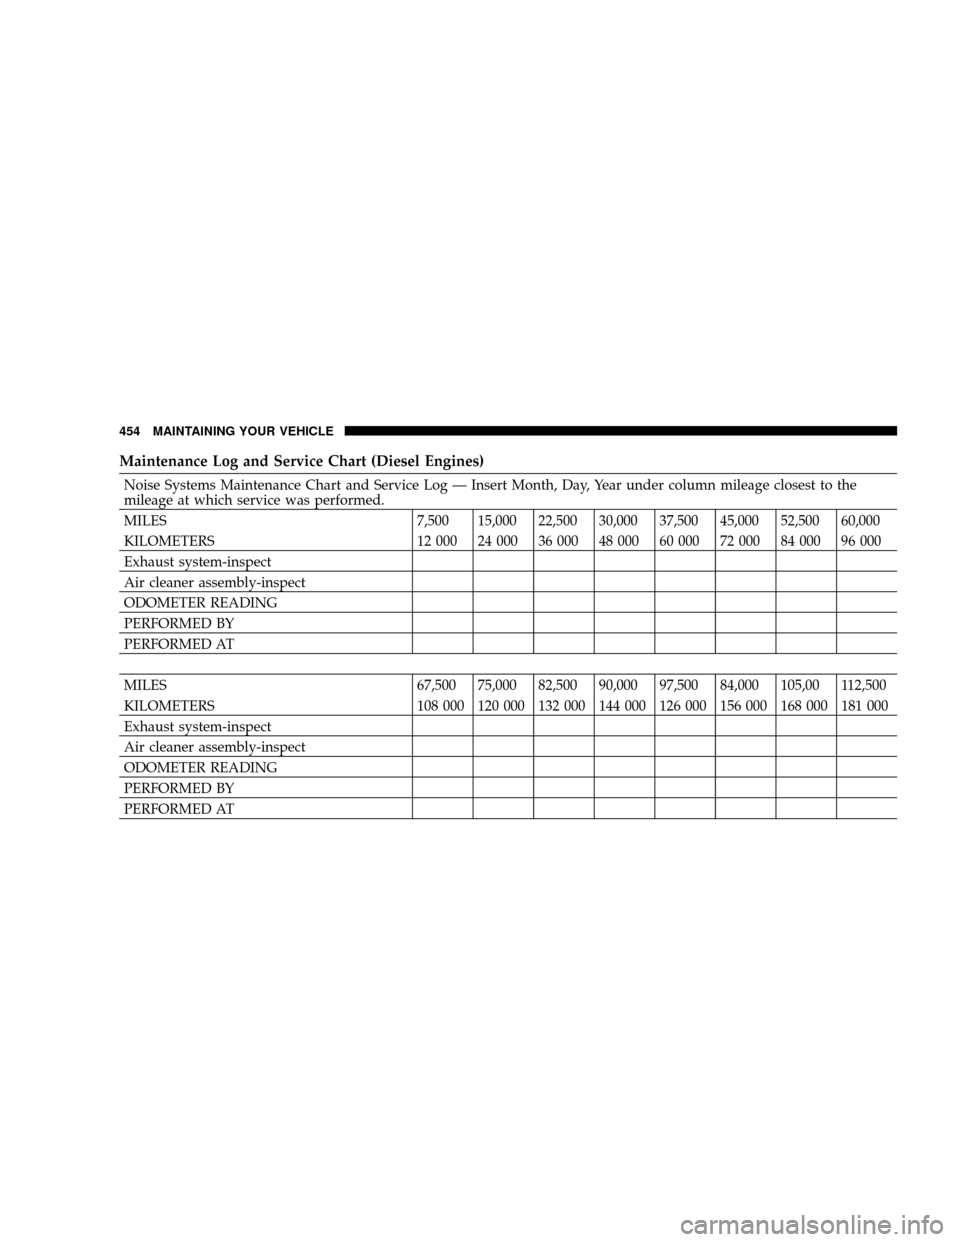
Maintenance Log and Service Chart (Diesel Engines)
Noise Systems Maintenance Chart and Service Log Ð Insert Month, Day, Year under column mileage closest to the
mileage at which service was performed.
MILES 7,500 15,000 22,500 30,000 37,500 45,000 52,500 60,000
KILOMETERS 12 000 24 000 36 000 48 000 60 000 72 000 84 000 96 000
Exhaust system-inspect
Air cleaner assembly-inspect
ODOMETER READING
PERFORMED BY
PERFORMED AT
MILES 67,500 75,000 82,500 90,000 97,500 84,000 105,00 112,500
KILOMETERS 108 000 120 000 132 000 144 000 126 000 156 000 168 000 181 000
Exhaust system-inspect
Air cleaner assembly-inspect
ODOMETER READING
PERFORMED BY
PERFORMED AT
454 MAINTAINING YOUR VEHICLE