Page 356 of 527

Curb Weight
The curb weight of a vehicle is defined as the total weight
of the vehicle with all fluids, including vehicle fuel, at full
capacity conditions, and with no occupants or cargo
loaded into the vehicle. The front and rear curb weight
values are determined by weighing your vehicle on a
commercial scale before any occupants or cargo are
added.
Loading
The actual total weight and the weight of the front and
rear of your vehicle at the ground can best be determined
by weighing it when it is loaded and ready for operation.
The entire vehicle should first be weighed on a commer-
cial scale to insure that the GVWR has not been exceeded.
The weight on the front and rear of the vehicle should
then be determined separately to be sure that the load is
properly distributed over front and rear axle. Weighing
the vehicle may show that the GAWR of either the frontor rear axles has been exceeded but the total load is
within the specified GVWR. If so, weight must be shifted
from front to rear or rear to front as appropriate until the
specified weight limitations are met. Store the heavier
items down low and be sure that the weight is distributed
equally. Stow all loose items securely before driving.
Improper weight distributions can have an adverse effect
on the way your vehicle steers and handles and the way
the brakes operate.
CAUTION!
Do not load your vehicle any heavier than the GVWR
or the maximum front and rear GAWR. If you do,
parts on your vehicle can break, or it can change the
way your vehicle handles. This could cause you to
lose control. Also overloading can shorten the life of
your vehicle.
354 STARTING AND OPERATING
Page 371 of 527

The automatic transmission fluid and filter should be
changed if you REGULARLY tow a trailer for more than
45 minutes of continuous operation. See Maintenance
Schedule in section 8 of this manual for transmission
fluid change intervals.
NOTE:Check the automatic transmission fluid level
before towing.
Towing Tips Ð Tow/Haul (If Equipped)
To reduce potential for automatic transmission overheat-
ing, turn the ªTOW HAULº feature ON when driving in
hilly areas or downshift the transmission (using the
Auto-6 [ERS] switch).
Towing Tips Ð Electronic Speed Control (If
Equipped)
þ
Don't use in hilly terrain or with heavy loads.
þWhen using the speed control, if you experience speed
drops greater than 10 mph (16 km/h), disengage until
you can get back to cruising speed.
þUse speed control in flat terrain and with light loads to
maximize fuel efficiency.
Towing Tips Ð Cooling System
To reduce potential for engine and transmission over-
heating, take the following actions:
þCity Driving
When stopped for short periods of time, put transmission
in neutral and increase engine idle speed.
þHighway Driving
Reduce speed.
þAir Conditioning
Turn off temporarily.
STARTING AND OPERATING 369
5
Page 407 of 527
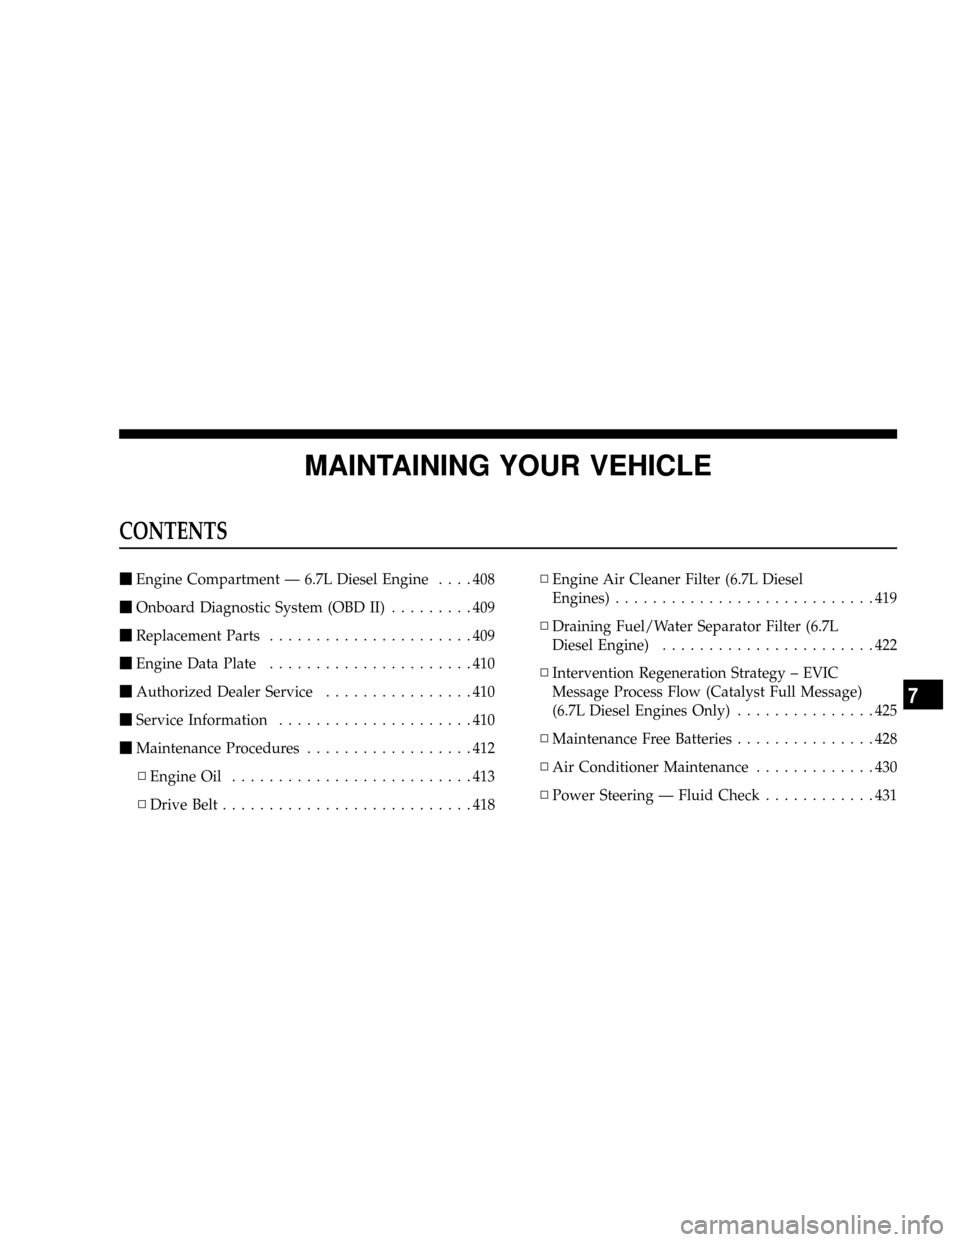
MAINTAINING YOUR VEHICLE
CONTENTS
mEngine Compartment Ð 6.7L Diesel Engine....408
mOnboard Diagnostic System (OBD II).........409
mReplacement Parts......................409
mEngine Data Plate......................410
mAuthorized Dealer Service................410
mService Information.....................410
mMaintenance Procedures..................412
NEngine Oil..........................413
NDrive Belt...........................418NEngine Air Cleaner Filter (6.7L Diesel
Engines)............................419
NDraining Fuel/Water Separator Filter (6.7L
Diesel Engine).......................422
NIntervention Regeneration Strategy ± EVIC
Message Process Flow (Catalyst Full Message)
(6.7L Diesel Engines Only)...............425
NMaintenance Free Batteries...............428
NAir Conditioner Maintenance.............430
NPower Steering Ð Fluid Check............431
7
Page 411 of 527

ONBOARD DIAGNOSTIC SYSTEM (OBD II)
Vehicles equipped with California emissions controls
have a sophisticated onboard diagnostic system called
OBDII. This system monitors the performance of the
emissions, engine, and automatic transmission control
systems. When these systems are operating properly,
your vehicle will provide excellent performance and fuel
economy, as well as engine emissions well within current
government regulations.
If any of these systems require service, the OBD II system
will turn on the ªMalfunction Indicator Light.º It will
also store diagnostic codes and other information to
assist your service technician in making repairs. Al-
though your vehicle will usually be driveable and not
need towing, see your dealer for service as soon as
possible.CAUTION!
Prolonged driving with the ªMalfunction Indicator
Lightº on could cause further damage to the emission
control system. It could also affect fuel economy and
driveability. The vehicle must be serviced before any
emissions tests can be performed.
If the ªMalfunction Indicator Lightº is flashing,
severe catalytic converter damage and power loss
will soon occur. Immediate service is required.
REPLACEMENT PARTS
Use of genuine Mopartparts for normal/scheduled
maintenance and repairs is highly recommended to en-
sure the designed performance. Damage or failures
caused by the use of non-Mopartparts for maintenance
and repairs will not be covered by the manufacturer's
warranty.
MAINTAINING YOUR VEHICLE 409
7
Page 414 of 527

WARNING!
To maintain your vehicle safely and avoid personal injury, follow these
guidelines:
²Never spray or pour diesel fuel, flammable liquid or starting fluids
(ether) into the air cleaner assembly, air intake piping or turbocharger
inlet in an attempt to start the vehicle, unintended engine acceleration
may occur.
²Do not use alcohol or gasoline as a fuel blending agent. They can be
unstable under certain conditions and be hazardous or explosive
when mixed with diesel fuel.
²If an engine has been operating and the coolant is hot, allow the
engine to cool before you slowly loosen the filler cap and relieve the
pressure from the cooling system.
²To avoid burns, remember that the engine components will stay hot
after the engine is shut off.
²Do not use gasoline or other flammable materials to clean parts.
Always use approved cleaning solvents.
²Relieve all pressure in the fuel, oil and cooling systems before any
lines, fittings or related items are removed or disconnected. Be alert
for possible pressure when disconnecting any device from a system
that utilizes pressure. Do not check for pressure leaks with your hand.
High pressure oil or fuel can cause personal injury.
²Important: All maintenance other than that listed in this manual, as
well as some procedures listed here, MUST be performed by your
authorized dealer. Your authorized dealer has been trained and has
the necessary parts to maintain your engine.
WARNING!
Do not open the high pressure fuel system with the
engine running. Engine operation causes high fuel
pressure. High pressure fuel spray can cause serious
injury or death.
MAINTENANCE PROCEDURES
The pages that follow contain therequiredmaintenance
services determined by the engineers who designed your
vehicle.
Besides the maintenance items for which there are fixed
maintenance intervals, there are other items that should
operate satisfactorily without periodic maintenance.
However, if a malfunction of these items does occur, it
could adversely affect the engine or vehicle performance.
These items should be inspected if a malfunction is
observed or suspected.
412 MAINTAINING YOUR VEHICLE
Page 418 of 527

Engine Oil Filter
Refer to Fluids, Lubricants and Genuine Parts for the
correct part number. The engine oil filter should be
changed ateveryengine oil change.
Engine Oil And Filter Ð Change
Operate the engine until the coolant temperature reaches
140ÉF (60ÉC). Shut the engine OFF. Remove the oil drain
plug.
Use a container that can hold at least 12 quarts (11.3
Liters) to hold the used oil.
Always check the condition of the used oil. This can give
you an indication of some engine problems that might
exist.
²Thin, black oil indicates fuel dilution.
²Milky discoloration indicates coolant dilution.Clean the area around the oil filter base. Remove the filter
from the underside of the vehicle using a cap style oil
filter wrench.
Clean the gasket surface of the filter mount. The filter
gasket can stick on the filter mount. Make sure it is
removed.
Change the engine oil filter with every engine oil change.
Only a high quality Mopartfilter should be used to
assure most efficient service.
CAUTION!
The filtering medium of other aftermarket filters
may disintegrate. Debris from failed filters may plug
the piston oil cooling nozzles, resulting in scuffed
pistons and engine failure.
416 MAINTAINING YOUR VEHICLE
Page 424 of 527
Draining Fuel/Water Separator Filter (6.7L Diesel
Engine)
CAUTION!
Do not drain the fuel/water separator filter when the
engine is running.
CAUTION!
Do not prefill the fuel filter when installing a new
fuel filter. There is a possibility that debris could be
introduced into the fuel filter during this action. It is
best to install the filter dry and allow the in-tank lift
pump to prime the fuel system.
NOTE:The fuel filter and water separator assembly is
located on the driver's side of the engine. The best access
to the water drain valve is through the driver's side
wheel well.
NOTE:If water is detected in the water separator while
the engine is running or while the key is in the on
position, the WATER IN FUEL LIGHT will illuminate
and an audible chime will be heard five times. At this
point you should stop the engine and drain the water
from the separator.
422 MAINTAINING YOUR VEHICLE
Page 425 of 527

If the WATER IN FUEL LIGHT comes on and a single
chime is heard while you are driving, or with the key in
the ON position, there may be a problem with your water
separator wiring or sensor. See your authorized dealer
for service.
Upon proper draining of the water from the fuel filter, the
WATER IN FUEL LIGHT will remain illuminated for
approximately 10 seconds. If the water was drained
while the engine was running, the water in fuel light may
remain on for approximately three minutes.
NOTE:Care should be taken in disposing of used fluids
from your vehicle. Used fluids, indiscriminately dis-
carded, can present a problem to the environment. Con-
tact your local authorized dealer, service station, or
government agency for advice on recycling programs
and for where used fluids and filters can be properly
disposed of in your area.Drain a small amount from the fuel/water separator
filter monthly or when the WATER IN FUEL LIGHT is
on. Turn the drain valve located on the bottom of the
filter counterclockwise and allow any accumulated water
to drain into an approved container. Leave the drain
valve open until all water and contaminants have been
removed. Close the drain valve by turning it clockwise
when clean fuel is visible.
NOTE:The Fuel / Water separator drain valve is
located on the bottom of the fuel filter housing.
If more than a couple ounces of fuel has been drained,
follow the directions below for ªPriming if the engine has
run out of fuel.º
MAINTAINING YOUR VEHICLE 423
7