2008 DODGE DAKOTA child lock
[x] Cancel search: child lockPage 10 of 426

mIlluminated Entry........................20
NVehicles Equipped With Power Door Locks....20
mRemote Keyless Entry.....................21
NTo Unlock The Doors...................21
NTo Lock The Doors.....................22
NUsing The Panic Alarm..................24
NGeneral Information....................24
NProgramming Additional Transmitters........25
NBattery Replacement....................26
mRemote Starting System Ð If Equipped........27
mDoor Locks............................28
NManual Door Locks.....................28
NPower Door Locks.....................29NChild Protection Door Lock...............32
mWindows.............................33
NPower Windows.......................33
NAuto Down (Driver's Side Only)...........34
NWindow Lockout Switch.................34
NWind Buffeting........................34
mOccupant Restraints......................35
NLap/Shoulder Belts.....................36
NAdjustable Upper Shoulder Belt Anchorage....40
NAutomatic Locking Retractors (ALR)
Mode ± If Equipped....................41
NCenter Lap Belts.......................42
NSeat Belt Pretensioners...................42
10 THINGS TO KNOW BEFORE STARTING YOUR VEHICLE
Page 13 of 426

in the ignition cylinder. If this occurs, rotate the key to the
right slightly, then remove the key as described. If a
malfunction occurs, the system will trap the key in the
ignition cylinder to warn you that this safety feature is
inoperable. The engine can be started and stopped but
the key cannot be removed until you obtain service.
WARNING!
Never leave children alone in a vehicle. Leaving
children in a vehicle unattended is dangerous for a
number of reasons. A child or others could be seri-
ously or fatally injured. Don't leave the keys in the
ignition. A child could operate power windows,
other controls, or move the vehicle.
CAUTION!
An unlocked car is an invitation to thieves. Always
remove key from the ignition and lock all doors
when leaving the vehicle unattended.
Manual TransmissionÐIf Equipped
When the steering wheel is in the LOCK position, the
steering and ignition systems are locked to provide
antitheft protection for your vehicle. It may be difficult to
turn the key from the LOCK position when starting your
vehicle. Move the steering wheel left and right while
turning the key until it turns easily. To remove the key,
THINGS TO KNOW BEFORE STARTING YOUR VEHICLE 13
2
Page 29 of 426

WARNING!
For personal security and safety in the event of an
accident, lock the vehicle doors as you drive as well
as when you park and leave the vehicle.
WARNING!
Never leave children alone in a vehicle. Leaving
children in a vehicle unattended is dangerous for a
number of reasons. A child or others could be seri-
ously or fatally injured. Don't leave the keys in the
ignition. A child could operate power windows,
other controls, or move the vehicle.
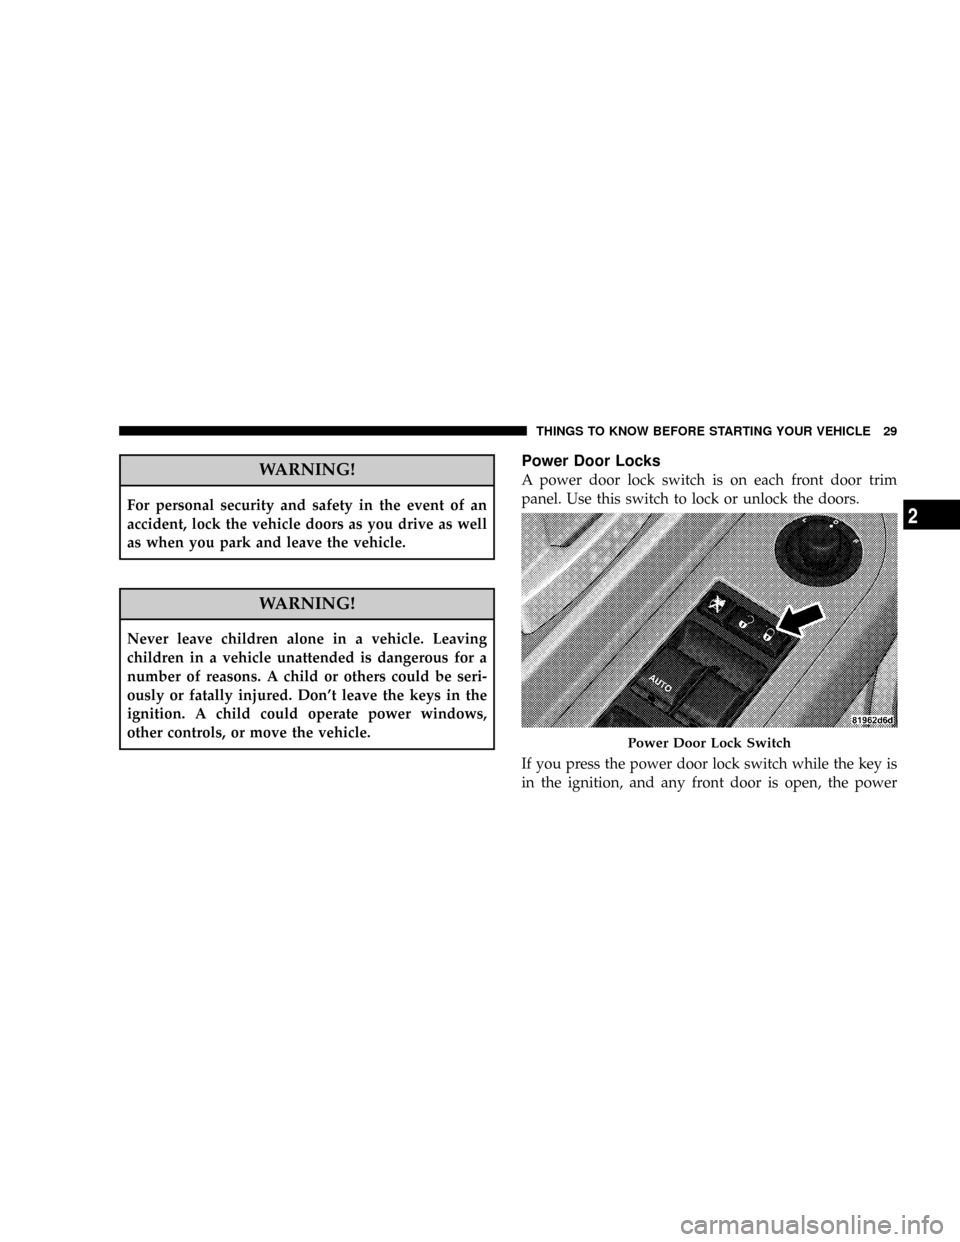
Power Door Locks
A power door lock switch is on each front door trim
panel. Use this switch to lock or unlock the doors.
If you press the power door lock switch while the key is
in the ignition, and any front door is open, the power
Power Door Lock Switch
THINGS TO KNOW BEFORE STARTING YOUR VEHICLE 29
2
Page 32 of 426

Child Protection Door Lock
To provide a safer environment for children riding in the
rear seat, the rear doors of your vehicle have the child-
protection door lock system.
To use the system, open each rear door, slide the lever
UP to engage the locks and DOWN to disengage thechild-protection locks. When the system on a door is
engaged, that door can only be opened by using the
outside door handle even if the inside door lock is in the
unlocked position.
WARNING!
Avoid trapping anyone in a vehicle in a collision.
Remember that the rear doors can only be opened
from the outside when the child protection locks are
engaged.
NOTE:After setting the child protection door lock
system, always test the door from the inside to make
certain it is in the desired position.
NOTE:For emergency exit with the system engaged,
move the door lock switch to the UNLOCK position, roll
down the window and open the door with the outside
door handle.
Child Lock Lever
32 THINGS TO KNOW BEFORE STARTING YOUR VEHICLE
Page 41 of 426

As a guide, if you are shorter than average, you will
prefer a lower position, and if you are taller than average,
you'll prefer a higher position. When you release the
anchorage, try to move it up or down to make sure that
it is locked in the desired position.
The adjuster has an easy up (EZ Up) feature, which will
allow it to be moved up without engaging the button.
Automatic Locking Retractors (ALR) Mode ± If
Equipped
In this mode, the shoulder belt is automatically pre-
locked. The belt will still retract to remove any slack in
the shoulder belt. The automatic locking mode is avail-
able on all passenger seating positions with a combina-
tion lap/shoulder belt.
When To Use The Automatic Locking Mode
Anytime a child safety seat is installed in a passenger
seating position. Children 12 years old and under should
be properly restrained in the rear seat whenever possible.
How To Use The Automatic Locking Mode
1. Buckle the combination lap/shoulder belt.
2. Grasp the shoulder portion and pull downward until
the entire belt is extracted.
THINGS TO KNOW BEFORE STARTING YOUR VEHICLE 41
2
Page 42 of 426

3. Allow the belt to retract. As the belt retracts, you will
hear a clicking sound. This indicates the safety belt is
now in the automatic locking mode.
How To Disengage The Automatic Locking Mode
Disconnect the combination lap/shoulder belt and allow
it to retract completely to disengage the automatic lock-
ing mode and activate the vehicle sensitive (emergency)
locking mode.
Center Lap Belts
The center seat position on the front seat bench has a lap
belt only. To fasten the lap belt, slide the latch plate into
the buckle until you hear a ªclick.º To lengthen the lap
belt, tilt the latch plate and pull. To remove slack, pull the
loose end of the webbing. Wear the lap belt snug against
the hips. Sit back and erect in the seat, then adjust the belt
as tightly as is comfortable.
Seat Belt Pretensioners
The seat belts for front outboard seating positions are
equipped with pretensioning devices that are designed to
remove any slack from the seat belt system in the event of
a collision. These devices improve the performance of the
seat belt by assuring that the belt is tight about the
occupant early in a collision. Pretensioners work for all
size occupants, including those in child restraints.
NOTE:These devices are not a substitute for proper seat
belt placement by the occupant. The seat belt still must be
worn snugly and positioned properly.
The pretensioners are triggered by the Occupant Re-
straint Controller (ORC). Like the airbags, the pretension-
ers are single use items. After a collision that is severe
enough to deploy the airbags and pretensioners, both
must be replaced.
42 THINGS TO KNOW BEFORE STARTING YOUR VEHICLE
Page 58 of 426

WARNING!
²Improper installation can lead to failure of an
infant or child restraint. It could come loose in a
collision. The child could be badly injured or
killed. Follow the manufacturer's directions ex-
actly when installing an infant or child restraint.
²A rearward facing infant restraint should only be
used in a rear seat of a vehicle that does not have
an airbag off switch. A rearward facing infant
restraint in the front seat may be struck by a
deploying passenger airbag which may cause se-
vere or fatal to the infant.
Here are some tips for getting the most out of your child
restraint:
²Before buying any restraint system, make sure that it
has a label certifying that it meets all applicable SafetyStandards. The manufacturer recommends that you
try a child restraint in the vehicle seats where you will
use it before you buy it.
²The restraint must be appropriate for your child's
weight and height. Check the label on the restraint for
weight and height limits.
²Carefully follow the instructions that come with the
restraint. If you install the restraint improperly, it may
not work when you need it.
²The Extended Cab first and Club/Crew Cab second
row outside seating positions have cinching latch
plates. These are designed to keep the lap portion tight
around the child restraint so that it is not necessary to
use a locking clip. If the seat belt has a cinching latch
plate, pulling up on the shoulder portion of the
lap/shoulder belt will tighten the belt. The cinching
latch plate will keep the belt tight, however, any seat
58 THINGS TO KNOW BEFORE STARTING YOUR VEHICLE
Page 63 of 426

Installing Child Restraints Using the Vehicle Seat
Belt
The passenger seat belts are equipped with either cinch-
ing latch plates or automatic locking retractors, which are
designed to keep the lap portion tight around the child
restraint so that it should not be necessary to use a
locking clip. If the seat belt has a cinching latch plate,
pulling up on the shoulder portion of the lap/shoulder
belt will tighten the belt. The cinching latch plate will
keep the belt tight; however, any seat belt system will
loosen with time, so check the belt occasionally and pull
it tight if necessary. If the seat belt has an automatic
locking retractor, it will have a distinctive label. Pull the
belt from the retractor until there is enough to allow you
to pass through the child restraint and slide the latch
plate into the buckle. Then, pull the belt until it is all
extracted from the retractor. Allow the belt to return to
the retractor, pulling on the excess webbing to tighten the
lap portion about the child restraint. For automaticlocking retractor seat belts, refer to9Automatic Locking
Mode9earlier in this section. If you have trouble tighten-
ing the lap/shoulder belt on the child restraint because
the buckle or latch plate is too close to the belt path
opening on the restraint, follow these steps. If the buckle
is webbing mounted, disconnect the latch plate from the
buckle and twist the short buckle-end belt to shorten it.
Insert the latch plate into the buckle with the release
button facing out. If the belt still can't be tightened, the
buckle is not webbing mounted, or if by pulling and
pushing on the restraint loosens the belt, you may need
to do something more. Disconnect the latch plate from
the buckle, turn the latch plate around, and insert the
latch plate into the buckle again. If you still can't make
the child restraint secure, try a different seating position
or use the locking clip provided with your child restraint.
See the section9Child Restraint Tether Anchor9to com-
plete the child seat installation.
THINGS TO KNOW BEFORE STARTING YOUR VEHICLE 63
2