2008 DODGE AVENGER maintenance
[x] Cancel search: maintenancePage 3 of 467

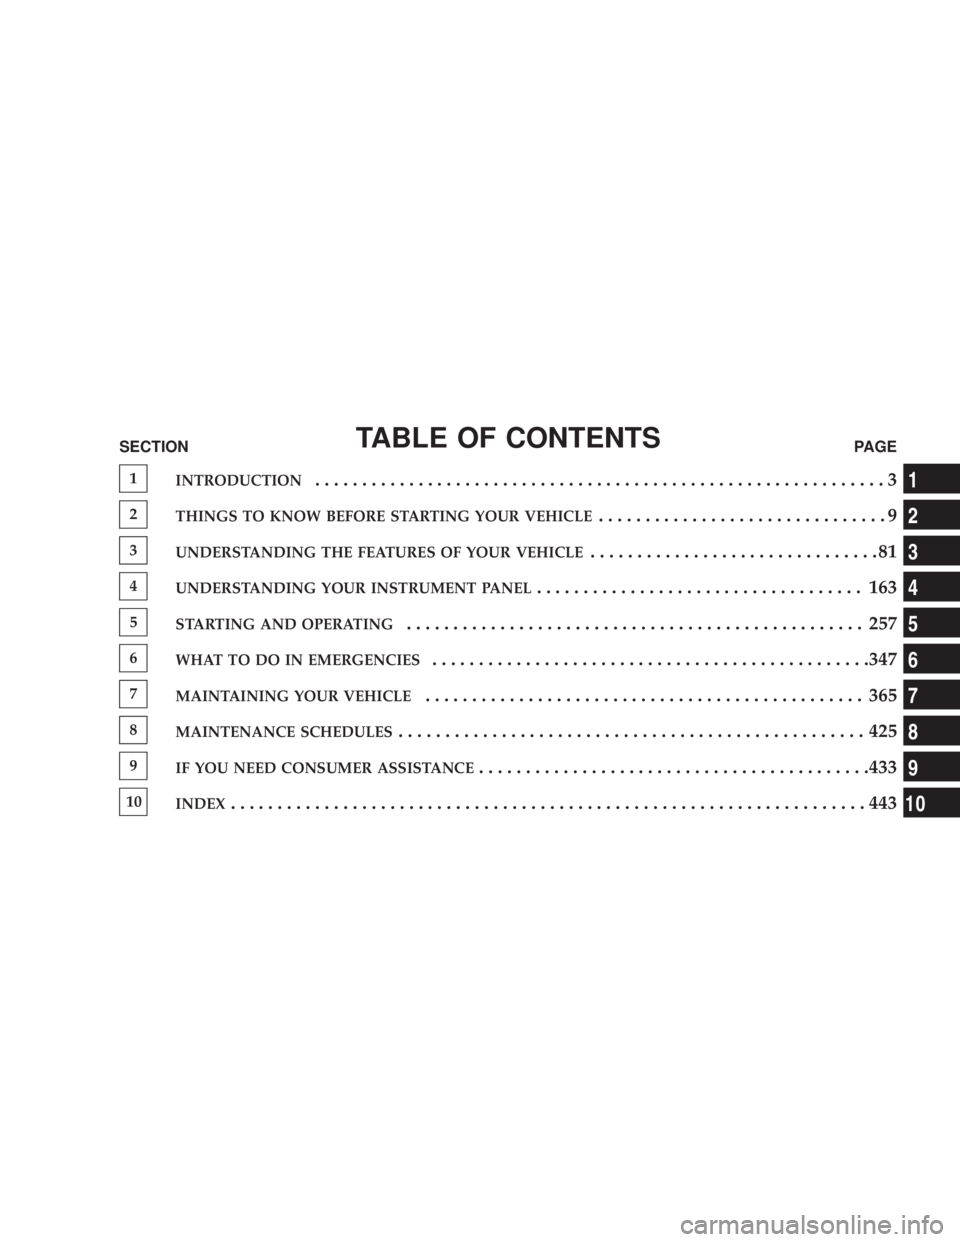
TABLE OF CONTENTSSECTION PAGE
1
INTRODUCTION
.............................................................32
THINGS TO KNOW BEFORE STARTING YOUR VEHICLE
...............................93
UNDERSTANDING THE FEATURES OF YOUR VEHICLE
...............................814
UNDERSTANDING YOUR INSTRUMENT PANEL
................................... 1635
STARTING AND OPERATING
................................................. 2576
WHAT TO DO IN EMERGENCIES
...............................................3477
MAINTAINING YOUR VEHICLE
............................................... 3658
MAINTENANCE SCHEDULES
.................................................. 4259
IF YOU NEED CONSUMER ASSISTANCE
..........................................43310
INDEX
....................................................................443 1
2
3
4
5
6
7
8
9
10
Page 6 of 467

INTRODUCTION
This Owner's Manual has been prepared with the assis-
tance of service and engineering specialists to acquaint
you with the operation and maintenance of your vehicle.
It is supplemented by a Warranty Information Booklet
and various customer-oriented documents. You are
urged to read these publications carefully. Following the
instructions and recommendations in this manual will
help assure safe and enjoyable operation of your vehicle.
NOTE: After you read the manual, it should be stored
in the vehicle for convenient reference and remain with
the vehicle when sold, so that the new owner will be
aware of all safety warnings.
When it comes to service, remember that your authorized
dealer knows your vehicle best, has the factory-trained
technicians and genuine Mopar t parts, and is interested
in your satisfaction. HOW TO USE THIS MANUAL
Consult the table of contents to determine which section
contains the information you desire.
The detailed index, at the rear of this manual, contains a
complete listing of all subjects.
Consult the following table for a description of the
symbols that may be used on your vehicle or throughout
this owner manual:4 INTRODUCTION
Page 80 of 467

Pets should be restrained in the rear seat in pet harnesses
or pet carriers that are secured by seat belts.
ENGINE BREAK-IN RECOMMENDATIONS
A long break-in period is not required for the engine in
your vehicle.
Drive moderately during the first 300 mi (500 km). After
the initial 60 mi (100 km), speeds up to 50 or 55 mph (80
or 90 km/h) are desirable.
While cruising, brief full-throttle acceleration, within the
limits of local traffic laws, contributes to a good break-in.
Wide-open throttle acceleration in low gear can be detri-
mental and should be avoided.
The engine oil installed in the engine at the factory is a
high-quality energy-conserving type lubricant. Oil
changes should be consistent with anticipated climate
conditions under which vehicle operations will occur. For
the recommended viscosity and quality grades, refer to ªMaintenance Proceduresº in Section 7. NON-
DETERGENT OR STRAIGHT MINERAL OILS MUST
NEVER BE USED.
A new engine may consume some oil during its first few
thousand miles (kilometers) of operation. This should be
considered as a normal part of the break-in and not
interpreted as an indication of difficulty.
SAFETY TIPS
Exhaust Gas
WARNING!Exhaust gases can injure or kill. They contain carbon
monoxide (CO) which is colorless and odorless.
Breathing it can make you unconscious and can
eventually poison you. To avoid breathing (CO)
follow the safety tips below.78 THINGS TO KNOW BEFORE STARTING YOUR VEHICLE
Page 85 of 467

N Headlights With Wipers Feature
(Available With Auto Headlights Only) ......137
N Windshield Washers ...................138
N Adding Washer Fluid ..................138
m Tilt/Telescoping Steering Column ...........139
m Electronic Speed Control Ð If Equipped ......140
N To Activate ..........................140
N To Set Desired Speed ...................141
N To Deactivate ........................141
N To Resume Speed .....................141
N To Vary Speed Setting ..................142
N To Accelerate For Passing ...............142
m Garage Door Opener Ð If Equipped .........143 N Programming HomeLink t ...............144
N Gate Operator/Canadian Programming .....148
N Security ............................148
N Troubleshooting Tips ...................149
N General Information ...................149
m Power Sunroof Ð If Equipped .............150
N Sunroof Operation ....................151
N Auto Sunroof Express With Anti-Pinch
Protection Ð If Equipped ...............151
N Sunshade Operation ...................152
N Wind Buffeting .......................152
N Sunroof Maintenance ...................152
N Ignition Off Operation ..................152UNDERSTANDING THE FEATURES OF YOUR VEHICLE 83
3
Page 154 of 467

SUNSHADE OPERATION
The sunshade can be opened manually. However, the
sunshade will open automatically as the sunroof opens.
NOTE: The sunshade cannot be closed if the sunroof is
open.
WIND BUFFETING
Wind buffeting can be described as the perception of
pressure on the ears or a helicopter type sound in the
ears. Your vehicle may exhibit wind buffeting with the
windows down, or the sunroof (if so equipped) in certain
open or partially open positions. This is a normal occur-
rence and can be minimized. If the buffeting occurs with
the rear windows open, then open the front and rear
windows together to minimize the buffeting. If the
buffeting occurs with the sunroof open, adjust the sun-
roof opening to minimize the buffeting. SUNROOF MAINTENANCE
Use only a non-abrasive cleaner and a soft cloth to clean
the glass panel.
IGNITION OFF OPERATION
For vehicles not equipped with the Electronic Vehicle
Information Center (EVIC), the power sunroof switch
will remain active for 45 seconds after the ignition switch
is turned off. Opening either front door will cancel this
feature.
For vehicles equipped with the EVIC, the power sunroof
switch will remain active for up to 10 minutes after the
ignition switch is turned off. Opening either front door
will cancel this feature. The time is programmable. For
details, refer to ªKey-Off Power Delay,º under ªPersonal
Settings (Customer Programmable Features)º under
ªElectronic Vehicle Information Center (EVIC)º in Sec-
tion 4 of this manual.152 UNDERSTANDING THE FEATURES OF YOUR VEHICLE
Page 167 of 467

m Universal Consumer Interface (UCI) Ð
If Equipped ...........................227
N Connecting The iPod t Device ............227
N Controlling The iPod t Using Radio Buttons . . . 228
N Play Mode ..........................228
N List Or Browse Mode ..................230
m Satellite Radio Ð If Equipped
(REN/REQ/RER/RES/REU Radios Only) .....231
N System Activation .....................231
N Electronic Serial Number/Sirius Identification
Number (ESN/SID) ....................232
N Selecting Satellite Mode .................233
N Satellite Antenna ......................233
N Reception Quality .....................233 N Operating Instructions - Satellite Mode ......233
N Operating Instructions - Hands-Free Phone
(If Equipped) ........................236
N Operating Instructions - Video Entertainment
System (VES t ) (If Equipped) .............236
m Remote Sound System Controls Ð If Equipped . . 236
N Operation With RES / REQ AM/FM Stereo
Radio With CD Player ..................237
N Operation With RER Multi-Media System ....238
m Video Entertainment System (VES) t Ð
If Equipped ...........................239
m Radio Operation And Cellular Phones ........241
m CD/DVD Maintenance ...................241
m Climate Controls .......................242 UNDERSTANDING YOUR INSTRUMENT PANEL 165
4
Page 176 of 467

indicator system is duty cycle based, which means the
engine oil change interval may fluctuate dependent upon
your personal driving style.
Unless reset, this message will continue to display each
time you turn the ignition switch to the ªONº position.
To turn off the message temporarily, press and release the
Trip Odometer button on the instrument cluster. To reset
the oil change indicator system (after performing the
scheduled maintenance) perform the following proce-
dure:
1. Turn the ignition switch to the ªONº position (Do
not start the engine).
2. Fully depress the accelerator pedal slowly three
times within 10 seconds.
3. Turn the ignition switch to the LOCK position. NOTE: If the indicator message illuminates when you
start the vehicle, the oil change indicator system did not
reset. If necessary repeat this procedure.
16. Cruise Indicator Ð If Equipped
This indicator shows that the Speed Control
System is ON.
17. Odometer/Trip Odometer Reset Knob
Single Trip Odometer
Press and release this button to change the display from
odometer to trip odometer. The word ªTripº displays to
show that the odometer is in Trip Mode. Press and release
the button again to change the display back to the
odometer.
To reset the trip odometer, first set the display to Trip
Mode. Then push and hold the button (approximately 2
seconds) until the display resets to 0. The odometer must
be in Trip Mode to reset the trip odometer.174 UNDERSTANDING YOUR INSTRUMENT PANEL
Page 179 of 467

Accordingly, when the low tire pressure telltale illumi-
nates, you should stop and check your tires as soon as
possible, and inflate them to the proper pressure. Driving
on a significantly under-inflated tire causes the tire to
overheat and can lead to tire failure. Under-inflation also
reduces fuel efficiency and tire tread life, and may affect
the vehicle's handling and stopping ability.
NOTE: Please note that the TPMS is not a substitute for
proper tire maintenance, and it is the driver 's responsi-
bility to maintain correct tire pressure, even if under-
inflation has not reached the level to trigger illumination
of the TPMS low tire pressure telltale.
Your vehicle has also been equipped with a TPMS
malfunction indicator to indicate when the system is not
operating properly. The TPMS malfunction indicator is
combined with the low tire pressure telltale. When the
system detects a malfunction, the telltale will flash for
approximately one minute and then remain continuously illuminated. This sequence will continue upon subse-
quent vehicle start-ups as long as the malfunction exists.
When the malfunction indicator is illuminated, the sys-
tem may not be able to detect or signal low tire pressure
as intended. TPMS malfunctions may occur for a variety
of reasons, including the installation of replacement or
alternate tires or wheels on the vehicle that prevent the
TPMS from functioning properly. Always check the
TPMS malfunction telltale after replacing one or more
tires or wheels on your vehicle to ensure that the replace-
ment or alternate tires and wheels allow the TPMS to
continue to function properly. UNDERSTANDING YOUR INSTRUMENT PANEL 177
4