2008 CHRYSLER TOWN AND COUNTRY light
[x] Cancel search: lightPage 234 of 531
brakes. If the ABS light does not turn on when the
Ignition switch is turned to the ON position, have the
light inspected by an authorized dealer.
14. Electronic Stability Program (ESP) Indicator
Light/Traction Control System (TCS) Indicator Light
If this indicator light flashes during accelera-
tion, apply as little throttle as possible. While
driving, ease up on the accelerator. Adapt your
speed and driving to the prevailing road con-
ditions, and do not switch off the ESP, or TCS.
15. Tachometer
The red segments indicate the maximum permissible
engine revolutions per minute (RPM x 1000) for each gear
range. Before reaching the red area, ease up on the
accelerator.16. High Beam Light
This light shows that the headlights are on high
beam. Pull the turn signal lever towards the
steering wheel to switch the headlights from high or low
beam.
17. Front Fog Light Indicator Ð If Equipped
This light shows when the front fog lights are ON.
18. Seat Belt Reminder Light
When the ignition switch is first turned ON, this
light will turn on for five to eight seconds as a bulb
check. During the bulb check, if the driver's seat
belt is unbuckled, a chime will sound. After the bulb
check or when driving, if the driver's seat belt remains
unbuckled, the Seat Belt Reminder Light will illuminate
and the chime will sound. Refer to the Occupant Re-
straints section for more information.
232 UNDERSTANDING YOUR INSTRUMENT PANEL
Page 235 of 531
19. Malfunction Indicator Light
This light is part of an onboard diagnostic system
called OBD that monitors engine and automatic
transmission control systems. The light will illu-
minate when the key is in the ON position before engine
start. If the bulb does not come on when turning the key
from OFF to ON, have the condition checked promptly.
Certain conditions such as a loose or missing gas cap,
poor fuel quality, etc. may illuminate the light after
engine start. The vehicle should be serviced if the light
stays on through several of your typical driving cycles. In
most situations the vehicle will drive normally and will
not require towing.
If the Malfunction Indicator Light flashes when the
engine is running, serious conditions may exist that
could lead to immediate loss of power or severe catalytic
converter damage. The vehicle should be serviced as
soon as possible if this occurs.20. Airbag Light
This light turns on and remains on for seven
seconds as a bulb check when the ignition
switch is first turned ON. If the light is not on
during starting, stays on, or turns on while
driving, have the system inspected by an authorized
dealer as soon as possible.
21. Temperature Gauge
The temperature gauge shows engine coolant tem-
perature. Any reading within the normal range
indicates that the engine cooling system is operat-
ing satisfactorily.
The gauge pointer will likely indicate a higher tempera-
ture when driving in hot weather, up mountain grades,
or when towing a trailer. It should not be allowed to
exceed the upper limits of the normal operating range.
UNDERSTANDING YOUR INSTRUMENT PANEL 233
4
Page 246 of 531

Press the STEP button to scroll through sub
menus (i.e. Trip Functions, Avg. Fuel Economy,
DTE, Elapsed Time, and Units.
Steering Wheel EVIC Compass/Temp
Control Button as it appears on the
right side of the steering column
Press and release the C/T button to for instant
access to the Compass/Temperature Screens.
Press this button to RESET Trip Functions and
Change Personal Settings.EVIC Displays
When the appropriate conditions exist, the EVIC displays
the following messages:
²Door(s) Ajar (with a single chime if vehicle is in
motion)
²Liftgate Ajar (chime will sound when vehicle starts
moving)
²Hood Ajar (If equipped with hood switch)
²Check TPM System. Refer to ªTire Pressure Monitor-
ing Systemº in Section 5 of this manual.
²Turn Signal On
²RKE Battery Low
²LOW WASHER FLUID
²Oil Change Required
²Left Front Turn Signal Light Out
244 UNDERSTANDING YOUR INSTRUMENT PANEL
Page 247 of 531
²Left Rear Turn Signal Light Out
²Right Front Turn Signal Light Out
²Right Rear Turn Signal Light Out
²Park Assist Disabled
²Service Park Assist System
²Personal Settings Not Available ± Vehicle Not in Park
Oil Change Required
Your vehicle is equipped with an engine oil change
indicator system. TheOil Change Requiredmessage will
flash in the EVIC display for approximately 10 seconds
after a single chime has sounded to indicate the next
scheduled oil change interval. The engine oil change
indicator system is duty cycle based, which means the
engine oil change interval may fluctuate dependent upon
your personal driving style.Unless reset, this message will continue to display each
time you turn the ignition switch to the ON/RUN
position. To turn off the message temporarily, press and
release the Menu button. To reset the oil change indicator
system (after performing the scheduled maintenance)
refer to the following procedure.
1. Turn the ignition switch to the ON position (Do not
start the engine).
2. Fully depress the accelerator pedal slowly three times
within 10 seconds.
3. Turn the ignition switch to the OFF/LOCK position.
NOTE:If the indicator message illuminates when you
start the vehicle, the oil change indicator system did not
reset. If necessary repeat this procedure.
UNDERSTANDING YOUR INSTRUMENT PANEL 245
4
Page 253 of 531
Sound Horn with Remote Key Lock
When ON is selected, a short horn sound will occur when
the remote keyless entry LOCK button is pressed. This
feature may be selected with or without the flash lights
on lock/unlock feature. To make your selection, press
and release the RESET button until ON or OFF appears.
Flash Lights with Remote Key Lock
When ON is selected, the front and rear turn signals will
flash when the doors are locked or unlocked with the
remote keyless entry transmitter. This feature may be
selected with or without the sound horn on lock feature
selected. To make your selection, press and release the
RESET button until ON or OFF appears.
Automatic High Beams Ð If Equipped
When this feature is selected, the high beam headlights
will deactivate automatically under certain conditions. To
make your selection, press and release the FUNCTIONSELECT button until YES (Y) or NO (N) appears. Refer to
ªLights/SmartBeams Ð If Equippedº in Section 3 of this
manual for more information.
Headlights On with Wipers (Available with Auto
Headlights Only)
When YES (Y) is selected, and the headlight switch is in
the AUTO position, the headlights will turn on approxi-
mately 10 seconds after the wipers are turned on. The
headlights will also turn off when the wipers are turned
off if they were turned on by this feature. To make your
selection, press and release the FUNCTION SELECT
button until YES (Y) or NO (N) appears.
NOTE:Turning the headlights on during the daytime
causes the instrument panel lights to dim. To increase the
brightness, refer to ªLightsº in Section 3 of this manual.
Delay Turning Headlights Off
When this feature is selected, the driver can choose to
have the headlights remain on for 0, 30, 60, or 90 seconds
UNDERSTANDING YOUR INSTRUMENT PANEL 251
4
Page 254 of 531

when exiting the vehicle. To make your selection, press
and release the RESET button until 0, 30, 60, or 90
appears.
Turn Headlights On with Remote Key Unlock
When this feature is selected, the headlights will activate
and remain on for up to 90 seconds when the doors are
unlocked with the remote keyless entry transmitter. To
make your selection, press and release the RESET button
until OFF, 30 sec., 60 sec., or 90 sec. appears.
Delay Power Off to Accessories Until Exit
When this feature is selected, the power window
switches, radio, hands±free system (if equipped), DVD
video system (if equipped), power sunroof (if equipped),
and power outlets will remain active for up to 10 minutes
after the ignition switch is turned off. Opening a vehicle
door will cancel this feature. To make your selection,
press and release the RESET button until Off, 45 sec., 5
min., or 10 min. appears.
Rear Park Assist System Ð If Equipped
When ENABLE is selected, the Rear Park Assist System is
activated. When DISABLE is selected, the System is
deactivated and, the instrument cluster will display the
9PARK ASSIST DISABLED9message.
Display Units of Measure in
The EVIC, odometer, and navigation system (if
equipped) can be changed between English and Metric
units of measure. To make your selection, press and
release the RESET button until US or METRIC appears.
RADIO GENERAL INFORMATION
RADIO BROADCAST SIGNALS
Your radio will provide excellent reception under most
operating conditions. Like any system, however, car
radios have performance limitations, due to mobile op-
eration and natural phenomena, which might lead you to
believe your sound system is malfunctioning. To help
252 UNDERSTANDING YOUR INSTRUMENT PANEL
Page 255 of 531
you understand and save you concern about these ªap-
parentº malfunctions, you must understand a point or
two about the transmission and reception of radio sig-
nals.
Two Types of Signals
There are two basic types of radio signals:
1. AM or Amplitude Modulation, in which the transmit-
ted sound causes the amplitude, or height, of the radio
waves to vary.
2. FM or Frequency Modulation, in which the frequency
of the wave is varied to carry the sound.
AM Reception
AM sound is based on wave amplitude, so AM reception
can be disrupted by such things as lightning, power lines
and neon signs.
FM Reception
Because FM transmission is based on frequency varia-
tions, interference that consists of amplitude variations
can be filtered out, leaving the reception relatively clear,
which is the major feature of FM radio.
NOTE:The radio, steering wheel radio controls (if
equipped), and six-disc CD/DVD changer (if equipped)
will remain active for up to 90 seconds after the ignition
switch has been turned OFF, depending upon the EVIC,
Accessory Delay setting. Opening a vehicle front door
will cancel this feature.
Electrical Disturbances
Radio waves may pick up electrical disturbances during
transmission. They mainly affect the wave amplitude,
and thus remain a part of the AM reception. They
interfere very little with the frequency variations that
carry the FM signal.
UNDERSTANDING YOUR INSTRUMENT PANEL 253
4
Page 260 of 531
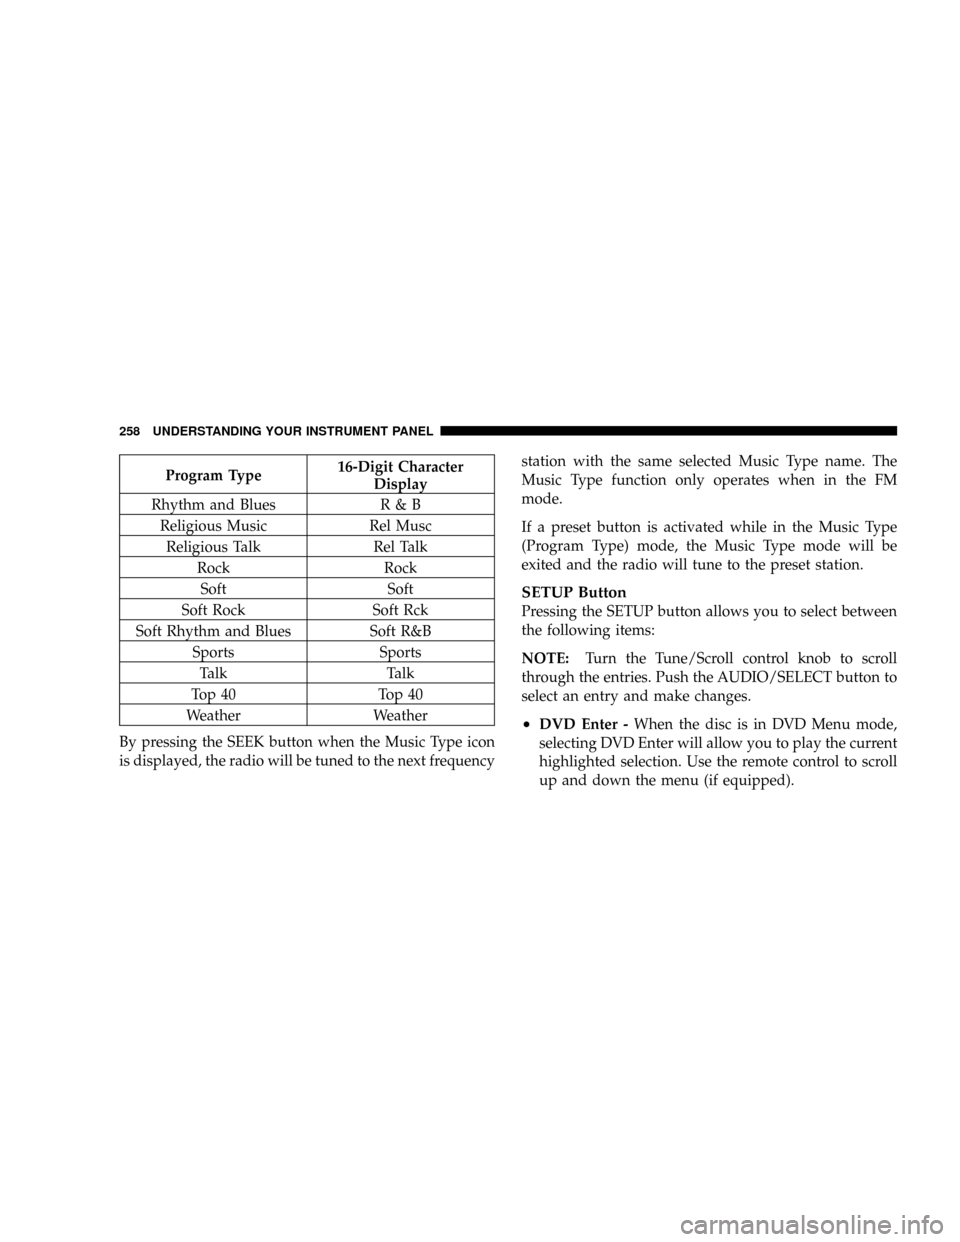
Program Type16-Digit Character
Display
Rhythm and Blues R & B
Religious Music Rel Musc
Religious Talk Rel Talk
Rock Rock
Soft Soft
Soft Rock Soft Rck
Soft Rhythm and Blues Soft R&B
Sports Sports
Talk Talk
Top 40 Top 40
Weather Weather
By pressing the SEEK button when the Music Type icon
is displayed, the radio will be tuned to the next frequencystation with the same selected Music Type name. The
Music Type function only operates when in the FM
mode.
If a preset button is activated while in the Music Type
(Program Type) mode, the Music Type mode will be
exited and the radio will tune to the preset station.
SETUP Button
Pressing the SETUP button allows you to select between
the following items:
NOTE:Turn the Tune/Scroll control knob to scroll
through the entries. Push the AUDIO/SELECT button to
select an entry and make changes.
²DVD Enter -When the disc is in DVD Menu mode,
selecting DVD Enter will allow you to play the current
highlighted selection. Use the remote control to scroll
up and down the menu (if equipped).
258 UNDERSTANDING YOUR INSTRUMENT PANEL