Page 236 of 531
CAUTION!
Driving with a hot engine cooling system could
damage your vehicle. If temperature gauge reads
ªHª, pull over and stop the vehicle. Idle the vehicle
with the air conditioner turned off until the pointer
drops back into the normal range. If the pointer
remains on the ªHº, and you hear continuous chimes,
turn the engine off immediately, and call your autho-
rized dealership for service.
WARNING!
A hot engine cooling system is dangerous. You or
others could be badly burned by steam or boiling
coolant. You may want to call an authorized dealer-
ship for service if your vehicle overheats. If you
decide to look under the hood yourself, see Section 7
of this manual. Follow the warnings under the Cool-
ing System Pressure Cap paragraph.
22. Trip/Odometer Display Reset Button Ð Base
Cluster
To reset a trip odometer, display the trip odometer to be
reset then push and hold the button until the display
resets (approximately two seconds). The odometer must
be in TRIP mode to reset it.
234 UNDERSTANDING YOUR INSTRUMENT PANEL
Page 238 of 531
NOTE:Some of the above warnings will be displayed in
the Compass Mini-Trip Computer / Electronic Vehicle
Information Center Display Area under the Speedometer.
Refer toº Compass Mini-Trip Computer (CMTC) Ð If
Equippedº, later in this section for more information.
CHAngE OIL
Your vehicle is equipped with an engine oil change
indicator system. TheCHAngE OILmessage will flash in
the instrument cluster odometer for approximately 12
seconds after a single chime has sounded to indicate the
next scheduled oil change interval. The engine oil change
indicator system is duty cycle-based, which means the
engine oil change interval may fluctuate dependent upon
your personal driving style.
Unless reset, this message will continue to display each
time you turn the ignition switch to the ON/RUN
position. To turn off the message temporarily, press andrelease the Trip / Odometer Display reset button on the
instrument cluster. To reset the oil change indicator
system (after performing the scheduled maintenance)
refer to the following procedure.
1. Turn the ignition switch to the ON position (Do not
start the engine).
2. Fully depress the accelerator pedal slowly three times
within 10 seconds.
3. Turn the ignition switch to the OFF/LOCK position.
NOTE:If the indicator message illuminates when you
start the vehicle, the oil change indicator system did not
reset. If necessary repeat this procedure.
25. Odometer
The odometer shows the total distance the vehicle has
been driven.
236 UNDERSTANDING YOUR INSTRUMENT PANEL
Page 240 of 531
Oil Change Required
Your vehicle is equipped with an engine oil change
indicator system. The ªOil Change Requiredº message
will flash in the Electronic Vehicle Information Center
(EVIC) display for approximately 10 seconds after a
single chime has sounded to indicate the next scheduled
oil change interval. The engine oil change indicator
system is duty cycle based, which means the engine oil
change interval may fluctuate dependent upon your
personal driving style.
Unless reset, this message will continue to display each
time you turn the ignition switch to the ON/RUN
position. To turn off the message temporarily, press and
release the Menu button. To reset the oil change indicator
system (after performing the scheduled maintenance)
refer to the following procedure.
1. Turn the ignition switch to the ON position (Do not
start the engine).2. Fully depress the accelerator pedal slowly three times
within 10 seconds.
3. Turn the ignition switch to the OFF/LOCK position.
NOTE:If the indicator message illuminates when you
start the vehicle, the oil change indicator system did not
reset. If necessary repeat this procedure.
27. Compass Mini-Trip Computer (CMTC) Display
Button
Press the left reset button to scroll through sub menus
(i.e., Trip Functions: AVG Fuel Economy, DTE, Elapsed
Time, and Units.
NOTE:For more detailed operation, refer to ªCompass
Mini-Trip Computerº later in this section.
238 UNDERSTANDING YOUR INSTRUMENT PANEL
Page 244 of 531
To Set the Variance
NOTE:Refer to the ªCompass Variance Mapº in the
following ªElectronic Vehicle Information Center
(EVIC)º section for your Zone Value.
Start the engine, and leave the transmission gear selector
lever in the PARK position. Press and hold (approxi-
mately ten seconds) the CMTC reset button until the
current variance zone number is displayed. To change the
zone, press and release the CMTC reset button to incre-
ment the variance one step. Repeat as necessary, until the
desired variance is achieved.
NOTE:The factory default Zone is 8. During program-
ming, the zone value will wrap around from Zone 15 to
Zone 1.
Manual Compass Calibration
If the compass appears erratic, inaccurate or abnormal,
you may wish to calibrate the compass. Prior to calibrat-
ing the compass make sure the proper zone is selected.
1. Start the engine, and leave the transmission in the
PARK position.
2. Press and hold (approximately 10 seconds) the CMTC
reset button until the current variance zone number is
displayed.
3. Release the CMTC reset button, then press and hold
again (approximately 10 seconds), until the direction is
displayed with the CAL indicator on continuously in the
display.
4. To complete the compass calibration, drive the vehicle
in one or more complete 360 degree circles under 5 mph
(8 km/h) in an area free from power lines, large metallic
objects, until the CAL indicator turns off. The compass
will now function normally.
242 UNDERSTANDING YOUR INSTRUMENT PANEL
Page 247 of 531
²Left Rear Turn Signal Light Out
²Right Front Turn Signal Light Out
²Right Rear Turn Signal Light Out
²Park Assist Disabled
²Service Park Assist System
²Personal Settings Not Available ± Vehicle Not in Park
Oil Change Required
Your vehicle is equipped with an engine oil change
indicator system. TheOil Change Requiredmessage will
flash in the EVIC display for approximately 10 seconds
after a single chime has sounded to indicate the next
scheduled oil change interval. The engine oil change
indicator system is duty cycle based, which means the
engine oil change interval may fluctuate dependent upon
your personal driving style.Unless reset, this message will continue to display each
time you turn the ignition switch to the ON/RUN
position. To turn off the message temporarily, press and
release the Menu button. To reset the oil change indicator
system (after performing the scheduled maintenance)
refer to the following procedure.
1. Turn the ignition switch to the ON position (Do not
start the engine).
2. Fully depress the accelerator pedal slowly three times
within 10 seconds.
3. Turn the ignition switch to the OFF/LOCK position.
NOTE:If the indicator message illuminates when you
start the vehicle, the oil change indicator system did not
reset. If necessary repeat this procedure.
UNDERSTANDING YOUR INSTRUMENT PANEL 245
4
Page 271 of 531
Dolbyt
Manufactured under license from DolbytLaboratories.
9Dolbyt9and the double-D symbol are trademarks of
DolbytLaboratories.
Macrovision
This product incorporates copyright protection technol-
ogy that is protected by U.S. patents and other intellec-
tual property rights. Use of this copyright protection
technology must be authorized by Macrovision, and is
intended for home and other limited viewing uses only,
unless otherwise authorized by Macrovision. Reverse
engineering or disassembly is prohibited
DTSŸ
9DTSŸ9and9DTSŸ 2.09are trademarks of Digital The-
ater Systems, Inc.SALES CODE RES Ð AM/FM STEREO RADIO
WITH CD PLAYER (MP3 AUX JACK)
NOTE:The radio sales code is located on the lower right
side of your radio faceplate.
RES Radio (Non-Satellite Model Shown -
With Satellite Similar)
UNDERSTANDING YOUR INSTRUMENT PANEL 269
4
Page 308 of 531
²In cold or damp weather, the use of the RECIRCULA-
TION mode will cause windows to fog on the inside
because of moisture build-up inside the vehicle. For
maximum defogging, select the Outside Air position.
²In order to prevent fogging, when the recirculation
button is pressed and the mode control is set to
PANEL the A/C will engage automatically.
²The A/C can be deselected manually without disturb-
ing the mode control selection.
Air Outlets
The airflow from each of the instrument panel outlets can
be adjusted for direction and turned on or off to control
airflow.
NOTE:For maximum airflow to the rear, the center
instrument panel outlets can be directed toward the rear
seat passengers.
ECONOMY Mode
If ECONOMY mode is desired, press the A/C button to
turn off the indicator light and the A/C compressor.
Rotate the temperature control knob to the desired tem-
perature.
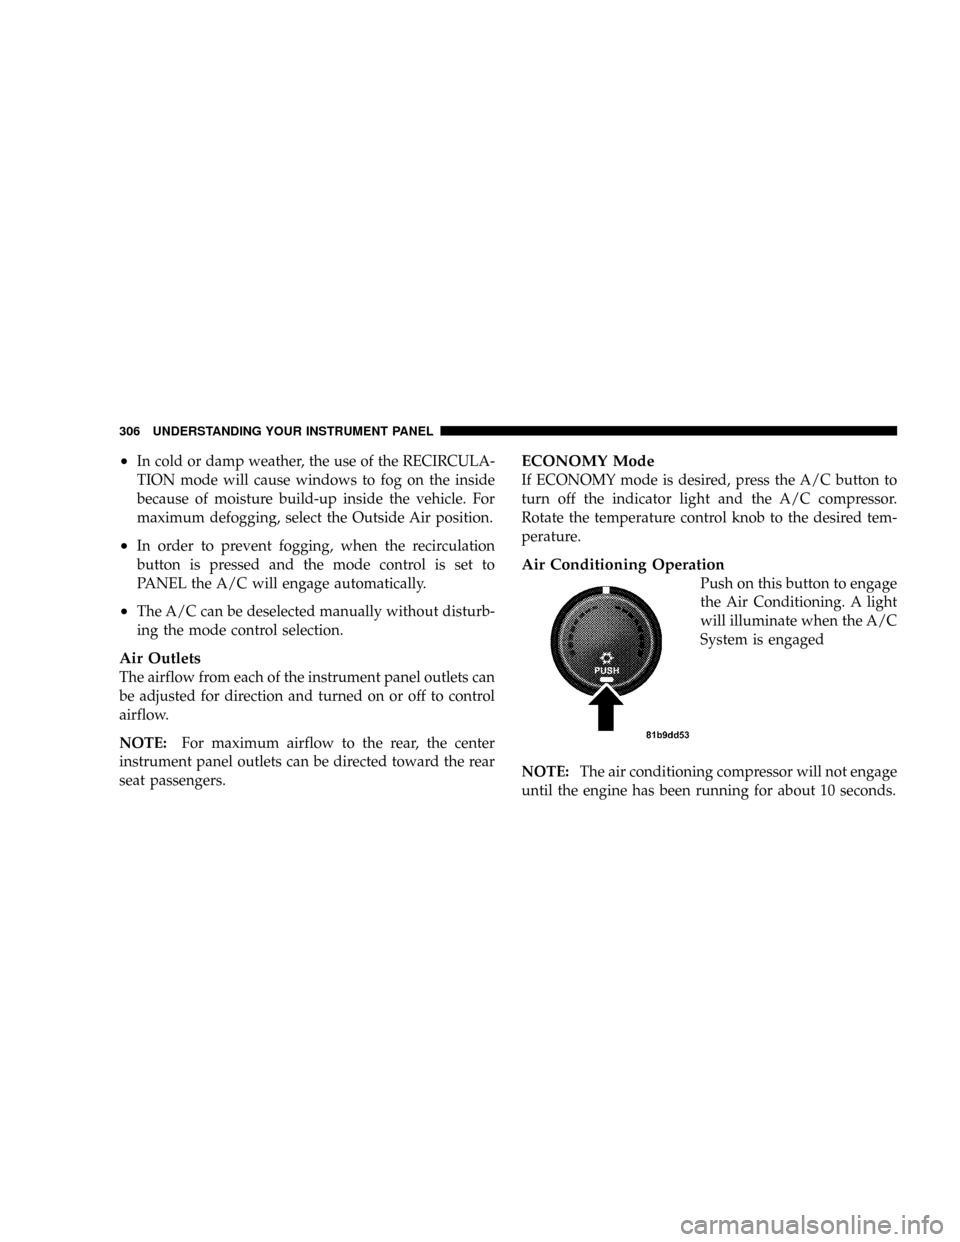
Air Conditioning Operation
Push on this button to engage
the Air Conditioning. A light
will illuminate when the A/C
System is engaged
NOTE:The air conditioning compressor will not engage
until the engine has been running for about 10 seconds.
306 UNDERSTANDING YOUR INSTRUMENT PANEL
Page 315 of 531
Operation of the system is quite simple.
1. Press the AUTO button and the word AUTO will
illuminate in the front ATC display, along with three
temperatures for Driver's, Passenger, and Rear seats. The
system will then automatically regulate the amount of
airflow.
2. Next, adjust the temperature you would like the
system to maintain by adjusting the driver's, passenger,
and rear seat rotary temperature knobs. Once the desired
temperature is displayed, the system will achieve and
automatically maintain that comfort level.
3. When the system is set up for your comfort level, it is
not necessary to change the settings. You will experience
the greatest efficiency by simply allowing the system to
function automatically.NOTE:
²It is not necessary to move the temperature settings for
cold or hot vehicles. The system automatically adjusts
the temperature, mode and fan speed to provide
comfort as quickly as possible.
²The temperature can be displayed in U.S. or Metric by
selecting the US/M customer programmable feature.
Refer to the ªCustomer Programmable Featuresº in
Section 3 of this manual.
To provide you with maximum comfort in the automatic
mode, during cold start-ups, the blower fan will remain
on low and the DELAY symbol will appear in the front
ATC display until the engine warms up. The fan will
engage immediately if the DEFROST mode is selected or
by rotating the blower control to any fixed blower speed.
UNDERSTANDING YOUR INSTRUMENT PANEL 313
4