Page 212 of 531
WARNING!
In an accident, serious injury could result if the seat
storage bin covers are not properly latched.
²DO NOT drive the vehicle with the storage bin
covers open.
²Keep the storage bin covers closed and latched
while the vehicle is in motion.
²DO NOT use a storage bin latch as a tie down.
Removing The Floor Console With Stow 'n Go
Seating Ð If Equipped
The removable floor console has two power outlets,
storage tray, light, removable cell phone holder, tissue
holder, pen holder and a map holder. It can be removed
from the vehicle by pulling the release handle inside the
floor console.To remove the console use the following procedure:
1. Open the console lid and remove the storage tray.
2. Pull up on the release handle located inside the floor
console, and slide the console rearward to disengage
from the floor.
3. Remove the floor console.
To reinstall the console use the following procedure:
1. Open the console lid and remove the storage tray.
2. Pull up on the release handle and slide the console
forward to engage the front of the console into the floor
tray.
3. Pivot the floor console down until it is seated on the
floor tray and release the handle.
210 UNDERSTANDING THE FEATURES OF YOUR VEHICLE
Page 214 of 531

Rear Compartment Storage
Your vehicle is equipped with open storage areas located
in each rear trim panel.
Coat Hooks
Coat hooks are located along the headliner for the second
and third row seating positions. The coat hook load limit
is 10 lbs (4.5 kg). Exceeding the recommended load limit
can cause the coat hooks to break or disengage from the
vehicle.
Cargo Area Storage
The seats in your vehicle are in-line which enables you to
stow long objects, such as lumber or skis, on the floor
without moving the seats.
NOTE:With all rear seat backs folded,a4ftx8ft(1.2 m
x 2.4 m) sheet of building material may be stored on top
of the folded seats with the liftgate closed. The front seats
must be moved slightly forward of the rearmost position.
If the rear seats are removed no front seat adjustment is
needed and more than one 4 ftx8ft(1.2 m x 2.4 m) sheet
of building material may be stored.
Third Row Rear Seat and Rear Compartment Features
1 Ð Tie Down 5 Ð Liftgate Close
2 Ð Rear Switches 6 Ð Bag Holders
3 Ð Tire Jack/Handle 7 Ð LATCH Anchor
4 Ð Cubby/Speaker 8 Ð Flash Light 212 UNDERSTANDING THE FEATURES OF YOUR VEHICLE
Page 228 of 531
INSTRUMENT CLUSTER DESCRIPTIONS
1. Fuel Gauge
The pointer shows the level of fuel in the fuel tank when
the ignition switch is in the ON position.
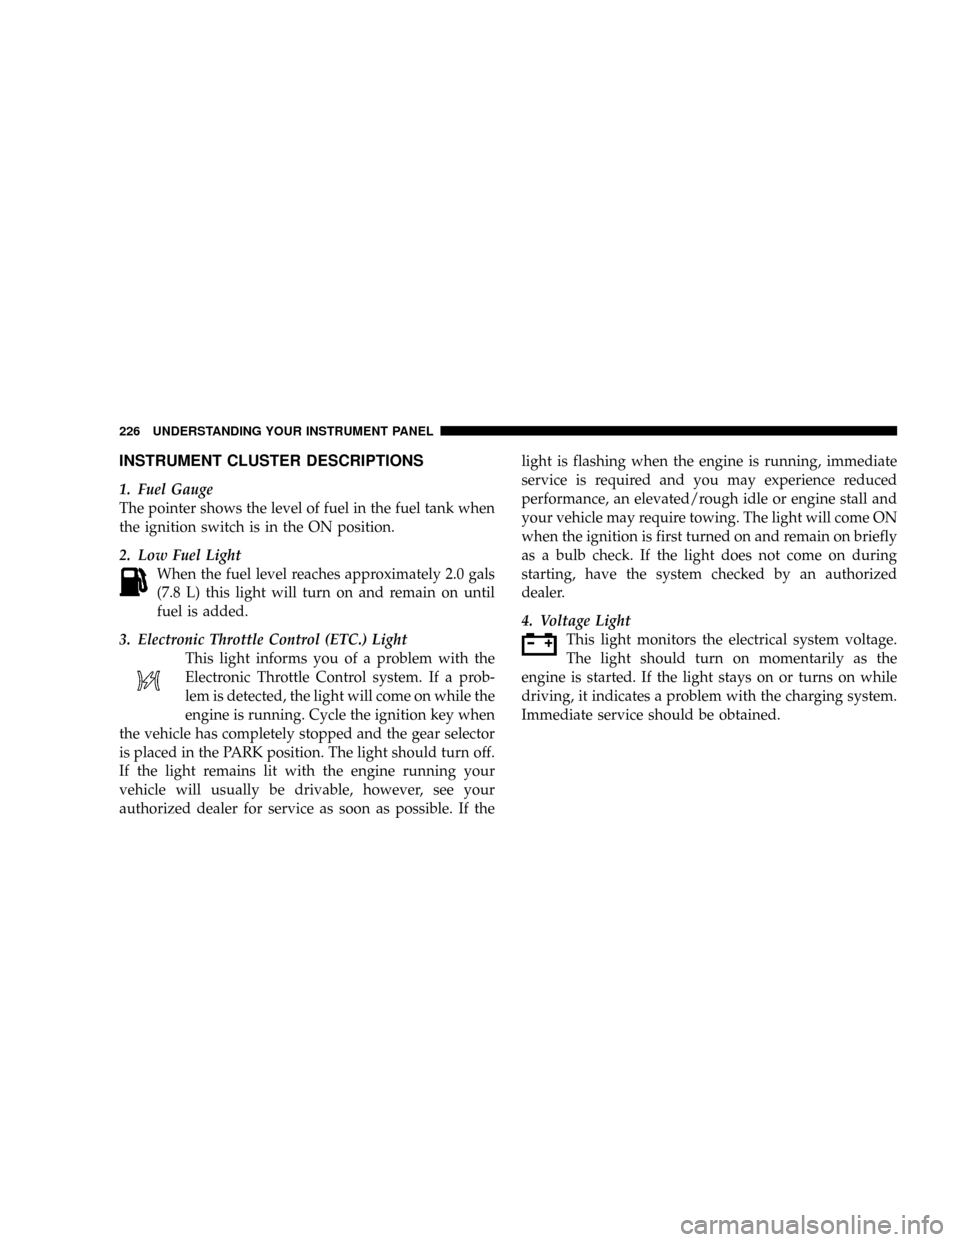
2. Low Fuel Light
When the fuel level reaches approximately 2.0 gals
(7.8 L) this light will turn on and remain on until
fuel is added.
3. Electronic Throttle Control (ETC.) Light
This light informs you of a problem with the
Electronic Throttle Control system. If a prob-
lem is detected, the light will come on while the
engine is running. Cycle the ignition key when
the vehicle has completely stopped and the gear selector
is placed in the PARK position. The light should turn off.
If the light remains lit with the engine running your
vehicle will usually be drivable, however, see your
authorized dealer for service as soon as possible. If thelight is flashing when the engine is running, immediate
service is required and you may experience reduced
performance, an elevated/rough idle or engine stall and
your vehicle may require towing. The light will come ON
when the ignition is first turned on and remain on briefly
as a bulb check. If the light does not come on during
starting, have the system checked by an authorized
dealer.
4. Voltage Light
This light monitors the electrical system voltage.
The light should turn on momentarily as the
engine is started. If the light stays on or turns on while
driving, it indicates a problem with the charging system.
Immediate service should be obtained.
226 UNDERSTANDING YOUR INSTRUMENT PANEL
Page 234 of 531
brakes. If the ABS light does not turn on when the
Ignition switch is turned to the ON position, have the
light inspected by an authorized dealer.
14. Electronic Stability Program (ESP) Indicator
Light/Traction Control System (TCS) Indicator Light
If this indicator light flashes during accelera-
tion, apply as little throttle as possible. While
driving, ease up on the accelerator. Adapt your
speed and driving to the prevailing road con-
ditions, and do not switch off the ESP, or TCS.
15. Tachometer
The red segments indicate the maximum permissible
engine revolutions per minute (RPM x 1000) for each gear
range. Before reaching the red area, ease up on the
accelerator.16. High Beam Light
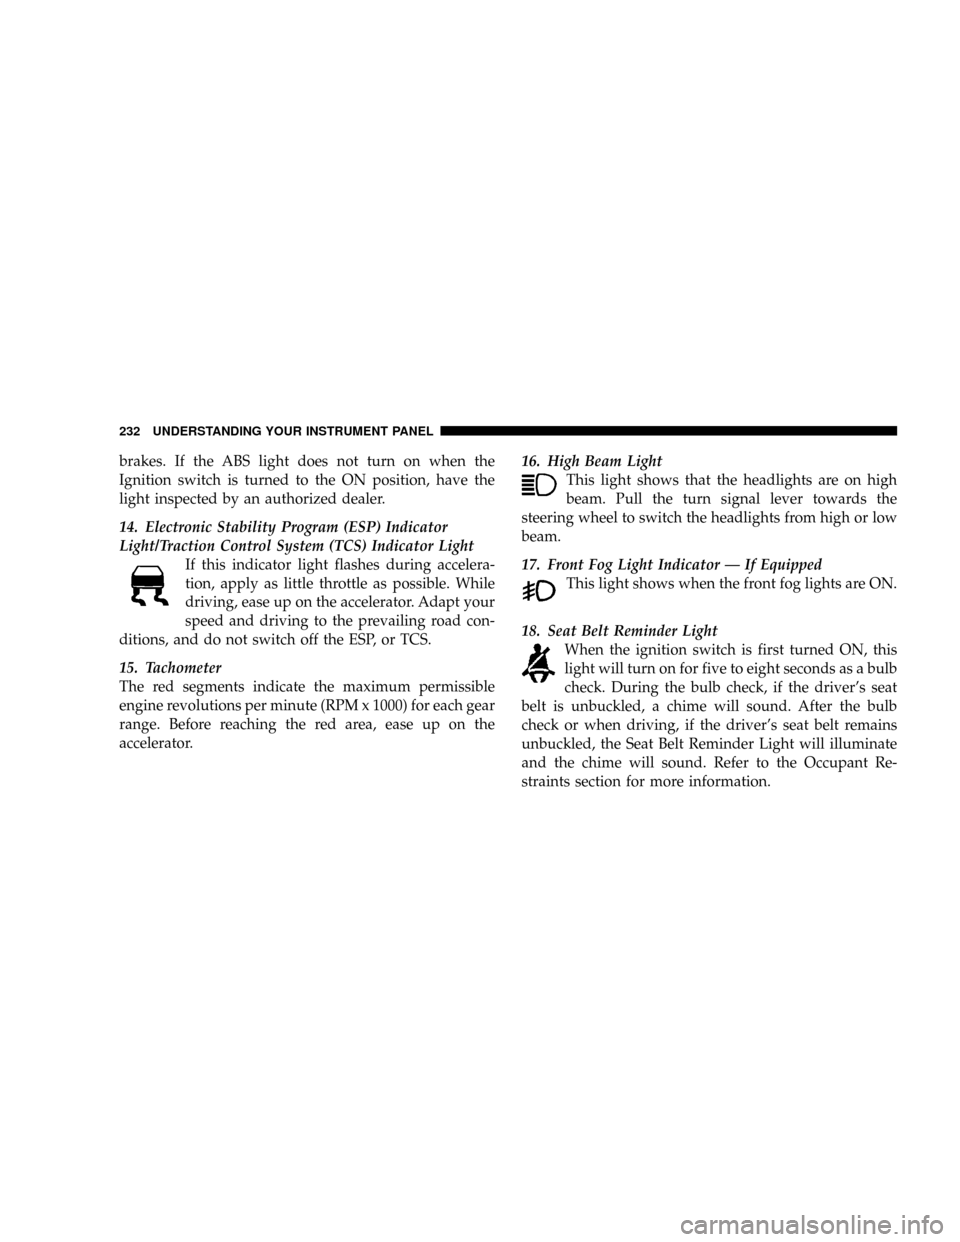
This light shows that the headlights are on high
beam. Pull the turn signal lever towards the
steering wheel to switch the headlights from high or low
beam.
17. Front Fog Light Indicator Ð If Equipped
This light shows when the front fog lights are ON.
18. Seat Belt Reminder Light
When the ignition switch is first turned ON, this
light will turn on for five to eight seconds as a bulb
check. During the bulb check, if the driver's seat
belt is unbuckled, a chime will sound. After the bulb
check or when driving, if the driver's seat belt remains
unbuckled, the Seat Belt Reminder Light will illuminate
and the chime will sound. Refer to the Occupant Re-
straints section for more information.
232 UNDERSTANDING YOUR INSTRUMENT PANEL
Page 235 of 531
19. Malfunction Indicator Light
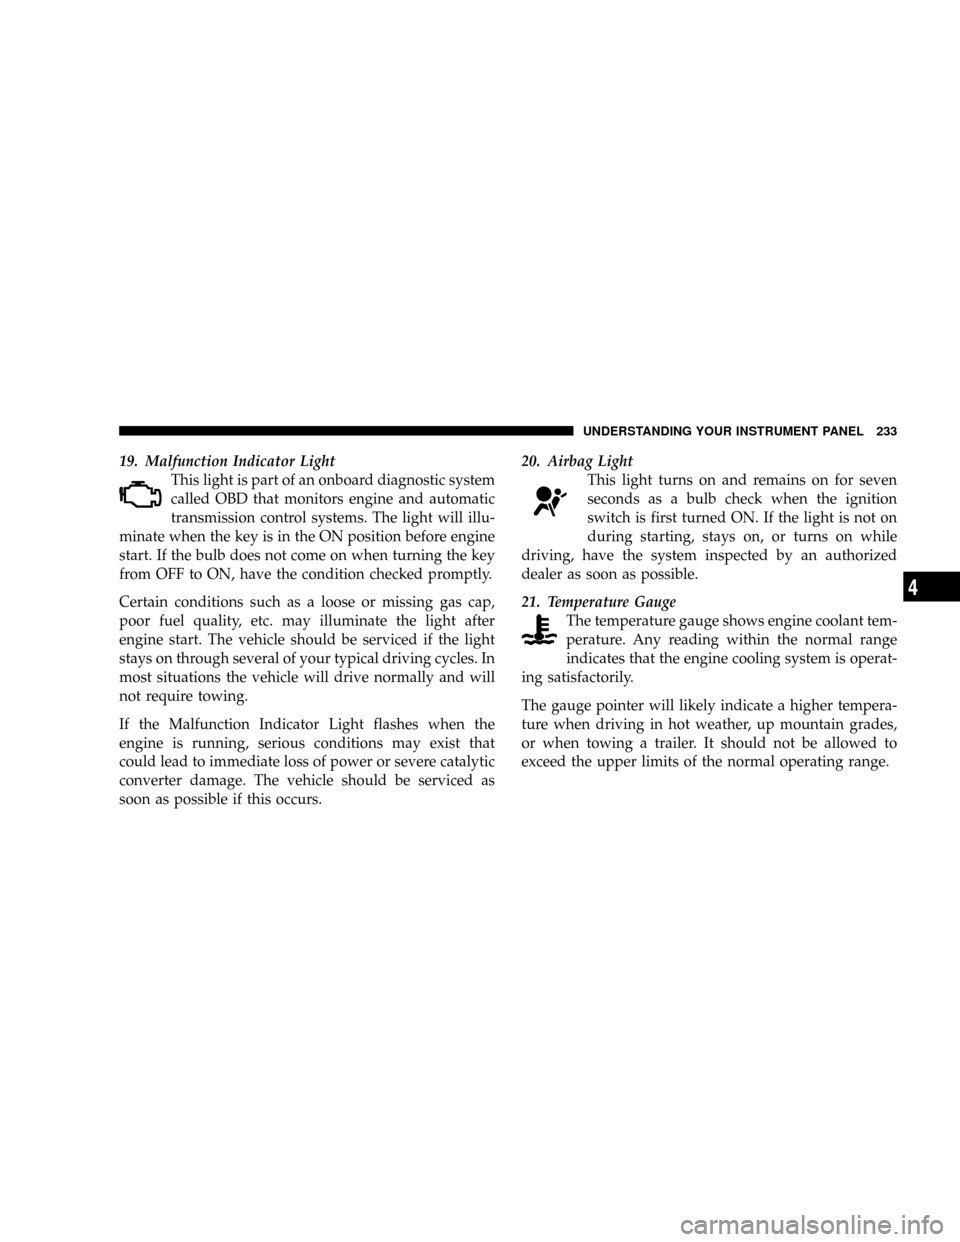
This light is part of an onboard diagnostic system
called OBD that monitors engine and automatic
transmission control systems. The light will illu-
minate when the key is in the ON position before engine
start. If the bulb does not come on when turning the key
from OFF to ON, have the condition checked promptly.
Certain conditions such as a loose or missing gas cap,
poor fuel quality, etc. may illuminate the light after
engine start. The vehicle should be serviced if the light
stays on through several of your typical driving cycles. In
most situations the vehicle will drive normally and will
not require towing.
If the Malfunction Indicator Light flashes when the
engine is running, serious conditions may exist that
could lead to immediate loss of power or severe catalytic
converter damage. The vehicle should be serviced as
soon as possible if this occurs.20. Airbag Light
This light turns on and remains on for seven
seconds as a bulb check when the ignition
switch is first turned ON. If the light is not on
during starting, stays on, or turns on while
driving, have the system inspected by an authorized
dealer as soon as possible.
21. Temperature Gauge
The temperature gauge shows engine coolant tem-
perature. Any reading within the normal range
indicates that the engine cooling system is operat-
ing satisfactorily.
The gauge pointer will likely indicate a higher tempera-
ture when driving in hot weather, up mountain grades,
or when towing a trailer. It should not be allowed to
exceed the upper limits of the normal operating range.
UNDERSTANDING YOUR INSTRUMENT PANEL 233
4
Page 308 of 531
²In cold or damp weather, the use of the RECIRCULA-
TION mode will cause windows to fog on the inside
because of moisture build-up inside the vehicle. For
maximum defogging, select the Outside Air position.
²In order to prevent fogging, when the recirculation
button is pressed and the mode control is set to
PANEL the A/C will engage automatically.
²The A/C can be deselected manually without disturb-
ing the mode control selection.
Air Outlets
The airflow from each of the instrument panel outlets can
be adjusted for direction and turned on or off to control
airflow.
NOTE:For maximum airflow to the rear, the center
instrument panel outlets can be directed toward the rear
seat passengers.
ECONOMY Mode
If ECONOMY mode is desired, press the A/C button to
turn off the indicator light and the A/C compressor.
Rotate the temperature control knob to the desired tem-
perature.
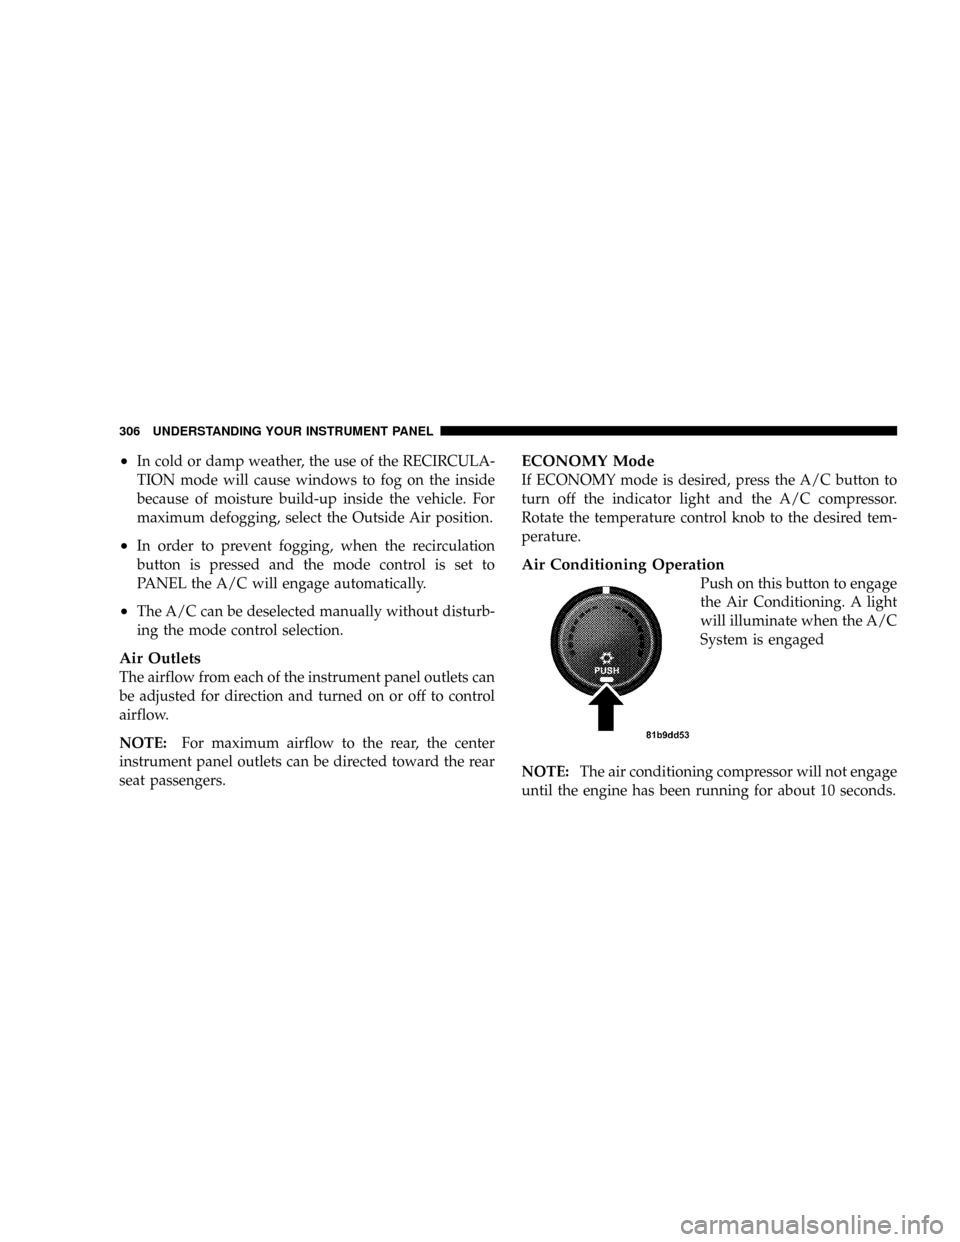
Air Conditioning Operation
Push on this button to engage
the Air Conditioning. A light
will illuminate when the A/C
System is engaged
NOTE:The air conditioning compressor will not engage
until the engine has been running for about 10 seconds.
306 UNDERSTANDING YOUR INSTRUMENT PANEL
Page 327 of 531
NCruising Range.......................389
NReplacement Parts.....................389
NMaintenance.........................389
mVehicle Loading........................390
NVehicle Certification Label...............390mTrailer Towing.........................394
NCommon Towing Definitions.............394
NTowing Tips.........................405
mRecreational Towing (Behind Motorhome, Etc.) . . 407
STARTING AND OPERATING 325
5
Page 330 of 531
If The Engine Fails To Start
WARNING!
²NEVER pour fuel or other flammable liquids into
the throttle body air inlet opening in an attempt to
start the vehicle. This could result in a flash fire
causing serious personal injury.
²DO NOT attempt to push or tow your vehicle to get
it started. Vehicles equipped with an automatic
transmission cannot be started this way. Unburned
fuel could enter the catalytic converter and once the
engine has started, ignite and damage the converter
and vehicle.
²If the vehicle has a discharged battery, booster
cables may be used to obtain a start from a booster
battery or the battery in another vehicle. This type
of start can be dangerous if done improperly. Refer
to Section 6 of this manual for proper jump-starting
procedures and follow them carefully.
If the engine fails to start after you have followed the
ªNormal Startingº procedure, it may be flooded. Push
the accelerator pedal all the way to the floor and hold it
there while cranking the engine. This should clear any
excess fuel in case the engine is flooded.
CAUTION!
To prevent damage to the starter, DO NOT crank the
engine for more than 15±second intervals at one time.
Wait 10 to 15 seconds before trying again.
If the engine has been flooded, it may start to run, but not
have enough power to continue running when the key is
released. If this occurs, continue cranking with the accel-
erator pedal pushed all the way to the floor. Release the
accelerator pedal and the key once the engine is running
smoothly.
328 STARTING AND OPERATING