Page 242 of 531
Compass Mini-Trip Computer (CMTC) Reset
Buttons
CMTC Reset Button
Press the left reset button located on the instrument
cluster to scroll through the sub menus (i.e., Trip Func-
tions: AVG Fuel Economy, DTE, Elapsed Time, and
Units).
To reset the display shown, turn the ignition switch to the
ON position, then press and hold the reset button for
approximately two seconds.When the appropriate conditions exist, the following
odometer messages will display:
NE. Eight-point compass headings are displayed (N, S, E,
W, NE, NW, SE, SW)
14ÉF............ Temperature (Fahrenheit or Celsius)
AV G......... AverageFuel Economy (U.S. or Metric)
DTE.......................Distance to Empty
ET............................Elapsed Time
P.......................... ParkAssist On/Off
Should this wrench symbol display with the
letterPnext to it, your Park Assist System
needs servicing. Contact your authorized
dealer.
NOTE:Temperature and Average Fuel Economy can be
changed from U.S. or Metric by pressing and holding the
left CMTC Reset Button located on the instrument cluster.
240 UNDERSTANDING YOUR INSTRUMENT PANEL
Page 243 of 531

Compass Mini-Trip Computer (CMTC) Trip
Odometer (ODO)
This display shows the distance traveled since the last
reset. Press and release the right button located on the
instrument cluster to switch from odometer, to trip A or
trip B. Press and hold the right button while the
odometer/trip odometer is displayed to reset.
Trip A
Shows the total distance traveled for Trip A since the last
reset.
Trip B
Shows the total distance traveled for Trip B since the last
reset.
Compass/Temperature Display
Compass Variance
Compass Variance is the difference between magnetic
North and Geographic North. In some areas of the
country, the difference between magnetic and geographic
North is great enough to cause the compass to give false
readings. In order to ensure compass accuracy, the com-
pass variance should be properly set according to the
compass variance map zone that the vehicle is in.
NOTE:Magnetic materials should be kept away from
the top of the instrument panel. This is where the
compass sensor is located.
UNDERSTANDING YOUR INSTRUMENT PANEL 241
4
Page 245 of 531
ELECTRONIC VEHICLE INFORMATION CENTER
(EVIC) Ð IF EQUIPPED
NOTE:The compass on your vehicle is self-calibrating,
eliminating the need to manually calibrate the compass.
The Electronic Vehicle Information Center (EVIC) fea-
tures a driver-interactive display that is located in the
instrument cluster.
This system conveniently allows the driver to select a
variety of useful information by pressing the switches
mounted on the steering wheel. The EVIC consists of the
following:
²System Status display
²Vehicle information warning message displays
²Tire Pressure Monitor System
²Personal Settings (Customer Programmable Features)
²Compass display
²Outside temperature display
²Trip computer functions
²Audio Modes display
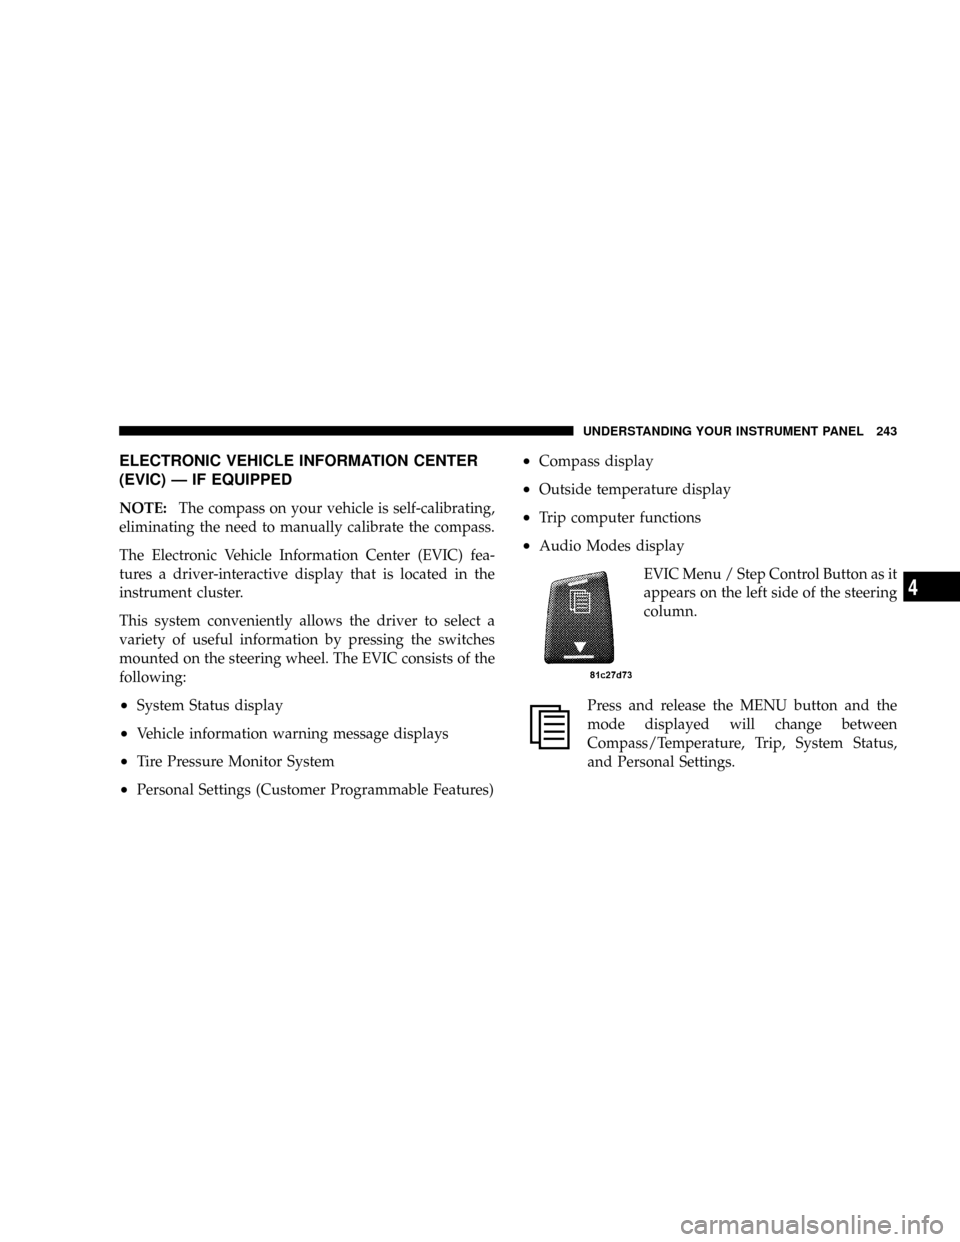
EVIC Menu / Step Control Button as it
appears on the left side of the steering
column.
Press and release the MENU button and the
mode displayed will change between
Compass/Temperature, Trip, System Status,
and Personal Settings.
UNDERSTANDING YOUR INSTRUMENT PANEL 243
4
Page 254 of 531

when exiting the vehicle. To make your selection, press
and release the RESET button until 0, 30, 60, or 90
appears.
Turn Headlights On with Remote Key Unlock
When this feature is selected, the headlights will activate
and remain on for up to 90 seconds when the doors are
unlocked with the remote keyless entry transmitter. To
make your selection, press and release the RESET button
until OFF, 30 sec., 60 sec., or 90 sec. appears.
Delay Power Off to Accessories Until Exit
When this feature is selected, the power window
switches, radio, hands±free system (if equipped), DVD
video system (if equipped), power sunroof (if equipped),
and power outlets will remain active for up to 10 minutes
after the ignition switch is turned off. Opening a vehicle
door will cancel this feature. To make your selection,
press and release the RESET button until Off, 45 sec., 5
min., or 10 min. appears.
Rear Park Assist System Ð If Equipped
When ENABLE is selected, the Rear Park Assist System is
activated. When DISABLE is selected, the System is
deactivated and, the instrument cluster will display the
9PARK ASSIST DISABLED9message.
Display Units of Measure in
The EVIC, odometer, and navigation system (if
equipped) can be changed between English and Metric
units of measure. To make your selection, press and
release the RESET button until US or METRIC appears.
RADIO GENERAL INFORMATION
RADIO BROADCAST SIGNALS
Your radio will provide excellent reception under most
operating conditions. Like any system, however, car
radios have performance limitations, due to mobile op-
eration and natural phenomena, which might lead you to
believe your sound system is malfunctioning. To help
252 UNDERSTANDING YOUR INSTRUMENT PANEL
Page 334 of 531
the instrument cluster will display transmission gear
selection as 6, 5, 4, 3, 2, 1 for six-speed and 4, 3, 2, 1 for
four-speed transmissions.
Gear Ranges
DO NOT race the engine when shifting the gear selector
lever from PARK or NEUTRAL positions into another
gear range.
PARK
Shifting the gear selector lever in PARK supplements the
parking brake by locking the transmission. The engine
can be started in this gear. Never attempt to use PARK
while vehicle is in motion. Apply the parking brake when
leaving the vehicle in this gear.
When parking on a flat surface, place the shift lever in the
PARK position first, and then apply the parking brake.When parking on a hill, it is important to set the parking
brake before placing the shift lever in PARK, otherwise
the load on the transmission locking mechanism may
make it difficult to move the shift lever out of PARK. As
an added precaution, turn the front wheels toward the
curb on a downhill grade and away from the curb on an
uphill grade.
WARNING!
Never use PARK position on an automatic transmis-
sion as a substitute for the parking brake. Always
apply parking brake fully when parked to guard
against vehicle movement and possible injury or
damage.
332 STARTING AND OPERATING
Page 338 of 531
Switching from ERS to D-Mode (Drive) can be done at
any vehicle speed. To shift from ªDriveº mode to ªERSº
mode, move gear selector lever to the left (-) once. The
current gear will be maintained as the top gear. To disable
ERS, simply press and hold the gear selector lever to the
right (+) until ªDº is displayed in the instrument cluster
odometer.
WARNING!
Do not downshift for additional engine braking on a
slippery surface. The drive wheels could lose their
grip and the vehicle could skid causing an accident or
personal injury.
Odometer
Screen Display12 34 5 6D
Actual Gear(s)
Allowed Ð
Six-Speed
Transmission1 1-2 1-3 1-4 1-5 1-6 1-6
Actual Gear(s)
Allowed Ð
Four-Speed
Transmission1 1-2 1-3 1-4 N/A N/A 1±4
NOTE:To select the proper gear position for maximum
deceleration (engine braking), simply press and hold the
gear selector lever to the left (-). The transmission will
shift to the range from which the vehicle can best be
slowed down.
336 STARTING AND OPERATING
Page 339 of 531
Reset Mode - Electronic Transmission
The transmission is monitored electronically for abnor-
mal conditions. If a condition is detected that could cause
damage, the transmission automatically shifts into 2nd
gear (3rd gear for six-speed). The transmission remains in
2nd gear (3rd gear for six-speed) despite the forward gear
selected. PARK, REVERSE, and NEUTRAL will continue
to operate. This Reset feature allows the vehicle to be
driven to an authorized dealer for service without dam-
aging the transmission.
In the event of a momentary problem, the transmission
can be reset to regain all forward gears by performing the
following steps:
1. Stop the vehicle.
2. Shift into PARK.
3. Turn the ignition switch to the LOCK position.
4. Restart the engine.5. Shift into the desired gear range and resume driving.
NOTE:Even if the transmission can be reset, it is
recommended that you visit an authorized dealer at your
earliest possible convenience. Your authorized dealer has
diagnostic equipment to determine if the problem could
recur.
If the transmission cannot be reset, authorized dealer
service is required.
PARKING BRAKE
When the parking brake is applied with the ignition
switch ON, the brake light in the instrument cluster will
turn on.
NOTE:This light only shows that the parking brake is
applied. It does not show the degree of brake application.
Before leaving the vehicle, make sure that the parking
brake is fully applied by depressing the pedal located at
the bottom left of the instrument panel and place the gear
STARTING AND OPERATING 337
5
Page 345 of 531
spinning faster than the other, the system will apply the
brake of the spinning wheel. This will allow more engine
torque to be applied to the wheel that is not spinning.
This feature remains active even if the ESP is in the
ªPartial Offº mode.
The Traction Control System (TCS) Indicator
Light, located in the instrument cluster, starts
to flash as soon as the tires lose traction and the
wheels begin to spin. This indicates that the
TCS is active. If the indicator light flashes during accel-
eration, ease up on the accelerator and apply as little
throttle as possible. Be sure to adapt your speed and
driving to the prevailing road conditions, and do not
switch off the ESP or TCS.WARNING!
²The TCS cannot prevent the natural laws of phys-
ics from acting on the vehicle, nor can it increase
the traction afforded.
²The TCS cannot prevent accidents, including those
resulting from excessive speed in turns, or hydro-
planing. Only a safe, attentive, and skillful driver
can prevent accidents.
²The capabilities of a TCS-equipped vehicle must
never be exploited in a reckless or dangerous
manner, which could jeopardize the user's safety
or the safety of others.
STARTING AND OPERATING 343
5