Page 81 of 494
Do not run the engine in a closed garage or in confined
areas any longer than needed to move your vehicle in or
out of the area.
If it is necessary to sit in a parked vehicle with the engine
running, adjust your heating or cooling controls to force
outside air into the vehicle. Set the blower at high speed.
WARNING!
If you are required to drive with the deck lid open,
make sure that all windows are closed, and the
climate control blower switch is set at high speed.
DO NOT use the recirculation mode.
Safety Checks You Should Make Inside The
Vehicle
Seat Belts
Inspect the belt system periodically, checking for cuts,
frays and loose parts. Damaged parts must be replaced
immediately. Do not disassemble or modify the system.
Front seat belt assemblies must be replaced after a
collision. Rear seat belt assemblies must be replaced after
a collision if they have been damaged (bent retractor, torn
webbing, etc.). If there is any question regarding belt or
retractor condition, replace the belt.
Airbag Light
The light should come on and remain on for six to eight
seconds as a bulb check when the ignition switch is first
turned ON. If the LED is not lit during starting, have it
checked. If the light stays on or comes on while driving,
have the system checked by an authorized dealer.
THINGS TO KNOW BEFORE STARTING YOUR VEHICLE 79
2
Page 128 of 494
Heated Seats — If Equipped
This feature heats leather or cloth front driver and
passenger seats. The controls for the heated seats are
located in the center console above the climate controls.
There are indicator lights in the switches, which indicate
a low heat setting (one light lit) or high heat setting (two
lights lit).
Press the switch once to select high-level heating. Press
the switch a second time to select low-level heating. Press
the switch a third time to shut off the heating elements.
Heated Seat Switches
126 UNDERSTANDING THE FEATURES OF YOUR VEHICLE
Page 151 of 494
Similar to this Canadian law, some U.S. gate operators are
designed to “time-out” in the same manner.
It may be helpful to unplug the device during the cycling
process to prevent possible overheating of the garage
door or gate motor.
If you are having difficulties programming a garage door
opener or a gate operator, replace “Programming
HomeLink�” Step 3 with the following:
3. Continue to press and hold the HomeLink�button
while you press and release - every two seconds
(“cycle”) your hand-held transmitter until HomeLink�
has successfully accepted the frequency signal. The
indicator light will flash slowly and then rapidly when
fully trained.
If you unplugged the device for training, plug it back in
at this time.Then proceed with Step 4 under “Programming
HomeLink�” earlier in this section.
Using HomeLink�
To operate, simply press and release the programmed
HomeLink�button. Activation will now occur for the
trained device (i.e., garage door opener, gate operator,
Security system, entry door lock, home/office lighting,
etc. The hand-held transmitter of the device may also be
used at any time.
Reprogramming A Single HomeLink�Button
To re-program a channel that has been previously
trained, follow these steps:
1. Turn the ignition switch to the ON/RUN position.
2. Press and hold the desired HomeLink�button until
the indicator light begins to flash after 20 seconds.Do not
release the button.
UNDERSTANDING THE FEATURES OF YOUR VEHICLE 149
3
Page 170 of 494
�Video Entertainment System (VES)�—
If Equipped...........................240
�Radio Operation And Cellular Phones........242
�CD/DVD Disc Maintenance...............242
�Climate Controls.......................243
▫Manual Air Conditioning And Heating
System.............................243▫Automatic Temperature Control (ATC) —
If Equipped.........................248
▫Operating Tips.......................254
�Rear Window Features...................258
▫Electric Rear Window Defroster —
If Equipped.........................258
168 UNDERSTANDING YOUR INSTRUMENT PANEL
Page 245 of 494
3. Do not apply paper, paper CD labels, or tape to the
disc; avoid scratching the disc.
4. Do not use solvents such as benzine, thinner, cleaners,
or antistatic sprays.
5. Store the disc in its case after playing.
6. Do not expose the disc to direct sunlight.
7. Do not store the disc where temperatures may become
too high.
8. Do not play discs that are small in size or have
irregular shapes.CLIMATE CONTROLS
The Air Conditioning and Heating System is designed to
make you comfortable in all types of weather.
Manual Air Conditioning and Heating System
The Manual Temperature Controls consist of a series of
outer rotary dials and inner push knobs.
UNDERSTANDING YOUR INSTRUMENT PANEL 243
4
Page 251 of 494
accomplish this, the system gathers information from the
cabin infrared sensor mounted between the sun-visors
and from various sensors located throughout the vehicle.
The controls on the climate control provide the system
with operator input. Other sensors take account of ve-
hicle speed, A/C pressure, outside temperature, and
engine cooling temperature. Using all of these inputs, the
system automatically adjusts airflow temperature, air-
flow distribution, airflow volume, and the amount of
outside air recirculation. This maintains a comfortable
temperature even under changing conditions.
Operation of the system is quite simple.
1. Turn the Mode Control knob (on the right) and the
Blower Control knob (on the left) to AUTO.
NOTE:The AUTO position performs best for front seat
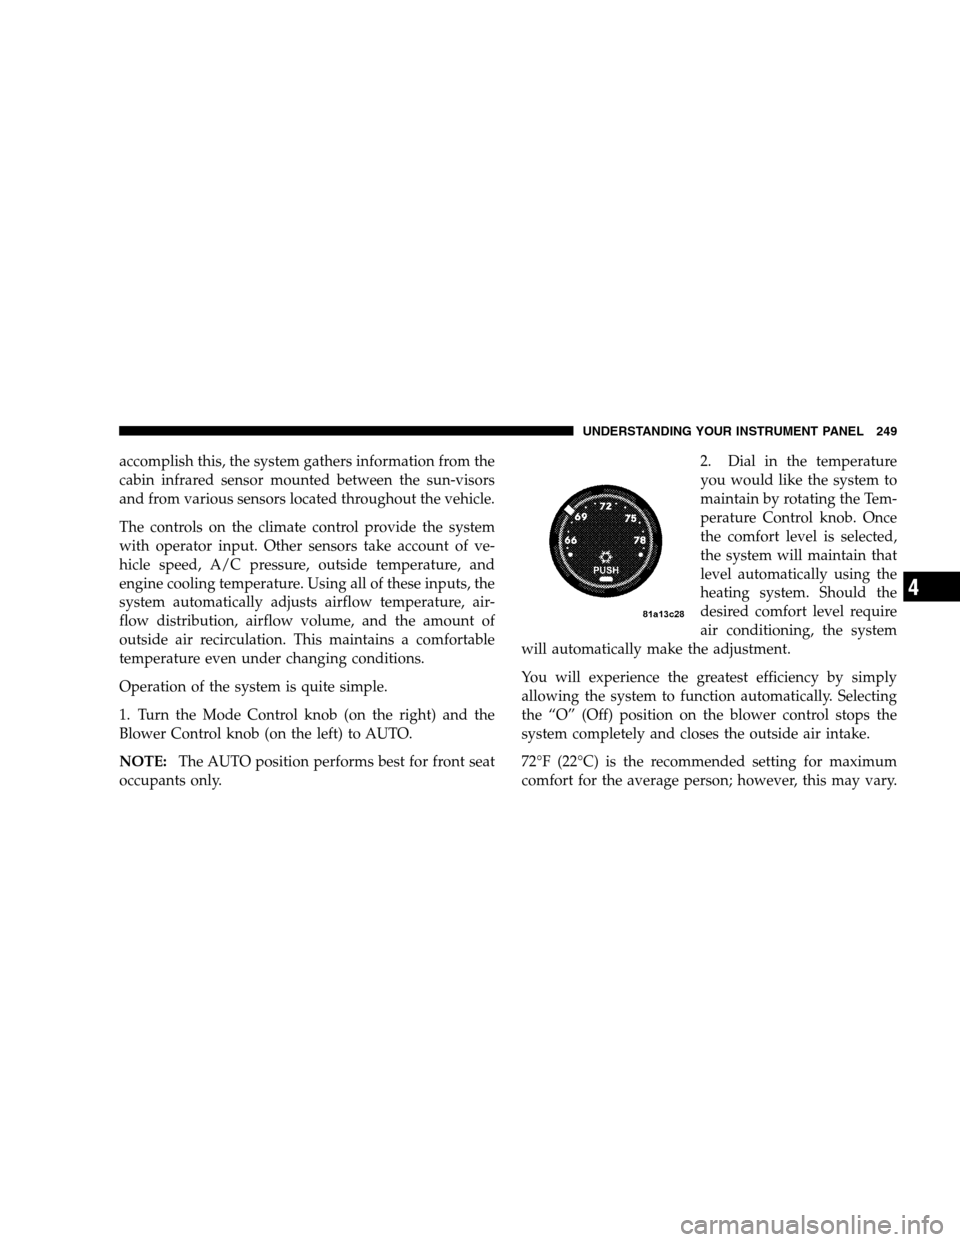
occupants only.2. Dial in the temperature
you would like the system to
maintain by rotating the Tem-
perature Control knob. Once
the comfort level is selected,
the system will maintain that
level automatically using the
heating system. Should the
desired comfort level require
air conditioning, the system
will automatically make the adjustment.
You will experience the greatest efficiency by simply
allowing the system to function automatically. Selecting
the “O” (Off) position on the blower control stops the
system completely and closes the outside air intake.
72°F (22°C) is the recommended setting for maximum
comfort for the average person; however, this may vary.
UNDERSTANDING YOUR INSTRUMENT PANEL 249
4
Page 256 of 494
Recirculation to be selected while in floor, defrost, or
defrost/floor mode. Attempting to use the recircula-
tion while in these modes will cause the LED in the
control button to blink and then turn off.
•Most of the time, when in Automatic Operation, you
can temporarily put the system into Recirculation
Mode by pressing the Recirculation Button. However,
under certain conditions, while in Automatic Mode,
the system is blowing air out the defrost vents. When
these conditions are present, and the Recirculation
Button is pressed, the indicator will flash and then
turn off. This tells you that you are unable to go into
recirculation mode at this time. If you would like the
system to go into Recirculation Mode, you must first
move the Mode Knob to Panel, Panel/Floor and then
press the Recirculation Button. This feature reduces
the possibility of window fogging.
Operating Tips
NOTE:Refer to the chart at the end of this section for
suggested control settings for various weather condi-
tions.
Summer Operation
The engine cooling system in air-conditioned vehicles
must be protected with a high-quality antifreeze coolant
to provide proper corrosion protection and to protect
against engine overheating. A 50% solution of ethylene
glycol antifreeze coolant in water is recommended. Refer
to “Maintenance Procedures” in Section 7 of this manual
for proper coolant selection.
Winter Operation
Use of the air Recirculation mode during winter months
is not recommended because it may cause window
fogging.
254 UNDERSTANDING YOUR INSTRUMENT PANEL
Page 257 of 494
Vacation Storage
Anytime you store your vehicle, or keep it out of service
(i.e. vacation) for two weeks or more, run the air condi-
tioning system at idle for about five minutes in the fresh
air and high blower settings. This will insure adequate
system lubrication to minimize the possibility of com-
pressor damage when the system is started again.
Window Fogging
Interior fogging on the windshield can be quickly re-
moved by turning the mode selector to Defrost. The
Defrost/Floor mode can be used to maintain a clear
windshield and provide sufficient heating. If side win-
dow fogging becomes a problem, increase blower speed.
Vehicle windows tend to fog on the inside in mild but
rainy or humid weather.
NOTE:Recirculate without A/C should not be used for
long periods as fogging may occur.
Side Window Demisters
A side window demister outlet is located at each end of
the instrument panel. These non-adjustable outlets direct
air toward the side windows when the system is in the
FLOOR, MIX, or DEFROST mode. The air is directed at
the area of the windows through which you view the
outside mirrors.
Outside Air Intake
Make sure the air intake, located directly in front of the
windshield, is free of obstructions such as leaves. Leaves
collected in the air intake may reduce airflow, and if they
enter the plenum, they could plug the water drains. In
winter months, make sure the air intake is clear of ice,
slush, and snow.
UNDERSTANDING YOUR INSTRUMENT PANEL 255
4