Page 239 of 494

or turning the TUNE/SCROLL control knob within five
seconds will allow the program format type to be se-
lected.
Toggle the MUSIC TYPE button again to select the music
type.
By pressing the SEEK button when the Music Type
function is active, the radio will be tuned to the next
channel with the same selected Music Type name.
If a preset button is activated while in the Music Type
(Program Type) mode, the Music Type mode will be
exited and the radio will tune to the preset channel.
SETUP Button
Pressing the SETUP button allows you to select the
following items:
•Display Sirius ID number — Press the AUDIO/
SELECT button to display the Sirius ID number. This
number is used to activate, deactivate, or change the
Sirius subscription.
SET Button – To Set the Pushbutton Memory
When you are receiving a channel that you wish to
commit to pushbutton memory, press the SET button.
The symbol SET 1 will now show in the display window.
Select the button (1-6) you wish to lock onto this channel
and press and release that button. If a button is not
selected within five seconds after pressing the SET but-
ton, the channel will continue to play but will not be
stored into pushbutton memory.
You may add a second channel to each pushbutton by
repeating the above procedure with this exception: Press
the SET button twice and SET 2 will show in the display
window. Each button can be set for SET 1 and SET 2. This
allows a total of 12 Satellite channels to be stored into
UNDERSTANDING YOUR INSTRUMENT PANEL 237
4
Page 240 of 494
pushbutton memory. The channels stored in SET 2
memory can be selected by pressing the pushbutton
twice.
Every time a preset button is used, a corresponding
button number will display.
Buttons1-6
These buttons tune the radio to the channels that you
commit to pushbutton memory (12 Satellite stations).
Operating Instructions - Hands-Free Phone (If
Equipped)
Refer to “Hands-Free Communication (UConnect�)” in
Section 3.
Operating Instructions - Video Entertainment
System (VES�) (If Equipped)
Refer to separate “Video Entertainment System (VES�)
Guide.”
REMOTE SOUND SYSTEM CONTROLS — IF
EQUIPPED
The remote sound system controls are located on the rear
surface of the steering wheel. Reach behind the wheel to
access the switches.
Remote Sound Controls
238 UNDERSTANDING YOUR INSTRUMENT PANEL
Page 241 of 494

The right hand control is a rocker type switch with a push
button in the center. Pressing the top of the switch will
increase the volume and pressing the bottom of the
switch will decrease the volume.
The button located in the center of the right hand control
will switch modes to Radio or CD.
The left hand control is a rocker type switch with a push
button in the center. The function of the left hand control
is different depending on mode.
The following describes the left hand control operation in
each mode.
Radio Operation
Pressing the top of the switch will SEEK up for the next
listenable station and pressing the bottom of the switch
will SEEK down for the next listenable station.The button located in the center of the left hand control
will tune to the next pre-set station that you have
programmed in the radio pre-set push-buttons.
CD Player
Pressing the top of the switch once will go to the next
track on the CD. Pressing the bottom of the switch once
will go to the beginning of the current track or to the
beginning of the previous track if it is within one second
after the current track begins to play.
If you press the switch up or down twice it plays the
second track, three times, it will play the third, etc.
The button in the center of the left hand switch changes
CDs on the Six-Disc in-dash CD changer radio. This
button does not function for all other radios.
UNDERSTANDING YOUR INSTRUMENT PANEL 239
4
Page 243 of 494
NOTE:Close the armrest after the LCD screen has been
raised to its viewing position.
•The touch screen radio and DVD player controls allow
front seat operation for easy setup in the case of
younger rear seat passengers.
•A battery-powered infrared remote control snaps into
a molded compartment in the center console armrest
upper storage bin.
•Two wireless infrared headsets allow rear seat passen-
gers to listen to the same or individual audio sources.
VES�Video Screen
VES�Remote Control
UNDERSTANDING YOUR INSTRUMENT PANEL 241
4
Page 244 of 494

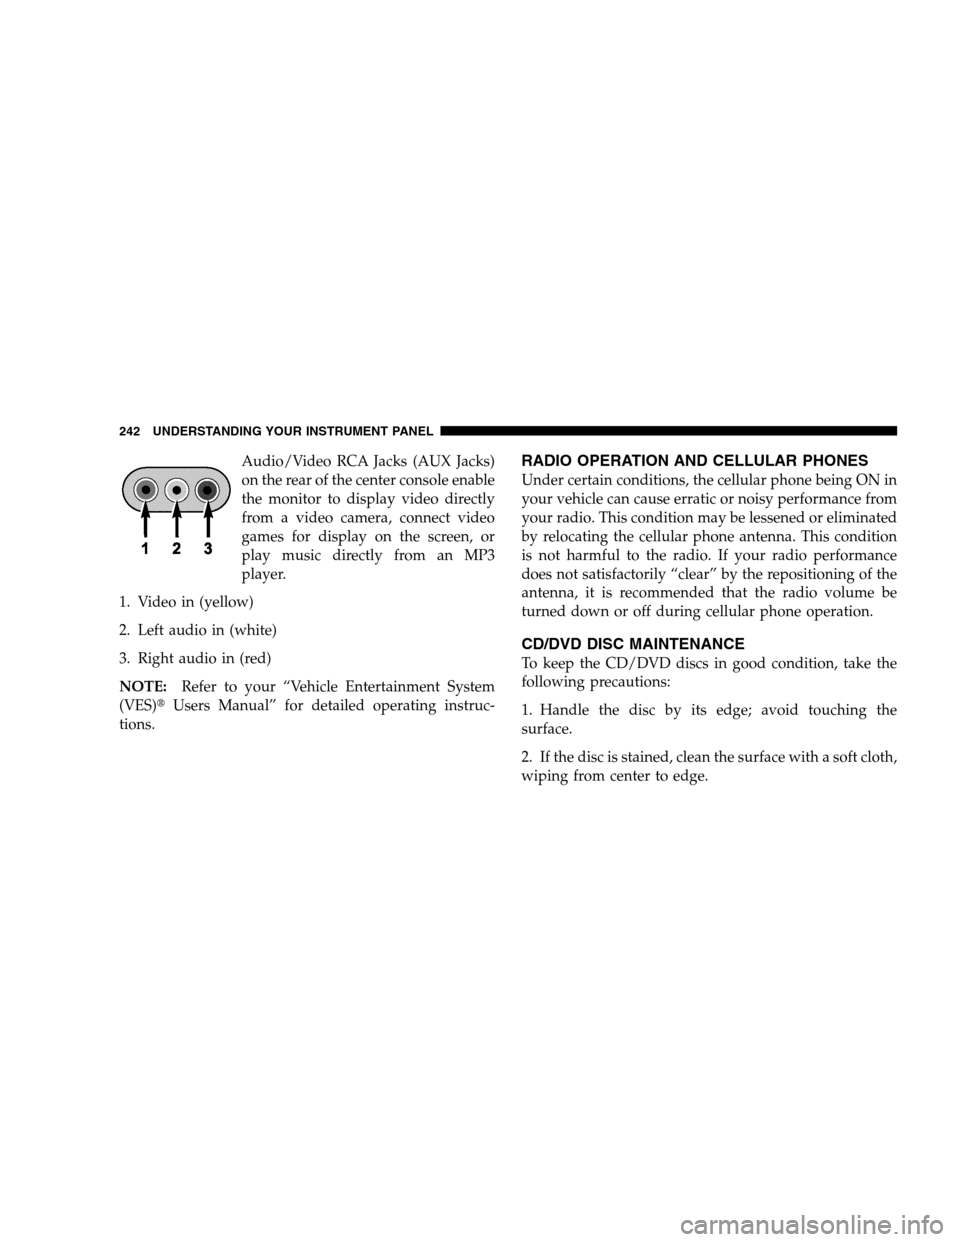
Audio/Video RCA Jacks (AUX Jacks)
on the rear of the center console enable
the monitor to display video directly
from a video camera, connect video
games for display on the screen, or
play music directly from an MP3
player.
1. Video in (yellow)
2. Left audio in (white)
3. Right audio in (red)
NOTE:Refer to your “Vehicle Entertainment System
(VES)�Users Manual” for detailed operating instruc-
tions.RADIO OPERATION AND CELLULAR PHONES
Under certain conditions, the cellular phone being ON in
your vehicle can cause erratic or noisy performance from
your radio. This condition may be lessened or eliminated
by relocating the cellular phone antenna. This condition
is not harmful to the radio. If your radio performance
does not satisfactorily “clear” by the repositioning of the
antenna, it is recommended that the radio volume be
turned down or off during cellular phone operation.
CD/DVD DISC MAINTENANCE
To keep the CD/DVD discs in good condition, take the
following precautions:
1. Handle the disc by its edge; avoid touching the
surface.
2. If the disc is stained, clean the surface with a soft cloth,
wiping from center to edge.
242 UNDERSTANDING YOUR INSTRUMENT PANEL
Page 286 of 494

When the vehicle is driven over 7 mph (11 km/h), you
may also hear a slight clicking sound as well as some
related motor noises. These noises are the system per-
forming its self-check cycle to ensure that the ABS system
is working properly. This self check occurs each time the
vehicle is started and accelerated past 7 mph (11 km/h).
ABS is activated during braking under certain road or
stopping conditions. ABS-inducing conditions can in-
clude ice, snow, gravel, bumps, railroad tracks, loose
debris, or panic stops.
You also may experience the following when the brake
system goes into Anti-lock:
•The ABS motor running (it may continue to run for a
short time after the stop),
•the clicking sound of solenoid valves,
•brake pedal pulsations,
•and a slight drop or fall away of the brake pedal at the
end of the stop.
These are all normal characteristics of ABS.
WARNING!
The Anti-Lock Brake System contains sophisticated
electronic equipment that may be susceptible to
interference caused by improperly installed or high
output radio transmitting equipment. This interfer-
ence can cause possible loss of anti-lock braking
capability. Installation of such equipment should be
performed by qualified professionals.
All vehicle wheels and tires must be the same size and
type and tires must be properly inflated to produce
accurate signals for the computer.
284 STARTING AND OPERATING
Page 319 of 494

Tire Pressure Monitoring Low Pressure Warnings
The Tire Pressure Monitoring Telltale Light will
illuminate in the instrument cluster and a chime
will sound when tire pressure is low in one or
more of the four active road tires. Should this occur, you
should stop as soon as possible, check the inflation
pressure of each tire on your vehicle, and inflate each tire
to the vehicle’s recommended cold placard pressure
value. Once the system receives the updated tire pres-
sures, the system will automatically update and the Tire
Pressure Monitoring Telltale Light will turn off. The
vehicle may need to be driven for up to 10 minutes above
15 mph (25 km/h) in order for the TPMS to receive this
information.
Check TPMS Warning
The Tire Pressure Monitoring Telltale Light will flash on
and off for 75 seconds and then remain on solid when a
system fault is detected. The system fault will also sound
a chime. If the ignition key is cycled, this sequence willrepeat, providing the system fault still exists. The Tire
Pressure Monitoring Telltale Light will turn off when the
fault condition no longer exists. A system fault can occur
due to any of the following:
1. Jamming due to electronic devices or driving next to
facilities emitting the same Radio Frequencies as the TPM
sensors.
2. Installing some form of aftermarket window tinting
that affects radio wave signals.
3. Lots of snow or ice around the wheels or wheel
housings.
4. Using tire chains on the vehicle.
5. Using wheels/tires not equipped with TPM sensors.
STARTING AND OPERATING 317
5
Page 323 of 494

If the ignition key is cycled, this sequence will repeat,
providing the system fault still exists. If the system fault
no longer exists, the Tire Pressure Monitoring Telltale
Light will no longer flash, and the�CHECK TPM SYS-
TEM�message will no longer display, and a pressure
value will display in place of the dashes. A system fault
can occur due to any of the following:
1. Jamming due to electronic devices or driving next to
facilities emitting the same Radio Frequencies as the TPM
sensors.
2. Installing some form of aftermarket window tinting
that affects radio wave signals.
3. Lots of snow or ice around the wheels or wheel
housings.
4. Using tire chains on the vehicle.
5. Using wheels/tires not equipped with TPM sensors.NOTE:
1. The compact spare tire (if so equipped) does not have
a tire pressure monitoring sensor. Therefore, the TPMS
will not monitor the pressure in the compact spare tire.
2. If you install the compact spare tire in place of a road
tire that has a pressure below the low-pressure warning
limit, upon the next ignition key cycle, the TPM Telltale
Light will remain ON, a chime will sound, and the EVIC
will still display a flashing pressure value in the graphic
display.
3. After driving the vehicle for up to 10 minutes above 15
mph (25 km/h), the TPM Telltale Light will flash on and
off for 75 seconds and then remain on solid. In addition,
the EVIC will display a�CHECK TPM SYSTEM�message
for 3 seconds and then display dashes (- -) in place of the
pressure value.
STARTING AND OPERATING 321
5