Page 158 of 494
Electrical Outlet Use With Engine Off
CAUTION!
•Many accessories that can be plugged in draw
power from the vehicle’s battery, even when not in
use (i.e., cellular phones, etc.). Eventually, if
plugged in long enough, the vehicle’s battery will
discharge sufficiently to degrade battery life
and/or prevent engine starting.
•Accessories that draw higher power (i.e., coolers,
vacuum cleaners, lights, etc.) will degrade the
battery even more quickly. Only use these inter-
mittently and with greater caution.
•After the use of high power draw accessories, or
long periods of the vehicle not being started (with
accessories still plugged in), the vehicle must be
driven a sufficient length of time to allow the
generator to recharge the vehicle’s battery.
CIGAR LIGHTER AND ASH RECEIVER — IF
EQUIPPED
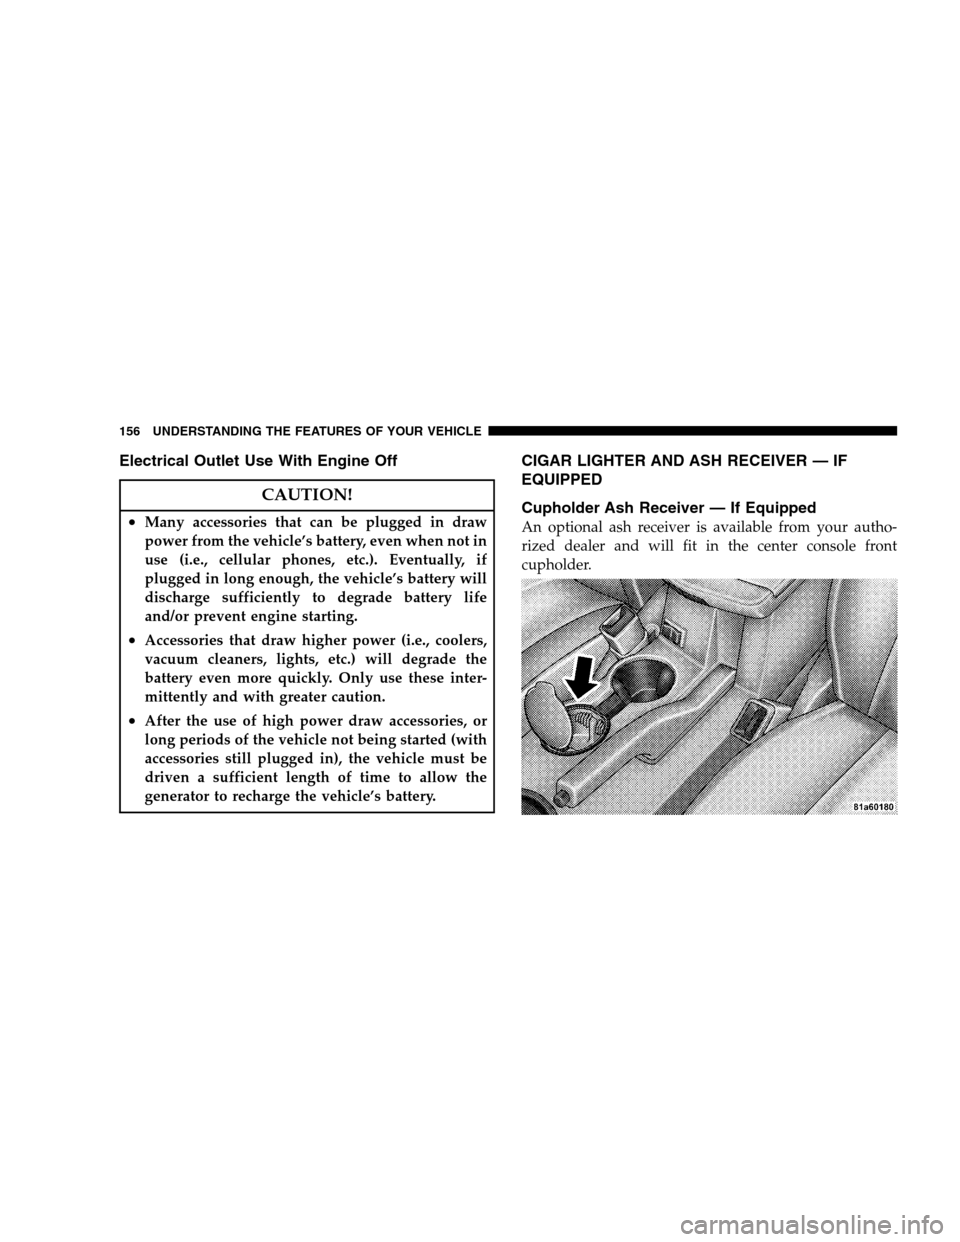
Cupholder Ash Receiver — If Equipped
An optional ash receiver is available from your autho-
rized dealer and will fit in the center console front
cupholder.
156 UNDERSTANDING THE FEATURES OF YOUR VEHICLE
Page 187 of 494

•RKE (Remote Keyless Entry) Battery Low (with a
single chime)
•Personal Settings Not Available – Vehicle Not In
PARK.
•Left/Right Door Ajar (one or more, with a single
chime if speed is above 1 mph / 1 km h)
•Door(s) Ajar (with a single chime if vehicle is in
motion)
•Trunk Ajar (with a single chime)
•Headlights On
•Key In Ignition
•Speed Too High (with a single chime)
•Oil Change Required (with a single chime)
Oil Change Required
Your vehicle is equipped with an engine oil change
indicator system. The Oil Change Required message will
flash in the EVIC display for approximately 10 seconds
after a single chime has sounded to indicate the next
scheduled oil change interval. The engine oil change
indicator system is duty cycle based, which means the
engine oil change interval may fluctuate dependent upon
your personal driving style.
Unless reset, this message will continue to display each
time you turn the ignition switch to the ON/RUN
position. To turn off the message temporarily, press and
release the MENU button. To reset the oil change indica-
tor system (after performing the scheduled maintenance)
perform the following procedure:
1. Turn the ignition switch to the ON position (Do not
start the engine).
UNDERSTANDING YOUR INSTRUMENT PANEL 185
4
Page 232 of 494

•the iPod�battery charges when plugged into the UCI
connector.
Connecting The iPod�Device
Use the optional connection cable to connect an iPod�to
the vehicle’s UCI connector (which is located in the glove
box on some vehicles. This location may vary with
vehicle). Once the iPod�is connected and synchronized
to the vehicle system (this may take a few seconds to
connect), the vehicle brand logo appears on the iPod�
display, and it starts charging and is ready for use by
pressing radio switches as described below.
Controlling The iPod�Using Radio Buttons
To get into the UCI (iPod�) mode and access a connected
iPod�, press the AUX button on the radio faceplate. Once
in the UCI (iPod�) mode, the iPod�audio track (if
available from iPod�) will start playing over the vehicle
audio system.
Play Mode
When switched to UCI mode the iPod�will be in Play
mode. In Play mode, you may use the following buttons
on the radio faceplate to control the iPod�and display
data:
TUNE/SCROLL Knob
Use the TUNE/SCROLL knob to go to the next or
previous track.
The TUNE/SCROLL knob functions similar to the scroll
wheel on the iPod�mobile digital device.
Turning it clockwise (forward) by one click while playing
a track skips to the next track.
Turning it counterclockwise (backward) by one click
during the first two seconds of the track will jump to the
previous track in the list and turning this button at any
other time in the track will jump to the beginning of the
current track.
230 UNDERSTANDING YOUR INSTRUMENT PANEL
Page 243 of 494
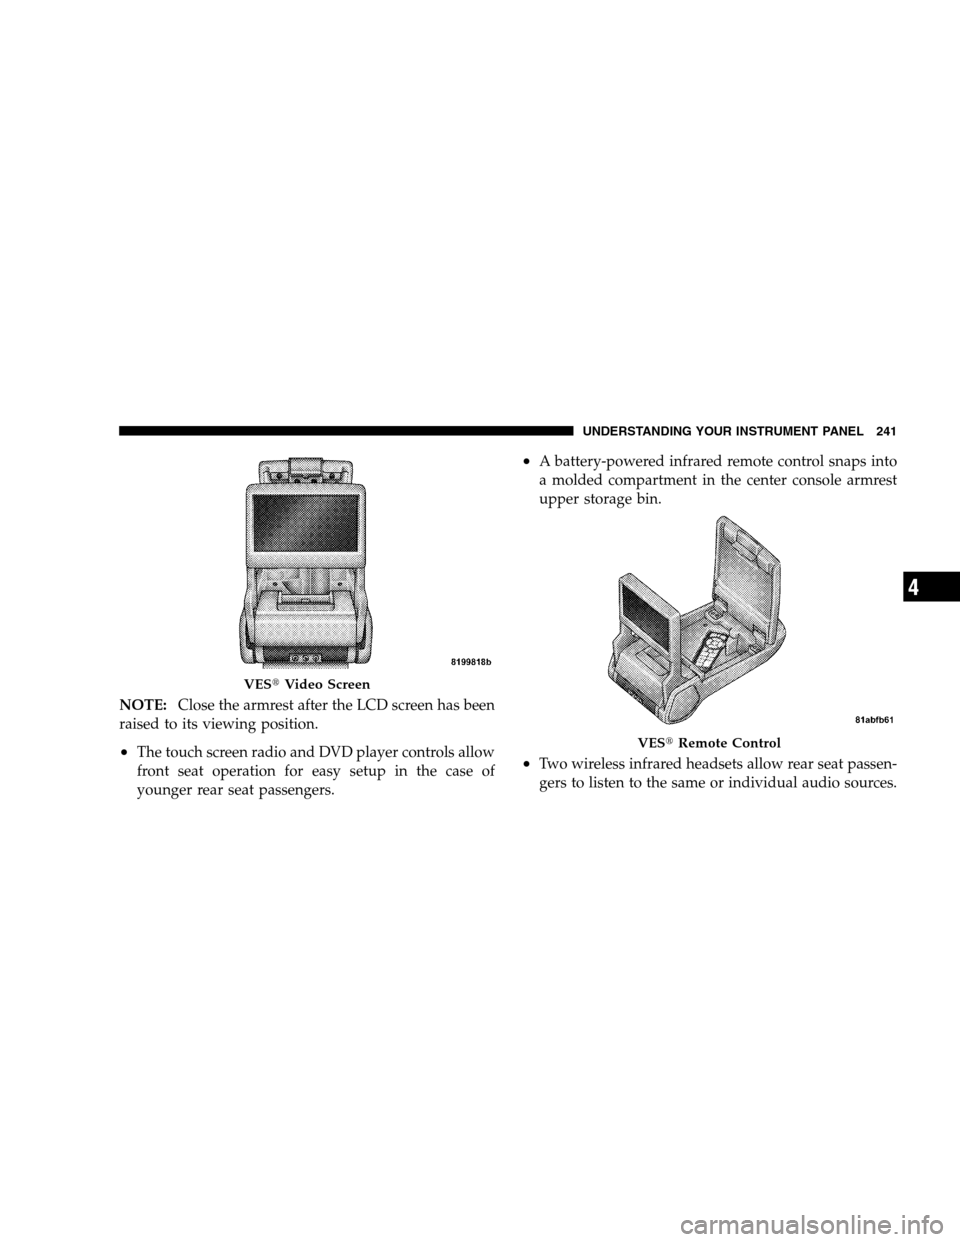
NOTE:Close the armrest after the LCD screen has been
raised to its viewing position.
•The touch screen radio and DVD player controls allow
front seat operation for easy setup in the case of
younger rear seat passengers.
•A battery-powered infrared remote control snaps into
a molded compartment in the center console armrest
upper storage bin.
•Two wireless infrared headsets allow rear seat passen-
gers to listen to the same or individual audio sources.
VES�Video Screen
VES�Remote Control
UNDERSTANDING YOUR INSTRUMENT PANEL 241
4
Page 267 of 494
Normal Starting
Normal Starting of either a cold or a warm engine does
not require pumping or depressing the accelerator pedal.
Simply turn the ignition switch to the “START” position
and release when the engine starts. If the engine fails to
start within 15 seconds, turn the ignition switch to the
“LOCK” position, wait 10 to 15 seconds, then repeat the
normal starting procedure.WARNING!
Do not attempt to push or tow your vehicle to get it
started. Vehicles equipped with an automatic trans-
axle cannot be started this way. Unburned fuel could
enter the catalytic converter and once the engine has
started, ignite and damage the converter and vehicle.
If the vehicle has a discharged battery, booster cables
may be used to obtain a start from another vehicle.
This type of start can be dangerous if done improp-
erly, so follow the procedure carefully. See section 6
of this manual for jump starting instructions.
STARTING AND OPERATING 265
5
Page 271 of 494
NOTE:When the vehicle is in the Remote Start mode,
power window and sunroof operation are disabled for
security.
The following conditions must be met before the engine
will remote start:
•Automatic Transaxle in Park
•All doors are closed
•Hood is closed
•Hazard Switch is off
•Brake Switch is inactive
•Key is not in the ignition
•Battery is at an acceptable charge level
•Panic button on key fob is not depressed
ENGINE BLOCK HEATER — IF EQUIPPED
The engine block heater warms engine coolant and
permits quicker starts in cold weather. Connect the cord
to a standard 110-115 volt AC electrical outlet with a
grounded, three-wire extension cord.
The engine block heater cord is bundled under the hood
between the headlight assembly and the Totally Inte-
grated Power Module (Fuse Box) on the driver side of the
vehicle.
WARNING!
Remember to disconnect the cord before driving.
Damage to the 110-115 volt electrical cord could cause
electrocution.
STARTING AND OPERATING 269
5
Page 274 of 494
BRAKE/TRANSAXLE INTERLOCK
This system prevents you from moving the gear selector
lever out of PARK and into any gear unless the brake
pedal is pressed. This system is active only while the
ignition switch is in the ON position.Always press the
brake pedal first, before moving the gear selector lever
out of PARK.
NOTE:If a malfunction occurs, the transaxle will not
shift out of PARK. Battery power is required to release the
brake/transaxle interlock system. However, there is an
override system that allows you to shift out of PARK in
case of loss of power. To activate the override system:
•Firmly apply the parking brake
•Insert the ignition key and rotate it to the ON position
•Remove the cup holder liner
•Insert a key, screwdriver, or finger into the front hole
then push and hold the manual override release lever
forward.
•While holding the release lever forward, move the
gear selector lever from PARK to NEUTRAL. Release
the manual override lever.
NOTE:If this occurs, even if the override is successful,
it is recommended that you visit a dealer at your earliest
possible convenience. Your dealer has diagnostic equip-
ment to determine if the problem could recur.
AUTOMATIC TRANSAXLE IGNITION INTERLOCK
SYSTEM
This system prevents the key from being removed unless
the gear selector lever is in PARK. It also prevents shifting
out of PARK unless the key is in the ON position and the
brake pedal is applied.
272 STARTING AND OPERATING
Page 353 of 494
WHAT TO DO IN EMERGENCIES
CONTENTS
�Hazard Warning Flasher..................353
�If Your Engine Overheats.................353
▫Engine Oil Overheating — 2.4L Engine Only
(If Equipped)........................355
�Jacking And Tire Changing................356
▫Jack Location........................356
▫Spare Tire Stowage....................356
▫Spare Tire Removal....................356
▫Preparations For Jacking................357▫Jacking Instructions....................358
�Jump-Starting Procedures Due To A Low
Battery..............................364
�Freeing A Stuck Vehicle..................367
�Towing A Disabled Vehicle................368
▫With The Ignition Key..................368
▫Without The Ignition Key...............369
▫Towing This Vehicle Behind Another Vehicle
(Flat Towing With All Four Wheels On The
Ground)............................369
6