Page 133 of 494
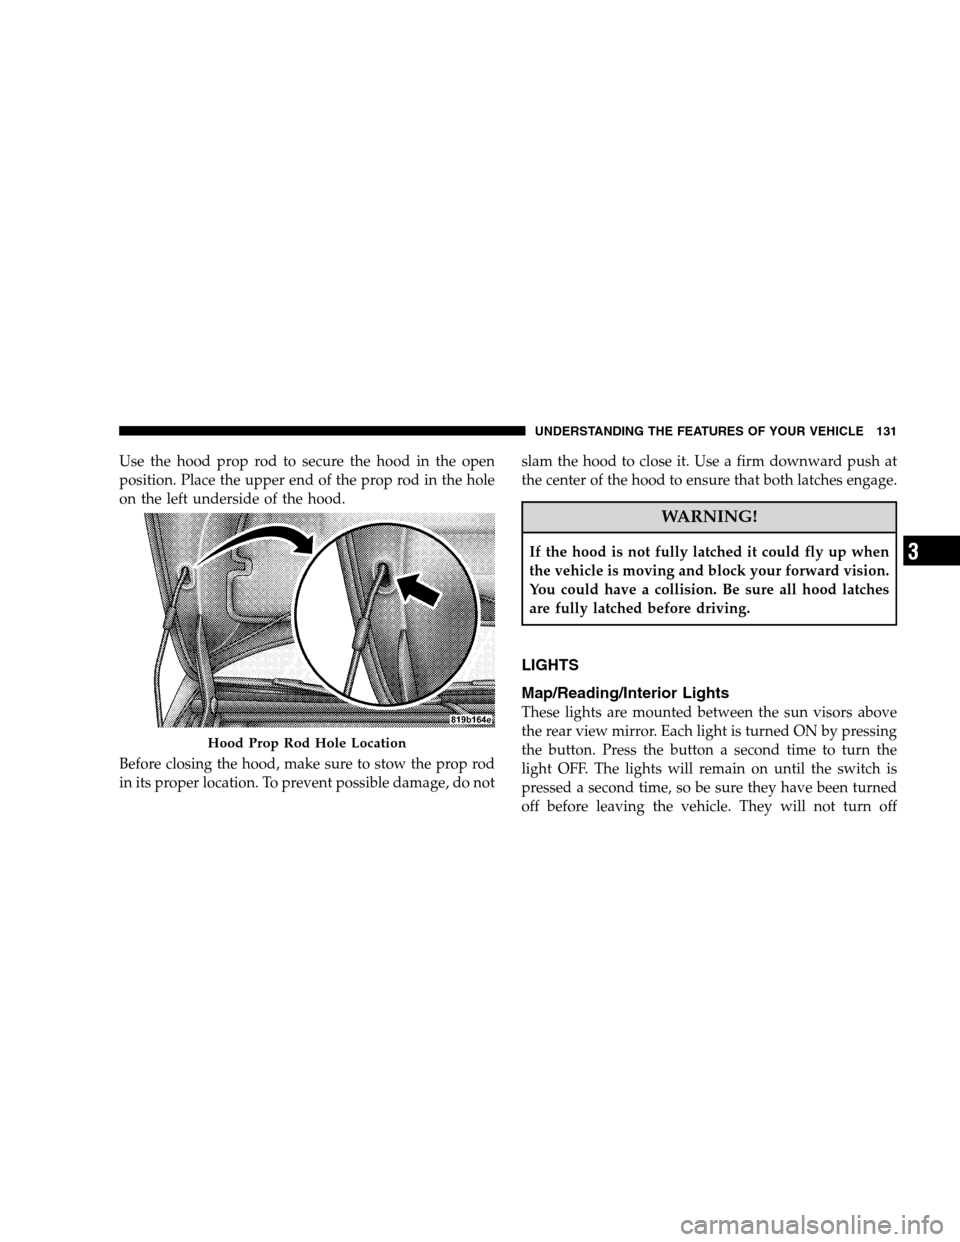
Use the hood prop rod to secure the hood in the open
position. Place the upper end of the prop rod in the hole
on the left underside of the hood.
Before closing the hood, make sure to stow the prop rod
in its proper location. To prevent possible damage, do notslam the hood to close it. Use a firm downward push at
the center of the hood to ensure that both latches engage.
WARNING!
If the hood is not fully latched it could fly up when
the vehicle is moving and block your forward vision.
You could have a collision. Be sure all hood latches
are fully latched before driving.
LIGHTS
Map/Reading/Interior Lights
These lights are mounted between the sun visors above
the rear view mirror. Each light is turned ON by pressing
the button. Press the button a second time to turn the
light OFF. The lights will remain on until the switch is
pressed a second time, so be sure they have been turned
off before leaving the vehicle. They will not turn off
Hood Prop Rod Hole Location
UNDERSTANDING THE FEATURES OF YOUR VEHICLE 131
3
Page 257 of 494
Vacation Storage
Anytime you store your vehicle, or keep it out of service
(i.e. vacation) for two weeks or more, run the air condi-
tioning system at idle for about five minutes in the fresh
air and high blower settings. This will insure adequate
system lubrication to minimize the possibility of com-
pressor damage when the system is started again.
Window Fogging
Interior fogging on the windshield can be quickly re-
moved by turning the mode selector to Defrost. The
Defrost/Floor mode can be used to maintain a clear
windshield and provide sufficient heating. If side win-
dow fogging becomes a problem, increase blower speed.
Vehicle windows tend to fog on the inside in mild but
rainy or humid weather.
NOTE:Recirculate without A/C should not be used for
long periods as fogging may occur.
Side Window Demisters
A side window demister outlet is located at each end of
the instrument panel. These non-adjustable outlets direct
air toward the side windows when the system is in the
FLOOR, MIX, or DEFROST mode. The air is directed at
the area of the windows through which you view the
outside mirrors.
Outside Air Intake
Make sure the air intake, located directly in front of the
windshield, is free of obstructions such as leaves. Leaves
collected in the air intake may reduce airflow, and if they
enter the plenum, they could plug the water drains. In
winter months, make sure the air intake is clear of ice,
slush, and snow.
UNDERSTANDING YOUR INSTRUMENT PANEL 255
4
Page 260 of 494
REAR WINDOW FEATURES
Electric Rear Window Defroster — If Equipped
The electric Rear Window Defroster Control is
located on the climate control. Press this button to
turn on the rear window defroster and the heated side
mirrors (if equipped). An LED in the button will illumi-
nate when the rear window defroster is ON. The de-
froster automatically turns off after approximately 10
minutes of operation for the first push of the button, and
will turn off after approximately five minutes for the
second push of the button.
CAUTION!
To avoid damaging the electrical conductors of the
rear window defroster, do not use scrapers, sharp
instruments, or abrasive window cleaners on the
interior surface of the window.
Labels can be peeled off after soaking with warm
water.
258 UNDERSTANDING YOUR INSTRUMENT PANEL
Page 266 of 494
STARTING PROCEDURES
Before starting your vehicle, adjust your seat, adjust both
inside and outside mirrors, and fasten your seat belt.
Make sure all occupants have securely fastened their seat
belts.
WARNING!
Never leave children alone in a vehicle. Leaving
children in a vehicle unattended is dangerous for a
number of reasons. A child or others could be seri-
ously or fatally injured. Don’t leave the keys in the
ignition. A child could operate power windows,
other controls, or move the vehicle.
WARNING!
Be sure to turn off the engine and remove the key
from the ignition switch if you want to rest or sleep
in your car. Accidents can be caused by inadvertently
moving the gear selection lever or by pressing the
accelerator pedal. This may cause excessive heat in
the exhaust system, resulting in overheating and
vehicle fire which may cause serious or fatal injuries.
Automatic Transaxle
The gear selector must be in the PARK or NEUTRAL
position before you can start the engine. Apply the brakes
before shifting to any driving gear.
NOTE:You must press the brake pedal before shifting
out of Park.
264 STARTING AND OPERATING
Page 412 of 494
•For grease stains, apply Mopar�Multi-Purpose
Cleaner to a clean, damp cloth and remove stain. Use
a fresh, damp towel to remove soap residue.
•Do not use any solvents or protectants on Yes Essen-
tials�products.
Cleaning Headlights
Your vehicle has plastic headlights that are lighter and
less susceptible to stone breakage than glass headlights.
Plastic is not as scratch resistant as glass and therefore
different lens cleaning procedures must be followed.
To minimize the possibility of scratching the lenses and
reducing light output, avoid wiping with a dry cloth. To
remove road dirt, wash with a mild soap solution fol-
lowed by rinsing.
Do not use abrasive cleaning components, solvents, steel
wool or other aggressive material to clean the lenses.
Glass Surfaces
All glass surfaces should be cleaned on a regular basis
with Mopar�Glass Cleaner or any commercial
household-type glass cleaner. Never use an abrasive type
cleaner. Use caution when cleaning the inside rear win-
dow equipped with electric defrosters or the right rear
quarter window equipped with the radio antenna. Do
not use scrapers or other sharp instruments, which may
scratch the elements.
When cleaning the rear view mirror, spray cleaner on the
towel or rag that you are using. Do not spray cleaner
directly on the mirror.
Cleaning Plastic Instrument Cluster Lenses
The lenses in front of the instruments in this vehicle are
molded in clear plastic. When cleaning the lenses, care
must be taken to avoid scratching the plastic.
410 MAINTAINING YOUR VEHICLE
Page 415 of 494
CavityCartridge
FuseMini Fuse Description
3—10 Amp
RedBattery Feed — Center
High Mounted Stop
Light (CHMSL)/Brake
Switch
4—10 Amp
RedBattery Feed — Igni-
tion Switch
5—20 Amp
YellowTrailer Tow — If
Equipped
6—10 Amp
RedIgnition Off Draw
(IOD) — Power Mirror
Switch/Climate Con-
trols
7—30 Amp
GreenIgnition Off Draw
(IOD) Sense 1
8—30 Amp
GreenIgnition Off Draw
(IOD) Sense 2CavityCartridge
FuseMini Fuse Description
940 Amp
GreenBattery Feed — Power
Seats - if equipped/
PZEV Air Pump - if
equipped
10 —20 Amp
YellowBattery Feed — Cabin
Compartment Node
(CCN)
11 —15 Amp
Lt BlueSelectable Power Out-
let
12 —20 Amp
Yellow—
13 —20 Amp
Yellow—
MAINTAINING YOUR VEHICLE 413
7
Page 416 of 494
CavityCartridge
FuseMini Fuse Description
14 —10 Amp
RedIgnition Off Draw
(IOD) — Cabin Com-
partment Node
(CCN)/ Interior Light-
ing
1540 Amp
Green—Battery Feed — Radia-
tor Fan Relay
16 —15 Amp
Lt. BlueIGN Run/ACC — Ci-
gar Lighter/PWR Sun-
roof Mod
17 —10 Amp
RedIgnition Off Draw
(IOD) — Wireless Con-
trol Module (WCM)/
Clock/Steering Control
Module (SCM)
1840 Amp
Green—Battery Feed — Auto
Shutdown (ASD) RelayCavityCartridge
FuseMini Fuse Description
19 —20 Amp
YellowIgnition Off Draw
(IOD) — Power Amp
Feed2-ifequipped
20 —15 Amp
Lt. BlueIgnition Off Draw
(IOD) — Radio
21 —10 Amp
Red—
22 —10 Amp
RedIgnition Run — Cli-
mate Controls/Hot
Cup Holder - if
equipped
23 —15 Amp
Lt. BlueAuto Shutdown (ASD)
Relay Feed 3
24 —25 Amp
ClearBattery Feed — PWR
Sunroof Feed
25 —10 Amp
RedIgnition Run — Heated
Mirrors - If Equipped
414 MAINTAINING YOUR VEHICLE
Page 455 of 494
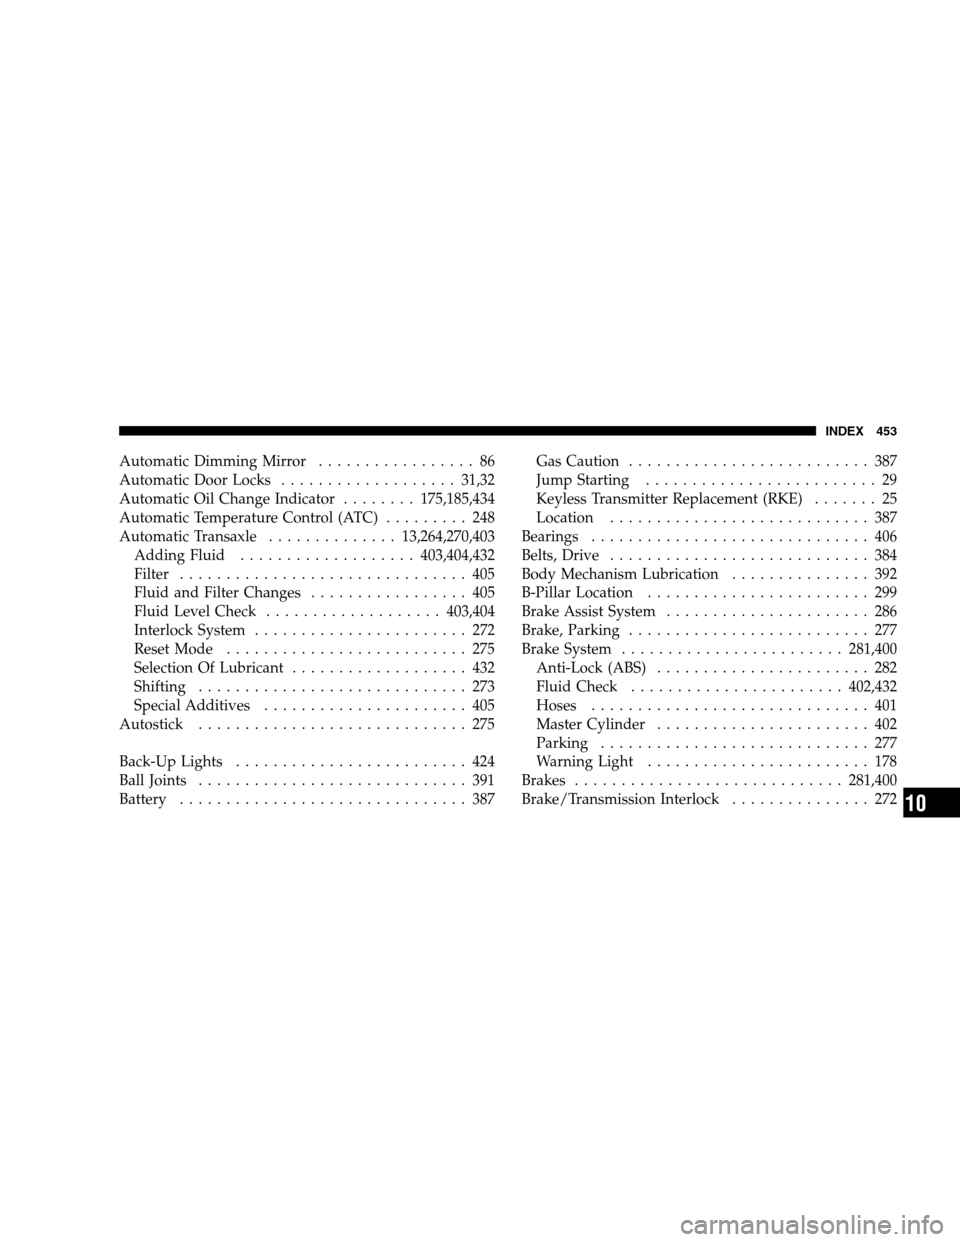
Automatic Dimming Mirror................. 86
Automatic Door Locks................... 31,32
Automatic Oil Change Indicator........175,185,434
Automatic Temperature Control (ATC)......... 248
Automatic Transaxle.............. 13,264,270,403
Adding Fluid...................403,404,432
Filter ............................... 405
Fluid and Filter Changes................. 405
Fluid Level Check...................403,404
Interlock System....................... 272
Reset Mode.......................... 275
Selection Of Lubricant................... 432
Shifting ............................. 273
Special Additives...................... 405
Autostick............................. 275
Back-Up Lights......................... 424
BallJoints ............................. 391
Battery............................... 387Gas Caution.......................... 387
Jump Starting......................... 29
Keyless Transmitter Replacement (RKE)....... 25
Location............................ 387
Bearings.............................. 406
Belts,Drive ............................ 384
Body Mechanism Lubrication............... 392
B-Pillar Location........................ 299
Brake Assist System...................... 286
Brake, Parking.......................... 277
Brake System........................281,400
Anti-Lock (ABS)....................... 282
Fluid Check.......................402,432
Hoses.............................. 401
Master Cylinder....................... 402
Parking............................. 277
Warning Light........................ 178
Brakes.............................281,400
Brake/Transmission Interlock............... 272
INDEX 453
10