Page 274 of 494
BRAKE/TRANSAXLE INTERLOCK
This system prevents you from moving the gear selector
lever out of PARK and into any gear unless the brake
pedal is pressed. This system is active only while the
ignition switch is in the ON position.Always press the
brake pedal first, before moving the gear selector lever
out of PARK.
NOTE:If a malfunction occurs, the transaxle will not
shift out of PARK. Battery power is required to release the
brake/transaxle interlock system. However, there is an
override system that allows you to shift out of PARK in
case of loss of power. To activate the override system:
•Firmly apply the parking brake
•Insert the ignition key and rotate it to the ON position
•Remove the cup holder liner
•Insert a key, screwdriver, or finger into the front hole
then push and hold the manual override release lever
forward.
•While holding the release lever forward, move the
gear selector lever from PARK to NEUTRAL. Release
the manual override lever.
NOTE:If this occurs, even if the override is successful,
it is recommended that you visit a dealer at your earliest
possible convenience. Your dealer has diagnostic equip-
ment to determine if the problem could recur.
AUTOMATIC TRANSAXLE IGNITION INTERLOCK
SYSTEM
This system prevents the key from being removed unless
the gear selector lever is in PARK. It also prevents shifting
out of PARK unless the key is in the ON position and the
brake pedal is applied.
272 STARTING AND OPERATING
Page 353 of 494
WHAT TO DO IN EMERGENCIES
CONTENTS
�Hazard Warning Flasher..................353
�If Your Engine Overheats.................353
▫Engine Oil Overheating — 2.4L Engine Only
(If Equipped)........................355
�Jacking And Tire Changing................356
▫Jack Location........................356
▫Spare Tire Stowage....................356
▫Spare Tire Removal....................356
▫Preparations For Jacking................357▫Jacking Instructions....................358
�Jump-Starting Procedures Due To A Low
Battery..............................364
�Freeing A Stuck Vehicle..................367
�Towing A Disabled Vehicle................368
▫With The Ignition Key..................368
▫Without The Ignition Key...............369
▫Towing This Vehicle Behind Another Vehicle
(Flat Towing With All Four Wheels On The
Ground)............................369
6
Page 355 of 494
HAZARD WARNING FLASHER
The flasher switch is located on the instrument panel,
below the radio. Depress the switch and both cluster
indicators and all front and rear directional signals will
flash. Depress the switch again to turn Hazard Warning
Flashers off.Do not use this emergency warning system when the
vehicle is in motion. Use it when your vehicle is disabled
and it is creating a safety hazard for other motorists.
If it is necessary to leave the vehicle to go for service, the
flasher system will continue to operate with the ignition
key removed and the vehicle locked.
NOTE:With extended use, the flasher may wear down
your battery.
IF YOUR ENGINE OVERHEATS
In any of the following situations, you can reduce the
potential for overheating by taking the appropriate ac-
tion.
•On the highways — Slow down.
•In city traffic — While stopped, put transaxle in
neutral, but do not increase engine idle speed.
Hazard Warning Flasher
WHAT TO DO IN EMERGENCIES 353
6
Page 368 of 494
6. If the vehicle is equipped with Sentry Key Immobi-
lizer, turn the ignition switch to the ON position for 3
seconds before moving the ignition switch to the START
position.7. Start the engine in the vehicle that has the booster
battery, let the engine idle a few minutes, and then start
the engine in the vehicle with the discharged battery.
8. When removing the jumper cables, reverse the se-
quence exactly. Be careful of the moving belts and fan.
9. Reinstall the protective cover over the remote jump-
start positive battery post.
WARNING!
During cold weather when temperatures are below
freezing point, electrolyte in a discharged battery
may freeze. Do not attempt jump-starting because
the battery could rupture or explode. The battery
temperature must be brought up above freezing
point before attempting jump-start.
Jump-Starting Location
366 WHAT TO DO IN EMERGENCIES
Page 372 of 494
TOWING THIS VEHICLE BEHIND ANOTHER
VEHICLE WITH A TOW DOLLY
Rear towing is not recommended with the front wheels
on the ground, as transaxle damage can result. If rear
towing is the only alternative, a front end dolly must be
used. Proper towing equipment is necessary to prevent
damage to the vehicle.
Without Power — Override Transaxle Interlock
System
Special care must be taken when the vehicle is towed
with the ignition in the LOCK position. A dolly should be
used under the front wheels if the rear wheels are raised.
Proper towing equipment is necessary to prevent dam-
age to the vehicle.
Battery power is required to release the brake/transaxle
interlock system. There is an override system that allows
you to shift out of PARK in case of loss of power. To
activate the override system:
•Firmly apply the parking brake.
•Insert the ignition key and rotate it to the ON position.
•Remove the cup holder liner.
•Insert a key, screwdriver, or finger into the front hole
then push and hold the manual override release lever
forward.
•While holding the release lever forward, move the
shift lever from Park to Neutral.
•Release the override.
370 WHAT TO DO IN EMERGENCIES
Page 380 of 494

RESET button to turn off the message. If the problem
persists, the message will appear the next time the
vehicle is started. This might indicate a damaged cap. If
the problem is detected twice in a row, the system will
turn on the MIL. Resolving the problem will turn the MIL
light off.
EMISSIONS INSPECTION AND MAINTENANCE
PROGRAMS
In some localities, it may be a legal requirement to pass
an inspection of your vehicle’s emissions control system.
Failure to pass could prevent vehicle registration.
For states that require an Inspection and Mainte-
nance (I/M), this check verifies the Malfunction
Indicator Light (MIL) is functioning and is not on
when the engine is running, and that the OBD II system
is ready for testing.Normally, the OBD II system will be ready. The OBD II
system maynotbe ready if your vehicle was recently
serviced, recently had a dead battery, or a battery replace-
ment. If the OBD II system should be determined not
ready for the I/M test, your vehicle may fail the test.
Your vehicle has a simple ignition key-actuated test,
which you can use prior to going to the test station. To
check if your vehicle’s OBD II system is ready, you must
do the following:
1. Insert your ignition key into the ignition switch.
2. Turn the ignition to the ON position, but do not crank
or start the engine.
3. If you crank or start the engine, you will have to start
this test over.
4. As soon as you turn your key to the ON position, you
will see the MIL symbol come on as part of a normal bulb
check.
378 MAINTAINING YOUR VEHICLE
Page 381 of 494

5. Approximately 15 seconds later, one of two things will
happen:
a. The MIL will flash for about 10 seconds and then
return to being fully illuminated until you turn OFF
the ignition key or start the engine. This means that
your vehicle’s OBD II system isnot readyand you
shouldnotproceed to the I/M station.
b. The MIL will not flash at all and will remain fully
illuminated until you turn OFF the ignition key or start
the engine. This means that your vehicle’s OBD II
system isready, and you can proceed to the I/M
station.
If your OBD II system isnot ready,you should see your
authorized dealer or repair facility. If your vehicle was
recently serviced or had a battery failure or replacement,
you may need to do nothing more than drive your
vehicle as you normally would in order for your OBD IIsystem to update. A recheck with the above test routine
may then indicate that the system is now ready.
Regardless of whether your vehicle’s OBD II system is
ready or not ready, if the MIL is illuminated during
normal vehicle operation, you should have your vehicle
serviced before going to the I/M station. The I/M station
can fail your vehicle because the MIL is on with the
engine running.
REPLACEMENT PARTS
Use of genuine Mopar�parts for normal/scheduled
maintenance and repairs is highly recommended to en-
sure the designed performance. Damage or failures
caused by the use of non-Mopar�parts for maintenance
and repairs will not be covered by the manufacturer’s
warranty.
MAINTAINING YOUR VEHICLE 379
7
Page 455 of 494
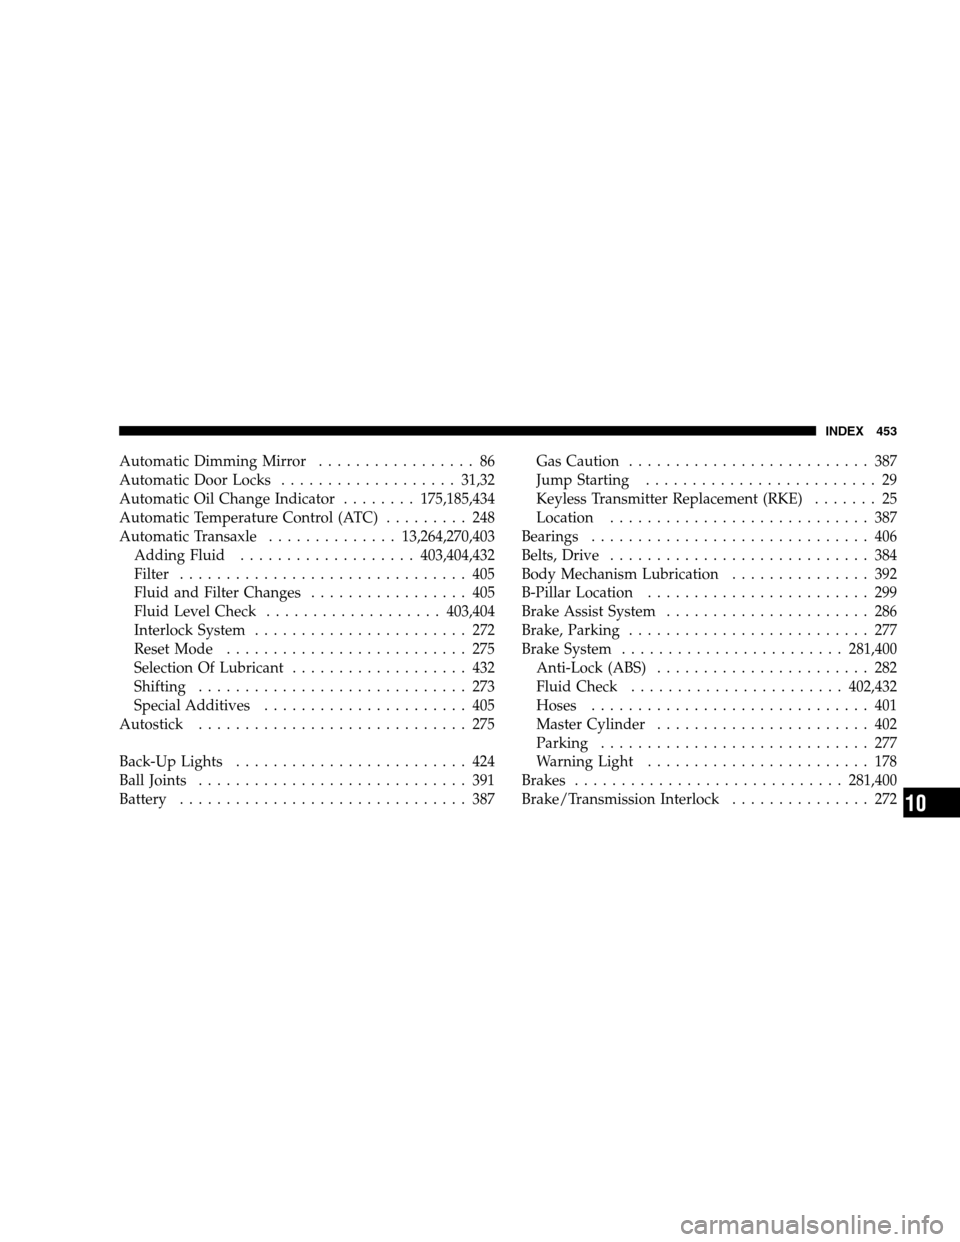
Automatic Dimming Mirror................. 86
Automatic Door Locks................... 31,32
Automatic Oil Change Indicator........175,185,434
Automatic Temperature Control (ATC)......... 248
Automatic Transaxle.............. 13,264,270,403
Adding Fluid...................403,404,432
Filter ............................... 405
Fluid and Filter Changes................. 405
Fluid Level Check...................403,404
Interlock System....................... 272
Reset Mode.......................... 275
Selection Of Lubricant................... 432
Shifting ............................. 273
Special Additives...................... 405
Autostick............................. 275
Back-Up Lights......................... 424
BallJoints ............................. 391
Battery............................... 387Gas Caution.......................... 387
Jump Starting......................... 29
Keyless Transmitter Replacement (RKE)....... 25
Location............................ 387
Bearings.............................. 406
Belts,Drive ............................ 384
Body Mechanism Lubrication............... 392
B-Pillar Location........................ 299
Brake Assist System...................... 286
Brake, Parking.......................... 277
Brake System........................281,400
Anti-Lock (ABS)....................... 282
Fluid Check.......................402,432
Hoses.............................. 401
Master Cylinder....................... 402
Parking............................. 277
Warning Light........................ 178
Brakes.............................281,400
Brake/Transmission Interlock............... 272
INDEX 453
10