2008 CHRYSLER PACIFICA suspension
[x] Cancel search: suspensionPage 311 of 457
WARNING!
²Do not use a tire, wheel size or rating other than
that specified for your vehicle. Some combina-
tions of unapproved tires and wheels may change
suspension dimensions and performance charac-
teristics, resulting in changes to steering, han-
dling, and braking of your vehicle. This can cause
unpredictable handling and stress to steering and
suspension components. You could lose control
and have an accident resulting in serious injury
or death. Use only the tire and wheel sizes with
load ratings approved for your vehicle.
²Never use a tire with a smaller load index or
capacity, other than what was originally equipped
on your vehicle. Using a tire with a smaller load
index could result in tire overloading and failure.
You could lose control and have an accident.
²Failure to equip your vehicle with tires having
adequate speed capability can result in sudden
tire failure and loss of vehicle control.
CAUTION!
Replacing original tires with tires of a different size
may result in false speedometer and odometer
readings.
Alignment And Balance
Poor suspension alignment may result in:
²Fast tire wear.
²Uneven tire wear, such as feathering and one-sided
wear.
²Vehicle pull to right or left.
Tires may also cause the vehicle to pull to the left or right.
Alignment will not correct this condition. See your dealer
for proper diagnosis.
STARTING AND OPERATING 311
5
Page 312 of 457
Improper alignment will not cause vehicle vibration.
Vibration may be a result of tire and wheel out-of-
balance. Proper balancing will reduce vibration and
avoid tire cupping and spotty wear.
TIRE CHAINS
Use only compact chains, or other traction aids that meet
SAE type ªClass Sº specifications. Chains must be the
proper size for the vehicle, as recommended by the chain
manufacturer.
NOTE:Do not use tire chains on a compact spare tire.
CAUTION!
To avoid damage to your vehicle or tires, observe the following
precautions:
²Because of restricted chain clearance between tires and other
suspension components, it is important that only chains in
good condition are used. Broken chains can cause serious
damage. Stop the vehicle immediately if noise occurs that
could indicate chain breakage. Remove the damaged parts of
the chain before further use.
²Install chains on the front wheels as tightly as possible and
then retighten after driving about
1¤2mile (0.8 km).
²Do not exceed 45 mph (70 km/h).
²Drive cautiously and avoid severe turns and large bumps,
especially with a loaded vehicle.
²If chains are used on an All Wheel Drive (AWD) vehicle, they
should be used on all four tires.
²Do not drive for prolonged period on dry pavement.
²Observe the tire chain manufacturer's instructions on the
method of installation, operating speed, and conditions for
use. Always use the lower suggested operating speed of the
chain manufacturer if different than the speed recommended
by the manufacture.
312 STARTING AND OPERATING
Page 332 of 457
Gross Vehicle Weight Rating (GVWR)
The GVWR is the total allowable weight of your vehicle.
This includes driver, passengers, and cargo. The total
load must be limited so that you do not exceed the
GVWR.
Gross Axle Weight Rating (GAWR)
The GAWR is the maximum capacity of the front and rear
axles. Distribute the load over the front and rear axles
evenly. Make sure that you do not exceed either front or
rear GAWR.
WARNING!
Because the front wheels drive and steer the vehicle,
it is important that you do not exceed the maximum
front or rear GAWR. A dangerous driving condition
can result if either rating is exceeded. You could lose
control of the vehicle and have an accident.
Overloading
The load carrying components (axle, springs, tires,
wheels, etc.) of your vehicle will provide satisfactory
service as long as you do not exceed the GVWR and front
and rear GAWR.
The best way to figure out the total weight of your
vehicle is to weigh it when it is fully loaded and ready for
operation. Weigh it on a commercial scale to insure that it
is not over the GVWR.
Figure out the weight on the front and rear of the vehicle
separately. It is important that you distribute the load
evenly over the front and rear axles.
Overloading can cause potential safety hazards and
shorten useful service life. Heavier axles or suspension
components do not necessarily increase the vehicle's
GVWR.
332 STARTING AND OPERATING
Page 343 of 457
WARNING!
Improper towing can lead to an injury accident.
Follow these guidelines to make your trailer towing
as safe as possible:
Make certain that the load is secured in the trailer
and will not shift during travel. When trailering
cargo that is not fully secured, dynamic load shifts
can occur that may be difficult for the driver to
control. You could lose control of your vehicle and
have an accident.
²When hauling cargo or towing a trailer, do not over-
load your vehicle or trailer. Overloading can cause a
loss of control, poor performance or damage to brakes,
axle, engine, transmission, steering, suspension, chas-
sis structure or tires.
²Safety chains must always be used between your
vehicle and trailer. Always connect the chains to the
frame or hook retainers of the vehicle hitch. Cross the
chains under the trailer tongue and allow enough
slack for turning corners.
²Vehicles with trailers should not be parked on a grade.
When parking, apply the parking brake on the tow
vehicle. Put the tow vehicle automatic transmission in
P for Park. Always, block or9chock9the trailer wheels.
²GCWR must not be exceeded.
²Total weight must be distributed between the tow
vehicle and the trailer such that the following four
ratings are not exceeded:
1. GVWR
2. GTW
3. GAWR
STARTING AND OPERATING 343
5
Page 358 of 457
location.Do not raise the vehicle until you are sure the
jack is securely engaged. Never jack up the vehicle
using any suspension components.
6. Raise the vehicle by turning the jack screw to the right,
using the swivel wrench. Raise the vehicle only until the
tire just clears the surface and enough clearance is
obtained to install the spare tire. Minimum tire lift
provides maximum stability.
WARNING!
Raising the vehicle higher than necessary can make
the vehicle less stable. It could slip off the jack and
hurt someone near it. Raise the vehicle only enough
to remove the tire.7. Remove the wheel lug nuts, for vehicles with wheel
covers, remove the cover from the wheel by hand. Do not
pry the wheel cover off. Then pull the wheel off the hub.
8. Install the spare wheel, for vehicles with wheel covers,
align the notch in the wheel cover with the valve stem on
the wheel. Install the cover on the wheel by hand only
and install the wheel lug nuts with the cone shaped end
of the nut toward the wheel. Lightly tighten the lug nuts.
To avoid the risk of forcing the vehicle off the jack, do not
tighten the lug nuts fully until the vehicle has been
lowered.
NOTE:Do not install the wheel cover on the compact
spare.
Do not use a hammer or force to install the wheel covers.
9. Lower the vehicle by turning the jack screw to the left.
10. Finish tightening the lug nuts. Push down on the
wrench while tightening for increased leverage. Alternate
358 WHAT TO DO IN EMERGENCIES
Page 368 of 457

NFront & Rear Suspension Ball Joints........385
NSteering Shaft Seal....................385
NSteering Linkage......................386
NDrive Shaft Universal Joints..............386
NBody Lubrication.....................386
NWindshield Wiper Blades................387
NWindshield And Rear Window Washers.....387
NExhaust System......................388
NCooling System.......................389
NHoses And Vacuum/Vapor Harnesses.......394
NBrakes.............................394
NMaster Cylinder Ð Brake Fluid Level Check . . 396
NFuel System Hoses....................397NAutomatic Transmission................398
NAll Wheel Drive (AWD) Ð If Equipped.....400
NFront And Rear Wheel Bearings...........401
NAppearance Care And Protection From
Corrosion...........................401
NCleaning The Center Console Cup Holders . . . 406
mFuses (Integrated Power Module)...........407
mVehicle Storage........................410
mReplacement Light Bulbs.................411
mBulb Replacement......................412
NHeadlights..........................412
NHigh Intensity Discharge Headlights (HID) Ð
If Equipped.........................413
368 MAINTAINING YOUR VEHICLE
Page 385 of 457

Refer to the ªMaintenance Scheduleº section of this
manual for the recommended air conditioning filter
replacement intervals.
Power Steering Ð Fluid Check
Checking the power steering fluid level at a defined
service interval is not required. The fluid should only be
checked if a leak is suspected, abnormal noises are
apparent, and/or the system is not functioning as antici-
pated. Coordinate inspection efforts through a certified
DaimlerChrysler Dealership.9
WARNING!
Fluid level should be checked on a level surface and
with the engine off to prevent injury from moving
parts and to insure accurate fluid level reading. Do
not overfill. Use only manufacturers recommended
power steering fluid.If necessary, add fluid to restore to the proper indicated
level. With a clean cloth, wipe any spilled fluid from all
surfaces. Refer to Fluids, Lubricants, and Genuine Parts
for correct fluid type.
Front & Rear Suspension Ball Joints
The suspension ball joints are permanently sealed. No
regular maintenance is required for these components.
Steering Shaft Seal
The steering shaft seal, at the point where the shaft passes
through the bulkhead, is lubricated when it is installed. If
the seal becomes noisy when the steering shaft is turned,
it should be lubricated with a multi-purpose grease.
Mopar multi-purpose lubricant is recommended.
MAINTAINING YOUR VEHICLE 385
7
Page 423 of 457
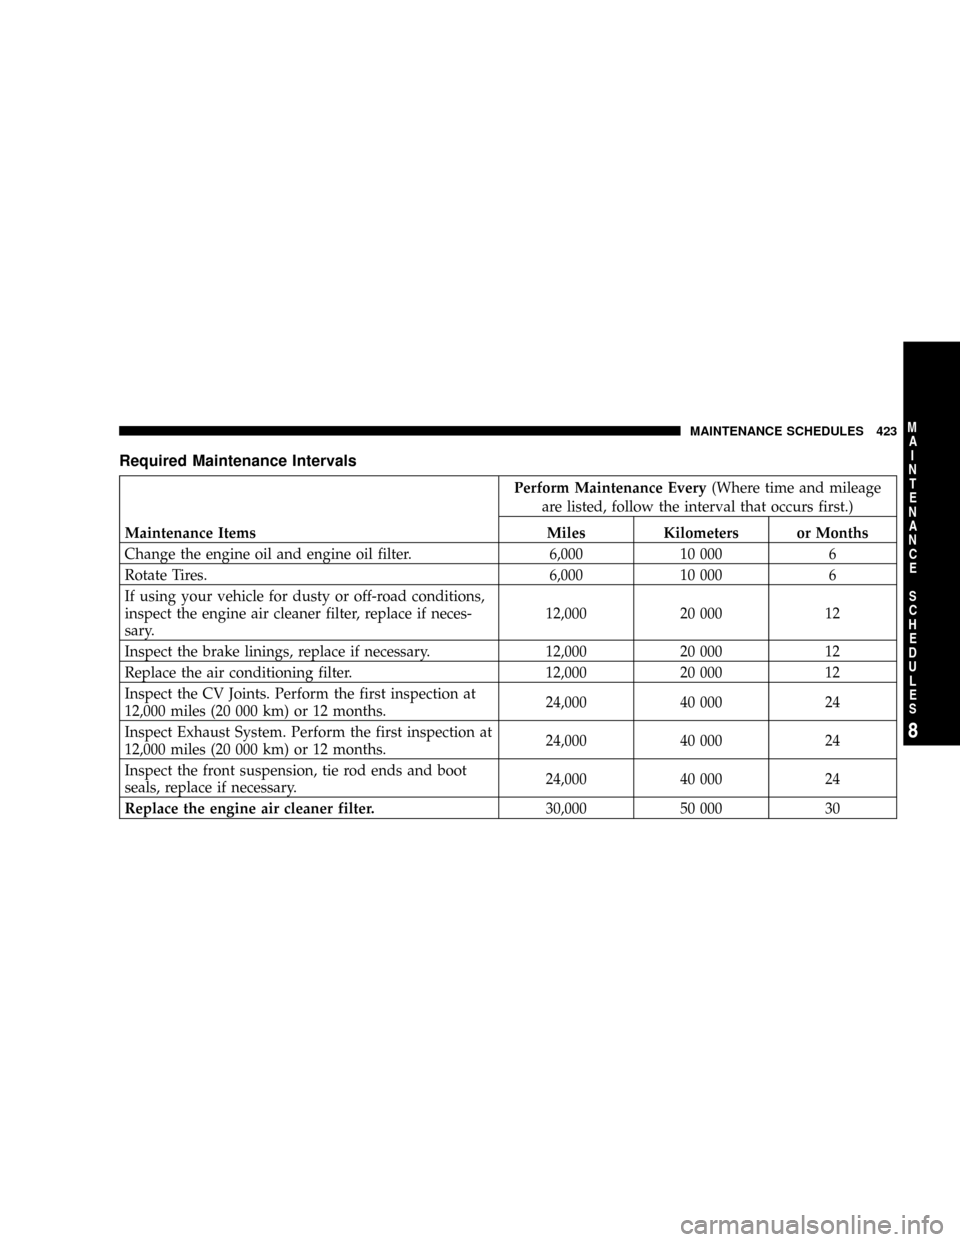
Required Maintenance Intervals
Perform Maintenance Every(Where time and mileage
are listed, follow the interval that occurs first.)
Maintenance Items Miles Kilometers or Months
Change the engine oil and engine oil filter. 6,000 10 000 6
Rotate Tires. 6,000 10 000 6
If using your vehicle for dusty or off-road conditions,
inspect the engine air cleaner filter, replace if neces-
sary.12,000 20 000 12
Inspect the brake linings, replace if necessary. 12,000 20 000 12
Replace the air conditioning filter. 12,000 20 000 12
Inspect the CV Joints. Perform the first inspection at
12,000 miles (20 000 km) or 12 months.24,000 40 000 24
Inspect Exhaust System. Perform the first inspection at
12,000 miles (20 000 km) or 12 months.24,000 40 000 24
Inspect the front suspension, tie rod ends and boot
seals, replace if necessary.24,000 40 000 24
Replace the engine air cleaner filter.30,000 50 000 30
MAINTENANCE SCHEDULES 423
8
M
A
I
N
T
E
N
A
N
C
E
S
C
H
E
D
U
L
E
S