Page 271 of 519
.
RW/FF
Pressing the RW (Rewind) or FF (Fast Forward) buttons
causes the tuner to")
3 seconds will make the radio display the Song Title all of
the time (press and hold again to return to normal
display).
RW/FF
Pressing the RW (Rewind) or FF (Fast Forward) buttons
causes the tuner to search for the next channel in the
direction of the arrows.
TUNE Control (Rotary)
Turn the right side rotary control clockwise to increase or
counter-clockwise to decrease the channel.
MUSIC TYPE Button
Pressing this button once will turn on the Music Type
mode for 5 seconds. Pressing the MUSIC TYPE button or
turning the TUNE control knob within 5 seconds will
allow the program format type to be selected.
Toggle the MUSIC TYPE button again to select the music
type.By pressing the SEEK button when the Music Type
function is active, the radio will be tuned to the next
channel with the same selected Music Type name.
If a preset button is activated while in the Music Type
(Program Type) mode, the Music Type mode will be
exited and the radio will tune to the preset channel.
SETUP Button
Pressing the SETUP button allows you to select the
following items:
•Display Sirius ID number — Press the SELECT button
to display the Sirius ID number. This number is used
to activate, deactivate, or change the Sirius subscrip-
tion.
SET Button — To Set the Push-Button Memory
When you are receiving a channel that you wish to
commit to push-button memory, press the SET button.
The symbol SET 1 will now show in the display window.
UNDERSTANDING YOUR INSTRUMENT PANEL 271
4
Page 272 of 519
 you wish to lock onto this channel
and press and release that button. If a button is not
selected within 5 seconds after pressing the SET button,
the channel will continue to p")
Select the button (1-6) you wish to lock onto this channel
and press and release that button. If a button is not
selected within 5 seconds after pressing the SET button,
the channel will continue to play but will not be stored
into push-button memory.
You may add a second channel to each push-button by
repeating the above procedure with this exception: Press
the SET button twice and SET 2 will show in the display
window. Each button can be set for SET 1 and SET 2. This
allows a total of 12 Satellite channels to be stored into
push-button memory. The channels stored in SET 2
memory can be selected by pressing the push-button
twice.
Every time a preset button is used, a corresponding
button number will display.
Buttons1-6
These buttons tune the radio to the channels that you
commit to push-button memory {12 Satellite stations}.
Operating Instructions - Hands Free Phone (If
Equipped)
Refer to “Hands-Free Communication (UConnect™)” in
Section 3 of this manual.
Operating Instructions - Video Entertainment
System (VES�) (If Equipped)
Refer to separate “Video Entertainment System (VES�)
Guide.”
VIDEO ENTERTAINMENT SYSTEM — IF
EQUIPPED
The optional VES™ (Video Entertainment System) in-
cludes the following components for rear seat entertain-
ment:
•A diagonal seven-inch liquid crystal display (LCD)
screen integrated into the center console armrest. The
screen features brightness control for optimum day-
time and nighttime viewing.
272 UNDERSTANDING YOUR INSTRUMENT PANEL
Page 276 of 519

Play Mode
When switched to UCI mode the iPod�will be inPlay
mode. In thisPlay mode, you may use the following
buttons on the radio faceplate to control the iPod�and
display data:
TUNE/SCROLL Knob
Use the “TUNE/SCROLL” knob to go to the next or
previous track.
The “TUNE/SCROLL” knob functions similar to the
scroll wheel on the iPod�.
Turning it clockwise (forward) by one click while playing
a track skips to the next track.
Turning it counterclockwise (backward) by one click
during the first 2 seconds of the track will jump to the
previous track in the list and turning this button at any
other time in the track will jump to the beginning of the
current track.RW (Rewind) Button
Press and hold the “RW” button to move backward in the
current track. Holding the “RW” button long enough will
take you back to the beginning of the current track.
Pressing and releasing the “RW” button will go back 5
seconds of the current track.
FF (Fast Forward) Button
Press and hold the “FF” button to move forward in the
current track.
Pressing and releasing the “FF” button will go forward 5
seconds of the current track.
SEEK Buttons
Use the “SEEK” buttons to move to the previous or the
next track.
If the left (down) button is pressed during the first 2
seconds of the current track, it will go back to the
276 UNDERSTANDING YOUR INSTRUMENT PANEL
Page 278 of 519

List or Browse Mode
DuringPlaymode, pressing any of the following buttons
will take you toListmode.Listmode enables you to
scroll through the list of menus and tracks on the iPod�.
TUNE/SCROLL Knob
In theListmode, the “TUNE/SCROLL” knob functions
in a similar manner as the scroll wheel on the iPod�.
Turning the “TUNE/SCROLL” knob clockwise (forward)
and counter-clockwise (backward) scrolls through lists,
displaying the track detail on the radio display. Once you
have the track to be played highlighted on the radio
display, press the “TUNE/SCROLL” knob to select and
start playing the track. By turning the “TUNE/SCROLL”
knob fast, you can jump through the list faster. During
fast scroll, you may notice a slight delay in updating the
information on the radio display.
During all List modes, the iPod�will display all lists in
“wrap-around” mode. So if the track you wish to select isat the bottom of the list, you just turn the “TUNE/
SCROLL” knob backwards (counter-clockwise) to get to
the track faster.
Radio Preset Buttons
In theListmode, the radio preset buttons are used as
shortcuts to the following lists on the iPod�.
•1 – Playlists
•2 – Artists
•3 – Albums
•4 – Genres
•5 - Audiobooks
•6 – Podcasts
After pressing a preset button, you will see the list you
are in on the top line and the first item in that list on the
second line.
278 UNDERSTANDING YOUR INSTRUMENT PANEL
Page 279 of 519
To exit theListmode without selecting a track, press the
same preset button again to go back toPlaymode.
LIST Button
Pressing the “LIST” button will take to the top level
menu of the iPod�. This takes you to the same top level
menu as on your iPod�. Turn the “TUNE/SCROLL”
knob to list the top menu item you wish to select and
then press the “TUNE/SCROLL” knob. This will take
you to the next sub menu list item of the iPod�and you
can follow the same the same steps to go to the desired
track in that list. Not all iPod�sub menu levels are
available on this system.
MUSIC TYPE Button
The “MUSIC TYPE” button is another shortcut button to
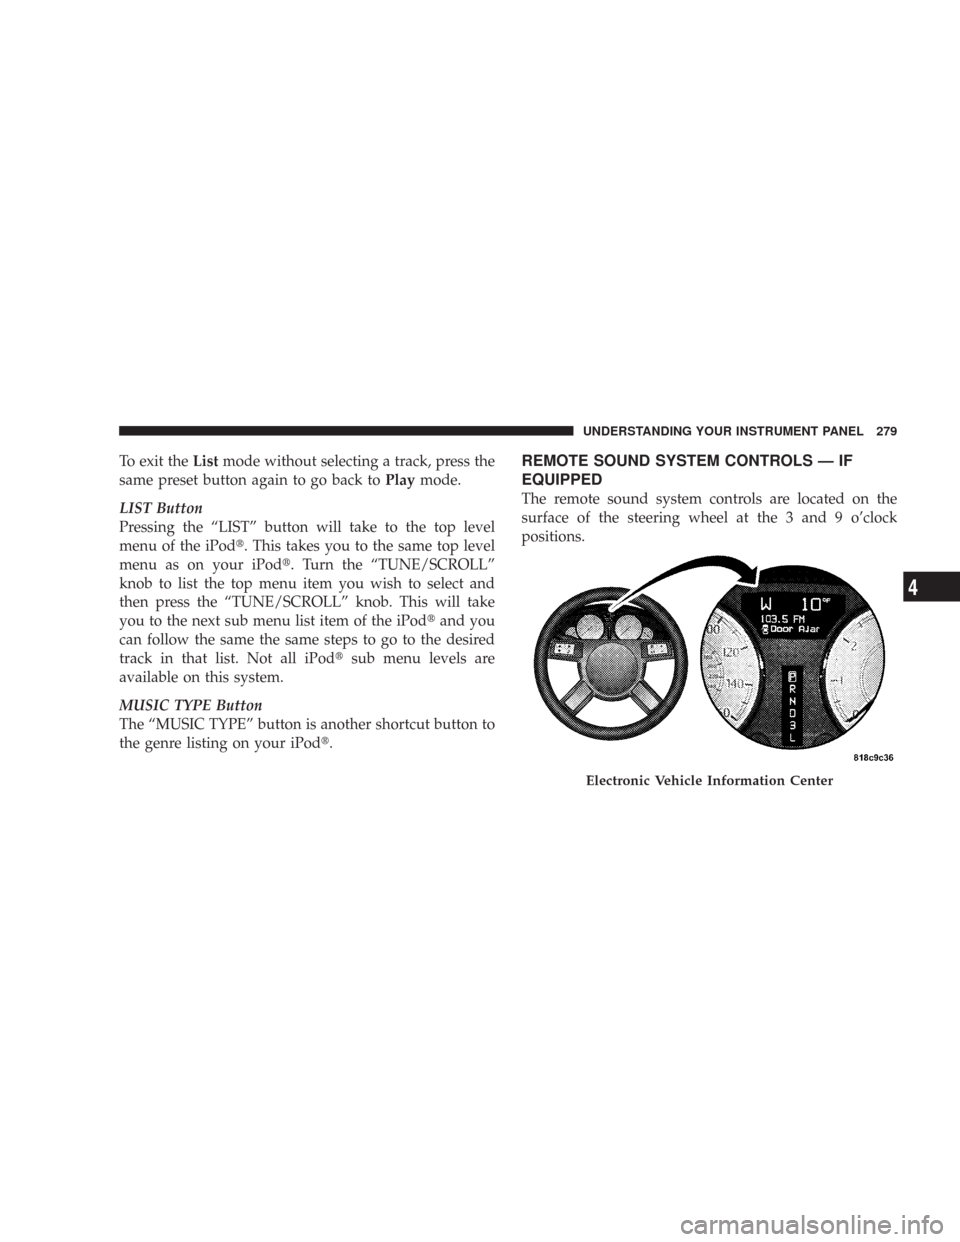
the genre listing on your iPod�.REMOTE SOUND SYSTEM CONTROLS — IF
EQUIPPED
The remote sound system controls are located on the
surface of the steering wheel at the 3 and 9 o’clock
positions.
Electronic Vehicle Information Center
UNDERSTANDING YOUR INSTRUMENT PANEL 279
4
Page 283 of 519

Mode Control
The rotary knob on the right controls
airflow distribution. Dots between
each of the mode selections identify
intermediate modes that allow the op-
erator to fine-tune airflow distribu-
tion. The mode settings are as follows:
•Defrost
Air is directed to the windshield through the
outlets at the base of the windshield. Air is also
directed to the front door windows through the side
window demister grilles.
NOTE:To improve fuel economy, leave in defrost only
when necessary.
•Defrost/Floor
Air flows through the front and rear floor outlets
and the outlets at the base of the windshield. Airis also directed to the front door windows through the
side window demister grilles.
•Floor
Air flows through the floor outlets located under
the instrument panel and into the rear seating
area through vents under the front seats.
•Bi-Level
Air flows through the outlets located in the
instrument panel and through the outlets located
on the floor. Air flows through the registers in the back
of the center console to the rear seat passengers. These
registers can be closed to partially block airflow.
•Panel
Air flows through the outlets located in the in-
strument panel. Air flows through the registers in
the back of the center console to the rear seat passen-
gers. These registers can be closed to block airflow.
UNDERSTANDING YOUR INSTRUMENT PANEL 283
4
Page 284 of 519

•Recirculation Control
The mode control knob also controls the
recirculation feature. You can choose Bi-
Level Recirculation air outlets, Panel Recir-
culation air outlets, or a mix or both while in
this mode. Normally, air enters from outside the
vehicle. However, when in Recirculation mode air
inside the vehicle is re-used. Use this mode to cool the
inside of the vehicle rapidly. The Recirculation mode
can also be used to temporarily block out outside
odors, smoke, and dust.
Air Conditioning Control
Press this button to turn on and turn off the air
conditioning. When the air conditioning is turned
on, cool dehumidified air will flow through the
outlets selected with the mode control. Press this button
a second time to turn off the air conditioning. An LED in
the button will illuminate when compressor operation is
selected.
Automatic Temperature Control — If Equipped
Automatic Operation
The Infrared Dual-Zone Climate Control System auto-
matically maintains the climate in the cabin of the vehicle
at the comfort levels desired by the driver and passenger.
To accomplish this, the system gathers information from
Automatic Temperature Controls
284 UNDERSTANDING YOUR INSTRUMENT PANEL
Page 289 of 519
 to one of the following positions.
•Defrost
Air is directed to the win")
The operator can override the AUTO mode setting to
change airflow distribution by rotating the Mode Control
knob (on the right) to one of the following positions.
•Defrost
Air is directed to the windshield through the
outlets at the base of the windshield. Air is also
directed to the front door windows through the side
window demister grilles.
•Defrost/Floor
Air flows through the front and rear floor outlets
and the outlets at the base of the windshield. Air
is also directed to the front door windows
through the side window demister grilles.
•Floor
Air flows through the floor outlets located under
the instrument panel and into the rear seating
area through vents under the front seats.
•Bi-Level
Air flows through the outlets located in the
instrument panel and through the outlets located
on the floor. Air flows through the registers in the back
of the center console to the rear seat passengers. These
registers can be closed to block airflow.
•Panel
Air flows through the outlets located in the in-
strument panel. Air flows through the registers in
the back of the center console to the rear seat passen-
gers. These registers can be closed to block airflow.
•Air Conditioning Control
Press this button to turn on the air conditioning
during manual operation only. When the air
conditioning is turned on, cool dehumidified
air will flow through the outlets selected with the
Mode control dial. Press this button a second time to
UNDERSTANDING YOUR INSTRUMENT PANEL 289
4