2008 CHEVROLET UPLANDER seat adjustment
[x] Cancel search: seat adjustmentPage 13 of 476
Adjusting the Bucket Seats Forward
and Rearward
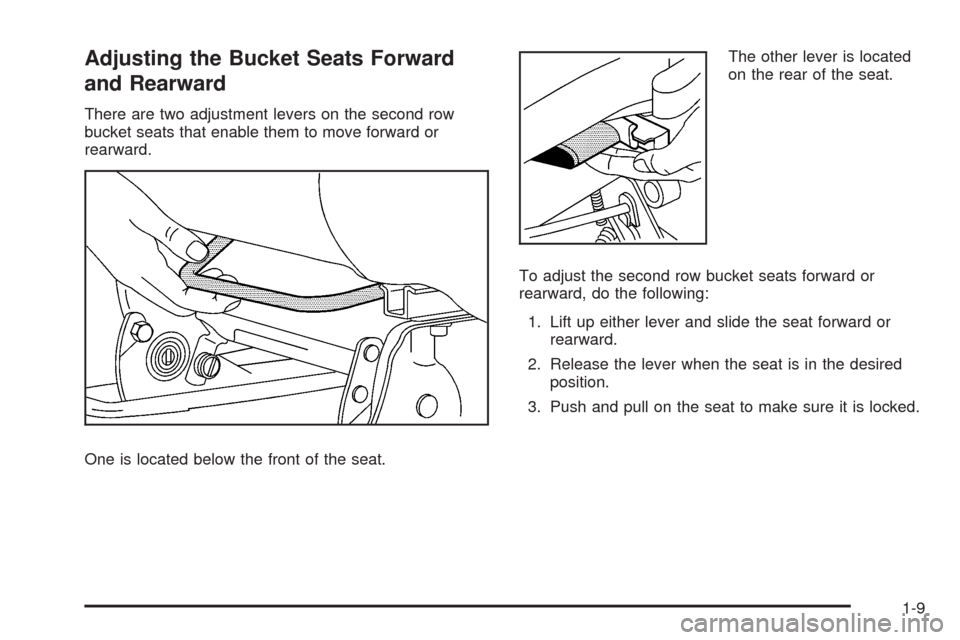
There are two adjustment levers on the second row
bucket seats that enable them to move forward or
rearward.
One is located below the front of the seat.The other lever is located
on the rear of the seat.
To adjust the second row bucket seats forward or
rearward, do the following:
1. Lift up either lever and slide the seat forward or
rearward.
2. Release the lever when the seat is in the desired
position.
3. Push and pull on the seat to make sure it is locked.
1-9
Page 18 of 476
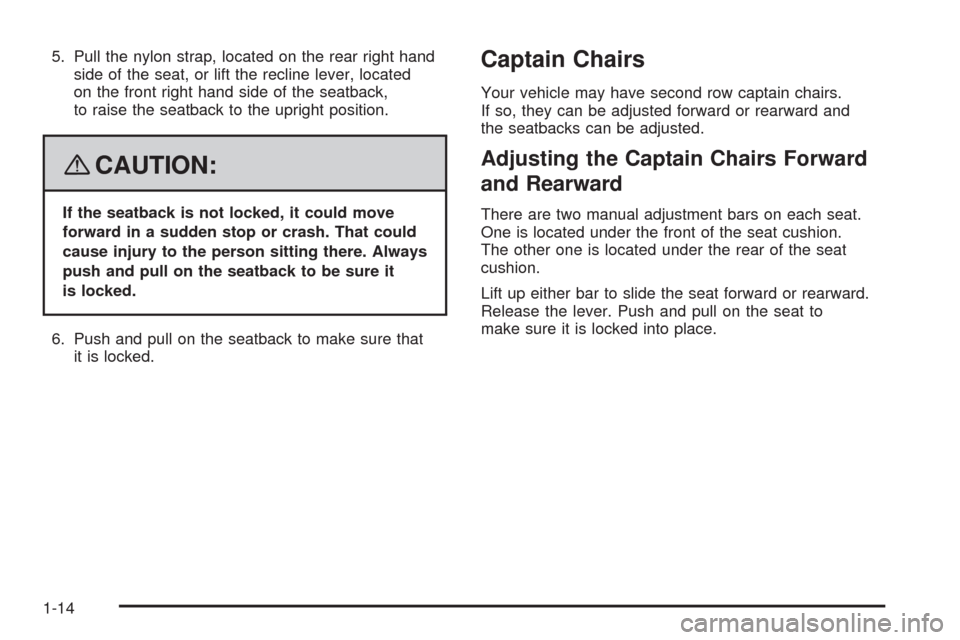
5. Pull the nylon strap, located on the rear right hand
side of the seat, or lift the recline lever, located
on the front right hand side of the seatback,
to raise the seatback to the upright position.
{CAUTION:
If the seatback is not locked, it could move
forward in a sudden stop or crash. That could
cause injury to the person sitting there. Always
push and pull on the seatback to be sure it
is locked.
6. Push and pull on the seatback to make sure that
it is locked.
Captain Chairs
Your vehicle may have second row captain chairs.
If so, they can be adjusted forward or rearward and
the seatbacks can be adjusted.
Adjusting the Captain Chairs Forward
and Rearward
There are two manual adjustment bars on each seat.
One is located under the front of the seat cushion.
The other one is located under the rear of the seat
cushion.
Lift up either bar to slide the seat forward or rearward.
Release the lever. Push and pull on the seat to
make sure it is locked into place.
1-14
Page 23 of 476
Folding the Seatback(s)
Notice:Folding a rear seat with the safety belts
still fastened may cause damage to the seat or the
safety belts. Always unbuckle the safety belts
and return them to their normal stowed position
before folding a rear seat.
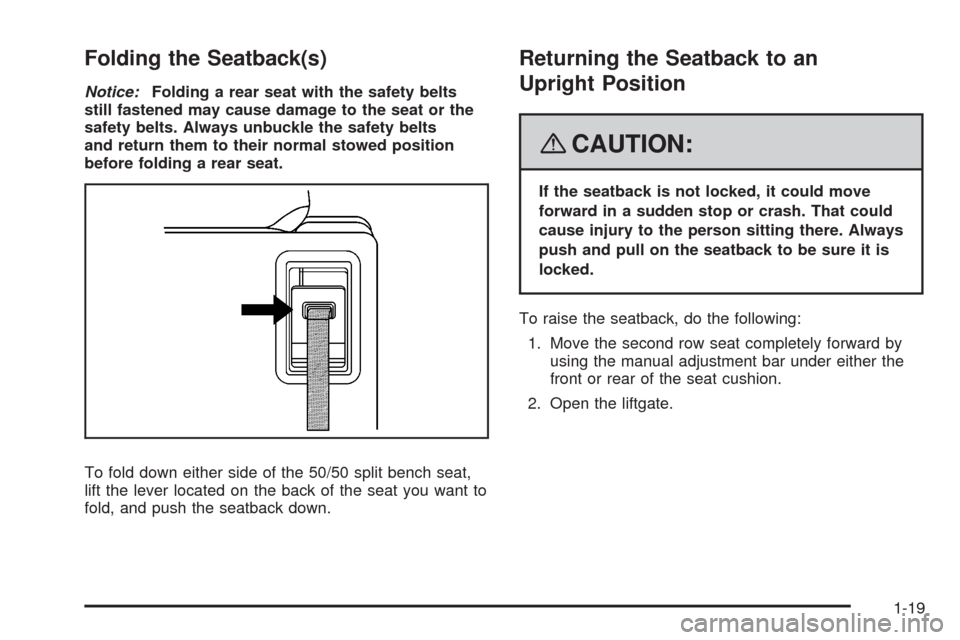
To fold down either side of the 50/50 split bench seat,
lift the lever located on the back of the seat you want to
fold, and push the seatback down.
Returning the Seatback to an
Upright Position
{CAUTION:
If the seatback is not locked, it could move
forward in a sudden stop or crash. That could
cause injury to the person sitting there. Always
push and pull on the seatback to be sure it is
locked.
To raise the seatback, do the following:
1. Move the second row seat completely forward by
using the manual adjustment bar under either the
front or rear of the seat cushion.
2. Open the liftgate.
1-19
Page 40 of 476

Lap-Shoulder Belt
All seating positions in your vehicle have a
lap-shoulder belt.
Here is how to wear a lap-shoulder belt properly.
1. Adjust the seat, if the seat is adjustable, so you can
sit up straight. To see how, see “Seats” in the Index.
2. Pick up the latch plate and pull the belt across you.
Do not let it get twisted.
The lap-shoulder belt may lock if you pull the belt
across you very quickly. If this happens, let the belt
go back slightly to unlock it. Then pull the belt
across you more slowly.
If you ever pull the shoulder portion of a passenger
belt out all the way, you may engage the child
restraint locking feature. If this happens, just let the
belt go back all the way and start again.
Engaging the child restraint locking feature may
affect the passenger sensing system. See
Passenger Sensing System on page 1-85.3. Push the latch plate into the buckle until it clicks.
Pull up on the latch plate to make sure it is secure.
If the belt is not long enough, seeSafety Belt
Extender on page 1-42.
Make sure the release button on the buckle is
positioned so you would be able to unbuckle the
safety belt quickly if necessary.
4. If equipped with a shoulder belt height adjuster,
move it to the height that is right for you. Improper
shoulder belt height adjustment could reduce
the effectiveness of the safety belt in a crash.
See “Shoulder Belt Height Adjustment” later in
this section.
1-36
Page 42 of 476
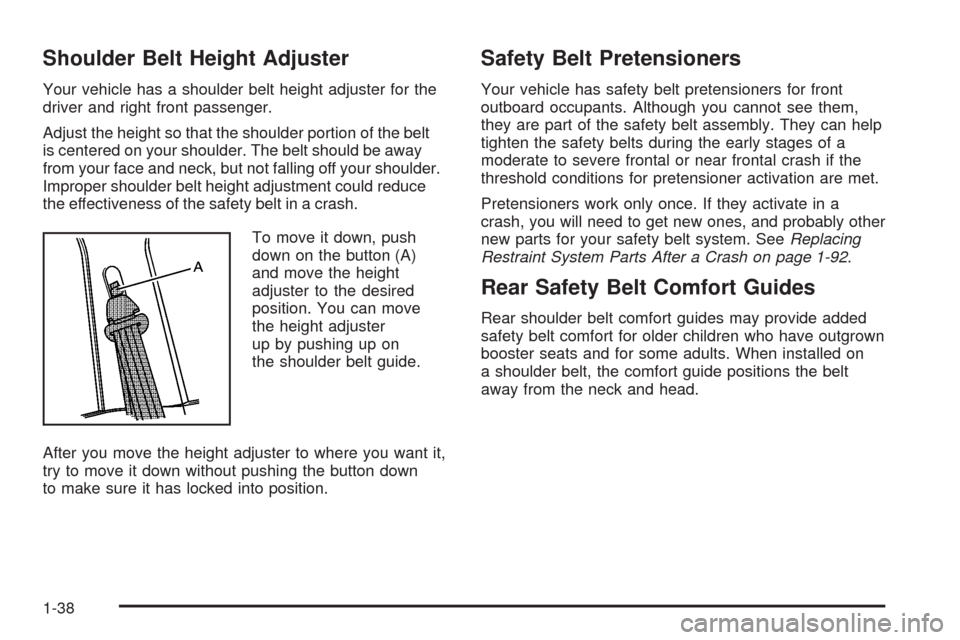
Shoulder Belt Height Adjuster
Your vehicle has a shoulder belt height adjuster for the
driver and right front passenger.
Adjust the height so that the shoulder portion of the belt
is centered on your shoulder. The belt should be away
from your face and neck, but not falling off your shoulder.
Improper shoulder belt height adjustment could reduce
the effectiveness of the safety belt in a crash.
To move it down, push
down on the button (A)
and move the height
adjuster to the desired
position. You can move
the height adjuster
up by pushing up on
the shoulder belt guide.
After you move the height adjuster to where you want it,
try to move it down without pushing the button down
to make sure it has locked into position.
Safety Belt Pretensioners
Your vehicle has safety belt pretensioners for front
outboard occupants. Although you cannot see them,
they are part of the safety belt assembly. They can help
tighten the safety belts during the early stages of a
moderate to severe frontal or near frontal crash if the
threshold conditions for pretensioner activation are met.
Pretensioners work only once. If they activate in a
crash, you will need to get new ones, and probably other
new parts for your safety belt system. SeeReplacing
Restraint System Parts After a Crash on page 1-92.
Rear Safety Belt Comfort Guides
Rear shoulder belt comfort guides may provide added
safety belt comfort for older children who have outgrown
booster seats and for some adults. When installed on
a shoulder belt, the comfort guide positions the belt
away from the neck and head.
1-38
Page 162 of 476

Warning Lights, Gages, and Indicators............3-34
Instrument Panel Cluster................................3-35
Speedometer and Odometer...........................3-36
Trip Odometer..............................................3-36
Tachometer.................................................3-36
Safety Belt Reminders...................................3-36
Airbag Readiness Light..................................3-37
Passenger Airbag Status Indicator...................3-38
Charging System Light..................................3-40
Brake System Warning Light..........................3-41
Antilock Brake System Warning Light...............3-42
Traction Control System (TCS) Warning Light......3-42
Engine Coolant Temperature Gage..................3-43
Tire Pressure Light.......................................3-43
Malfunction Indicator Lamp.............................3-44
Oil Pressure Light.........................................3-47
Security Light...............................................3-48
Cruise Control Light......................................3-48
Highbeam On Light.......................................3-48
Fuel Gage...................................................3-49
Low Fuel Warning Light.................................3-49Driver Information Center (DIC).......................3-50
DIC Operation and Displays...........................3-50
DIC Compass (Uplevel Only)..........................3-56
DIC Warnings and Messages.........................3-58
DIC Vehicle Personalization (Uplevel Only).......3-76
Audio System(s).............................................3-84
Setting the Time...........................................3-85
Radio(s) (MP3).............................................3-86
Using an MP3..............................................3-98
XM Radio Messages...................................3-101
Navigation/Radio System..............................3-102
Rear Seat Entertainment (RSE) System.........3-102
Rear Seat Audio (RSA)...............................
.3-117
Theft-Deterrent Feature................................3-118
Audio Steering Wheel Controls......................3-119
Radio Reception.........................................3-120
Fixed Mast Antenna....................................3-121
XM™ Satellite Radio Antenna System............3-121
Chime Level Adjustment...............................3-121
Section 3 Instrument Panel
3-2
Page 165 of 476
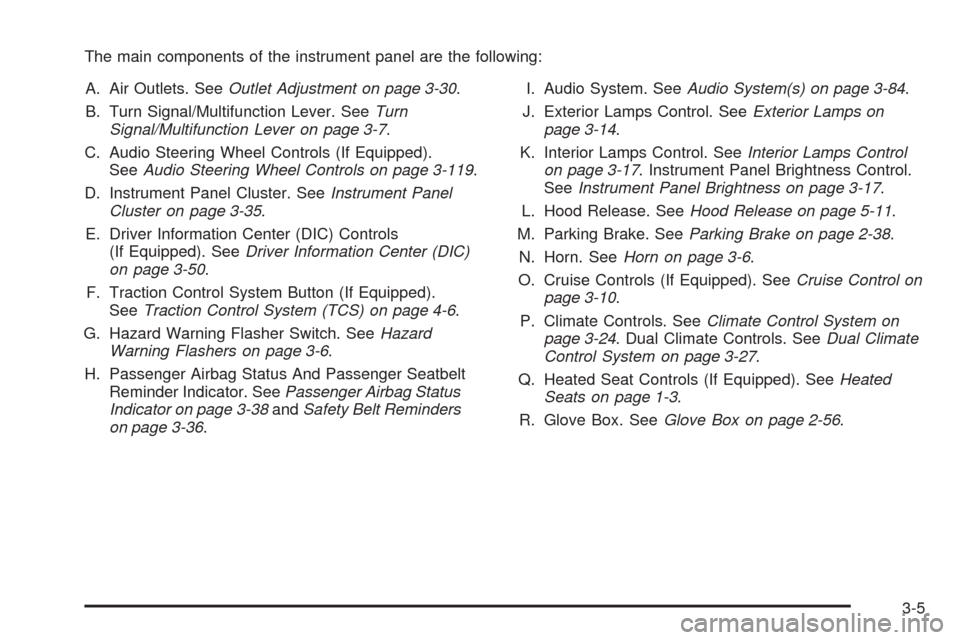
The main components of the instrument panel are the following:
A. Air Outlets. SeeOutlet Adjustment on page 3-30.
B. Turn Signal/Multifunction Lever. SeeTurn
Signal/Multifunction Lever on page 3-7.
C. Audio Steering Wheel Controls (If Equipped).
SeeAudio Steering Wheel Controls on page 3-119.
D. Instrument Panel Cluster. SeeInstrument Panel
Cluster on page 3-35.
E. Driver Information Center (DIC) Controls
(If Equipped). SeeDriver Information Center (DIC)
on page 3-50.
F. Traction Control System Button (If Equipped).
SeeTraction Control System (TCS) on page 4-6.
G. Hazard Warning Flasher Switch. SeeHazard
Warning Flashers on page 3-6.
H. Passenger Airbag Status And Passenger Seatbelt
Reminder Indicator. SeePassenger Airbag Status
Indicator on page 3-38andSafety Belt Reminders
on page 3-36.I. Audio System. SeeAudio System(s) on page 3-84.
J. Exterior Lamps Control. SeeExterior Lamps on
page 3-14.
K. Interior Lamps Control. SeeInterior Lamps Control
on page 3-17. Instrument Panel Brightness Control.
SeeInstrument Panel Brightness on page 3-17.
L. Hood Release. SeeHood Release on page 5-11.
M. Parking Brake. SeeParking Brake on page 2-38.
N. Horn. SeeHorn on page 3-6.
O. Cruise Controls (If Equipped). SeeCruise Control on
page 3-10.
P. Climate Controls. SeeClimate Control System on
page 3-24. Dual Climate Controls. SeeDual Climate
Control System on page 3-27.
Q. Heated Seat Controls (If Equipped). SeeHeated
Seats on page 1-3.
R. Glove Box. SeeGlove Box on page 2-56.
3-5
Page 185 of 476
Operation
Turn the right knob clockwise or counterclockwise to
direct the air�ow inside of your vehicle.
To change the current mode, select one of the following:
H(Vent):This mode directs air to the instrument
panel outlets.
)(Bi-Level):This mode directs half of the air to the
instrument panel outlets, then directs the remaining
air to the �oor outlets. Cooler air is directed to the
upper outlets and warmer air to the �oor outlets.
6(Floor):This mode directs most of the air to the
�oor outlets. Use this mode to send air to the rear of
the vehicle. Keep the area under the front seats free
of objects that could obstruct air�ow to the rear of
the vehicle.
The right knob can also be used to select defog or
defrost mode. For more information, see “Defogging
and Defrosting” later in this section.
Outside Air:This mode will be automatically selected
when your vehicle is in any mode except maximum
air conditioning.
A(Fan):Turn the left knob clockwise or
counterclockwise to increase or decrease the fan speed.
Turn the knob to 0 to turn off the fan. The fan must
be turned on for the air conditioning compressor
to operate.
Temperature Control:Turn the center knob clockwise
or counterclockwise to increase or decrease the air
temperature inside your vehicle.
#(Air Conditioning):Press this button to turn the
air-conditioning system on or off. When it is pressed,
an indicator light in the button will come on to let
you know that air conditioning is activated.
You may notice a slight change in engine performance
when the air conditioning compressor shuts off and
turns on again. This is normal. The system is designed
to make adjustments to help with fuel economy while
still maintaining the selected temperature.
On hot days, open the windows to let hot inside air
escape; then close them. This helps to reduce the time
it takes for your vehicle to cool down. It also helps
the system to operate more efficiently.
3-25