2008 CHEVROLET MALIBU wiring
[x] Cancel search: wiringPage 74 of 412
Servicing Your Airbag-Equipped
Vehicle
Airbags affect how your vehicle should be serviced.
There are parts of the airbag system in several places
around your vehicle. Your dealer/retailer and the service
manual have information about servicing your vehicle
and the airbag system. To purchase a service manual,
seeService Publications Ordering Information on
page 7-16.
{CAUTION:
For up to 10 seconds after the ignition is
turned off and the battery is disconnected, an
airbag can still in�ate during improper service.
You can be injured if you are close to an
airbag when it in�ates. Avoid yellow
connectors. They are probably part of the
airbag system. Be sure to follow proper
service procedures, and make sure the person
performing work for you is quali�ed to do so.
Adding Equipment to Your
Airbag-Equipped Vehicle
Q:Is there anything I might add to or change
about the vehicle that could keep the airbags
from working properly?
A:Yes. If you add things that change your vehicle’s
frame, bumper system, height, front end or side
sheet metal, they may keep the airbag system from
working properly. Changing or moving any parts
of the front seats, safety belts, the airbag sensing
and diagnostic module, steering wheel, instrument
panel, roof-rail airbag modules, ceiling headliner
or pillar garnish trim, overhead console, front
sensors, side impact sensors, or airbag wiring can
affect the operation of the airbag system.
1-70
Page 75 of 412
In addition, your vehicle has a passenger sensing
system for the right front passenger’s position,
which includes sensors that are part of the
passenger’s seat. The passenger sensing system
may not operate properly if the original seat
trim is replaced with non-GM covers, upholstery
or trim, or with GM covers, upholstery or trim
designed for a different vehicle. Any object, such as
an aftermarket seat heater or a comfort enhancing
pad or device, installed under or on top of the
seat fabric, could also interfere with the operation of
the passenger sensing system. This could either
prevent proper deployment of the passenger
airbag(s) or prevent the passenger sensing system
from properly turning off the passenger airbag(s).
SeePassenger Sensing System on page 1-65.If you have any questions about this, you should
contact Customer Assistance before you modify
your vehicle. The phone numbers and addresses for
Customer Assistance are in Step Two of the
Customer Satisfaction Procedure in this manual.
SeeCustomer Satisfaction Procedure on page 7-2.
Q:Because I have a disability, I have to get
my vehicle modi�ed. How can I �nd out whether
this will affect my airbag system?
A:If you have questions, call Customer Assistance.
The phone numbers and addresses for Customer
Assistance are in Step Two of the Customer
Satisfaction Procedure in this manual. See
Customer Satisfaction Procedure on page 7-2.
In addition, your dealer/retailer and the service manual
have information about the location of the airbag sensors,
sensing and diagnostic module and airbag wiring.
1-71
Page 91 of 412
Trunk
Press the trunk release button on the Remote Keyless
Entry (RKE) transmitter for one second to open the
trunk from the outside.
{CAUTION:
It can be dangerous to drive with the trunk lid
open because carbon monoxide (CO) gas can
come into your vehicle. You cannot see or
smell CO. It can cause unconsciousness and
even death. If you must drive with the trunk lid
open or if electrical wiring or other cable
connections must pass through the seal
between the body and the trunk lid:
Make sure all other windows are shut.
Turn the fan on your heating or cooling
system to its highest speed and select the
control setting that will force outside air
into your vehicle. See Climate Control
System.
If you have air outlets on or under the
instrument panel, open them all the way.
SeeEngine Exhaust on page 2-37.
Remote Trunk Release
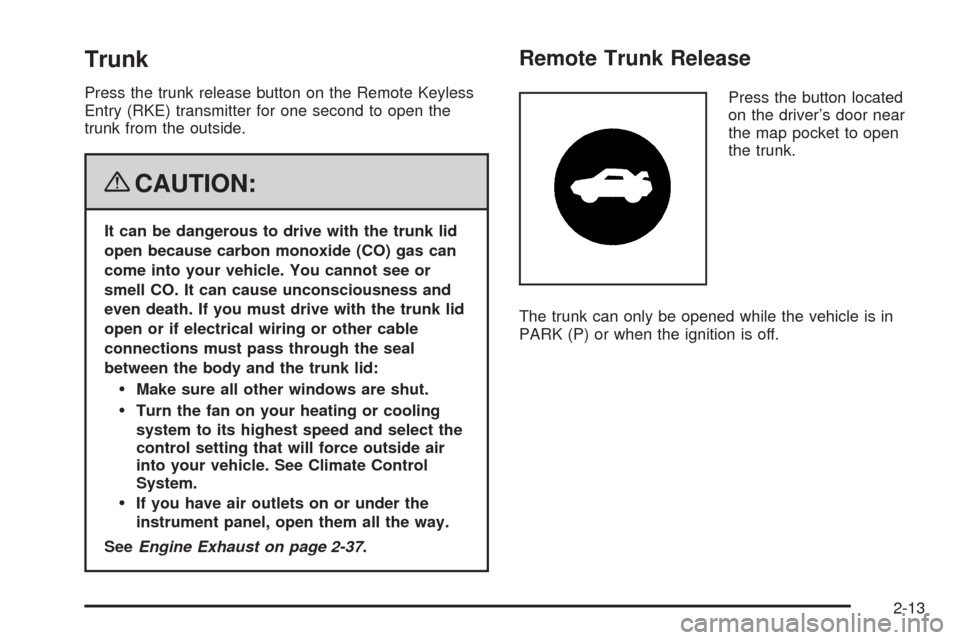
Press the button located
on the driver’s door near
the map pocket to open
the trunk.
The trunk can only be opened while the vehicle is in
PARK (P) or when the ignition is off.
2-13
Page 166 of 412
Airbag Readiness Light
There is an airbag readiness light on the instrument
panel cluster, which shows the airbag symbol. The
system checks the airbag’s electrical system for
malfunctions. The light indicates if there is an electrical
problem. The system check includes the airbag
sensor, the pretensioners, the airbag modules, the
wiring and the crash sensing and diagnostic module.
For more information on the airbag system, seeAirbag
System on page 1-56.
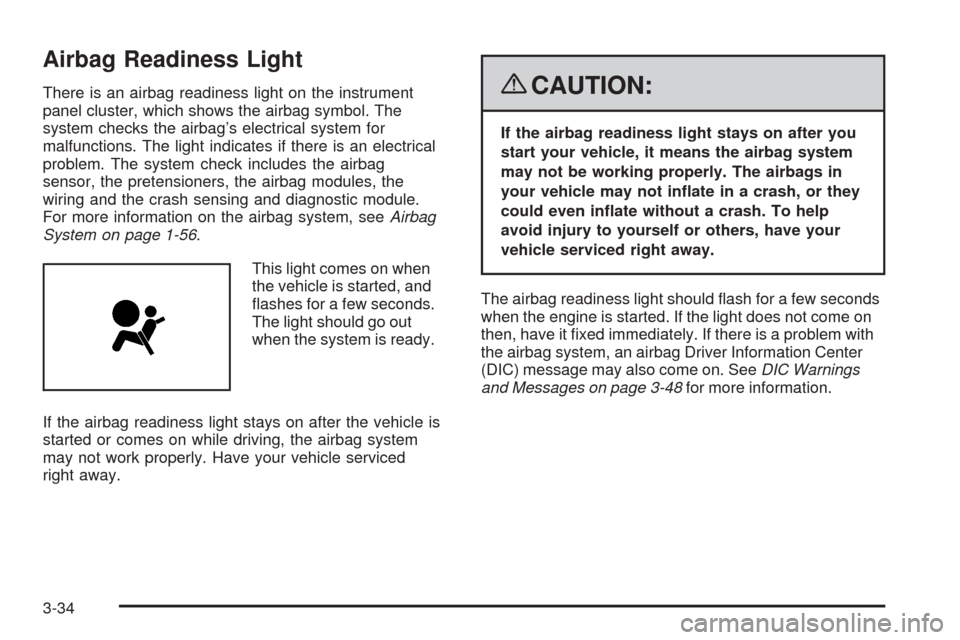
This light comes on when
the vehicle is started, and
�ashes for a few seconds.
The light should go out
when the system is ready.
If the airbag readiness light stays on after the vehicle is
started or comes on while driving, the airbag system
may not work properly. Have your vehicle serviced
right away.{CAUTION:
If the airbag readiness light stays on after you
start your vehicle, it means the airbag system
may not be working properly. The airbags in
your vehicle may not in�ate in a crash, or they
could even in�ate without a crash. To help
avoid injury to yourself or others, have your
vehicle serviced right away.
The airbag readiness light should �ash for a few seconds
when the engine is started. If the light does not come on
then, have it �xed immediately. If there is a problem with
the airbag system, an airbag Driver Information Center
(DIC) message may also come on. SeeDIC Warnings
and Messages on page 3-48for more information.
3-34
Page 248 of 412
Before you start, check the trailer hitch and platform
(and attachments), safety chains, electrical connector,
lamps, tires and mirror adjustment. If the trailer has
electric brakes, start your vehicle and trailer moving and
then apply the trailer brake controller by hand to be
sure the brakes are working. This lets you check your
electrical connection at the same time.
During your trip, check occasionally to be sure that the
load is secure, and that the lamps and any trailer
brakes are still working.
Following Distance
Stay at least twice as far behind the vehicle ahead as
you would when driving your vehicle without a trailer.
This can help you avoid situations that require
heavy braking and sudden turns.
Passing
You’ll need more passing distance up ahead when
you’re towing a trailer. And, because you’re a good deal
longer when towing a trailer, you’ll need to go much
farther beyond the passed vehicle before you can return
to your lane.
Backing Up
Hold the bottom of the steering wheel with one hand.
Then, to move the trailer to the left, just move that hand
to the left. To move the trailer to the right, move your
hand to the right. Always back up slowly and, if possible,
have someone guide you.
Making Turns
Notice:Making very sharp turns while trailering
could cause the trailer to come in contact with the
vehicle. Your vehicle could be damaged. Avoid
making very sharp turns while trailering.
When you’re turning with a trailer, make wider turns than
normal. Do this so your trailer won’t strike soft shoulders,
curbs, road signs, trees or other objects. Avoid jerky or
sudden maneuvers. Signal well in advance.
Turn Signals When Towing a Trailer
When you tow a trailer, your vehicle may need a
different turn signal �asher and/or extra wiring. See your
retailer if you need information. The arrows on your
instrument panel will �ash whenever you signal a turn or
lane change. Properly hooked up, the trailer lamps will
also �ash, telling other drivers you’re about to turn,
change lanes or stop.
4-34
Page 299 of 412
Taillamps, Turn Signal, and
Stoplamps
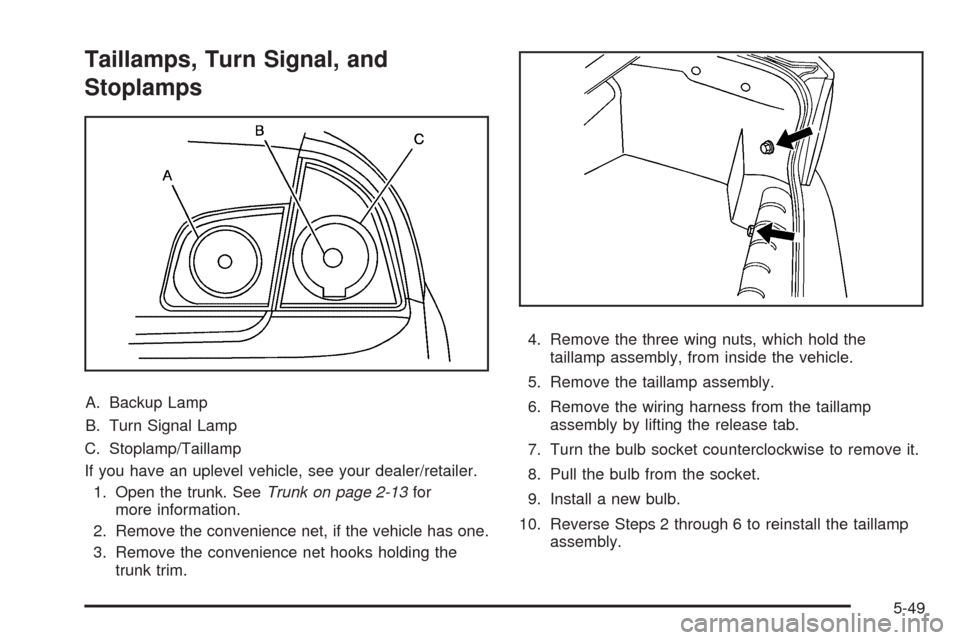
A. Backup Lamp
B. Turn Signal Lamp
C. Stoplamp/Taillamp
If you have an uplevel vehicle, see your dealer/retailer.
1. Open the trunk. SeeTrunk on page 2-13for
more information.
2. Remove the convenience net, if the vehicle has one.
3. Remove the convenience net hooks holding the
trunk trim.4. Remove the three wing nuts, which hold the
taillamp assembly, from inside the vehicle.
5. Remove the taillamp assembly.
6. Remove the wiring harness from the taillamp
assembly by lifting the release tab.
7. Turn the bulb socket counterclockwise to remove it.
8. Pull the bulb from the socket.
9. Install a new bulb.
10. Reverse Steps 2 through 6 to reinstall the taillamp
assembly.
5-49
Page 349 of 412
Fuses
The wiring circuits in your vehicle are protected from
short circuits by a combination of fuses, circuit breakers
and fusible links. This greatly reduces the chance of
damage caused by electrical problems.
Look at the silver-colored band inside the fuse. If the
band is broken or melted, replace the fuse. Be sure
to replace a bad fuse with a new one of the identical
size and rating.
There are three fuse blocks in your vehicle: one in
the center of the instrument panel, one in the engine
compartment and one in the trunk.
There is a fuse puller located on the instrument panel
fuse block. It can be used to easily remove fuses
from the fuse block.
Instrument Panel Fuse Block
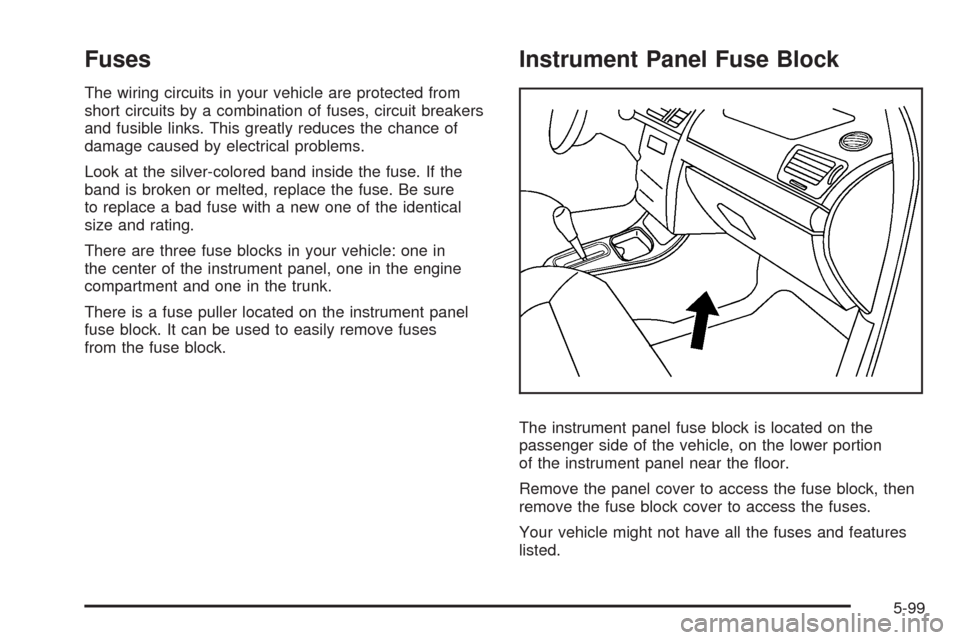
The instrument panel fuse block is located on the
passenger side of the vehicle, on the lower portion
of the instrument panel near the �oor.
Remove the panel cover to access the fuse block, then
remove the fuse block cover to access the fuses.
Your vehicle might not have all the fuses and features
listed.
5-99