2008 CHEVROLET IMPALA buttons
[x] Cancel search: buttonsPage 8 of 400
Heated Seats
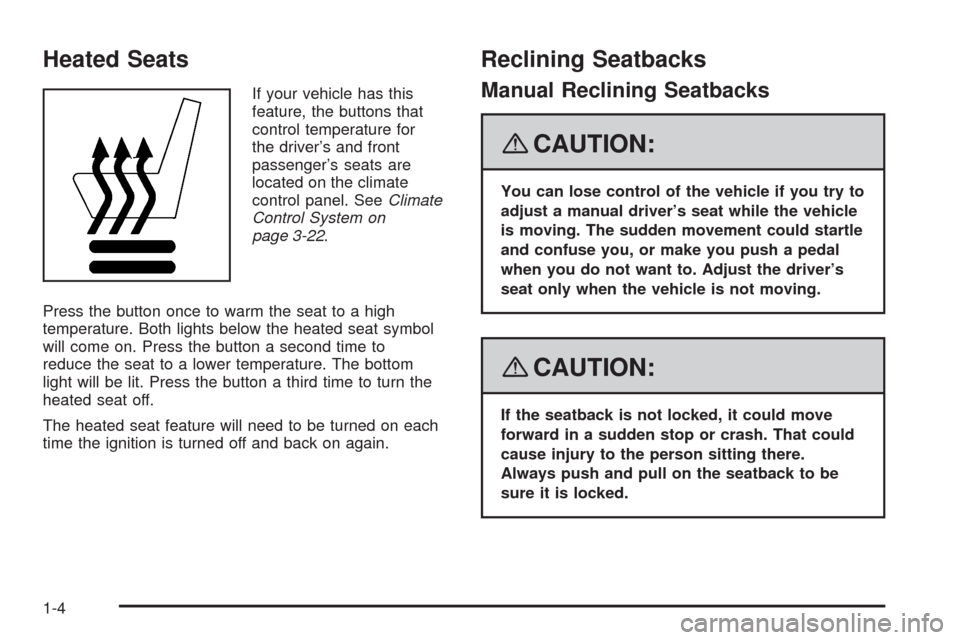
If your vehicle has this
feature, the buttons that
control temperature for
the driver’s and front
passenger’s seats are
located on the climate
control panel. SeeClimate
Control System on
page 3-22.
Press the button once to warm the seat to a high
temperature. Both lights below the heated seat symbol
will come on. Press the button a second time to
reduce the seat to a lower temperature. The bottom
light will be lit. Press the button a third time to turn the
heated seat off.
The heated seat feature will need to be turned on each
time the ignition is turned off and back on again.
Reclining Seatbacks
Manual Reclining Seatbacks
{CAUTION:
You can lose control of the vehicle if you try to
adjust a manual driver’s seat while the vehicle
is moving. The sudden movement could startle
and confuse you, or make you push a pedal
when you do not want to. Adjust the driver’s
seat only when the vehicle is not moving.
{CAUTION:
If the seatback is not locked, it could move
forward in a sudden stop or crash. That could
cause injury to the person sitting there.
Always push and pull on the seatback to be
sure it is locked.
1-4
Page 30 of 400
Shoulder Belt Height Adjuster
Your vehicle has shoulder belt height adjusters for the
driver and right front passenger.
Adjust the height so that the shoulder portion of the belt
is centered on your shoulder. The belt should be
away from your face and neck, but not falling off your
shoulder. Improper shoulder belt height adjustment
could reduce the effectiveness of the safety belt
in a crash.
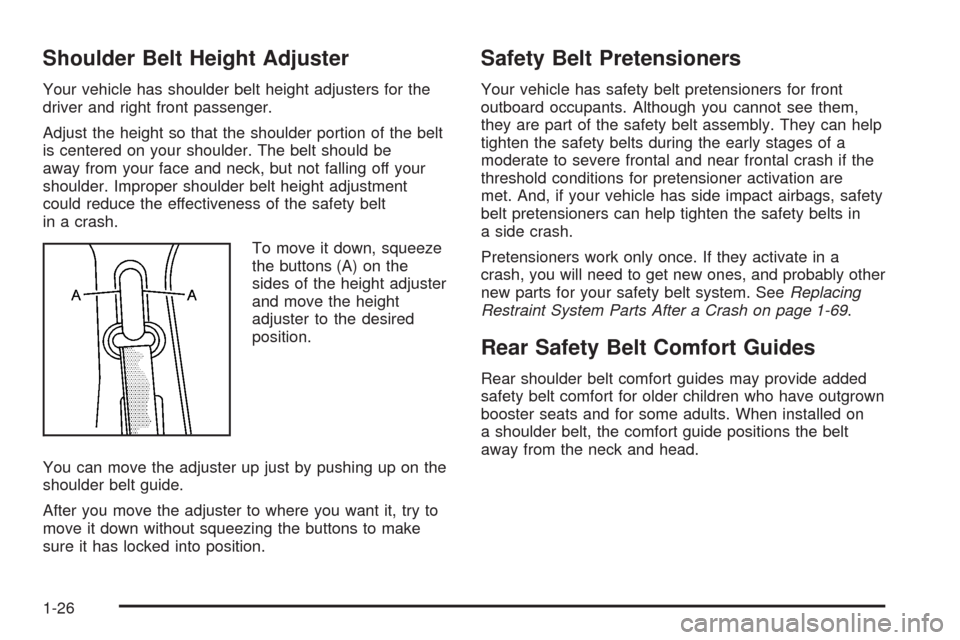
To move it down, squeeze
the buttons (A) on the
sides of the height adjuster
and move the height
adjuster to the desired
position.
You can move the adjuster up just by pushing up on the
shoulder belt guide.
After you move the adjuster to where you want it, try to
move it down without squeezing the buttons to make
sure it has locked into position.
Safety Belt Pretensioners
Your vehicle has safety belt pretensioners for front
outboard occupants. Although you cannot see them,
they are part of the safety belt assembly. They can help
tighten the safety belts during the early stages of a
moderate to severe frontal and near frontal crash if the
threshold conditions for pretensioner activation are
met. And, if your vehicle has side impact airbags, safety
belt pretensioners can help tighten the safety belts in
a side crash.
Pretensioners work only once. If they activate in a
crash, you will need to get new ones, and probably other
new parts for your safety belt system. SeeReplacing
Restraint System Parts After a Crash on page 1-69.
Rear Safety Belt Comfort Guides
Rear shoulder belt comfort guides may provide added
safety belt comfort for older children who have outgrown
booster seats and for some adults. When installed on
a shoulder belt, the comfort guide positions the belt
away from the neck and head.
1-26
Page 110 of 400

Manual Rearview Mirror with
OnStar
®
If your vehicle has this feature, this mirror has a knob
located at the bottom of the mirror. It is used to change
the mirror from day to night position. To reduce glare
from headlamps behind you while driving at night, rotate
the knob counterclockwise. For daytime driving, turn
the knob clockwise.
There are two map lamps located on the bottom of the
mirror. Press the button next to each lamp to turn it
on and off.
There are also three OnStar
®buttons located at the
bottom of the mirror face. See your dealer/retailer
for more information on the system and how to
subscribe to OnStar
®. SeeOnStar®System on
page 2-38for more information about the services
OnStar
®provides.
Automatic Dimming Rearview Mirror
with OnStar
®
The vehicle may have an automatic dimming rearview
mirror with the OnStar®System.
Press the button located below the mirror, on the far
left, for up to three seconds to turn the automatic
dimming feature off and on.
There are two map lamps located on the bottom of the
mirror. Press the button next to each lamp to turn it
on and off.
There are also OnStar
®buttons located at the bottom
of the mirror. See your dealer for more information
on the system and how to subscribe to OnStar
®.
SeeOnStar®System on page 2-38for more information
about the service OnStar®provides.
2-36
Page 115 of 400
Your vehicle must have a working electrical system
(including adequate battery power) for the OnStar
equipment to operate. There are other problems OnStar
cannot control that may prevent OnStar from providing
OnStar service to you at any particular time or place.
Some examples are damage to important parts of your
vehicle in an accident, hills, tall buildings, tunnels,
weather or wireless phone network congestion.
Your Responsibility
You may need to increase the volume of your radio
to hear the OnStar advisor. If the light next to the OnStar
buttons is red, this means that your system is not
functioning properly and should be checked by your
dealer/retailer. If the light appears clear (no light
is appearing), your OnStar subscription has expired.
You can always press the OnStar button to con�rm that
your OnStar equipment is active.
Universal Home Remote System
The Universal Home Remote System provides a way to
replace up to three hand-held Radio-Frequency (RF)
transmitters used to activate devices such as garage
door openers, security systems, and home lighting.
This device complies with Part 15 of the FCC Rules.
Operation is subject to the following two conditions:
1. This device may not cause harmful interference.
2. This device must accept any interference received,
including interference that may cause undesired
operation.
This device complies with RSS-210 of Industry Canada.
Operation is subject to the following two conditions:
1. This device may not cause interference.
2. This device must accept any interference received,
including interference that may cause undesired
operation of the device.
Changes or modi�cations to this system by other than
an authorized service facility could void authorization to
use this equipment.
2-41
Page 116 of 400
Universal Home Remote System
Operation (With Three Round LED)
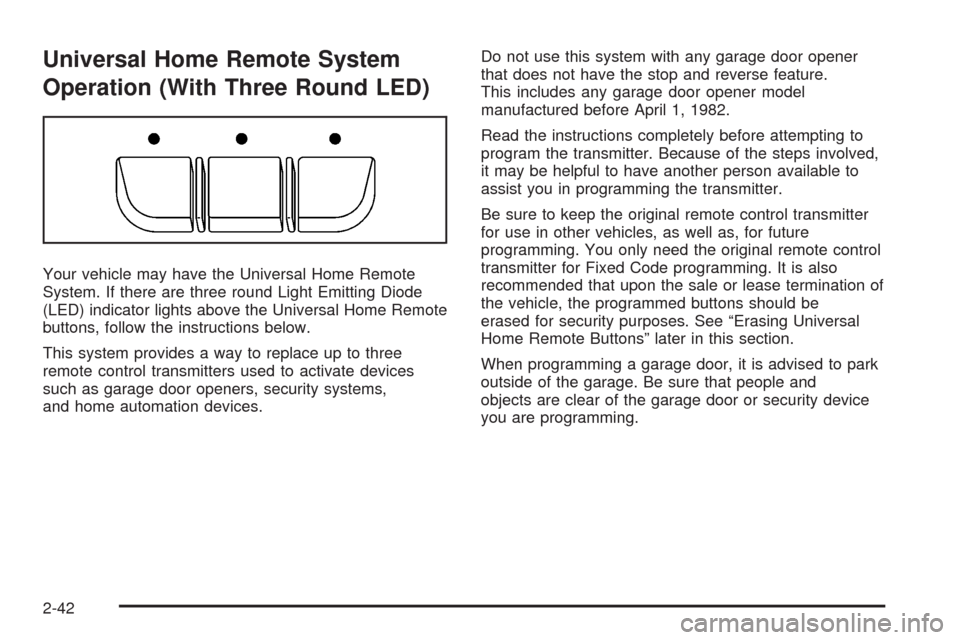
Your vehicle may have the Universal Home Remote
System. If there are three round Light Emitting Diode
(LED) indicator lights above the Universal Home Remote
buttons, follow the instructions below.
This system provides a way to replace up to three
remote control transmitters used to activate devices
such as garage door openers, security systems,
and home automation devices.Do not use this system with any garage door opener
that does not have the stop and reverse feature.
This includes any garage door opener model
manufactured before April 1, 1982.
Read the instructions completely before attempting to
program the transmitter. Because of the steps involved,
it may be helpful to have another person available to
assist you in programming the transmitter.
Be sure to keep the original remote control transmitter
for use in other vehicles, as well as, for future
programming. You only need the original remote control
transmitter for Fixed Code programming. It is also
recommended that upon the sale or lease termination of
the vehicle, the programmed buttons should be
erased for security purposes. See “Erasing Universal
Home Remote Buttons” later in this section.
When programming a garage door, it is advised to park
outside of the garage. Be sure that people and
objects are clear of the garage door or security device
you are programming.
2-42
Page 117 of 400

Programming Universal Home
Remote — Rolling Code
If you have questions or need help programming the
Universal Home Remote System, call 1-866-572-2728.
Most garage door openers sold after 1996 are Rolling
Code units.
Programming a garage door opener involves
time-sensitive actions, so read the entire procedure
before you begin. If you do not follow these actions,
the device will time out and you will have to repeat the
procedure.
To program up to three devices:
1. From inside the vehicle, press the two outside
buttons at the same time for one to two seconds,
and immediately release them.2. Locate in the garage, the garage door opener
receiver (motor-head unit). Locate the “Learn” or
“Smart” button. It can usually be found where the
hanging antenna wire is attached to the motor-head
unit and may be a colored button. Press this
button. After you press this button, you will have
30 seconds to complete the following steps.
3. Immediately return to your vehicle. Press and hold
the Universal Home Remote button that you would
like to use to control the garage door until the
garage door moves. The indicator light, above the
selected button, should slowly blink. You may
need to hold the button from �ve to 20 seconds.
2-43
Page 120 of 400
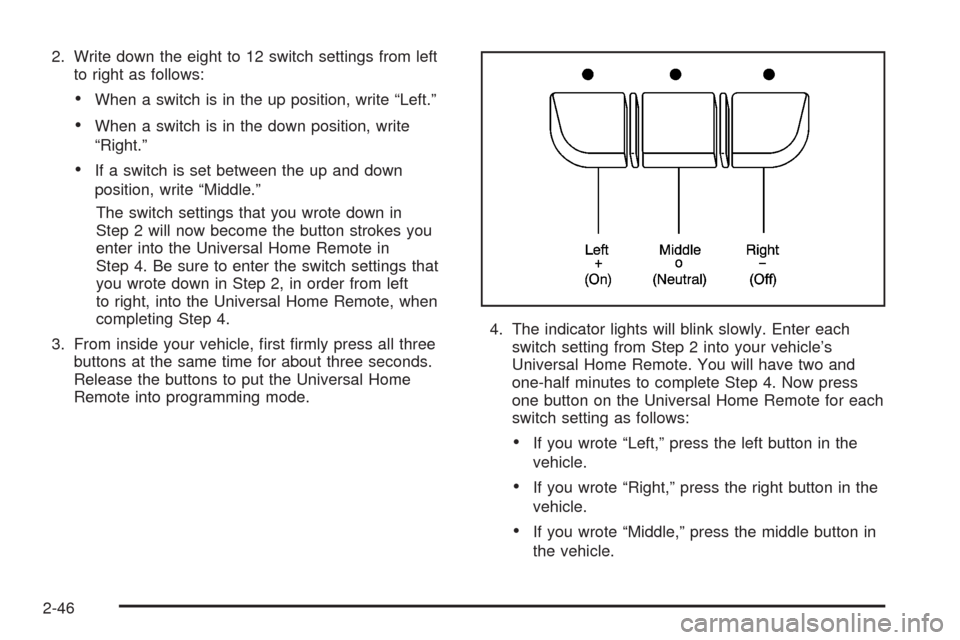
2. Write down the eight to 12 switch settings from left
to right as follows:
When a switch is in the up position, write “Left.”
When a switch is in the down position, write
“Right.”
If a switch is set between the up and down
position, write “Middle.”
The switch settings that you wrote down in
Step 2 will now become the button strokes you
enter into the Universal Home Remote in
Step 4. Be sure to enter the switch settings that
you wrote down in Step 2, in order from left
to right, into the Universal Home Remote, when
completing Step 4.
3. From inside your vehicle, �rst �rmly press all three
buttons at the same time for about three seconds.
Release the buttons to put the Universal Home
Remote into programming mode.4. The indicator lights will blink slowly. Enter each
switch setting from Step 2 into your vehicle’s
Universal Home Remote. You will have two and
one-half minutes to complete Step 4. Now press
one button on the Universal Home Remote for each
switch setting as follows:
If you wrote “Left,” press the left button in the
vehicle.
If you wrote “Right,” press the right button in the
vehicle.
If you wrote “Middle,” press the middle button in
the vehicle.
2-46
Page 121 of 400
5. After entering all of the switch positions, again,
�rmly press and release all three buttons at the
same time. The indicator lights will turn on.
6. Press and hold the button you would like to use to
control the garage door until the garage door
moves. The indicator light above the selected button
should slowly blink. You may need to hold the
button from �ve to 55 seconds.
7. Immediately release the button when the garage
door moves. The indicator light will blink rapidly
until programming is complete.
8. Press and release the same button again.
The garage door should move, con�rming
that programming is successful and complete.
To program another Fixed Code device such as an
additional garage door opener, a security device,
or home automation device, repeat Steps 1-8, choosing
a different button in Step 6 than what you used for
the garage door opener.
Using Universal Home Remote
Press and hold the appropriate button for at least half of
a second. The indicator light will come on while the
signal is being transmitted.
Reprogramming Universal Home
Remote Buttons
You can reprogram any of the three buttons by repeating
the instructions.
Erasing Universal Home Remote
Buttons
You should erase the programmed buttons when you
sell or terminate your lease.
To erase either Rolling Code or Fixed Code on the
Universal Home Remote device:
1. Press and hold the two outside buttons at the same
time for approximately 20 seconds, until the
indicator lights, located directly above the buttons,
begin to blink rapidly.
2. Once the indicator lights begin to blink, release both
buttons. The codes from all buttons will be erased.
For help or information on the Universal Home Remote
System, call the customer assistance phone number
underCustomer Assistance Offices on page 7-5.
2-47