2008 CHEVROLET EXPRESS CARGO VAN light
[x] Cancel search: lightPage 191 of 414

Setting the Tone (Bass/Treble) (AM-FM
Radio and Radio with CD (Base))
BASS/TREB Bass/Treble:To adjust the bass or treble,
press the
fknob or the EQ button until the desired
tone control label displays. Turn the
fknob clockwise
or counterclockwise to increase or decrease the
setting. The display shows the current bass or treble
level. If a station’s frequency is weak, or if there is static,
decrease the treble.
Unique BASS/TREB settings can be saved for each
source.
Setting the Tone
(Bass/Midrange/Treble)
BASS/MID/TREB (Bass, Midrange, or Treble):To
adjust bass, midrange, or treble, press the
fknob until
the tone control labels display. Continue pressing to
highlight the desired label, or press the pushbutton
positioned under the desired label. Turn the
fknob
clockwise or counterclockwise to adjust the highlighted
setting. You can also adjust the highlighted setting
by pressing either SEEK arrow,
\FWD (forward), or
sREV (reverse) button until the desired levels
are obtained. If a station’s frequency is weak or if there
is static, decrease the treble.To quickly adjust bass, midrange, or treble to the middle
position, press the pushbutton positioned under the
BASS, MID, or TREB label for more than two seconds
and the level adjusts to the middle position.
To quickly adjust all tone and speaker controls to the
middle position, press the
fknob for more than
two seconds until a beep sounds.
EQ (Equalization):Press this button to choose bass
and treble equalization settings designed for different
types of music. The choices are pop, rock, country, talk,
jazz, and classical. Selecting MANUAL or changing
bass or treble, returns the EQ to the manual bass and
treble settings.
Unique EQ settings can be saved for each source.
Adjusting the Speakers (Balance/Fade)
(AM-FM Radio and Radio with
CD (Base))
`
(Balance/Fade):To adjust the balance or fade,
press the
`button or thefknob until the desired
speaker control label displays. Turn the
fknob
clockwise or counterclockwise to adjust the setting.
3-75
Page 192 of 414

Adjusting the Speakers (Balance/Fade)
BAL/FADE (Balance/Fade):To adjust balance or
fade, press the
fknob until the speaker control labels
display. Continue pressing to highlight the desired
label, or press the pushbutton positioned under the
desired label. Turn the
fknob clockwise or
counterclockwise to adjust the highlighted setting.
To quickly adjust balance or fade to the middle position,
press the pushbutton positioned under the BAL or
FADE label for more than two seconds. A beep sounds
and the level adjusts to the middle position.
To quickly adjust all speaker and tone controls to the
middle position, press the
fknob for more than
two seconds until a beep sounds.
Finding a Category (CAT) Station
CAT (Category):The CAT button is used to find XM™
stations while the radio is in the XM™ mode.
XM™ is a satellite radio service that is based in the
United States and Canada only.
For this vehicle, the XM™ function is not available.
Radio Messages
Calibration Error:The audio system has been
calibrated for your vehicle from the factory. If Calibration
Error displays, it means that the radio has not been
configured properly for your vehicle and it must
be returned to your dealer/retailer for service.
Locked or Loc:One of these messages will display
when the THEFTLOCK
®system has locked up the
radio. Take the vehicle to your dealer/retailer for service.
If any error occurs repeatedly or if an error cannot be
corrected, contact your dealer/retailer.
Playing a CD (Single CD Player)
Insert a CD partway into the slot, label side up. The
player pulls it in and the CD should begin playing.
Playing a CD(s) (Six-Disc CD Player)
LOAD^:Press to load CDs into the CD player. This
CD player holds up to six CDs.
To insert one CD, do the following:
1. Press and release the
^button.
2. Wait for the message to insert the disc.
3. Load a CD. Insert the CD partway into the slot,
label side up. The player pulls the CD in.
3-76
Page 193 of 414
To insert multiple CDs, do the following:
1. Press and hold the
^button for two seconds.
A beep sounds and Load All Discs displays.
2. Follow the displayed instruction on when to insert
the discs. The CD player takes up to six CDs.
3. Press the
^button again to cancel loading
more CDs.
Insert a CD partway into the slot, label side up. The
player pulls it in and the CD should begin playing. If you
want to insert a CD with the ignition off, first press the
Zbutton or the DISP knob.
If the ignition or radio is turned off with a CD in the
player it stays in the player. When the ignition or radio
is turned on, the CD starts to play where it stopped, if it
was the last selected audio source.
When the CD is inserted, the CD symbol displays. As
each new track starts to play, the track number displays.
The CD player can play the smaller 3 inch (8 cm)
single CDs with an adapter ring. Full-size CDs and the
smaller CDs are loaded in the same manner.
Care of Your CDs and DVDs
If playing a CD-R, the sound quality can be reduced
due to CD-R or CD-RW quality, the method of recording,
the quality of the music that has been recorded, and
the way the CD-R or CD-RW has been handled. Handle
them carefully. Store CD-R(s) or CD-RW(s) in their
original cases or other protective cases and away from
direct sunlight and dust. The CD or DVD player
scans the bottom surface of the disc. If the surface of a
CD is damaged, such as cracked, broken, or scratched,
the CD does not play properly or not at all. Do not
touch the bottom side of a CD while handling it; this
could damage the surface. Pick up CDs by grasping
the outer edges or the edge of the hole and the
outer edge.
If the surface of a CD is soiled, take a soft, lint free
cloth or dampen a clean, soft cloth in a mild, neutral
detergent solution mixed with water, and clean it.
Make sure the wiping process starts from the center to
the edge.
3-77
Page 202 of 414
To change from playback by artist to playback by
album, press the pushbutton located below the Sort By
label. From the sort screen, push one of the buttons
below the album button. Press the pushbutton below the
back label to return to the main music navigator
screen. Now the album name is displayed on the second
line between the arrows and songs from the current
album begins to play. Once all songs from that album
are played, the player moves to the next album in
alphabetical order on the CD-R/CD-RW and begins
playing MP3 files from that album.
To exit music navigator mode, press the pushbutton
below the Back label to return to normal MP3 playback.
BAND:Press this button to listen to the radio when
a CD is playing. The inactive CD remains inside
the radio for future listening.
CD/AUX (CD/Auxiliary):Press this button to play a CD
when listening to the radio. The CD icon and a
message showing disc and/or track number displays
when a CD is in the player. Press this button again and
the system automatically searches for an auxiliary
input device such as a portable audio player. If a
portable audio player is not connected, “No Input Device
Found” displays.Theft-Deterrent Feature
Non-RDS Radios
THEFTLOCK®is designed to discourage theft of your
vehicle’s radio. The feature works automatically by
learning a portion of the Vehicle Identification Number
(VIN). If the radio is moved to a different vehicle, it does
not operate and LOC displays.
With THEFTLOCK
®activated, the radio does not
operate if stolen.
RDS Radios
THEFTLOCK®is designed to discourage theft of your
vehicle’s radio. The feature works automatically by
learning a portion of the Vehicle Identification Number
(VIN). If the radio is moved to a different vehicle, it does
not operate and LOCKED displays.
When the radio and vehicle are turned off, the blinking
red light indicates that THEFTLOCK
®is armed.
With THEFTLOCK
®activated, the radio does not
operate if stolen.
3-86
Page 204 of 414
Radio Reception
Frequency interference and static can occur during
normal radio reception if items such as cell phone
chargers, vehicle convenience accessories, and external
electronic devices are plugged into the accessory
power outlet. If there is interference or static, unplug the
item from the accessory power outlet.
AM
The range for most AM stations is greater than for FM,
especially at night. The longer range can cause
station frequencies to interfere with each other. For
better radio reception, most AM radio stations boost the
power levels during the day, and then reduce these
levels during the night. Static can also occur when things
like storms and power lines interfere with radio
reception. When this happens, try reducing the treble on
your radio.
FM Stereo
FM stereo gives the best sound, but FM signals reach
only about 10 to 40 miles (16 to 65 km). Tall buildings or
hills can interfere with FM signals, causing the sound
to fade in and out.
Fixed Mast Antenna
The fixed mast antenna can withstand most car washes
without being damaged. If the mast should ever
become slightly bent, straighten it out by hand. If the
mast is badly bent, replace it.
Check occasionally to make sure the mast is still
tightened to its base. If tightening is required, tighten by
hand, then with a wrench one quarter turn.
3-88
Page 207 of 414

Police records show that almost 40 percent of all motor
vehicle-related deaths involve alcohol. In most cases,
these deaths are the result of someone who was
drinking and driving. In recent years, more than
17,000 annual motor vehicle-related deaths have been
associated with the use of alcohol, with about
250,000 people injured.
For persons under 21, it is against the law in every
U.S. state to drink alcohol. There are good medical,
psychological, and developmental reasons for
these laws.
The obvious way to eliminate the leading highway
safety problem is for people never to drink alcohol and
then drive.
Medical research shows that alcohol in a person’s
system can make crash injuries worse, especially
injuries to the brain, spinal cord, or heart. This means
that when anyone who has been drinking — driver
or passenger — is in a crash, that person’s chance of
being killed or permanently disabled is higher than if the
person had not been drinking.Control of a Vehicle
The following three systems help to control your vehicle
while driving — brakes, steering, and accelerator. At
times, as when driving on snow or ice, it is easy to ask
more of those control systems than the tires and road can
provide. Meaning, you can lose control of your vehicle.
Adding non-dealer/non-retailer accessories can affect
your vehicle’s performance. SeeAccessories and
Modifications on page 5-3.
Braking
SeeBrake System Warning Light on page 3-34.
Braking action involves perception time and reaction
time. First, you have to decide to push on the brake
pedal. That is perception time. Then you have to bring
up your foot and do it. That is reaction time.
Average reaction time is about three-fourths of a
second. But that is only an average. It might be less
with one driver and as long as two or three seconds or
more with another. Age, physical condition, alertness,
coordination, and eyesight all play a part. So do alcohol,
drugs, and frustration. But even in three-fourths of a
second, a vehicle moving at 60 mph (100 km/h) travels
66 feet (20 m). That could be a lot of distance in an
emergency, so keeping enough space between
your vehicle and others is important.
4-3
Page 208 of 414
And, of course, actual stopping distances vary greatly
with the surface of the road, whether it is pavement or
gravel; the condition of the road, whether it is wet, dry, or
icy; tire tread; the condition of the brakes; the weight of
the vehicle; and the amount of brake force applied.
Avoid needless heavy braking. Some people drive
in spurts — heavy acceleration followed by heavy
braking — rather than keeping pace with traffic. This
is a mistake. The brakes might not have time to
cool between hard stops. The brakes will wear out
much faster if you do a lot of heavy braking. If you keep
pace with the traffic and allow realistic following
distances, you will eliminate a lot of unnecessary
braking. That means better braking and longer
brake life.
If your vehicle’s engine ever stops while you are driving,
brake normally but do not pump the brakes. If you do,
the pedal could get harder to push down. If the
engine stops, you will still have some power brake
assist. But you will use it when you brake. Once the
power assist is used up, it can take longer to stop and
the brake pedal will be harder to push.
Adding non-dealer/non-retailer accessories can affect
your vehicle’s performance. SeeAccessories and
Modifications on page 5-3.Antilock Brake System (ABS)
Your vehicle has the Antilock Brake System (ABS), an
advanced electronic braking system that will help
prevent a braking skid.
When you start the engine and begin to drive away,
ABS will check itself. You might hear a momentary
motor or clicking noise while this test is going on. This
is normal.
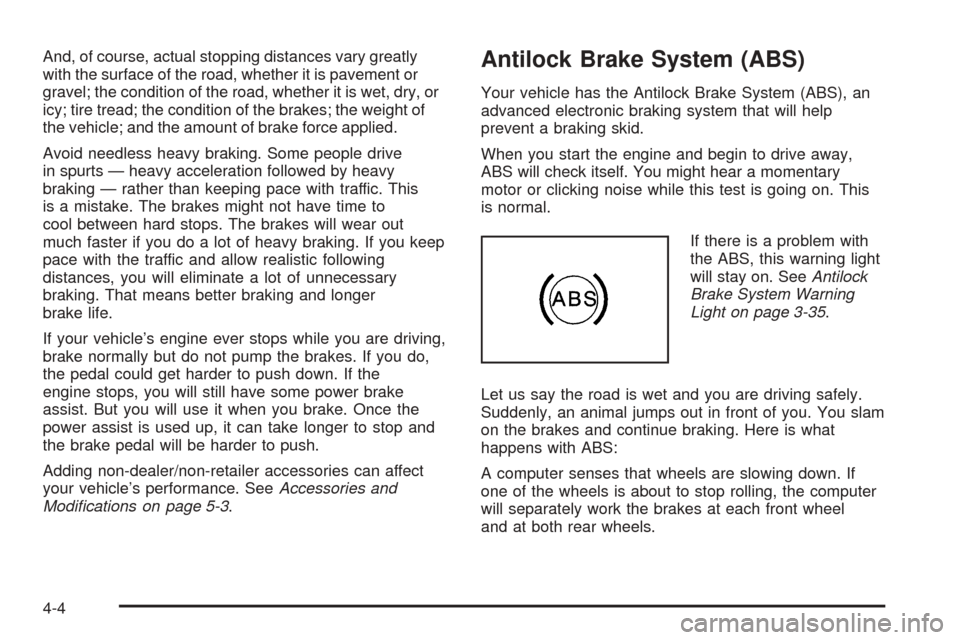
If there is a problem with
the ABS, this warning light
will stay on. SeeAntilock
Brake System Warning
Light on page 3-35.
Let us say the road is wet and you are driving safely.
Suddenly, an animal jumps out in front of you. You slam
on the brakes and continue braking. Here is what
happens with ABS:
A computer senses that wheels are slowing down. If
one of the wheels is about to stop rolling, the computer
will separately work the brakes at each front wheel
and at both rear wheels.
4-4
Page 210 of 414
Pressing and holding the
StabiliTrak®button located
on the instrument panel
for more than five seconds
can turn off StabiliTrak
®
and part of the traction
control system.
For more information, seeStabiliTrak
®Indicator Light on
page 3-36.
For your safety, the system can only be disabled when
the vehicle speed is less than 20 mph (32 km/h).
You will hear three chimes and the StabiliTrak
®not
ready light will come on.
To turn on the StabiliTrak
®system, press the StabiliTrak®
button again. StabiliTrak®will automatically turn back on
when the vehicle speed exceeds 20 mph (32 km/h). You
will hear one chime and the StabiliTrak
®not ready light
will turn off.
When the StabiliTrak
®system has been turned off you
may still hear system noises as a result of the
brake-traction control coming on.It is recommended to leave the system on for normal
driving conditions, but it may be necessary to turn
the system off if your vehicle is stuck in sand, mud, ice
or snow, and you want to “rock” your vehicle to
attempt to free it. SeeIf Your Vehicle is Stuck in Sand,
Mud, Ice, or Snow on page 4-19.
StabiliTrak®System Operation
The StabiliTrak®system is normally on, except when
the system is initializing or has been disabled with
the StabiliTrak
®button. The StabiliTrak®system will
automatically activate to assist the driver in maintaining
vehicle directional control in most driving conditions.
When activated, the StabiliTrak
®system may reduce
engine power to the wheels and apply braking to
individual wheels as necessary to assist the driver with
vehicle directional control. If your vehicle is in cruise
control when the system activates, the StabiliTrak
®
indicator light on the instrument panel will flash, and the
cruise control will automatically disengage. When the
StabiliTrak
®system is no longer active, you may
re-engage the cruise control. SeeCruise Control on
page 3-11.
The StabiliTrak
®system may also turn off automatically if
it determines that a problem exists with the system. If the
problem does not clear itself after restarting the vehicle,
you should see your dealer/retailer for service.
4-6