2008 CHEVROLET EQUINOX ignition
[x] Cancel search: ignitionPage 247 of 436
SeeService All-Wheel Drive Light on page 3-39and
DIC Warnings and Messages on page 3-49for more
information.
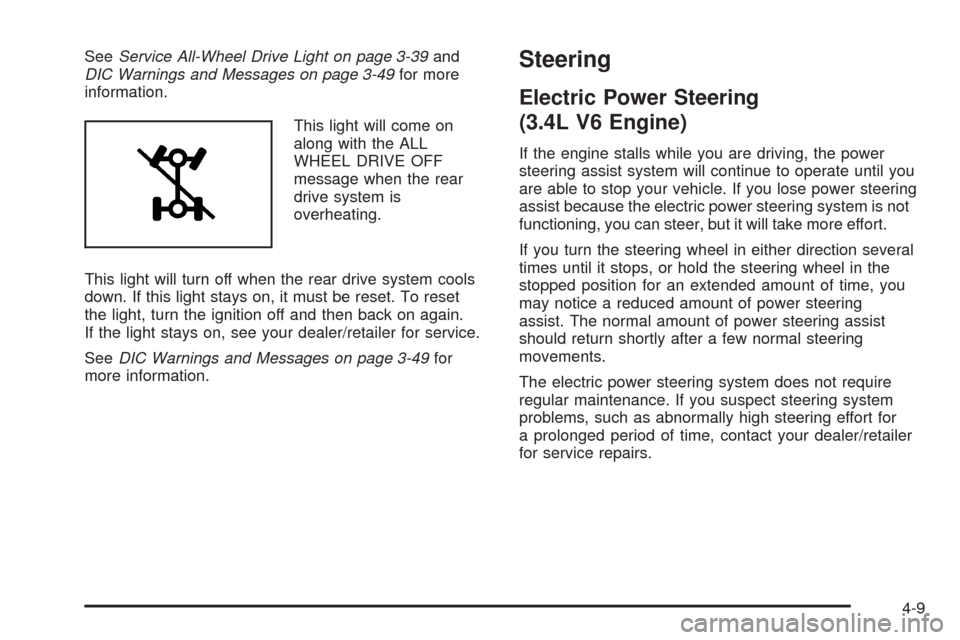
This light will come on
along with the ALL
WHEEL DRIVE OFF
message when the rear
drive system is
overheating.
This light will turn off when the rear drive system cools
down. If this light stays on, it must be reset. To reset
the light, turn the ignition off and then back on again.
If the light stays on, see your dealer/retailer for service.
SeeDIC Warnings and Messages on page 3-49for
more information.Steering
Electric Power Steering
(3.4L V6 Engine)
If the engine stalls while you are driving, the power
steering assist system will continue to operate until you
are able to stop your vehicle. If you lose power steering
assist because the electric power steering system is not
functioning, you can steer, but it will take more effort.
If you turn the steering wheel in either direction several
times until it stops, or hold the steering wheel in the
stopped position for an extended amount of time, you
may notice a reduced amount of power steering
assist. The normal amount of power steering assist
should return shortly after a few normal steering
movements.
The electric power steering system does not require
regular maintenance. If you suspect steering system
problems, such as abnormally high steering effort for
a prolonged period of time, contact your dealer/retailer
for service repairs.
4-9
Page 255 of 436
{CAUTION:
Coasting downhill in NEUTRAL (N) or with the
ignition off is dangerous. The brakes will have
to do all the work of slowing down and they
could get so hot that they would not work well.
You would then have poor braking or even
none going down a hill. You could crash.
Always have the engine running and your
vehicle in gear when you go downhill.
Stay in your own lane. Do not swing wide or cut
across the center of the road. Drive at speeds that let
you stay in your own lane.
Top of hills: Be alert — something could be in your
lane (stalled car, accident).
Pay attention to special road signs (falling rocks
area, winding roads, long grades, passing or
no-passing zones) and take appropriate action.
Winter Driving
Here are some tips for winter driving:
Have your vehicle in good shape for winter.
You might want to put winter emergency supplies in
your vehicle.
Include an ice scraper, a small brush or broom, a
supply of windshield washer �uid, a rag, some winter
outer clothing, a small shovel, a �ashlight, a red
cloth, and a couple of re�ective warning triangles. And,
if you will be driving under severe conditions, include
a small bag of sand, a piece of old carpet, or a couple of
burlap bags to help provide traction. Be sure you
properly secure these items in your vehicle.
Also seeTires on page 5-52.
4-17
Page 268 of 436
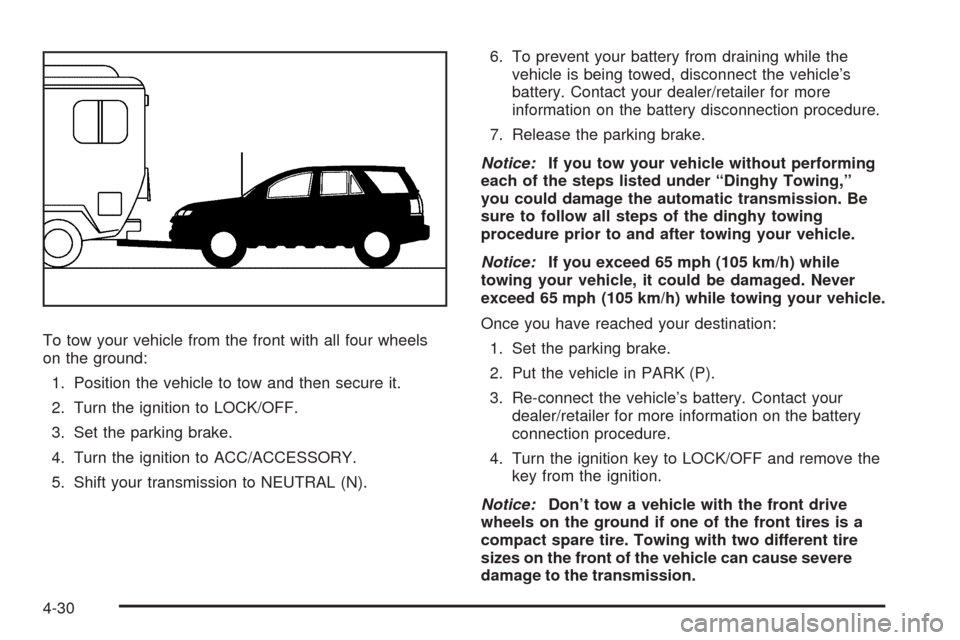
To tow your vehicle from the front with all four wheels
on the ground:
1. Position the vehicle to tow and then secure it.
2. Turn the ignition to LOCK/OFF.
3. Set the parking brake.
4. Turn the ignition to ACC/ACCESSORY.
5. Shift your transmission to NEUTRAL (N).6. To prevent your battery from draining while the
vehicle is being towed, disconnect the vehicle’s
battery. Contact your dealer/retailer for more
information on the battery disconnection procedure.
7. Release the parking brake.
Notice:If you tow your vehicle without performing
each of the steps listed under “Dinghy Towing,”
you could damage the automatic transmission. Be
sure to follow all steps of the dinghy towing
procedure prior to and after towing your vehicle.
Notice:If you exceed 65 mph (105 km/h) while
towing your vehicle, it could be damaged. Never
exceed 65 mph (105 km/h) while towing your vehicle.
Once you have reached your destination:
1. Set the parking brake.
2. Put the vehicle in PARK (P).
3. Re-connect the vehicle’s battery. Contact your
dealer/retailer for more information on the battery
connection procedure.
4. Turn the ignition key to LOCK/OFF and remove the
key from the ignition.
Notice:Don’t tow a vehicle with the front drive
wheels on the ground if one of the front tires is a
compact spare tire. Towing with two different tire
sizes on the front of the vehicle can cause severe
damage to the transmission.
4-30
Page 296 of 436
Engine Oil Additives
Do not add anything to the oil. The recommended
oils with the starburst symbol that meet
GM Standard GM6094M are all you need for
good performance and engine protection.
Engine Oil Life System
When to Change Engine Oil
Your vehicle has a computer system that lets you know
when to change the engine oil and �lter. This is based
on engine revolutions and engine temperature, and not
on mileage. Based on driving conditions, the mileage at
which an oil change will be indicated can vary
considerably. For the oil life system to work properly, you
must reset the system every time the oil is changed.
When the system has calculated that oil life has
been diminished, it will indicate that an oil change is
necessary. A change engine oil light and a CHANGE
ENGINE OIL SOON message will come on. Change
the oil as soon as possible within the next 600 miles
(1 000 km). It is possible that, if you are driving under
the best conditions, the oil life system might not indicate
that an oil change is necessary for over a year. However,
the engine oil and �lter must be changed at least
once a year and at this time the system must be reset.Your dealer/retailer has trained service people who will
perform this work using genuine parts and reset the
system. It is also important to check the oil regularly and
keep it at the proper level.
If the system is ever reset accidentally, you must
change the oil at 3,000 miles (5 000 km) since the last
oil change. Remember to reset the oil life system
whenever the oil is changed.
How to Reset the Engine Oil Life
System
The Engine Oil Life System calculates when to change
the engine oil and �lter based on vehicle use. Whenever
the oil is changed, reset the system so it can calculate
when the next oil change is required. If a situation occurs
where you change the oil prior to a change engine oil light
or CHANGE ENGINE OIL SOON message being turned
on, reset the system.
1. Turn the ignition key to ON/RUN with the
engine off.
2. Fully press and release the accelerator pedal three
times within �ve seconds.
The change engine oil light will �ash while the
system is resetting.
3. When the light stops �ashing, turn the key to
LOCK/OFF.
5-18
Page 315 of 436
2. Get the vehicles close enough so the jumper cables
can reach, but be sure the vehicles are not touching
each other. If they are, it could cause a ground
connection you do not want. You would not be able
to start your vehicle, and the bad grounding could
damage the electrical systems.
To avoid the possibility of the vehicles rolling, set
the parking brake �rmly on both vehicles involved
in the jump start procedure. Put an automatic
transmission in PARK (P) or a manual transmission
in NEUTRAL before setting the parking brake.
Notice:If you leave your radio or other accessories
on during the jump starting procedure, they could
be damaged. The repairs would not be covered
by your warranty. Always turn off your radio and
other accessories when jump starting your vehicle.
3. Turn off the ignition on both vehicles. Unplug
unnecessary accessories plugged into the cigarette
lighter or the accessory power outlet. Turn off the
radio and all lamps that are not needed. This will
avoid sparks and help save both batteries. And it
could save your radio!
4. Open the hoods and locate the positive (+) and
negative (−) terminal locations on each vehicle.
You will not need to access your battery for jump
starting. Your vehicle has a remote positive (+) and
a remote negative (−) jump starting terminal for that
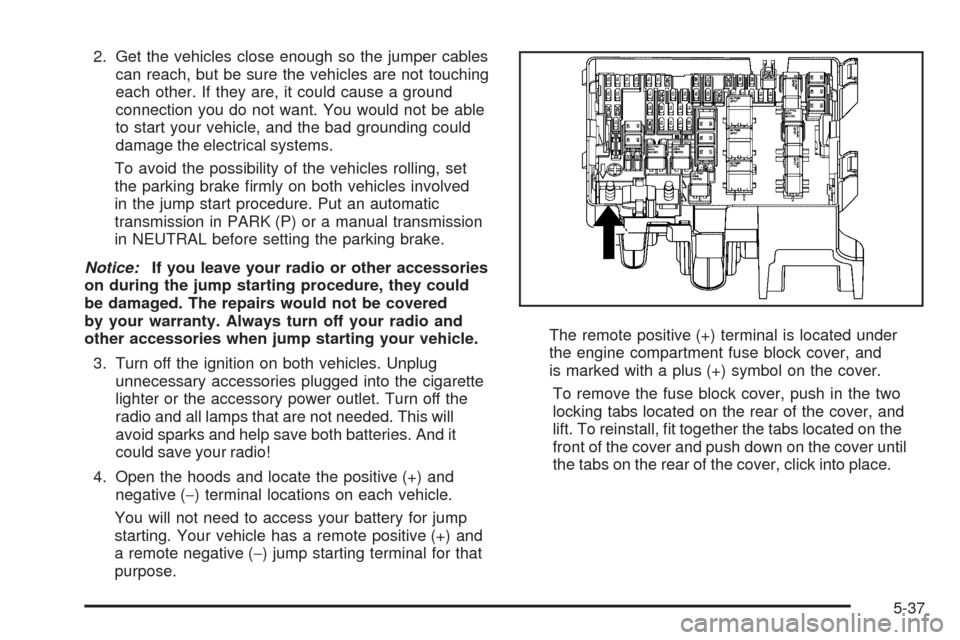
purpose.The remote positive (+) terminal is located under
the engine compartment fuse block cover, and
is marked with a plus (+) symbol on the cover.
To remove the fuse block cover, push in the two
locking tabs located on the rear of the cover, and
lift. To reinstall, �t together the tabs located on the
front of the cover and push down on the cover until
the tabs on the rear of the cover, click into place.
5-37
Page 341 of 436
Federal Communications Commission
(FCC) and Industry and Science
Canada
The Tire Pressure Monitor System (TPMS) operates on
a radio frequency and complies with Part 15 of the
FCC Rules. Operation is subject to the following
two conditions:
1. This device may not cause harmful interference.
2. This device must accept any interference received,
including interference that may cause undesired
operation.
The Tire Pressure Monitor System (TPMS) operates on
a radio frequency and complies with RSS-210 of
Industry and Science Canada. Operation is subject to
the following two conditions:
1. This device may not cause interference.
2. This device must accept any interference received,
including interference that may cause undesired
operation of the device.
Changes or modi�cations to this system by other than
an authorized service facility could void authorization to
use this equipment.
Tire Pressure Monitor Operation
The Tire Pressure Monitor System (TPMS) is designed
to warn the driver when a low tire pressure condition
exists. TPMS sensors are mounted onto each tire and
wheel assembly, excluding the spare tire and wheel
assembly. The TPMS sensors monitor the air pressure in
the vehicle’s tires and transmits the tire pressure readings
to a receiver located in the vehicle.
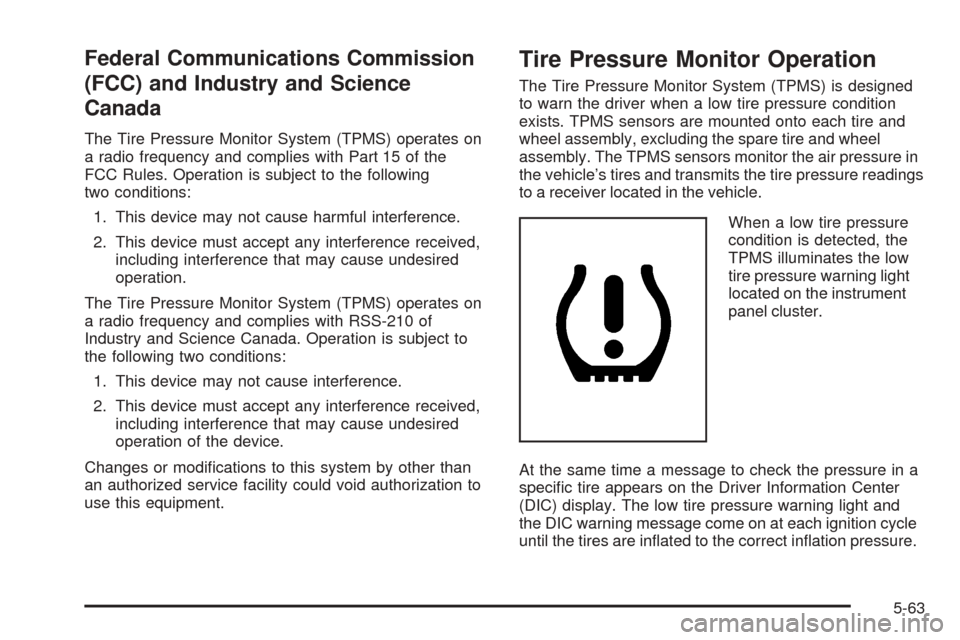
When a low tire pressure
condition is detected, the
TPMS illuminates the low
tire pressure warning light
located on the instrument
panel cluster.
At the same time a message to check the pressure in a
speci�c tire appears on the Driver Information Center
(DIC) display. The low tire pressure warning light and
the DIC warning message come on at each ignition cycle
until the tires are in�ated to the correct in�ation pressure.
5-63
Page 342 of 436
Using the DIC, tire pressure levels can be viewed by the
driver. For additional information and details about the
DIC operation and displays seeDIC Operation and
Displays on page 3-43andDIC Warnings and Messages
on page 3-49.
The low tire pressure warning light may come on in cool
weather when the vehicle is �rst started, and then turn
off as you start to drive. This could be an early indicator
that the air pressure in the tire(s) are getting low and
need to be in�ated to the proper pressure.
A Tire and Loading Information label, attached to your
vehicle, shows the size of your vehicle’s original
equipment tires and the correct in�ation pressure for
your vehicle’s tires when they are cold. SeeLoading
Your Vehicle on page 4-22, for an example of the Tire
and Loading Information label and its location on your
vehicle. Also seeInflation - Tire Pressure on page 5-59.
Your vehicle’s TPMS can warn you about a low tire
pressure condition but it does not replace normal
tire maintenance. SeeTire Inspection and Rotation on
page 5-67andTires on page 5-52.
Notice:Liquid tire sealants could damage the Tire
Pressure Monitor System (TPMS) sensors. Sensor
damage caused by using a tire sealant is not
covered by your warranty. Do not use liquid
tire sealants.TPMS Malfunction Light and Message
The TPMS will not function properly if one or more of the
TPMS sensors are missing or inoperable. When the
system detects a malfunction, the low tire warning light
�ashes for about one minute and then stays on for the
remainder of the ignition cycle. A DIC warning message
is also displayed. The low tire warning light and DIC
warning message come on at each ignition cycle until the
problem is corrected. Some of the conditions that can
cause the malfunction light and DIC message to
come on are:
One of the road tires has been replaced with the
spare tire. The spare tire does not have a TPMS
sensor. The TPMS malfunction light and DIC
message should go off once you re-install the road
tire containing the TPMS sensor.
The TPMS sensor matching process was started but
not completed or not completed successfully after
rotating the vehicle’s tires. The DIC message and
TPMS malfunction light should go off once the TPMS
sensor matching process is performed successfully.
See “TPMS Sensor Matching Process” later in this
section.
5-64
Page 344 of 436
The TPMS sensor matching process is outlined below:
1. Set the parking brake.
2. Turn the ignition switch to ON/RUN with the
engine off.
3. Press the Remote Keyless Entry (RKE) transmitter’s
LOCK and UNLOCK buttons at the same time for
approximately �ve seconds. The horn sounds twice
to signal the receiver is in relearn mode and TIRE
LEARNING ACTIVE message displays on the DIC
screen.
4. Start with the driver side front tire.
5. Remove the valve cap from the valve cap stem.
Activate the TPMS sensor by increasing or
decreasing the tire’s air pressure for �ve seconds,
or until a horn chirp sounds. The horn chirp, which
may take up to 30 seconds to sound, con�rms that
the sensor identi�cation code has been matched to
this tire and wheel position.6. Proceed to the passenger side front tire, and repeat
the procedure in Step 5.
7. Proceed to the passenger side rear tire, and repeat
the procedure in Step 5.
8. Proceed to the driver side rear tire, and repeat the
procedure in Step 5. The horn sounds two times to
indicate the sensor identi�cation code has been
matched to the driver side rear tire, and the TPMS
sensor matching process is no longer active.
The TIRE LEARNING ACTIVE message on the DIC
display screen goes off.
9. Turn the ignition switch to LOCK/OFF.
10. Set all four tires to the recommended air pressure
level as indicated on the Tire and Loading
Information label.
11. Put the valve caps back on the valve stems.
5-66