2008 CHEVROLET CORVETTE light
[x] Cancel search: lightPage 95 of 432
Shift Speeds (Manual Transmission)
{CAUTION:
If you skip a gear when you downshift, you
could lose control of your vehicle. You could
injure yourself or others. Do not shift down
more than one gear at a time when you
downshift.
This chart shows when to shift to the next higher gear
for the best fuel economy.
Manual Transmission Recommended
Shift Speeds in mph (km/h)
EngineAcceleration Shift Speed
1to2 2to3 3to4 4to5 5to6
All
Engines15 (24) 25 (40) 40 (64) 45 (72) 50 (80)If your engine speed drops below 900 rpm, or if the
engine is not running smoothly, you should downshift to
the next lower gear. You may have to downshift two
or more gears to keep the engine running smoothly or
for good engine performance.
Notice:When shifting gears, do not move the shift
lever around unnecessarily. This may damage
the transmission. Shift directly into the next gear.
One to Four Shift Light
(Manual Transmission)
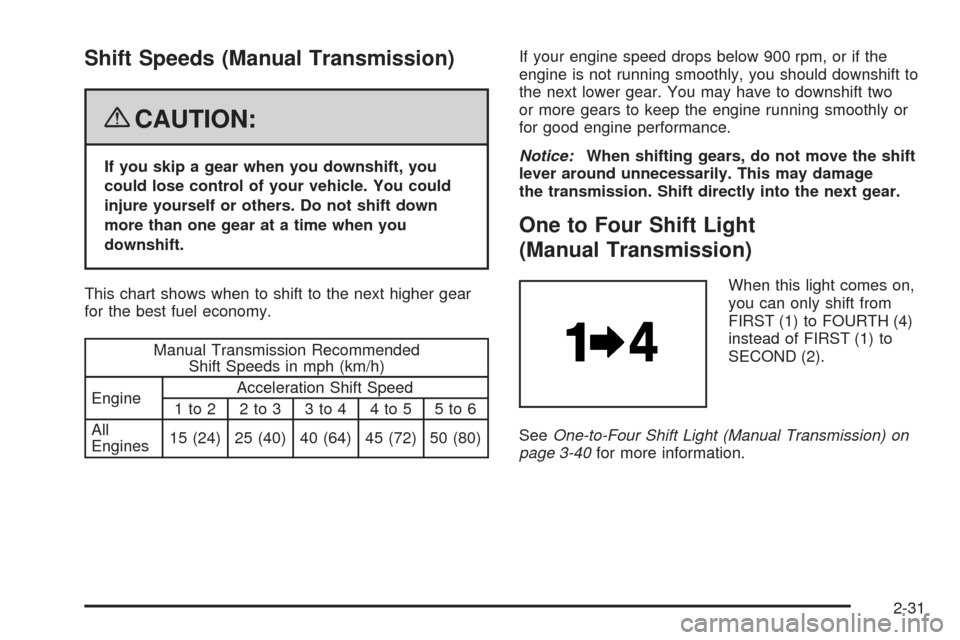
When this light comes on,
you can only shift from
FIRST (1) to FOURTH (4)
instead of FIRST (1) to
SECOND (2).
SeeOne-to-Four Shift Light (Manual Transmission) on
page 3-40for more information.
2-31
Page 96 of 432

Downshifting (Manual Transmission)
Do not downshift into the gear shown below at a speed
greater than shown in the table:
FIRST (1) 50 mph (80 km/h)
SECOND (2) 74 mph (119 km/h)
THIRD (3) 101 mph (163 km/h)
FOURTH (4) 130 mph (209 km/h)
Notice:If you skip more than one gear when you
downshift, or if you race the engine when you
release the clutch pedal while downshifting, you
could damage the engine, clutch, driveshaft or the
transmission. Do not skip gears or race the
engine when downshifting.
The six-speed transmission has a spring that centers
the shift lever near THIRD (3) and FOURTH (4).
This spring helps you know which gear you are in when
you are shifting. Be careful when shifting from
FIRST (1) to SECOND (2) or downshifting from
SIXTH (6) to FIFTH (5). The spring will try to pull the
shift lever toward FOURTH (4) and THIRD (3).
Make sure you move the lever into SECOND (2) or
FIFTH (5). If you let the shift lever move in the direction
of the pulling, you may end up shifting from FIRST (1)
to FOURTH (4) or from SIXTH (6) to THIRD (3).
Parking Brake
The parking brake lever is located to the right of the
center console.
To set the parking brake, hold the brake pedal down.
Pull the parking brake lever up. If the ignition is on, the
brake system warning light will come on.
To release the parking brake, hold the brake pedal
down. Then push the release button in as you move the
parking brake lever all the way down.
Notice:Driving with the parking brake on can
overheat the brake system and cause premature
wear or damage to brake system parts. Make sure
that the parking brake is fully released and the brake
warning light is off before driving.
2-32
Page 101 of 432
Mirrors
Automatic Dimming Rearview Mirror
with OnStar
®and Compass
The vehicle may have an automatic dimming rearview
mirror with OnStar®, a compass and map lamps.
Three OnStar®buttons are at the bottom of the mirror.
SeeOnStar®System on page 2-43for more
information on the services OnStar®provides.
Mirror Operation
The mirror automatically changes to reduce glare from
headlamps behind you. A time delay feature prevents
rapid changing from the day to night positions while
driving under lights and through traffic.
P(On/Off):The automatic dimming feature is
activated when the vehicle is started. The automatic
dimming feature is turned on or off by pressing
this button located on the lower part of the mirror. Press
and hold the button for up to three seconds to turn
this feature on or off.
T(Indicator Light):This light will turn on when the
automatic dimming feature is active.
Map Lamps
The mirror has map lamps located at the bottom of the
mirror. To manually turn the lamps on or off, press
the button next to each lamp.
Compass Operation
The mirror has an eight-point compass display in the
bottom of the mirror face.
When the ignition and the compass feature are on,
the compass will show two character boxes for
approximately two seconds. After two seconds, the
mirror will display the current compass heading.
For example, NE is displayed for north-east.
Compass Calibration
If after two seconds the display does not show a
compass heading, there may be a strong magnetic �eld
interfering with the compass. Such interference may
be caused by a magnetic antenna mount, note
pad holder or similar object. If the letter C appears in
the compass window, the compass needs calibration.
The mirror compass can be calibrated by driving
the vehicle in circles at 5 mph (8 km/h) or less until the
display reads a direction.
The compass can be placed in calibration mode by
pressing and holding the left map light button until
a C appears on the compass display.
2-37
Page 103 of 432
Cleaning the Mirror
When cleaning the mirror, use a paper towel or similar
material dampened with glass cleaner. Do not spray
glass cleaner directly on the mirror as that may cause
the liquid cleaner to enter the mirror housing.
Automatic Dimming Rearview Mirror
with Compass
If the vehicle has this feature, an automatic dimming
mirror automatically dims to the proper level to minimize
glare at night from lights behind your vehicle.
The mirror also includes a compass display in the upper
right corner of the mirror face.
P(On/Off):This is the on/off button.
Automatic Dimming Mirror Operation
The automatic dimming mirror function is turned on each
time the ignition is started. A light near the on/off button
will come on to indicate the automatic dimming is on.
Press the on/off button for about six seconds to
manually turn the automatic dimming function on or off.
Compass Display
Press the on/off button, located to the far left, brie�y to
turn the compass display on or off.
If the display reads CAL, the compass needs to be
calibrated. For more information, see “Compass
Calibration” later in this section.
To adjust between Fahrenheit and Celsius:
1. Press and hold the on/off button for approximately
four seconds until either a �ashing °F, or °C
appears.
2. Press the button again to change the display to the
desired unit of measurement. After approximately
four seconds of inactivity, the new unit will be locked
in and the compass/temperature display will return.
If an abnormal temperature reading is displayed
for an extended period of time, please consult your
dealer/retailer. Under certain circumstances, a delay in
updating the temperature is normal.
2-39
Page 109 of 432
How OnStar Service Works
The OnStar system can record and transmit vehicle
information. This information is automatically sent to an
OnStar Call Center when the OnStar button is
pressed, the emergency button is pressed, or if the
airbags or AACN system deploy. The vehicle information
usually includes your GPS location and, in the event
of a crash, additional information regarding the accident
that the vehicle has been involved in (e.g. the direction
from which the vehicle was hit). When the Virtual
Advisor feature of OnStar Hands-Free Calling is used,
the vehicle also sends OnStar your GPS location so that
we can provide services where you are located.
OnStar service cannot work unless the vehicle is in a
place where OnStar has an agreement with a wireless
service provider for service in that area. OnStar
service also cannot work unless you are in a place
where the wireless service provider OnStar has hired for
that area has coverage, network capacity and reception
when the service is needed, and technology that is
compatible with the OnStar service. Not all services
are available everywhere, particularly in remote
or enclosed areas, or at all times.Location information about the vehicle is only available
if the GPS satellite signals are available and
unobstructed.
The vehicle must have a working electrical system
(including adequate battery power) for the OnStar
equipment to operate. There are other problems OnStar
cannot control that may prevent OnStar from providing
OnStar service to you at any particular time or place.
Some examples are damage to important parts of
the vehicle in an accident, hills, tall buildings, tunnels,
weather or wireless phone network congestion.
Your Responsibility
Increase the volume of the radio if you cannot hear the
OnStar advisor. If the light next to the OnStar buttons
is red, the system is not functioning properly and should
be checked by your dealer/retailer. If the light appears
clear (no light is appearing), the OnStar subscription has
expired. Press the OnStar button to con�rm that the
OnStar equipment is active.
2-45
Page 110 of 432
Universal Home Remote
System
The Universal Home Remote System provides a way to
replace up to three hand-held radio-frequency (RF)
transmitters used to activate devices such as garage
door openers, security systems, and home lighting.
This device complies with Part 15 of the FCC Rules.
Operation is subject to the following two conditions:
1. This device may not cause harmful interference.
2. This device must accept any interference received,
including interference that may cause undesired
operation.
The FCC Grant of Equipment Authorization Certi�cate
number is KOBGTV06A.
This device complies with RSS-210 of Industry Canada.
Operation is subject to the following two conditions:
1. This device may not cause interference.
2. This device must accept any interference received,
including interference that may cause undesired
operation of the device.
The Canadian Registration ID number is 3521A-GTV06A.
Changes or modi�cations to this system by other than
an authorized service facility could void authorization to
use this equipment.
Universal Home Remote System
Operation
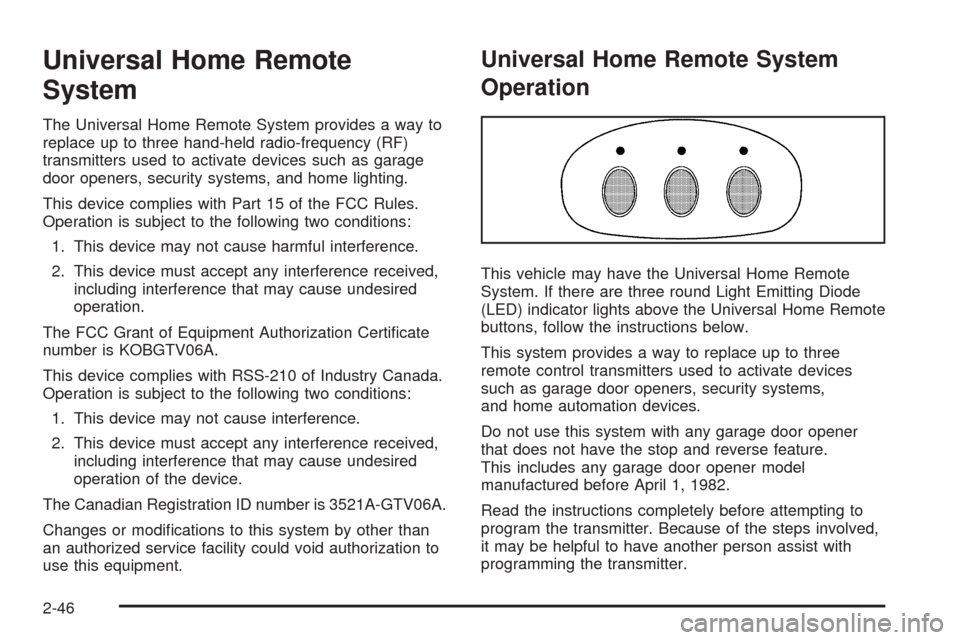
This vehicle may have the Universal Home Remote
System. If there are three round Light Emitting Diode
(LED) indicator lights above the Universal Home Remote
buttons, follow the instructions below.
This system provides a way to replace up to three
remote control transmitters used to activate devices
such as garage door openers, security systems,
and home automation devices.
Do not use this system with any garage door opener
that does not have the stop and reverse feature.
This includes any garage door opener model
manufactured before April 1, 1982.
Read the instructions completely before attempting to
program the transmitter. Because of the steps involved,
it may be helpful to have another person assist with
programming the transmitter.
2-46
Page 112 of 432
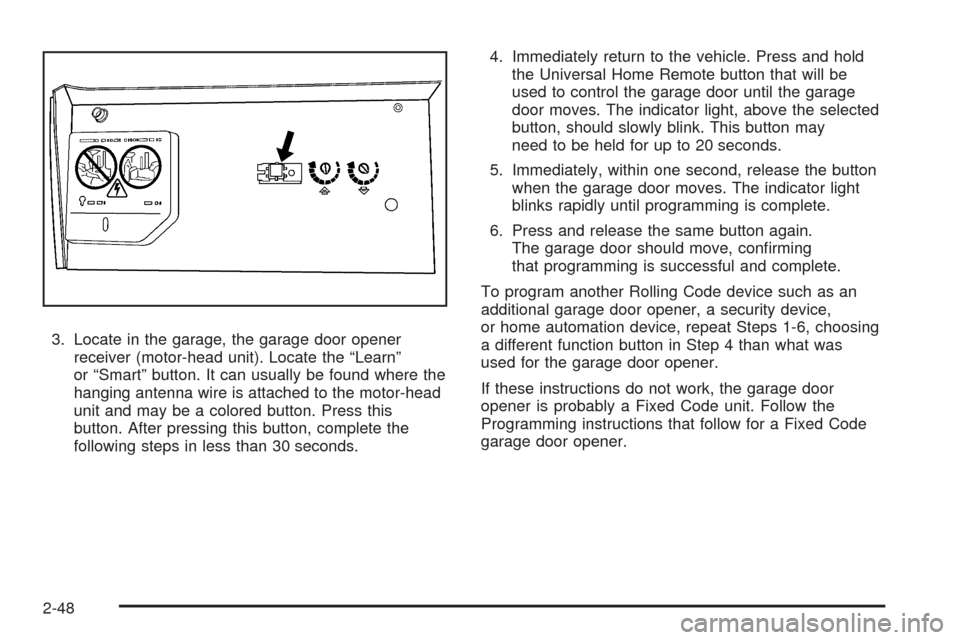
3. Locate in the garage, the garage door opener
receiver (motor-head unit). Locate the “Learn”
or “Smart” button. It can usually be found where the
hanging antenna wire is attached to the motor-head
unit and may be a colored button. Press this
button. After pressing this button, complete the
following steps in less than 30 seconds.4. Immediately return to the vehicle. Press and hold
the Universal Home Remote button that will be
used to control the garage door until the garage
door moves. The indicator light, above the selected
button, should slowly blink. This button may
need to be held for up to 20 seconds.
5. Immediately, within one second, release the button
when the garage door moves. The indicator light
blinks rapidly until programming is complete.
6. Press and release the same button again.
The garage door should move, con�rming
that programming is successful and complete.
To program another Rolling Code device such as an
additional garage door opener, a security device,
or home automation device, repeat Steps 1-6, choosing
a different function button in Step 4 than what was
used for the garage door opener.
If these instructions do not work, the garage door
opener is probably a Fixed Code unit. Follow the
Programming instructions that follow for a Fixed Code
garage door opener.
2-48
Page 115 of 432
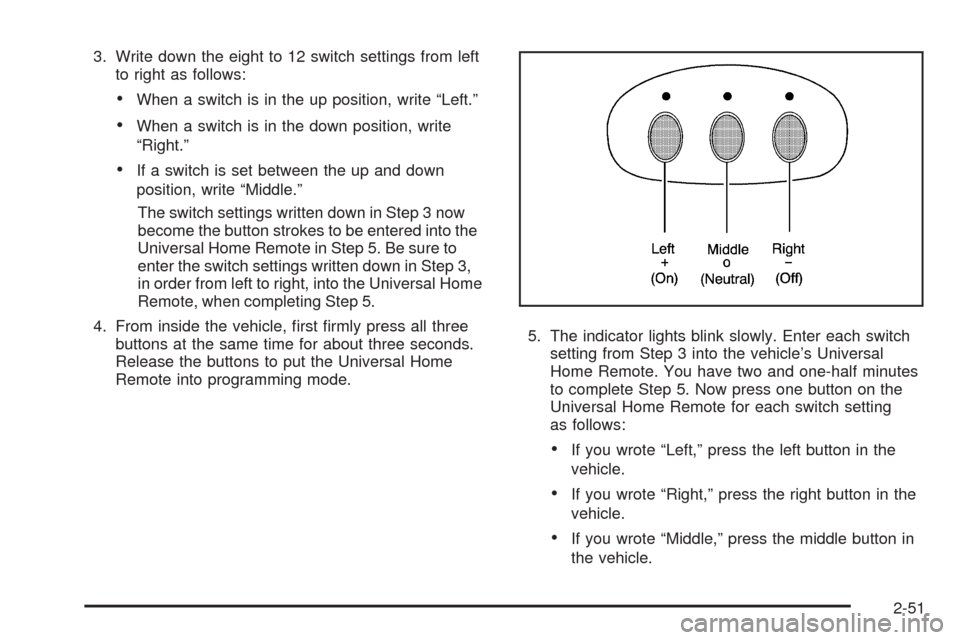
3. Write down the eight to 12 switch settings from left
to right as follows:
When a switch is in the up position, write “Left.”
When a switch is in the down position, write
“Right.”
If a switch is set between the up and down
position, write “Middle.”
The switch settings written down in Step 3 now
become the button strokes to be entered into the
Universal Home Remote in Step 5. Be sure to
enter the switch settings written down in Step 3,
in order from left to right, into the Universal Home
Remote, when completing Step 5.
4. From inside the vehicle, �rst �rmly press all three
buttons at the same time for about three seconds.
Release the buttons to put the Universal Home
Remote into programming mode.5. The indicator lights blink slowly. Enter each switch
setting from Step 3 into the vehicle’s Universal
Home Remote. You have two and one-half minutes
to complete Step 5. Now press one button on the
Universal Home Remote for each switch setting
as follows:
If you wrote “Left,” press the left button in the
vehicle.
If you wrote “Right,” press the right button in the
vehicle.
If you wrote “Middle,” press the middle button in
the vehicle.
2-51